Mask Magic
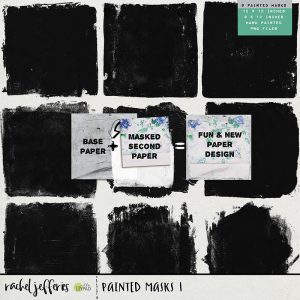
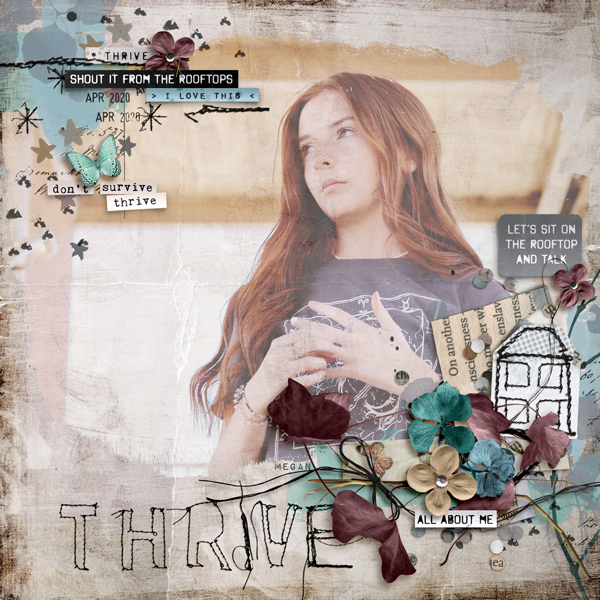
Masks are becoming an everyday part of life with the current Covid-19 situation. And while cloth masks are helpful in real life, I want to talk about another kind of mask that’s helpful to digital scrappers. I’m talking about pre-made masks like the Painted Masks 1 released today by Rachel Jefferies. These pre-made masks are an easy way to add some magic to the photos on your layouts. Take a look at this layout for example.

The instructions and screenshots below were created in Photoshop Elements 2019, but the steps are similar in other versions of PSE and Photoshop.
1. Start with a favorite textured paper. It can be mostly solid or as much texture as you’d like. I’m using a textured paper from Rachel Jefferies’ From The Rooftops: Mixed Media Paperie.
2. Add a pre-made photo mask. I added the 9×12 version of a mask from Rachel Jefferies’ Painted Masks 1 and turned it 90 degrees to the right.
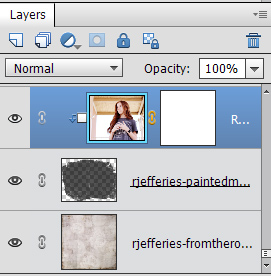
3. Add your photo to the layer above the photo mask.
4. Clip your photo to the photo mask layer by selecting the photo layer and pressing control, alt, G or control G in other versions of PSE.
5. Resize and reposition your photo to show how you’d like it to in the photo mask. You can also resize the photo mask as needed.
6. Blend the photo into the background paper. This is done by selecting the photo mask layer and selecting a blending mode and/or adjusting the fill opacity. You can use the arrow keys to scroll through the different blending modes to find one you like.

7. You can also blend the photo by adjusting the fill opacity. As you can see in the above photo there is no fill opacity option in PSE. However, you can access fill opacity by using shortcuts.
shift 0 is 100%
shift 9 is 90%
shift 8 is 80%
shift 7 is 70% and so forth.
Note: I prefer to use fill opacity over opacity when blending. Fill opacity only changes the layer contents but opacity changes everything in that layer including any blending modes or layer styles.
8. I ended up not changing the blending mode from normal. I just adjusted the fill opacity to 60% using the shift 6 shortcut for my finished layout.
I hope you have fun playing with pre-made masks. I can’t wait to see all of your magically masked creations.
Take care and keep scrappin,
Kayla (keepscrappin)