Make It Monday Cutout Card
Happy March y’all! Polly Robin here with another Make It Monday Blog post. Today I’m going to show you how I take a PNG and make a cutout card. You could use part of this tutorial to digitally scrap a cutout, or you can go further and make a card. Let me show you what I mean.
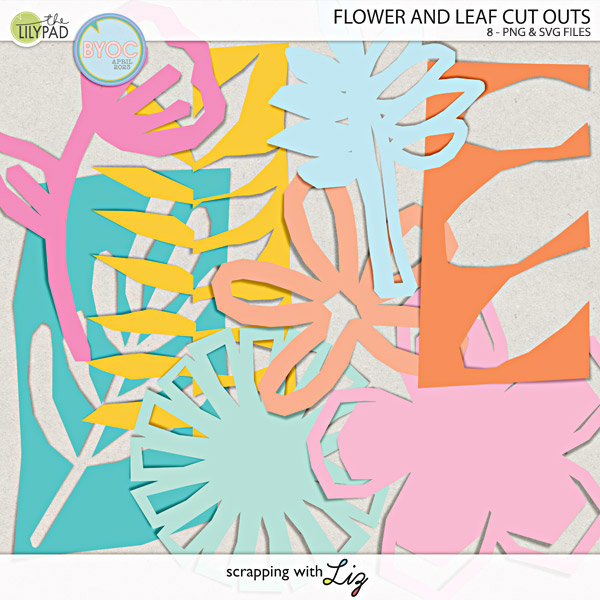
First, I wanted to use a flower from Scrapping with Liz’s Flower and Leaf Cut Outs.
I created a new project in Photoshop, placed my flower on my page, and added a stroke of 30px on the outside of the flower.

Next, I separated the stroke from the flower by using the Create Layer function.

I filled in the white spots by creating a box, filling it with the same white color as the outline, and then merged that white with the white outline. I created my card by creating a 4.25 x 5.50-inch box on a new layer and filled it with the white background. Next, I clicked on the thumbnail of the stroke layer while holding down the CTL key to get my marching ants. After selecting the card layer, with the marching ants still surrounding the flower stroke layer, I deleted the stroked / outline shape and was left with this:

I then centered my original flower (which I recolored white so that it mimics what my card will look like) inside the cutout and placed it over four different papers to see what I liked.

I printed off a PDF document of the background papers.
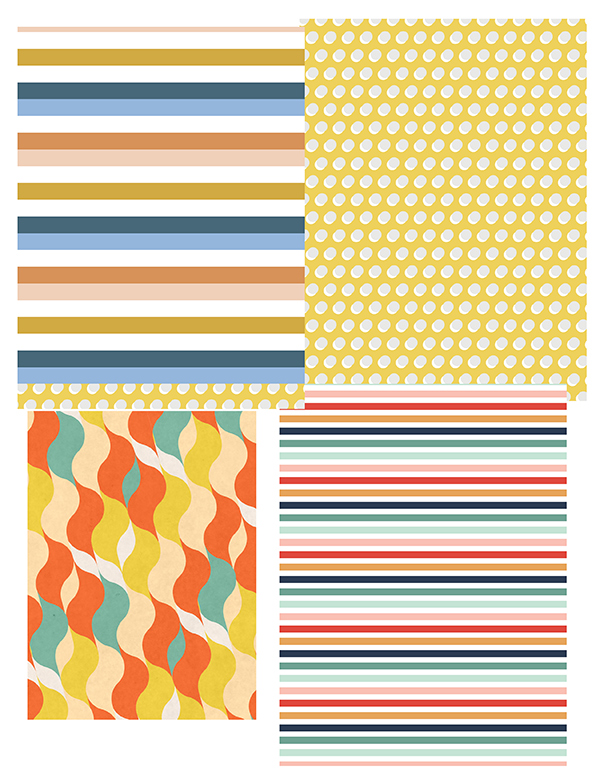
Starting in the top left corner and moving clockwise, the papers are from MPM Emerge, Rachel Etrog’s April Vibes, MPM Purpose, and MPM Groovy kits. I love that I can pick and choose what I want my background pattern paper to be! I’m glad I did because I ended up not making a card using the April Vibes, but I can go back to it later if I want to and the work is all done for me.
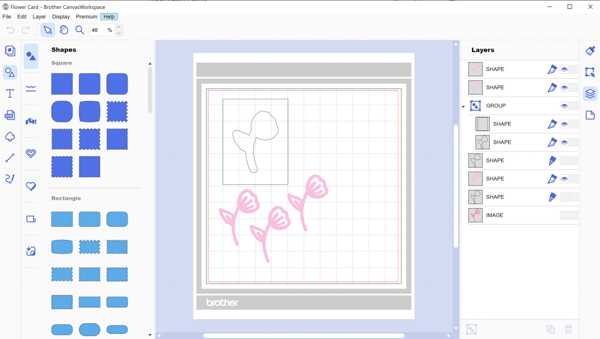
Then I went to my Canvas Works software that I use with my Brother Scan ‘N Cut and imported the same flower. The steps above in Photoshop were just for me to practice without wasting paper and time cutting things out I didn’t like. I had to create a cut file for my Scan ‘N Cut to work so I added an offset at that same 30px and cut out my card using the offset as well as multiple flowers for stacking.
I ran my cut-out cards through three different embossing folders:

And then glued the flowers in stacks of two for the three cards.

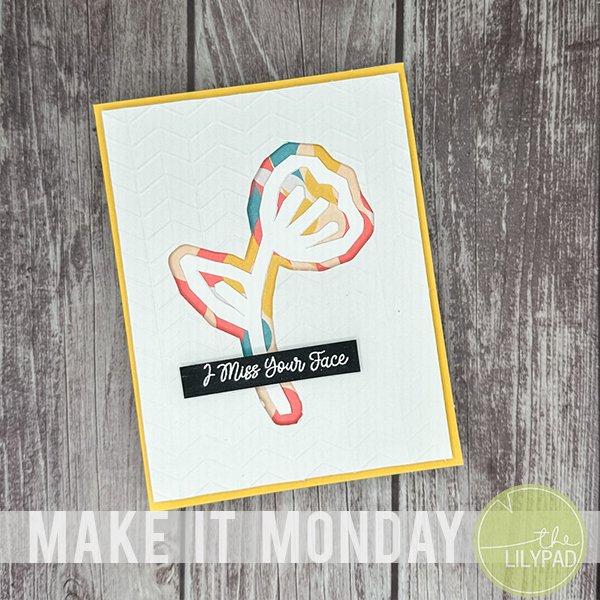
I finished up my cards by gluing the pattern papers to card bases, using foam tape to attach the embossed cut outs, inserting the flowers in the center of the cutouts, and adding a sentiment strip that I had stamped and embossed.
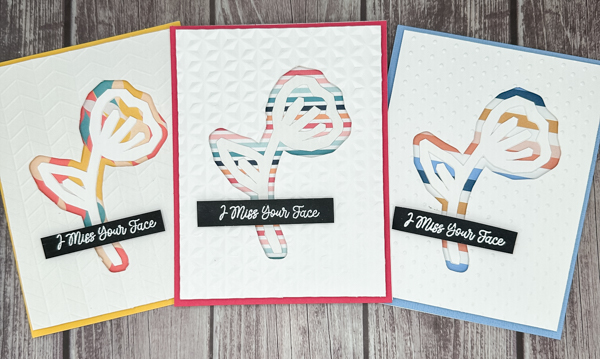
That’s it! Like I said earlier, now that all the files are created and saved, I can replicate these cards as I want to and just change up my sentiment strips! These cards are going to my kids because I always tell them I miss their faces ????
Hopefully you understand what I did and like my cards! Thanks for taking the time to read this!