Create a Card: Dimensional Backgrounds
I really enjoy giving cards to family and friends. Cards are perfect way to send birthday wishes, celebrate a special event, or even to just say hello to someone. I always try to have a selection of homemade cards on hand to give out for any of these occasions. I’ve noticed my supply of cards has been getting a bit low and committed myself to making a few cards to bolster it up. Teacher appreciation is the theme of today’s card. I also am sharing a tip about how to create a dimensional background for your card.
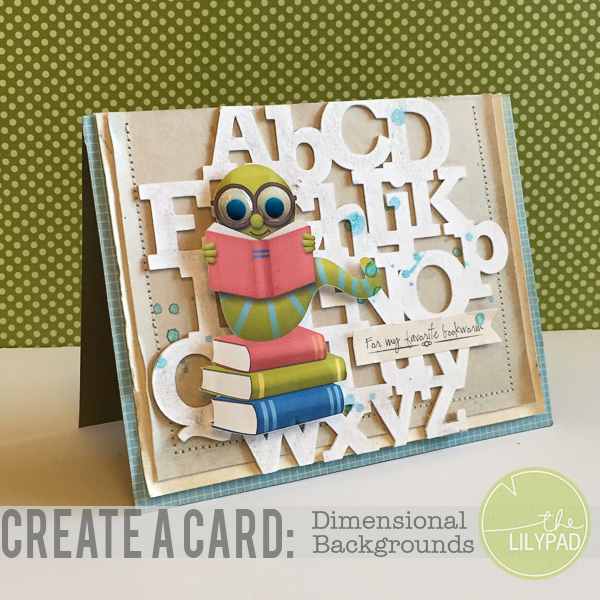
Teacher appreciation is right around the corner. I wanted to give something meaningful but also simple to my child’s teacher. I thought a card with a book for the classroom library would be perfect. A card about bookworms seemed to match the gift perfectly.
To make this card I used the following supplies:
- I Like Big Books by Kristin Aagard
- Digital Scrapbook Overlays – A-Z Overlays by Scrapping with Liz
- Presentation Paper
- Card base
- Paper trimmer
- Glue or tape runner
- Foam adhesive
- White thread
- Glossy accents
- Teal Color Shine
- Cutting machine
1. Using papers and embellishments from I Like Big Books and Digital Scrapbook Overlays – A-Z Overlays create your card design in photoshop.
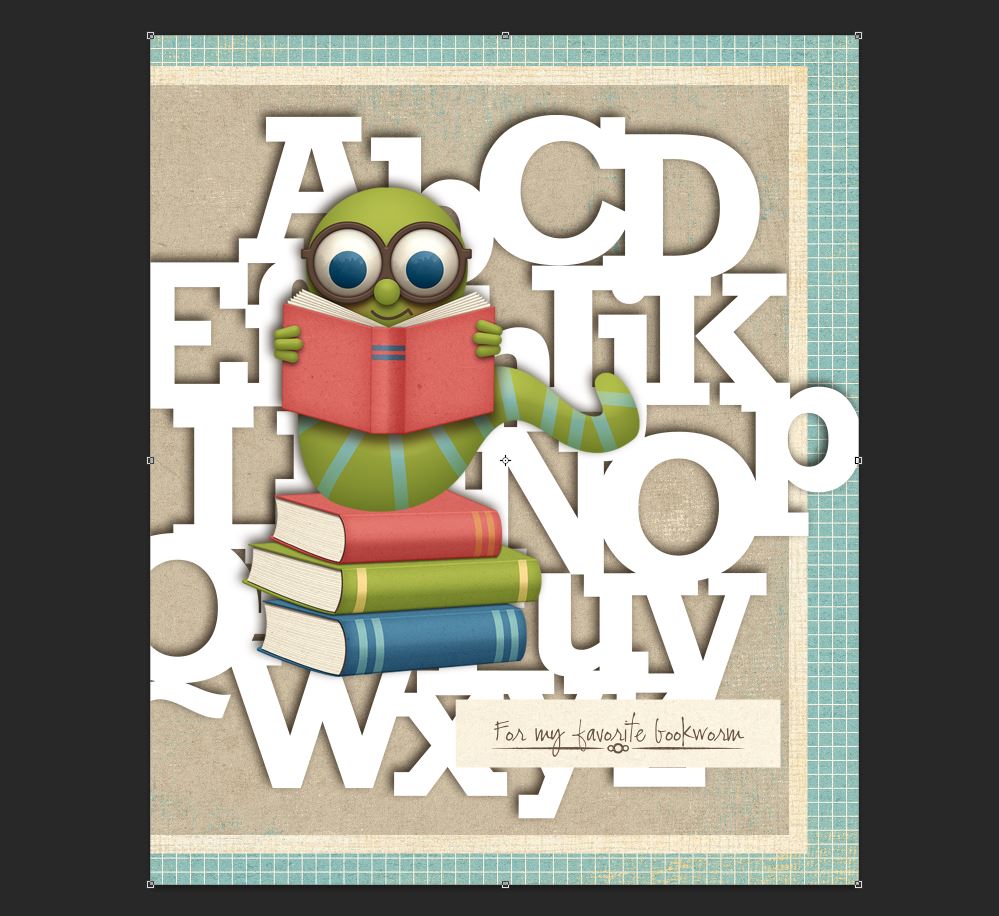
2. Duplicate all layers of your card to a new 8.5 in x 11 in document, except for the letter overlay. Spread your pieces out on your document.
3. Print this sheet and use your scissors to cut out the card pieces.
4. Open the letter overlay in your cutting program. Trace the letter overlay.
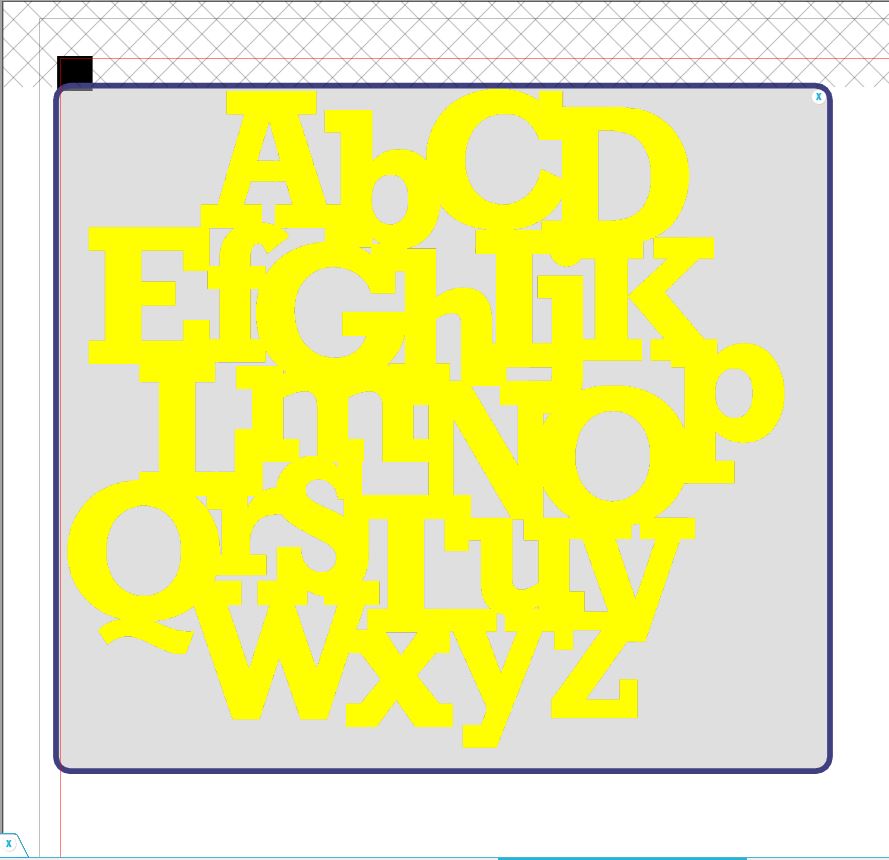
5. Resize the letter overlay so that it is the same size as the card background.
6. Duplicate the overlay three times.
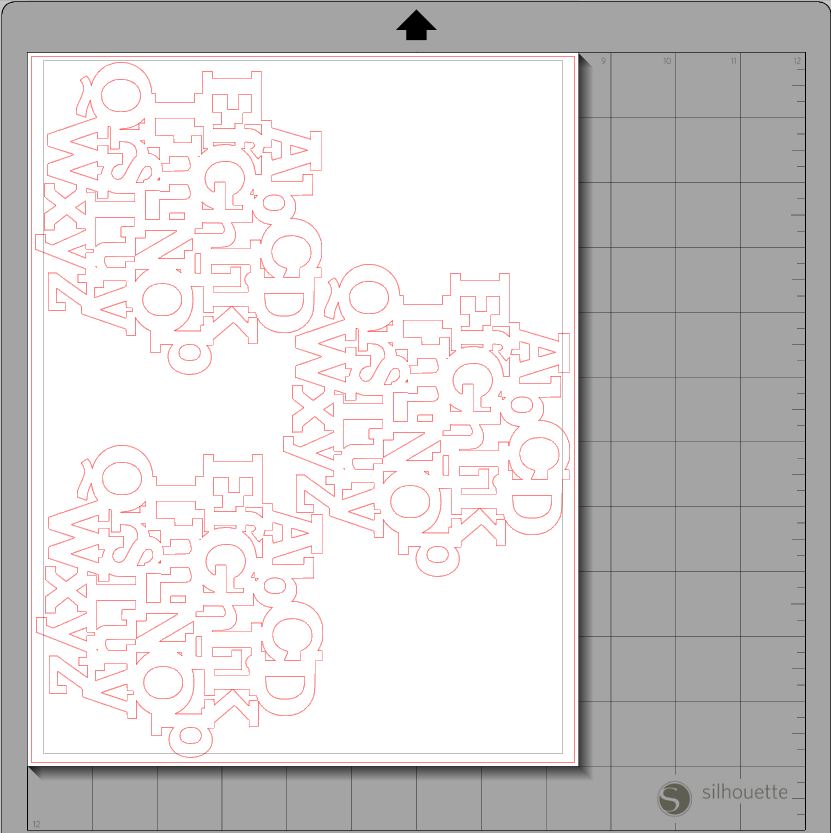
7. Using your cutting machine cut the letter overlay out.
8. Adhere each letter layer on top of each other. This will give you a nice thick letter overlay.
9. Assemble your card using your original document as a guide.
10. Add additional embellishments as needed. (ie glossy accents, mists, etc)
There you have it! A very simple way to add some great dimension to your card background. Just feeling the layers of texture on this card makes me smile! I’m sure my daughters teacher will love this homemade card and book.

I hope you’ve enjoyed this short tutorial! Stay tuned next month for another Create a Card Tutorial. Be sure and share any cards you make with us! We love to see your creations in TLP gallery!