Adventures in Hybrid & Cut-files
After being purely a digital scrapper for so long, I’ve forgotten the unique issues that hybrid and real life paper crafting can create. And because I’m a documenter of processes, and always trying to refine things and learn from them, I’m sharing some of my adventures here too. These are some of the practical issues I’ve run into and my trouble shooting in learning to use the Silhouette Cameo 4. Some of the ‘solutions’ may be obvious but to me they weren’t necessarily as some of this is quite new to me. And yes, this is set up like an interview but I talk to myself usually while crafting apparently so this is almost like a transcript of ‘calm and logical’ me giving advice to ‘mildy annoyed to frustrated and ready to give up’ me.
(Disclaimer: I am aware that giving yourself advice in an area you are new to can be a bit like the blind leading the blind so some of this calm and logical advice comes after considerable Googling. Many thanks to the collective Internet for it’s helpful (and not so helpful) advice that lead me to some of the shared conclusions).
- Q1: Uggh! Sometimes I feel like I need an extra pair of hands to actually make anything!
A1: Use some clips/pegs to hold things still or together, either while trying to align multiple pieces or while glue dries. (It’s not quite the ‘lock layers’ feature in Photoshop but as close as I can figure for the real world). 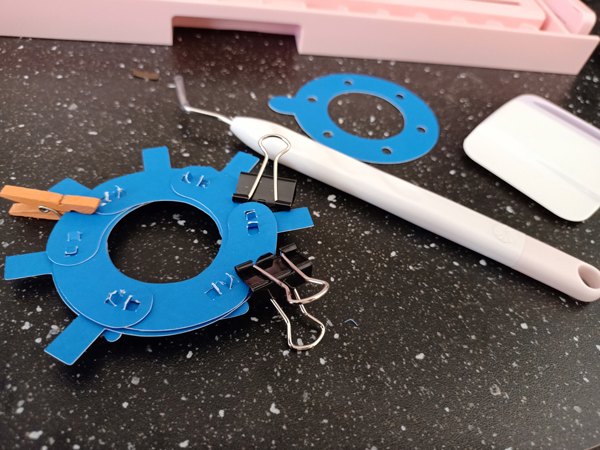 Q2: My hands feel too big/ too clumsy to handle detailed folds or manipulate fiddly small paper pieces
A2 : Use tweezers to pick up small pieces, or fine pointed tools like an embossing stylus, ‘weeding’ dentist’s pokey tool or an old pen to push through areas that need to be ‘popped out’ or add creases where needed. Use a ruler or bone folder and gridded mat, or the scoring tool on your paper trimmer that you bought forever ago for straight line folds.- Q3: Paper pieces stick ‘too well’ to the ‘low stick’ cutting mat or I can’t pick them up from the table
A3: Use a plastic or silicon scrapper, old blunt butter knife or painters style palette knife to lift the edges and enable peeling up easier without ruining the edges or the piece. Bending the mat can help but peel the negative pieces away (the parts you don’t need) first can help too. - Q4: The machine cut but the edges look ‘ragged’ or the cut-file wasn’t cut all the way through and so won’t ‘pop out’
A4: Pass it through the machine again or increase the depth the blade cuts in the software when trying again with the same paper. Using thicker paper/cardstock and the right settings and replacing the blade if it’s old might help next time. Write the settings you tried down and write the settings down that worked on a post-it or something and store it with that paper pad so you know for next time (even if you think you will remember, you won’t! I know you!) 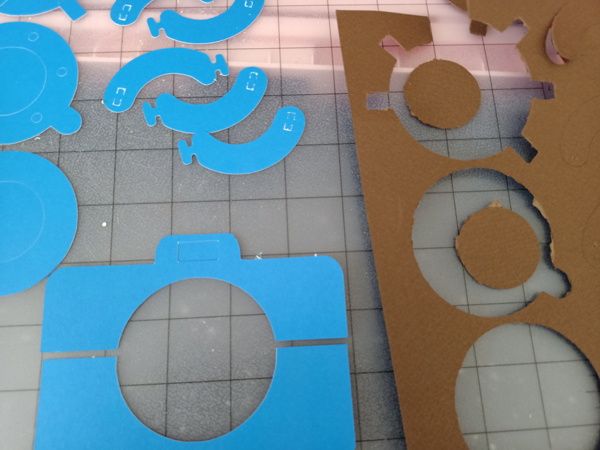 Q5: @#$%! Why is this not coming together like on the Youtube video?!?!
A5: You don’t know how many times the person on the video made that before they got it perfect & ‘video ready’. This is a new thing to me, it’s going to take time to make and maybe there is a different video or cutfile that will work better for me personally and give me the lightbulb moment that will make all the difference. Persevere, and try, try again. (And in this case the pokey little flaps that had to go through the small round holes to make the cardboard camera lens open and shut may have been too short and flimsy because thicker cardstock might have been more appropriate).- Q6: Feeling like my fingers are constantly sticky from glue or double sided tape when staples or a paper clip etc won’t suit the purpose or product.
Ideas: ??? Hmm… [chirpping crickets] That’s one of the reasons why we went digital in the first place. So yeah, good luck with that. (If anyone can help me out here, leave me a comment please!!!)
After several deep breaths and a few change of plans, here’s a finished mechanical camera iris card. The outline of the camera itself I adapted from Becca Bonneville‘s purple & grey camera in her old Collecting Memories mini kit after Windows searching my stash for ‘camera’ s after trying several SVG’s that the basic Silhouette software wouldn’t open and max’ing out how many conversions from SVG to PNG I could do online at conversion site, Zamzar. I tried various mechanical iris templates from around the internet, their PDF’s were really hit and miss so I did more adapting and went back to Photoshop to create my own version of templates a couple times, and watched several videos to make it work (hence Q5.). 
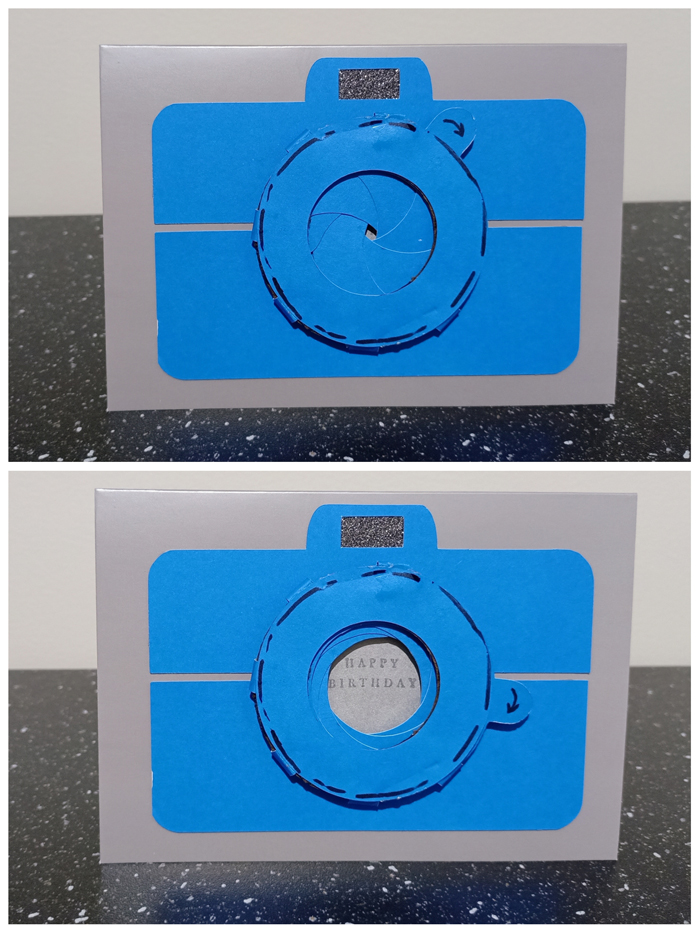
It’s comprised of a silver base card, a Kaisercraft Birthday Wishes Clear Stamps sentiment & permanent ink, held together with basic tape, double sided tape, Glossy Accents as glue, as well as some tiny foam tape squares attaching the lens itself to the card
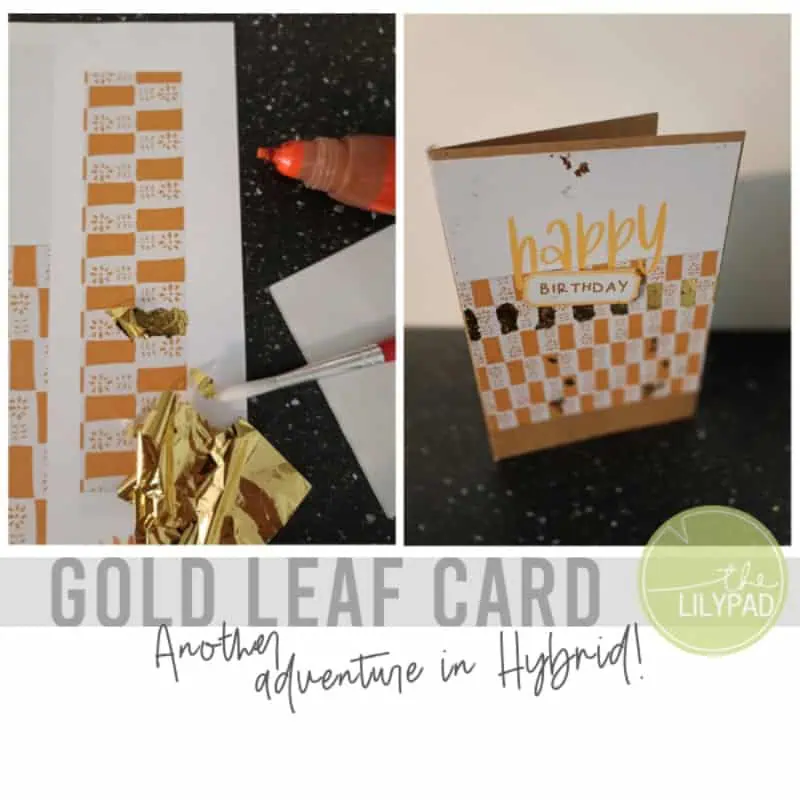
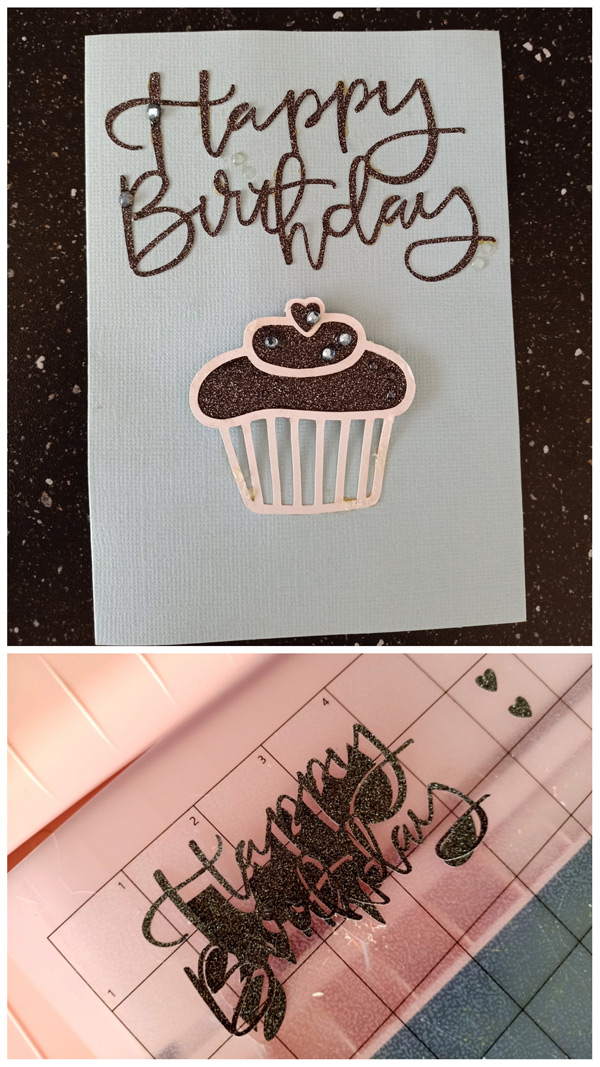
And another ‘no-moving parts’ glitter paper card using Paislee Press’s Happy Birthday cutfile . Super easy compared to the previous one. Drag the included PNG into the Silhouette Basic Edition program, resize as needed and hit send then brace for the noise of the ‘ratcheting’ blades (think old dot matrix printer on steroids). Lifting the wordart from the mat and attaching it to the card was definitely a Q2 situation and prompted the buying of the weeding pokey tool kit but I used an old pen at the time. The cupcake cutfile is from a Scrapbooks & Cards Today magazine download because i wanted something large-ish and not too detailed after the Q2 issue with the wordart, and apart from textured cardstock, glitter paper and (smudgy) Elmer’s glue, the card just has some Glossy Accents and gems added to it.

The first Silhouette attempt I scrapped about a few months back was not quite so smooth and updating the Silhouette software or firmware first thing, even when I’d just downloaded it the night before, was the main troubleshooting conclusion at that point but it took me a frustrating age to realise that. (Lots of ‘Why won’t this send?’) I also couldn’t set the depth or blade or anything in the software until my laptop was physically connected to the cutting machine with the cable but again I didn’t know that at the time and it was set-up in a different room because it won’t fit on my normal laptop desk so I wasn’t connected to it. Anyhow, chalking it all up to learning and adventure in hybrid & cut-files. Got any similar learning stories or advice for me? Let me know in the comments. Thanks & see you next time.