Hey all! Polly Jewelle back with another quick planner tip! Today I want to expound on how to simplify your planner decorations, specifically when syncing two planners. Today I have 3 tips for simplifying your decorations.

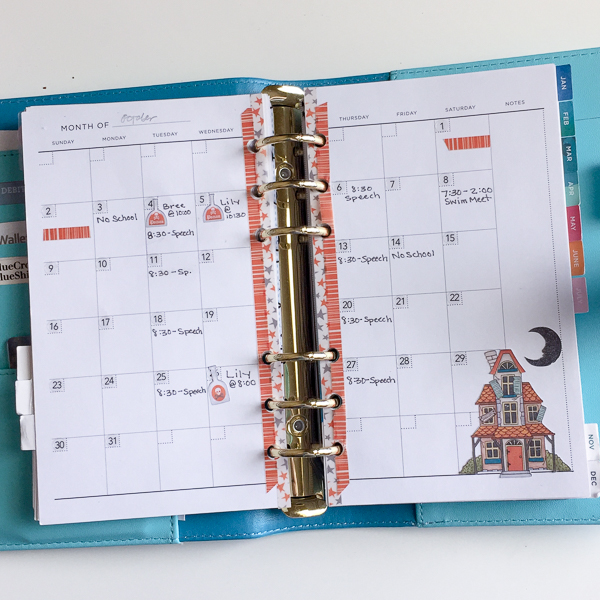
- Use one kit – Kit does not mean scrapbooking kit. I’m using the term kit to loosely mean one set of supplies. I create a mini planning kit for myself each month using kits from The LilyPad Designers. Within this kit I make sure I have elements that will fit in both my planners. A simple way of doing this is to simply resize what you have made for the larger planner. Now what ever you use in one planner matches in the other planner. They “go” together! This month I used Classic Boo 2 by Forever Joy Designs. I also used Spooky Street, Halloweenies 2, We Be Pirates, and Zombeenies by Kate Hadfield. Can you see my two different sizes of labels, ghosts, bats, etc?
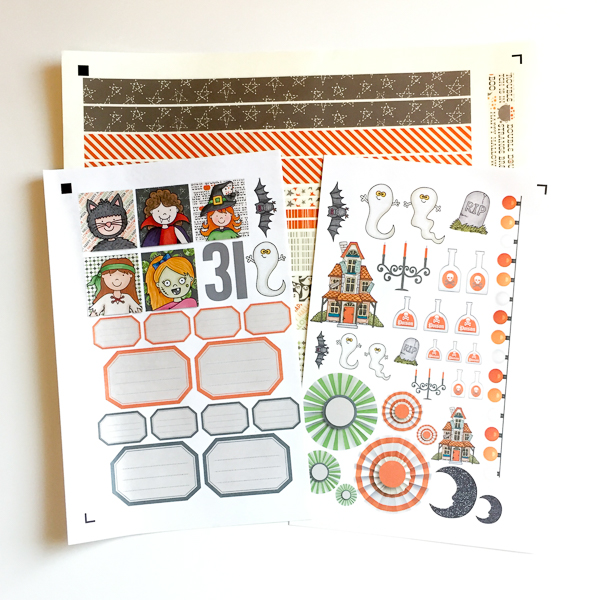
- Stick to what works – When decorating your planner you know what types of decorations work for you. It is easy to fall into the trap of “but it’s so cute!” If a kit has something that you inhibits your planning, don’t use it! I know that labels, washi and small decorations work for me, so my kits usually consist mostly of that! Find what works for you and stick to it.
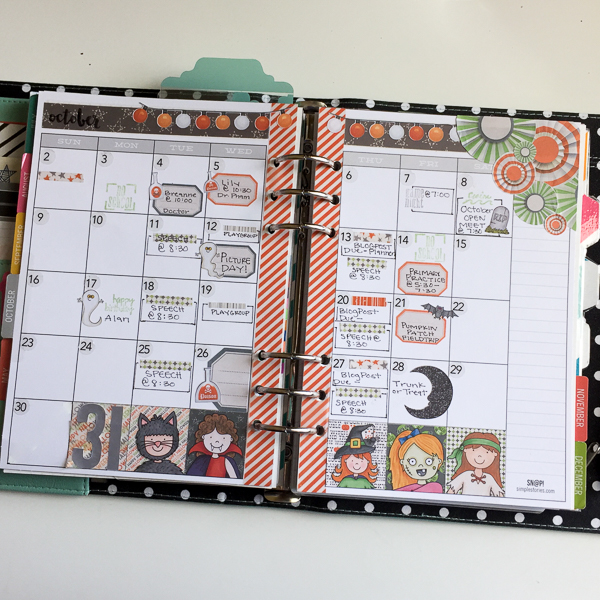
- Keep it simple – Choosing to keep one of your planners simple is by far the best tip I can give. I’m staring at my a5 all day long, so it is over the top creative. However, my personal planner that comes with me everywhere and keeps me from over scheduling myself only needs a little bit of pretty to keep me happy. A little washi and two stickers, and I’m done. Find which planner you can keep on the simple side and you will be surprised how much time you free up do work on other things.
I hope you found these tips useful and practical to help a two planner system work for you!

Leave a Reply