I really enjoy giving cards to family and friends. Cards are perfect way to send birthday wishes, celebrate a special event, or even to just say hello to someone. I always try to have a selection of homemade cards on hand to give out for any of these occasions. I’ve noticed my supply of cards has been getting a bit low and committed myself to making a few cards to bolster it up. Birthday invitations is the type of card I’m sharing today. I am also sharing a tip on how to create your own custom background.

Birthday invitations has been on my mind lately. I have three birthday parties to plan all within the next month. Instead of buying cards at the store, I decided to make my own design. I kept the invitation simple, but customized the background to represent the theme of my daughters birthday party. It will also be easy to take my design and change out the colors to work for my other kids birthdays.
To make this card I used the following supplies:
- Stringbats 8 – Birthday by Kim Jensen
- For the Love of 2016: Bundle 2 by Allison Pennington
- Presentation Paper
- Paper trimmer
- Glue or tape runner
- Vellum
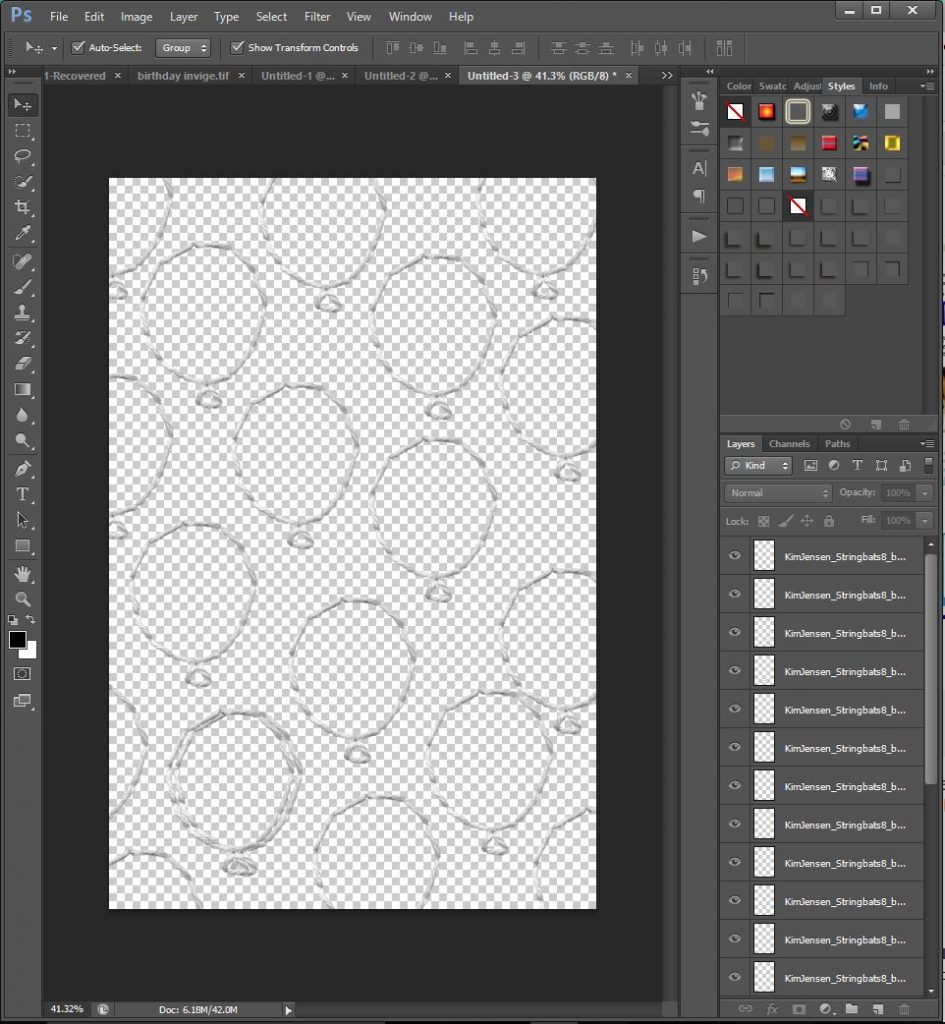
- Create a 4 x 6 document in Photoshop. Using the balloon Stringbat, create a pattern on your document.
- Add a background paper.

- Select a balloon layer. Using the wand tool select the inside pieces of the same balloon. You will have marching ants inside the balloon.

- Select the inverse of the balloon (Shift + CTRL + I). You will have marching ants inside the balloon and around the edge of your document
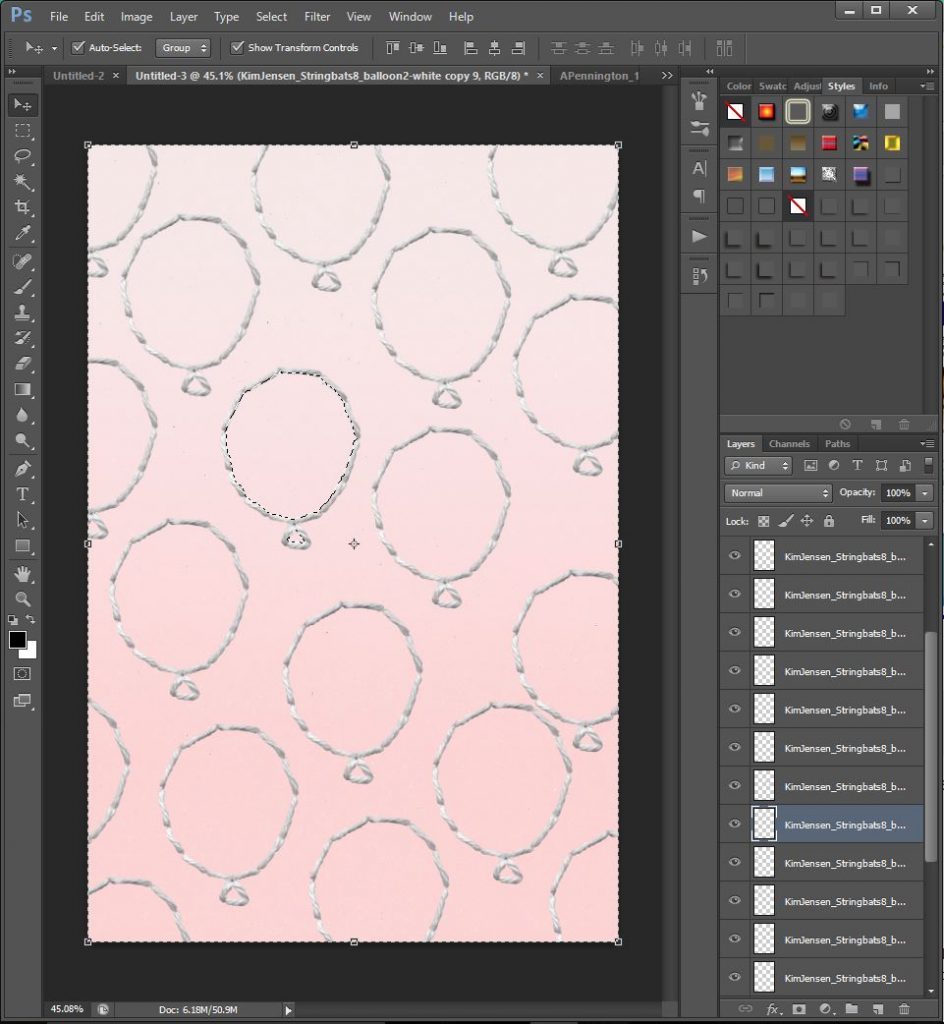
- Bring in the patterned paper you desire to use for your balloon. Be sure your patterned paper is UNDER the balloon layer you have selected. Select your patterned paper layer and press DELETE. Your now have a patterned balloon!

- Repeat steps 3 – 5 to fill the rest of the balloons.
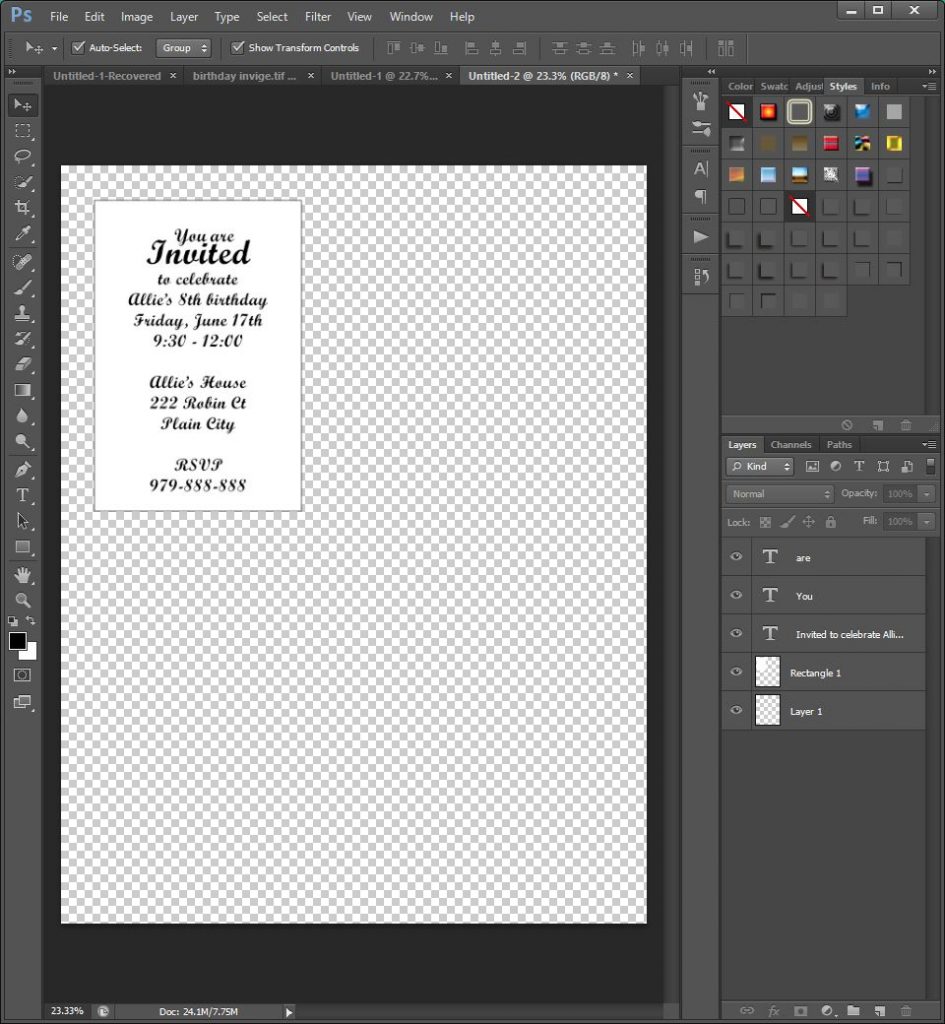
- Design the rest of your birthday invitation.

- At this point you could print your invitation on 4 x 6 photo paper. If you want to take the invitation a step further place the three “layers” of your invitation on separate 8.5 x 11 documents. Print on presentation paper and vellum.

- Cut the layers and assemble using adhesive.

That’s it! a quick and easy way to make your birthday invitation a little bit unique. I hope you’ve enjoyed this short tutorial! Stay tuned next month for another Create a Card Tutorial. Be sure and share any cards you make with us! We love to see your creations in TLP gallery!
Leave a Reply