From Trash to Treasure — Hybrid Inspiration Project
Hey all, Polly Jewelle here! As a hybrid scrapper I find myself collecting things while thinking in my mind, “Hey, I could use that for a project!” Today I’m going to give you a very quick walk through of how you can take something other people would see as trash and turn it into a wonderful treasure. This trash to treasure story starts with my little five year old who went into the dentist the other day and she came out telling me that she had several loose teeth. She instantly demanded that she needed a tooth box. In our family when a loose tooth falls out we put it in our tooth box and put it next to the bed. That way the tooth fairy has easy access to it and doesn’t have to wake us when lifting the lid open to leave our surprise. With my daughters declaration of needing a tooth box, I set to work.
1. Take an Altoids tin and spray paint it. I chose white because that would match the kit I was using.

2. Create the front cover and inside insert for your Altoids tin. A small hint on this step. It is extremely difficult to get the exact measurements for the tin. I always have my bottom layer of paper as a border and I make the border larger than the measurements I have taken. This way if I need to trim a little off I can. It is always easier to trim a little off, then add a little bit back on! This is what mine looked like in Photoshop before printing. I used Tooth Fairy by Jacque Larsen, Summer Lights by Amy Martin, and My Story and Peek A Boo Alpha by Laurie Ann.

3. Print and cut out your front cover and insert. Turn your tin over so that the top is facing down. Place your front cover underneath and carefully trace your tin onto the cover.

4. Cut out the cover. Using this as a template, trace the shape onto your insert. Cut out your insert. Your cover should fit perfectly onto your tin now. The insert may still need to be trimmed down a little. Adhere both the front cover and the insert to the tin.
5. Embellish your tin. I went super simple on mine and only added some washi tape around the bottom half of the tin, and then added some Stickles to make it sparkly. You have to have sparkles with a tooth fairy box right?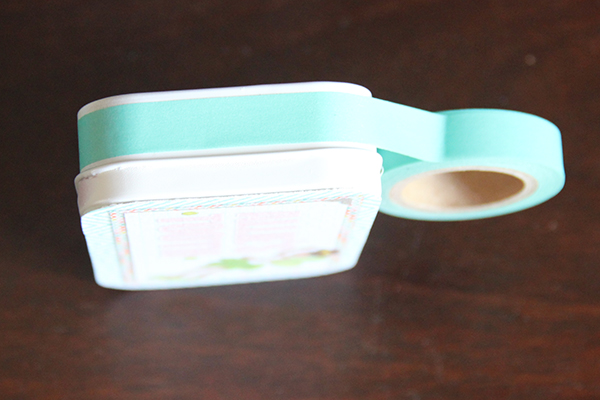
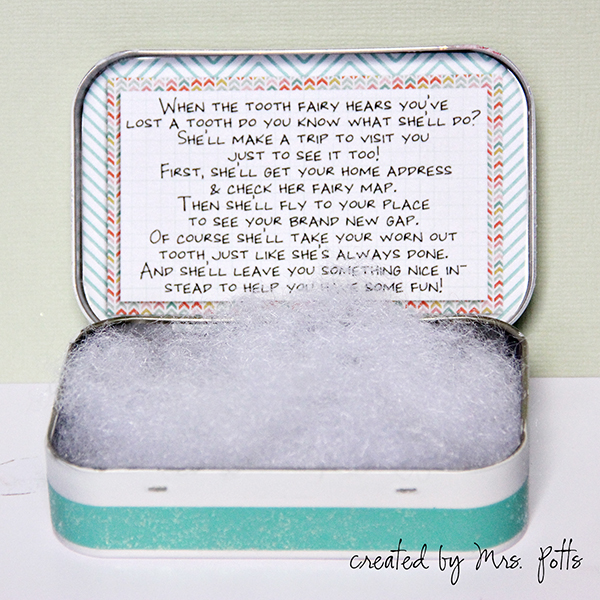
6. Be sure and add a little bit of cotton fluff inside of your tin for the teeth to rest on. You are finished! Here is what my daughters tooth fairy tin looks like.
 I really enjoy hybrid projects just for the fact that I can turn something as ordinary as a piece of trash into something my daughter will always treasure. I few other “trash” items I keep for my projects include cereal boxes, clear plastic boxes, and Sonic drink holders. What kind of things could you use to make a hybrid project? Leave a comment and let me know what you use!


