
Beautiful dividers are a must have in your planner these days. I prefer to make my own so I can customize them to match my planner. Today I have a tutorial explaining how easy this can be! This tutorial will address how to create these dividers using either a cutting machine or scissors.
Supplies Needed:
- Storyteller 2016 :: Story Planner System A5 Calendar / Vertical / Inserts or Storyteller 2016 :: Story Planner System PERSONAL Calendar / Vertical / Inserts by Just Jaimee
- Dreamer Paper Pack by Just Jaimee
- Presentation Paper
- Cutting machine or scissors
- Adhesive
- Hole punch
- Laminator (optional)
A quick note…in the exmaples I am using the a5 size. Only one divider will fit on a page for that side. If doing the Personal size you can fit two dividers on each page. Now let’s get the crafting party started!
- Open Jaimee’s divider templates in Silhouette Studio or Photoshop.
- Silhouette Studio: Use the trace tool to trace around the divider. Delete the divider template leaving just the cut line.
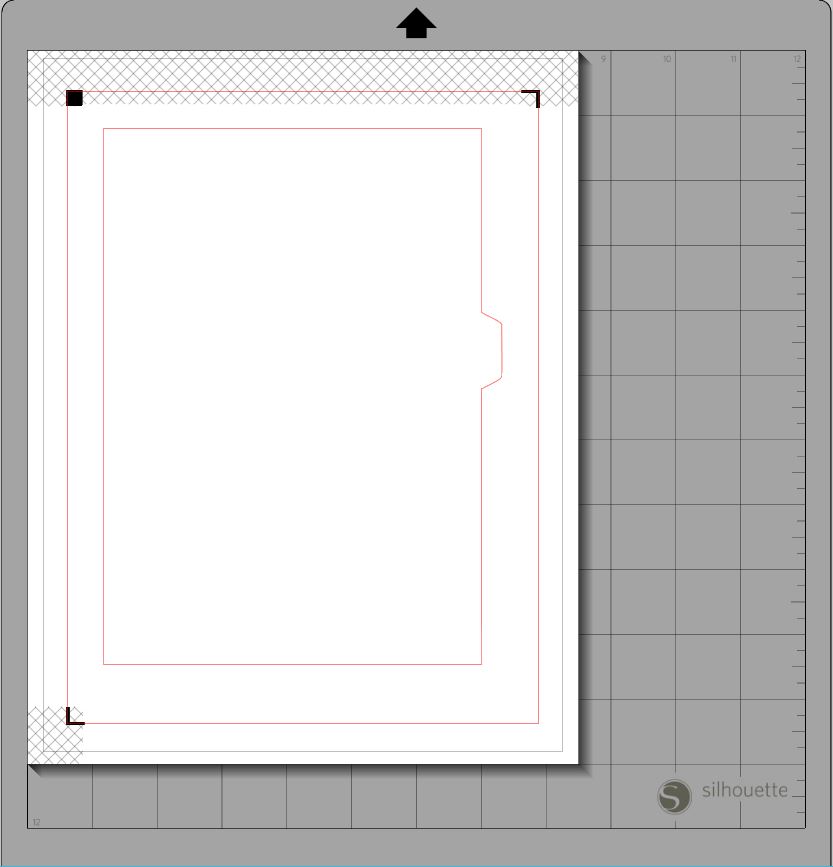
Photoshop: skip to step 3
- Silhouette Studio: Use the fill pattern tool and fill in the cut area with patterned paper from Jaimee’s Dreamer Paper Pack.
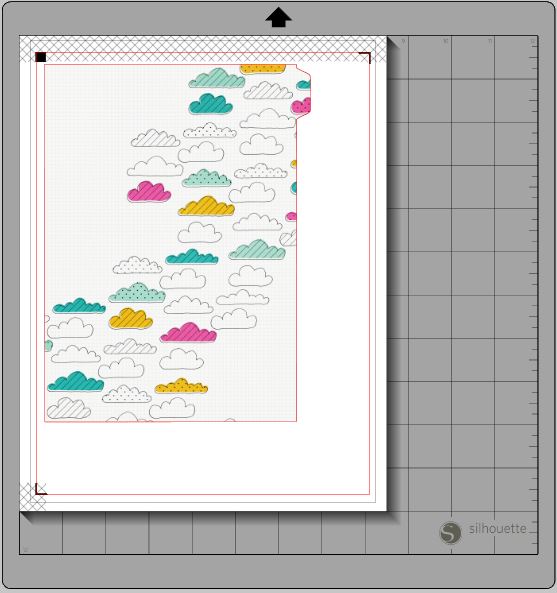
Photoshop: Using a clipping mask, clip a patterned paper from Jaimee’s Dreamer Paper Pack to the divider.
- This step is optional. If you would like double sided dividers continue with this step. For single sided dividers skip to step 5.
Silhouette Studio: Select the layers of your divider. Using the replicate tool, create a duplicate of the divider by clicking on mirror right. Select the mirrored divider and copy it to a new document. Delete the mirrored copy from the first document. If you would like to change the pattern for the back of the divider go back to the fill pattern tool and select a different paper.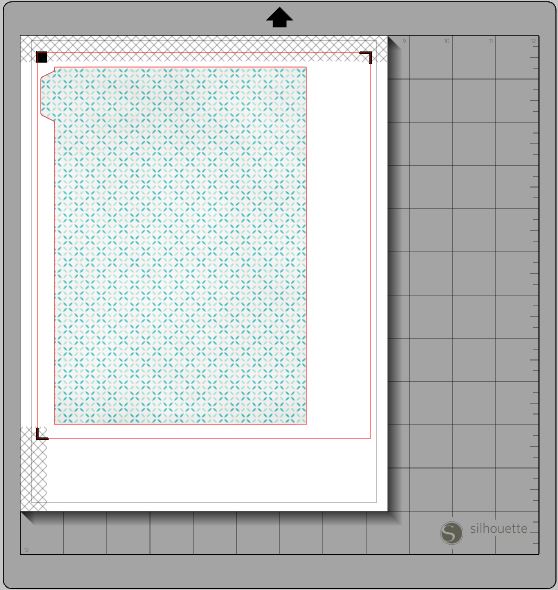
Photoshop: Duplicate your divider layers to a new document. Merge all layers of the image. Mirror the image by going to Edit->Transform->Flip horizontal.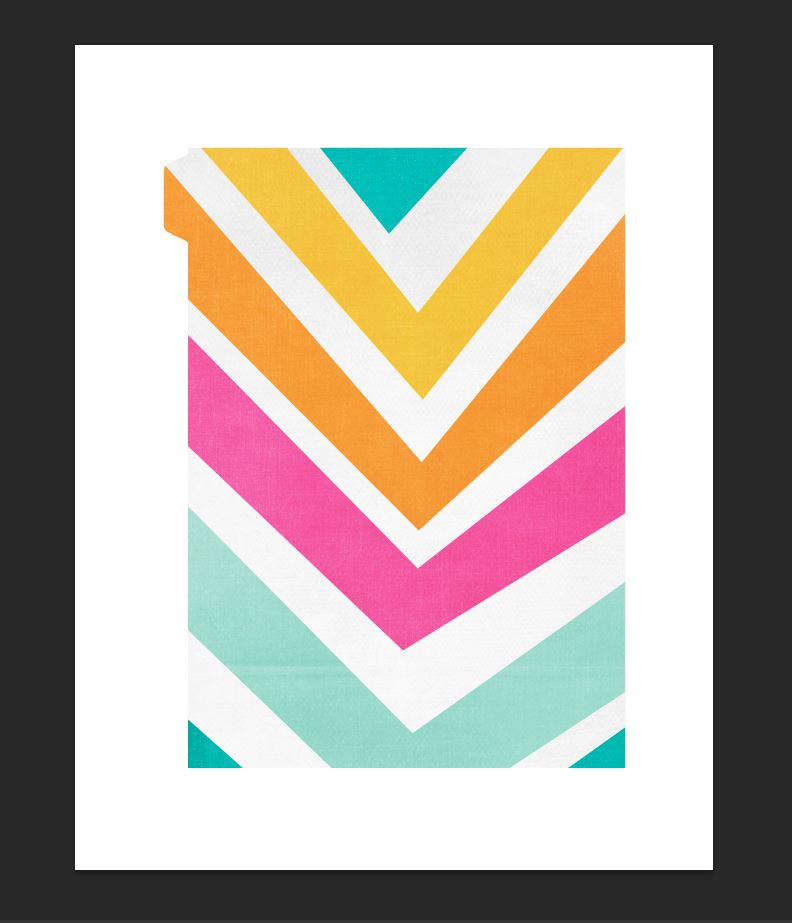
- Silhouette Studio: Print and cut your dividers.
Photoshop: Print your dividers. Then using scissors cut around the divider. - Glue your dividers back to back. (If doing double sided dividers.)
- Laminate dividers.
- Punch holes in dividers.

- Enjoy your dividers in your planner!
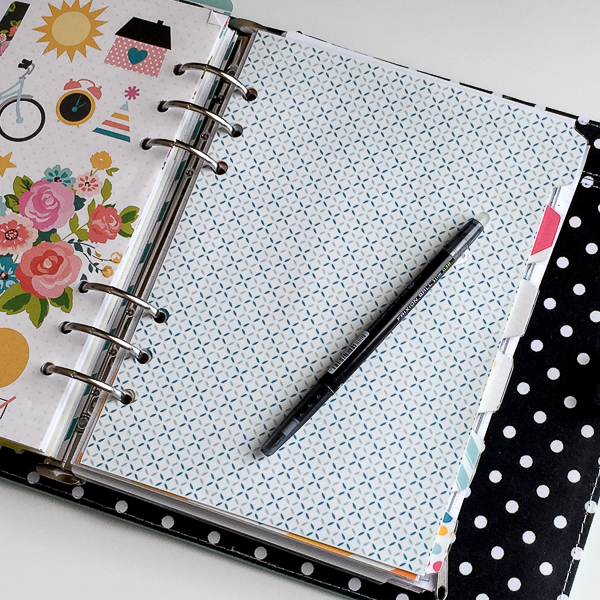
Super easy right?! I hope this has encouraged you to get out there and make your own dividers using your digi stash. Be sure and share any dividers you create in TLP gallery!

Where can I find the divider templates? I didn’t see a link or file.
Deidre, The dividers are linked in the “Supplies Needed” list. They are from Just Jaimee. Here is a link. https://the-lilypad.com/store/Storyteller-2016-Story-Planner-System-A5-Calendar-Vertical-Inserts.html You will see the divider templates in the detailed images below the main product image.