When I started pocket scrapping, I thought I would love using only 3×4 or 4×6 photos. It was so easy! Over time, however, I found that I was losing out on some pictures that needed to be shown in a larger space. I wanted to find a way to showcase them in my pocket pages. I knew that traditional pocket scrappers could cut the larger photo apart and put it in the pockets, so I set out to figure out how to do this on a digital template. This is, step by step, how I go about it.
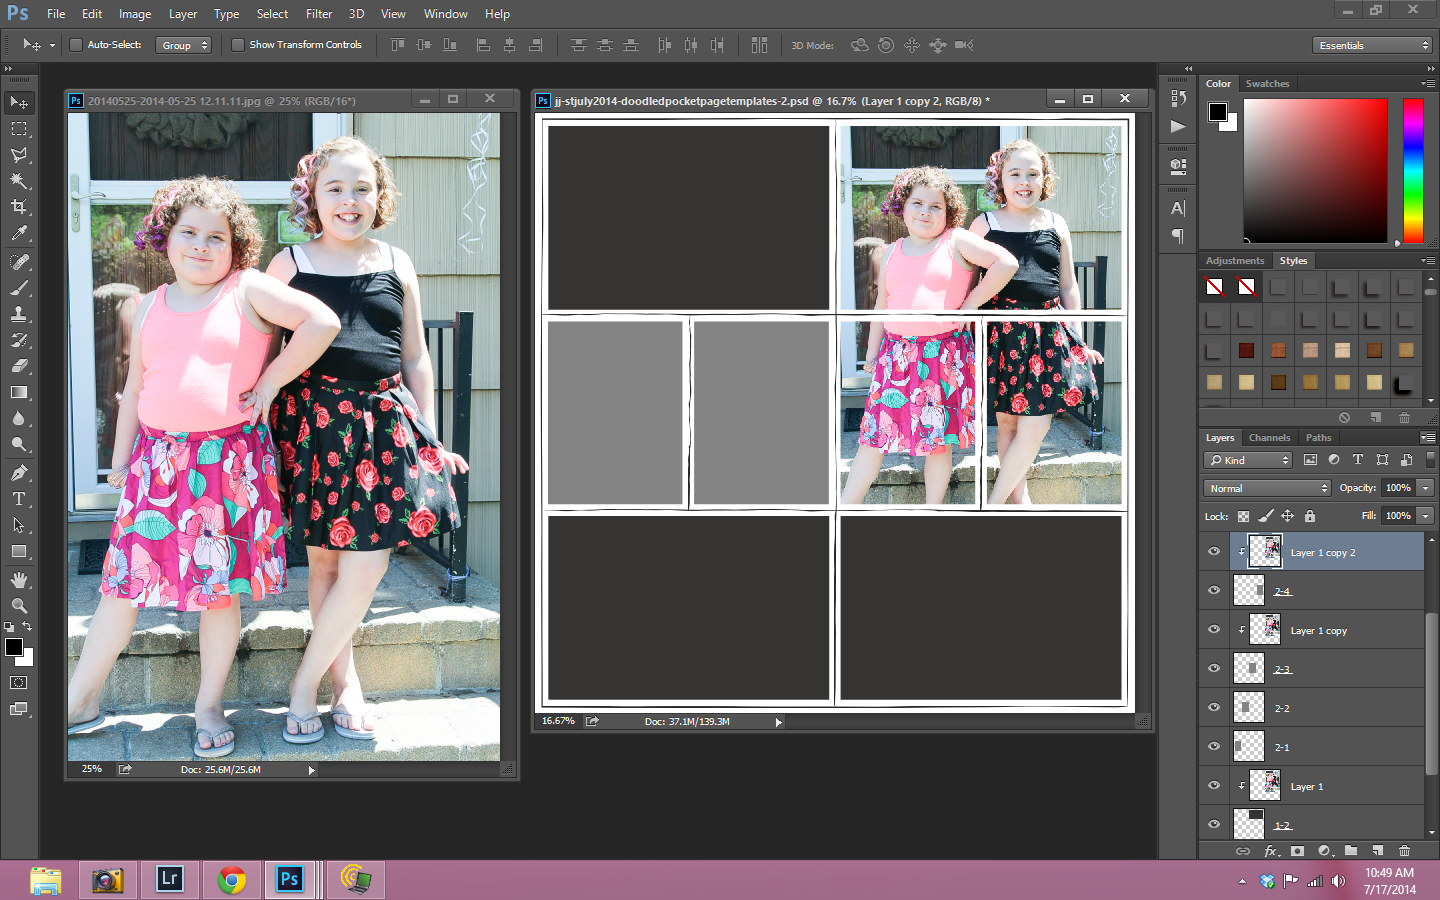
First, I open the template and the photo I want to use.
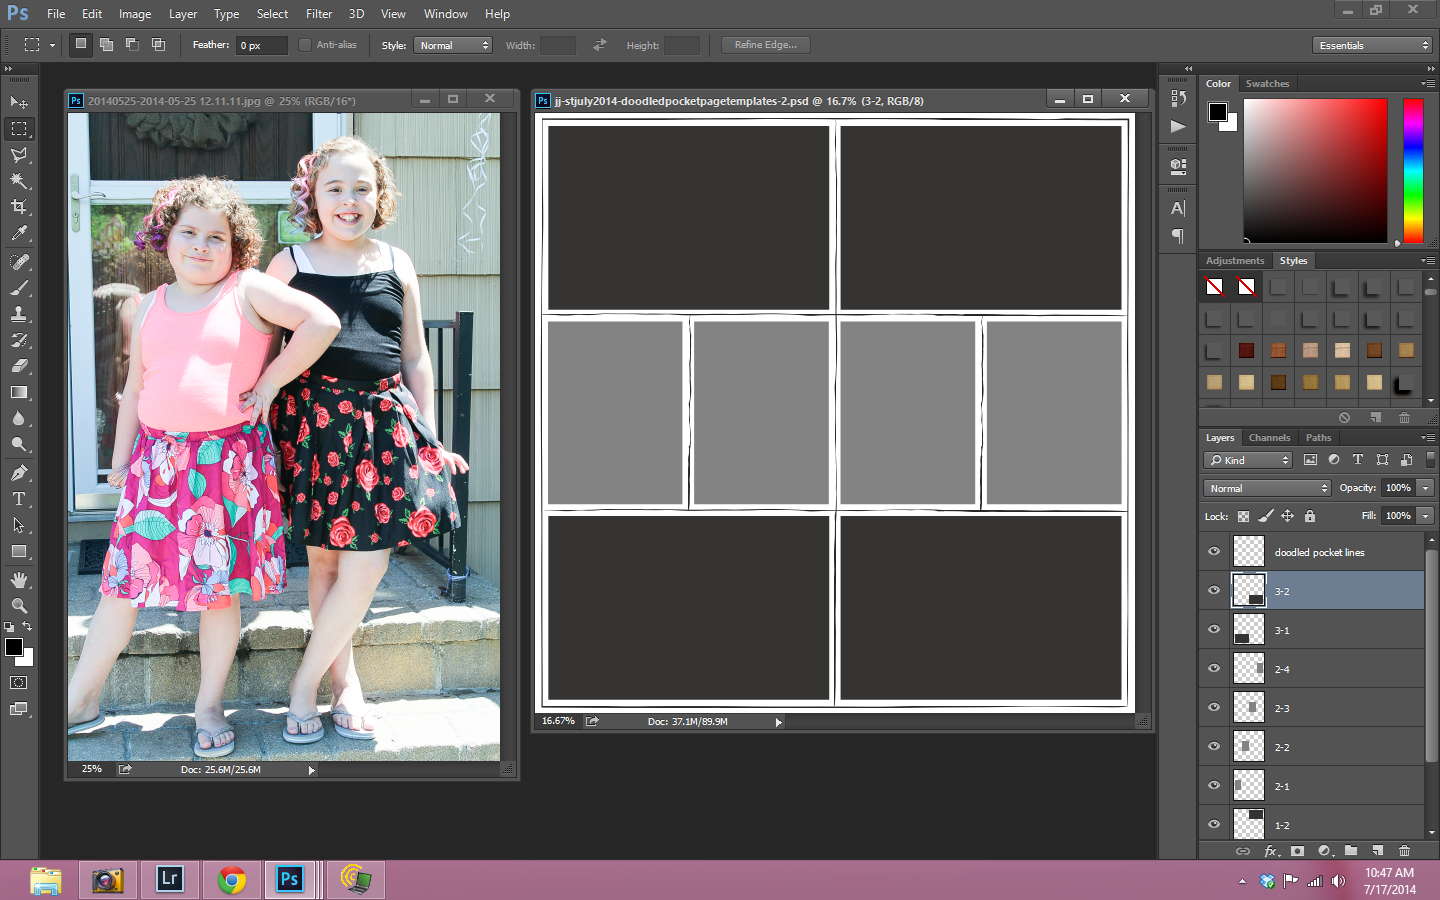
Next, I am going to clip the photo to spaces where I want it. I start by selecting one of the layers, and drag my photo on top of that layer. I re-size the photo as necessary.
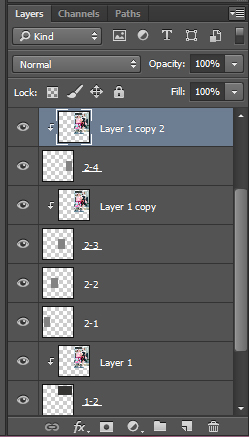
Now, I am going to duplicate the photo so that I can clip it to each of the layers I want it to occupy. For this layout, I want the photo in the top right spot, and the two middle spots on the right hand side. I copy the photo layer three times and position the photo layers above the layers of the spaces I want to use. You can see them in my layers palette below.
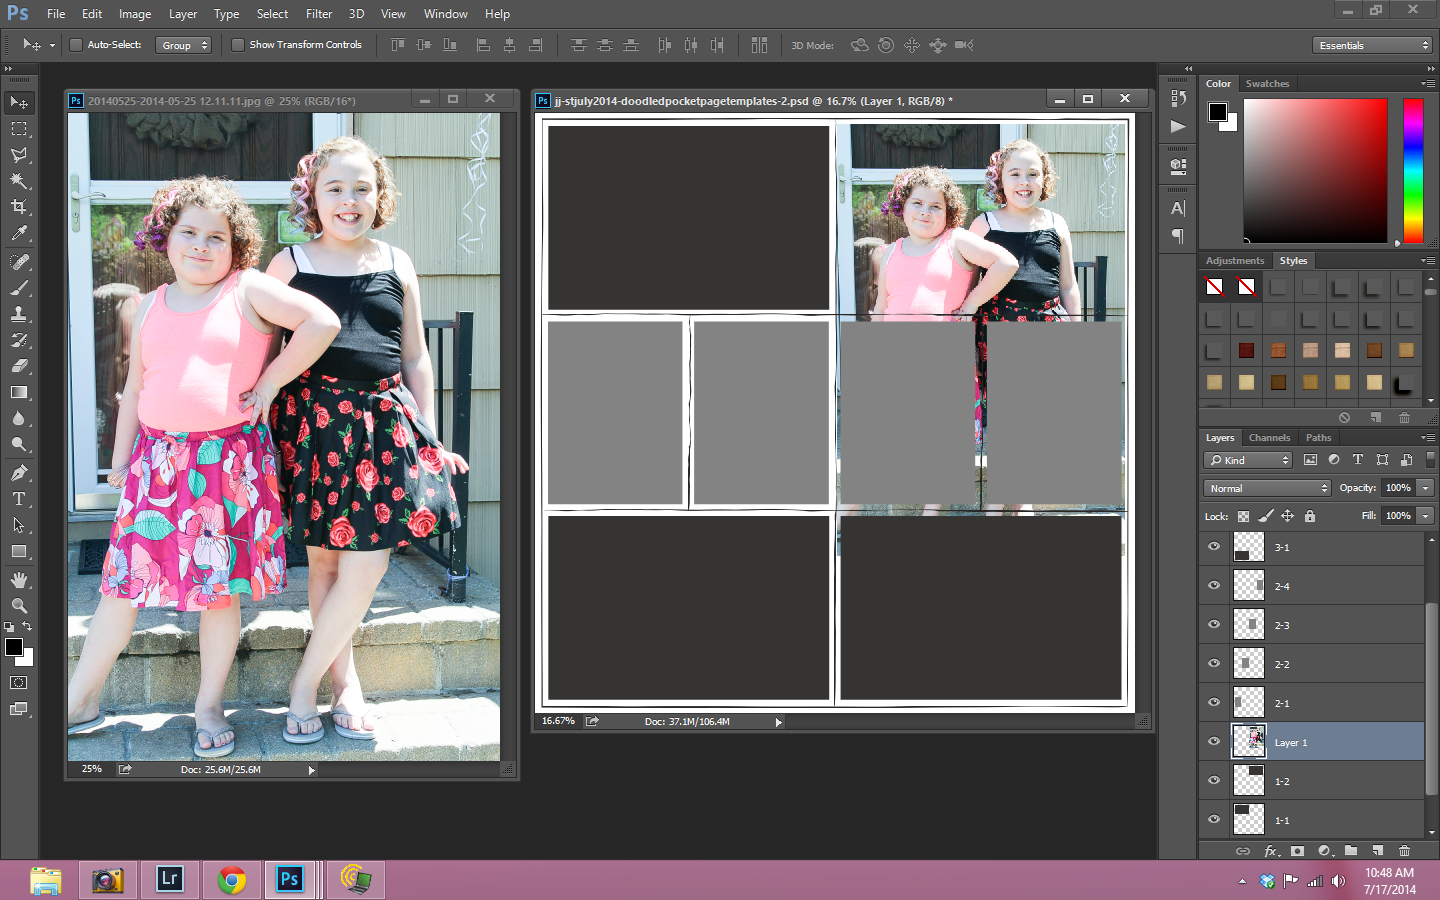
Once the photos are all positioned, I use ALT+Click between the photo layer and the template layer to clip the photos to the template. Now it looks like the photo is split between those three spaces on the template.
Finally, I add the other pictures I want to use and put a white stroke around each individual picture layer. I like how this looks, and how it makes it look like the big photo was printed as three smaller ones. I add my shadows, and I am happy with how the over sized photo looks on the page.
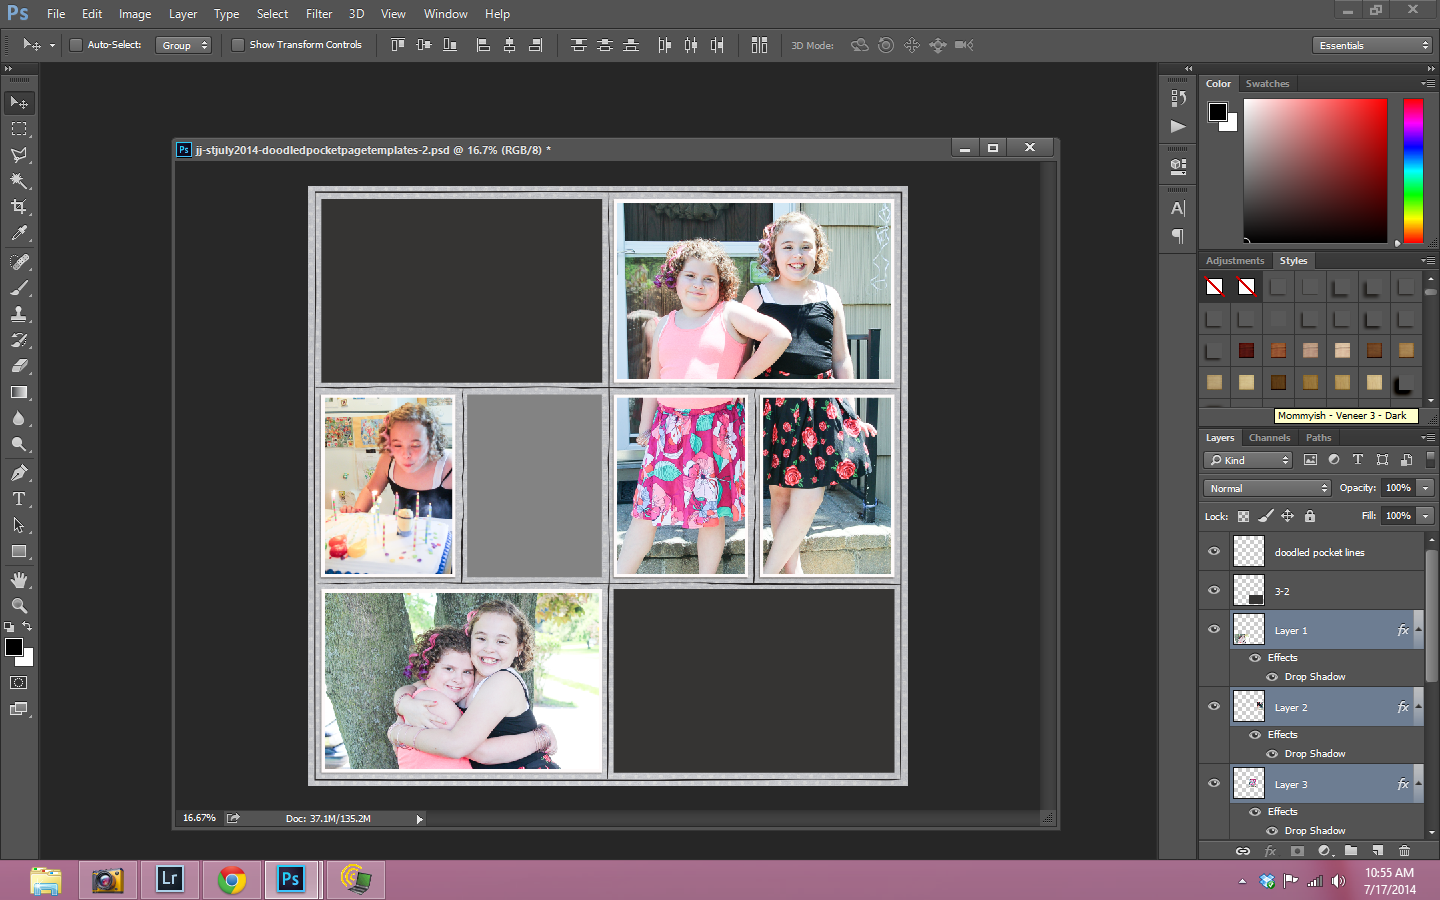
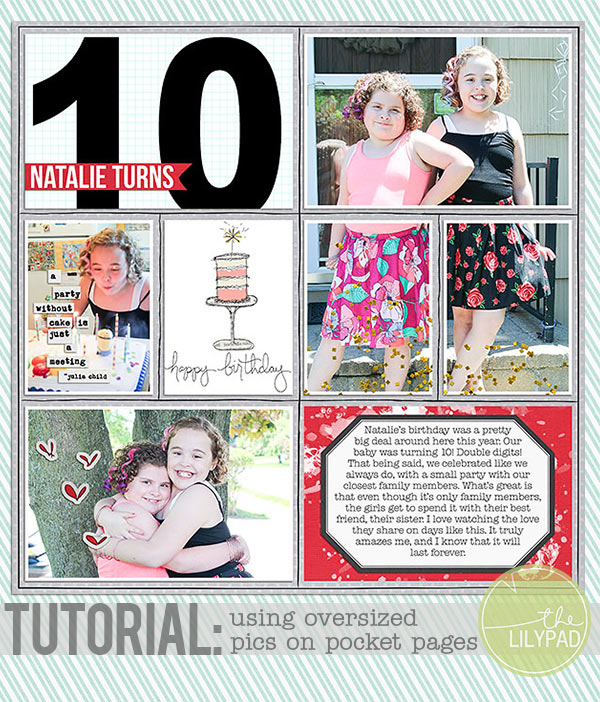
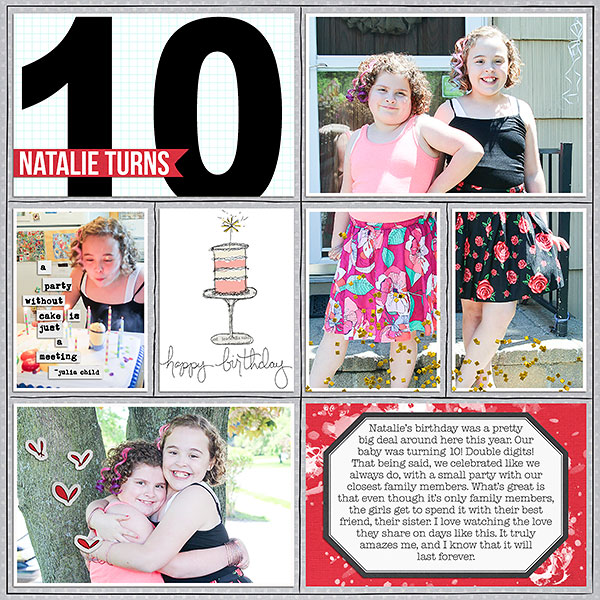
Here’s my completed layout.
Have you ever tried using an over sized photo on a digital pocket page?
Thanks for a very interesting tutorial.
What program are you using for this?
The program used in this tutorial is Photoshop.
Thank you!