Transparencies: A Tutorial and a Challenge
Last weeks challenge winner is this fantastic layout from SteinyGirl

Please contact [email protected] to claim your gift certificate.
Today we have a tutorial for you on printing your own transparencies and a challenge for you to create a hybrid project using your newly acquired skills, be that in the form of a card, a layout overlay, a journal overlay or something wonderful of your own creation. There are no limits except your imagination.
You can use anything from the Lilypad store to create you project so there is a lot to choose from for this weeks challenge.
First the tutorial from Heather (cutnpaste)
Printing Transparencies
Printing transparencies is as easy as printing on paper. The only difference is medium you use and the output settings of your printer. Most modern inkjet printers have the transparency settings within the menu.
Using transparencies in Scrapbooking has become a popular trend in recent times. Many manufacturers have produced their own ranges of transparencies, which have been snapped up by traditional paper scrappers.
The beauty of the digital hybrid age is being able to design your own transparencies from your favourite elements found in any of the Lilypad kits and collections.
Use your favourite software to create your design be that Photoshop, Elements, or just a word document would do for a single layer of printing.
If working on a layout or journal cover design as in the following examples, bare in mind as you create your page which items you would like to be printed onto your cardstock and which are for your transparency. Keep your transparency layers above the ‘paper’ layers.
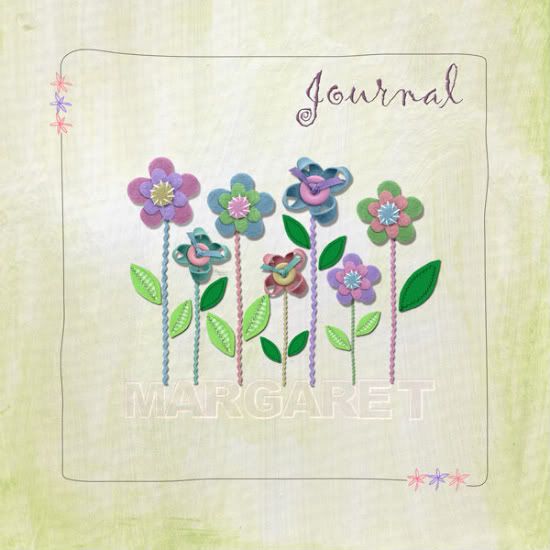
This is how my journal cover looked in Photoshop after the design stage.
This tutorial is based on the settings and options available to Photoshop users.
When you are ready to print ‘switch off’ (click the eye symbol in the layers palette) the layers you want only on the transparency layer.
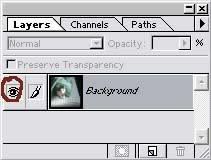
You are left with a canvas like this.
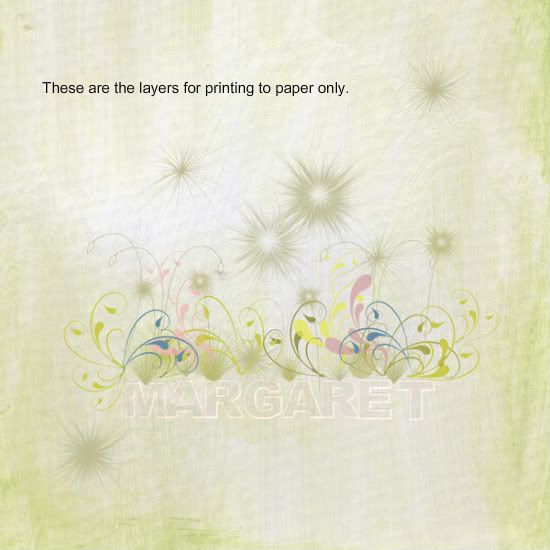
These layers are then printed and set aside for now.
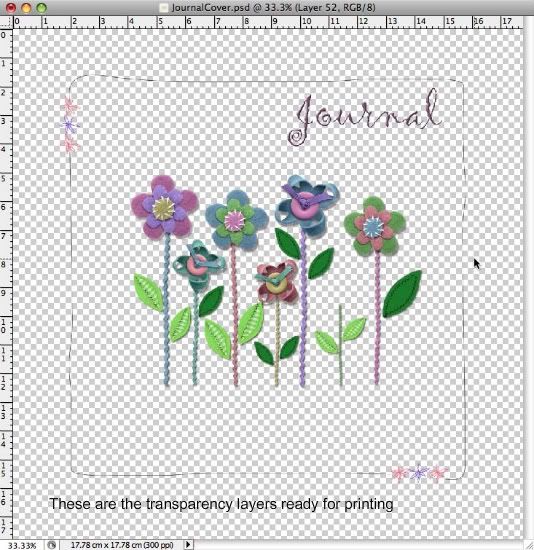
Now switch back on the layers for the transparency and switch off the paper layers and was left with something like this..
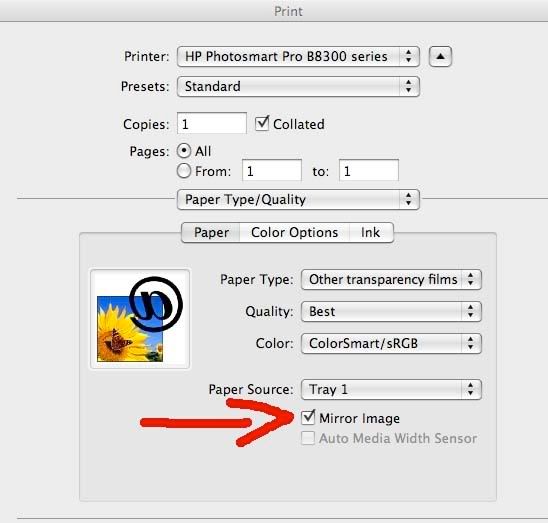
Use office transparencies specifically designed for inkjet printers. These are smooth on one side and rough on the reverse. You print on the rough side of the film for the best results. The ink will normally dry faster and will not smudge. Many are completely dry in minutes.
Top Tip – When using this type of film, use the mirror image settings in your printers software to ensure you can print your project on the rough side of the film but maintain the correct visual look that you designed on the smooth side of the film. Also use the best quality possible for printing on transparencies.
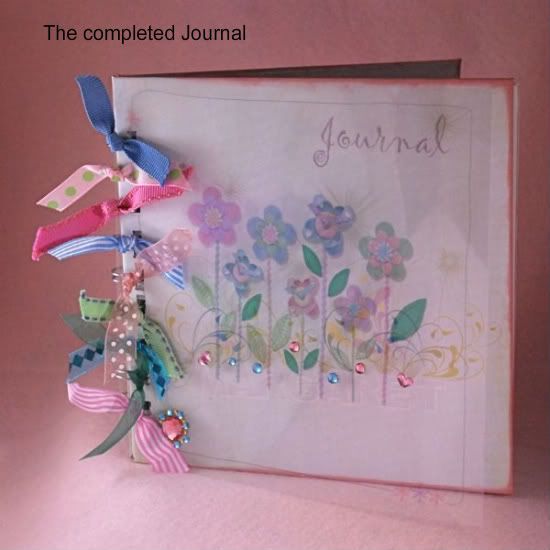
Once your overlay is printed and completely dry you can put both your paper and transparency together and add any other embellishments that suit. Used here were a few crystals, ribbon and the journal and pages were edged in chalk ink.
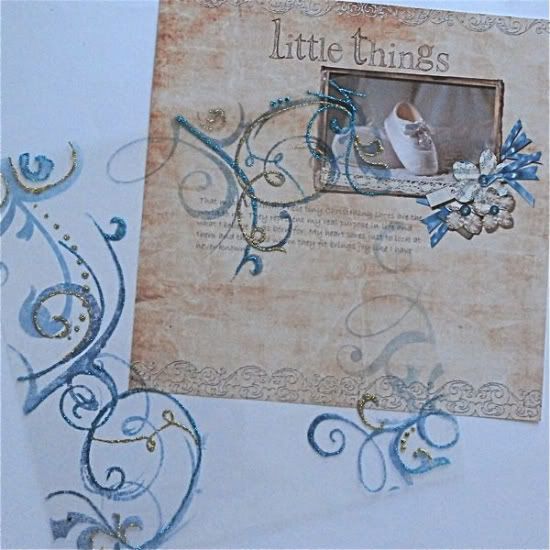
A layout in design.
Transparency layers.

The transparency once printed gets some glitter treatment using ‘Stickles’. These are very good for decorating projects like this. They dry without a trace of glue residue.
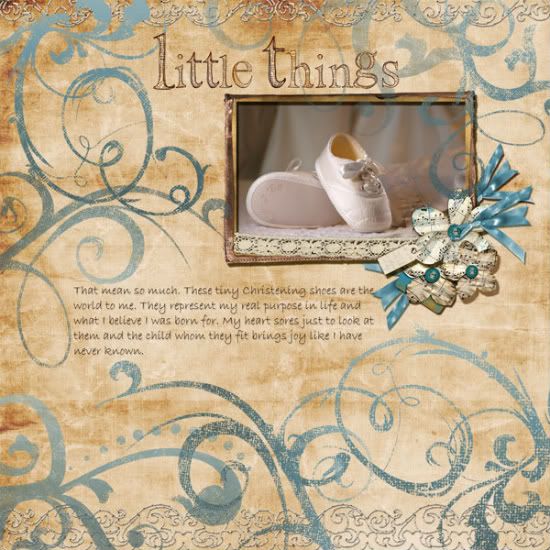
The finished page, embellished with the Stickles glitter, a lace edge and brads.
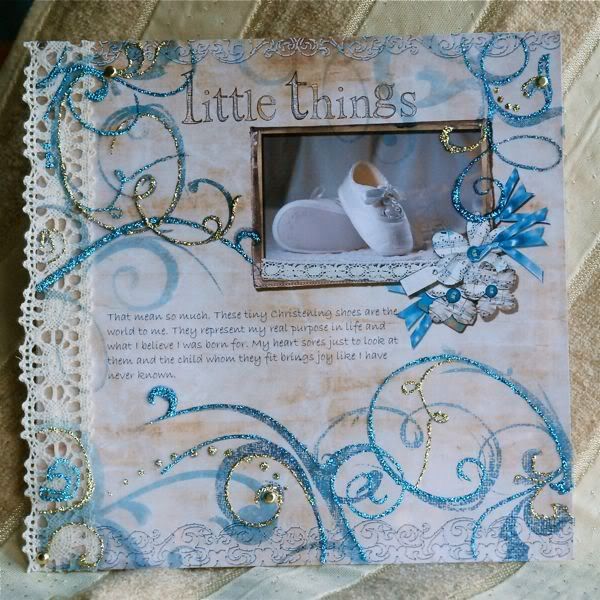
The overlay can be attached to your layout using small sticky dots or studio tac and/or bards. I used a mixture of brads and studio tac here.
Some more lovely examples of what can be achieved using transparencies.
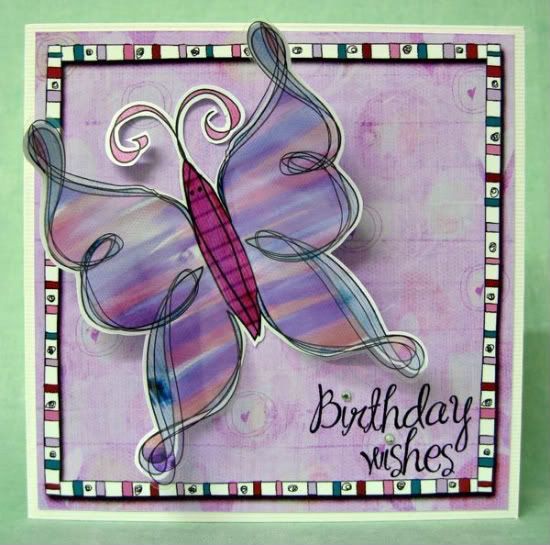
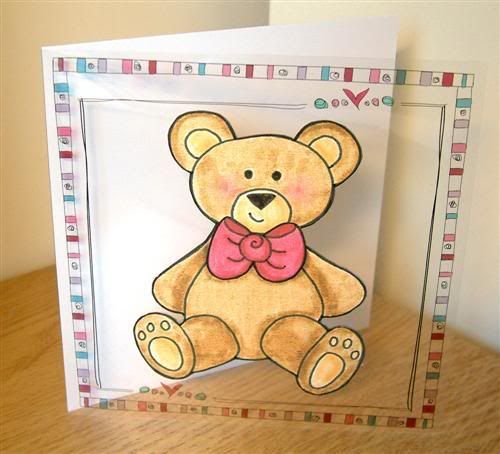
A card from Andrea
Transparencies are also brilliant for creating embellishments to add to paper projects. For this card I designed the card ‘base’ in photoshop, consisting of background paper, frame and greeting and then printed it out. I printed two copies of the same butterfly – one on an inkjet transparency (remembering to use the mirror function) and one on smooth white 190 gsm inkjet paper. I joined the butterflies with glue down the body and ‘tweaked’ the wings so they fluttered and then glued it all onto the printed card base.
The gift bag was made using a thicker transparency, the type found in an office supplies shop for using on the front of bound presentation documents. It was cut using the Cricut personal cutting machine and then the butterflies were added using the same technique as the card. Remember to choose an adhesive that dries clear as there is nowhere to hide the glue on a transparent project!
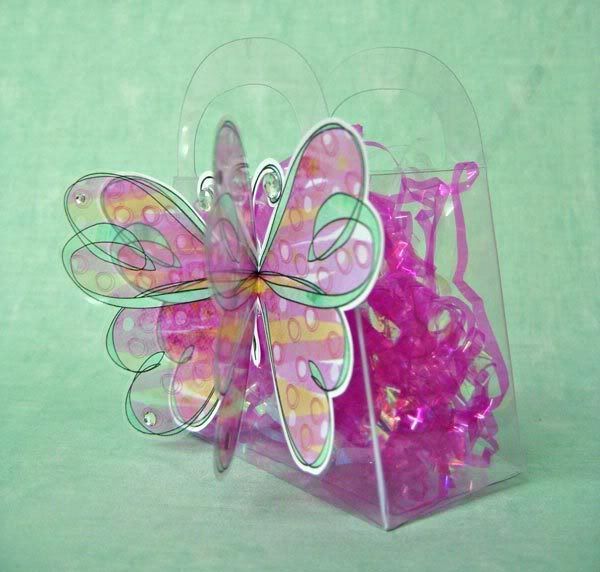
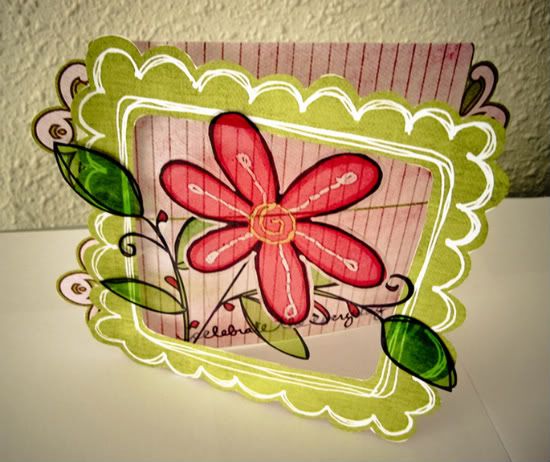
Gift box from Rez

Card from Rez
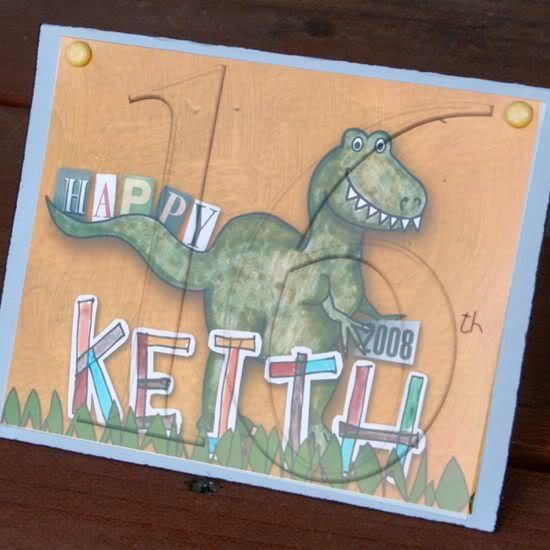
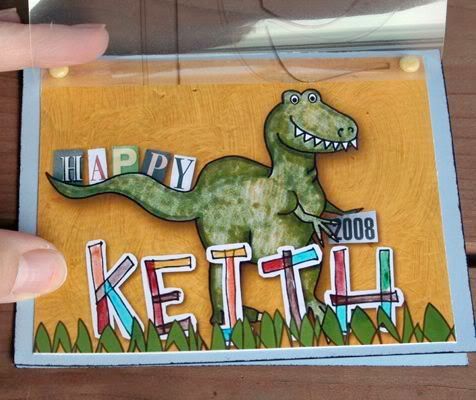
A card from Anso
Card from Mabel
Now your have the ‘How to’ and lots of great inspiration from the team its time to accept the challenge and go create something hybrid with a printed transparency. Have fun!
Remember: To be eligible for the gift certificate for this week’s challenge, you can use anything from the Lilypad store but your project must be hybrid and include a printed transparency. Post your layouts to the Lilypad Challenge Gallery and then post your gallery link in the comments section of the blog. Any layout that doesn’t conform to the rules of the challenge will be removed from the gallery. Direct links to any non-TLP product are not allowed.”