Hybrid Origami Box Tutorial
The holidays are just around the corner. If you are anything like me you have a pile of Christmas presents hiding under a blanket needing to be wrapped. I’ve begun to whittle that pile down during nap time, but I came across a problem. Some presents are too small to be wrapped, so I had to think of solution for that. The easy solution for that problem would be origami boxes. Now don’t be alarmed by the word origami. These boxes are very easy to fold and are quite beautiful when done. Let’s get started!
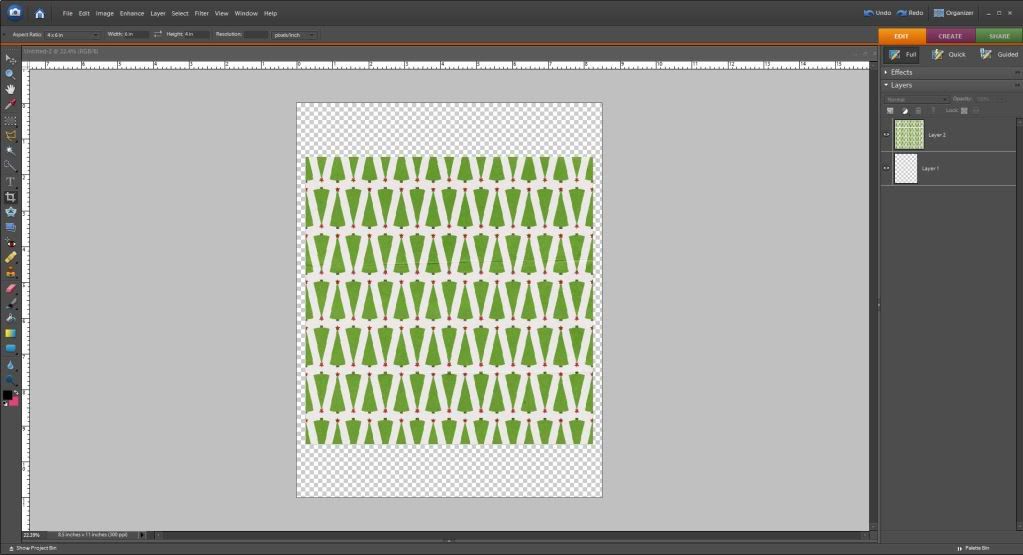
1. Open an 8.5 x 11 file in Photoshop. Create an 8 x 8 shape and fill it with a digital patterned paper. I used Gina Miller’s Very Merry Paper Pack. Print your paper. Cut it out.
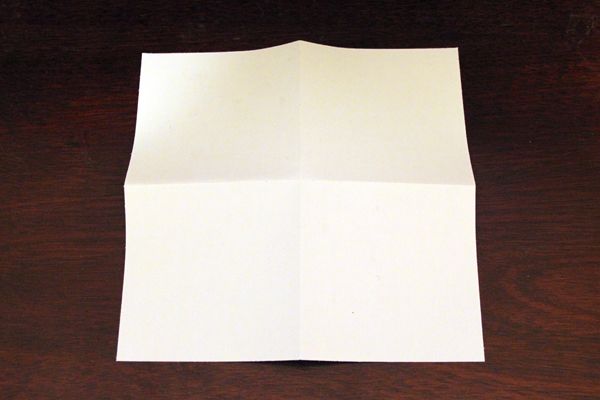
2. With the patterned paper side facing up score a line both vertically and horizontally at 4 inches. Crease these lines by folding the patterned paper in on itself. Be sure and use a bone folder for this so you can get super crisp edges. A table knife would work if you don’t have a bone folder. Then turn the paper over so the white side is facing you. You will know if you have done this step right if your paper is slightly popping off your flat surface.
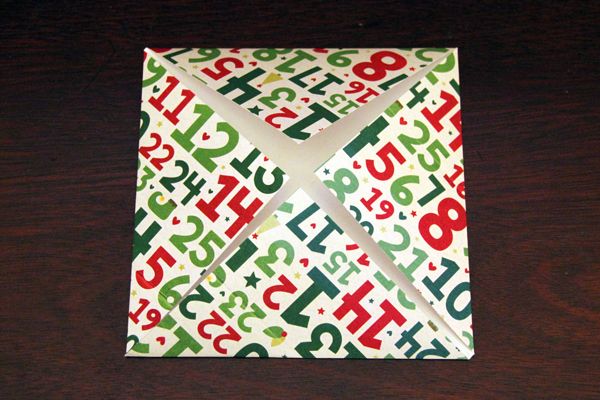
3. Fold all four corners in the center of the paper. Keep folded.
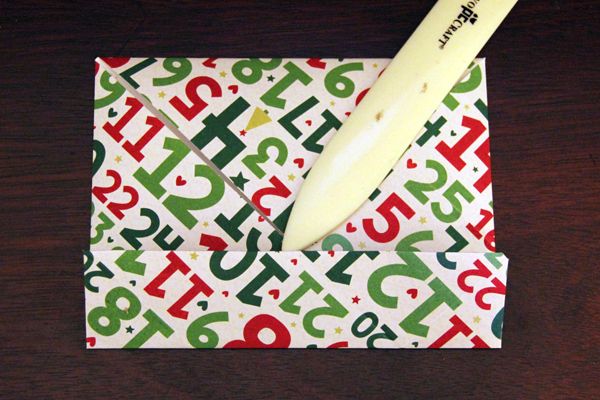
4. Fold the outer edge to the center of the paper. Crease this well! Repeat for all four sides.
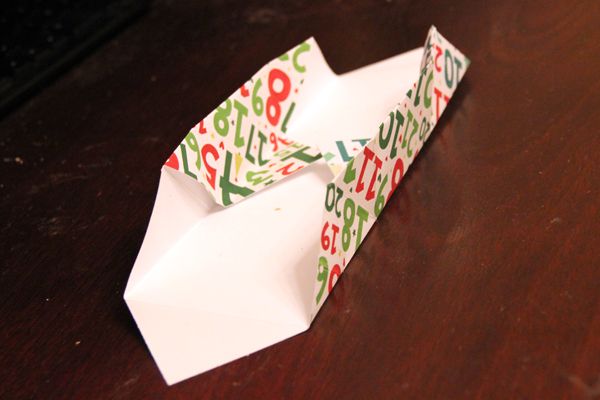
5. Open up two opposite sides so that they are laying mostly flat.
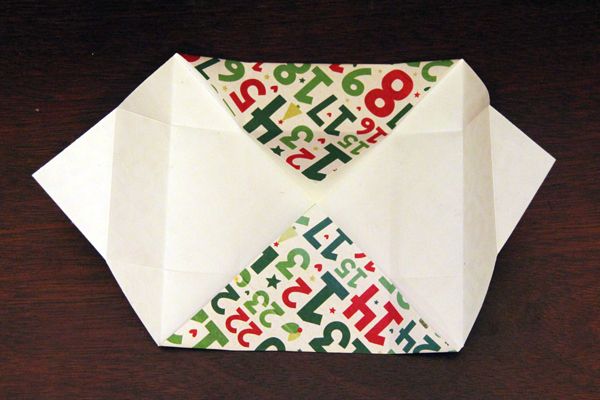
6. Bring the two sides that are folded into an upright position. You should be able to see that you just made two sides of the box.
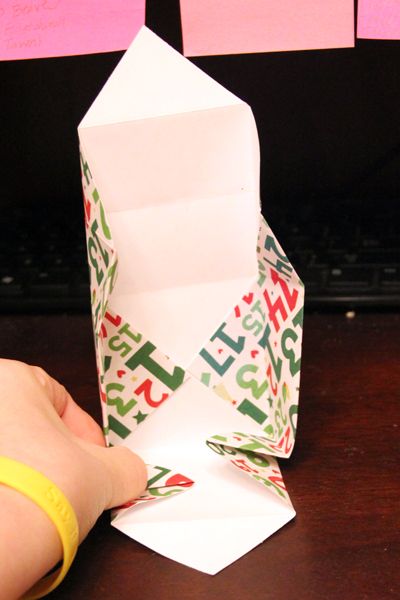
7. Bring the open ends into the box. For the most the part the paper will naturally fold this way. I also suggest running your bone folder around the edges inside the box. This will make them extra crisp.
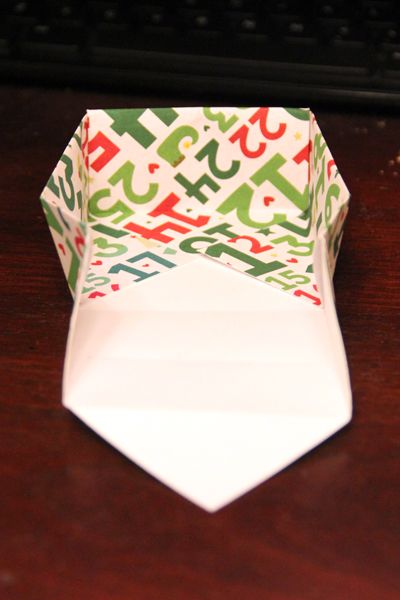
8. Repeat for opposite side. At this point you can cut a square piece of the same patterned paper to place in the bottom of the box so you don’t see the lines. I chose not to do this step.
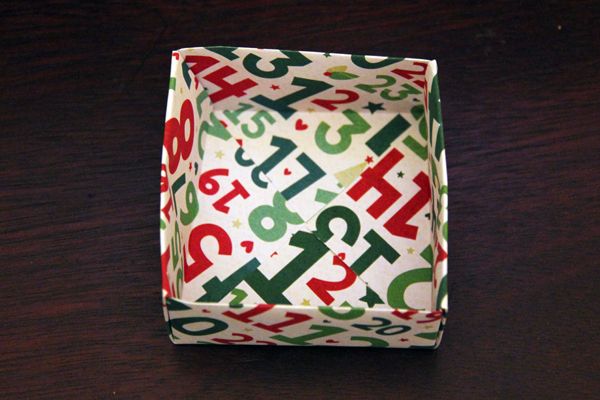
9. Now repeat the above steps with a complimenting solid color piece of paper. However, change your dimensions of your paper to 7.5″ x 7.5″ and score at 3.75″. This will create you a smaller box that you now can slide into the top box you created. Here is my finished box:
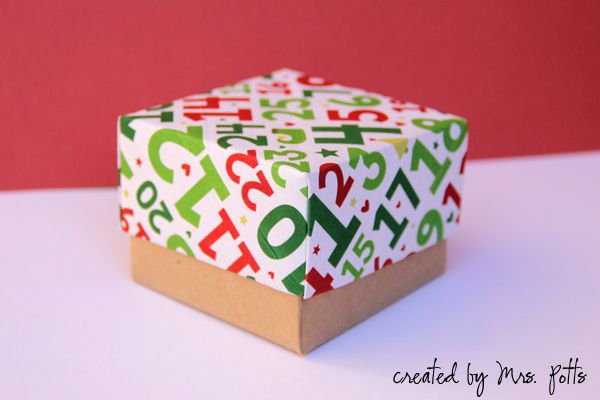
And another example I made using the same paper pack.

10. Lastly, if you desire go ahead and embellish the top of you origami box.
I hope you enjoyed this tutorial and enjoy making some origami boxes whether it is for Christmas or for some other event throughout the year!
~Jewelle {aka mrspotts}