Using Split Photos in Pocket Scrapbooking
Hello scrappy friends!!

I was looking through the November challenges and noticed that the Style challenge this month is focused on using a split photo. I am in awe of all the incredible layouts that have already been completed for this challenge!! I was reminded that I often use split photos in my pocket page layouts.
Today I’m going to share my process of using split photos in pocket scrapbooking.

Here is an example of a pocket page layout of mine where I used a split photo. The photo of my daughter making pizza is split between two journal card spots.
I see hybrid and traditional pocket page scrapbookers use this technique all the time and I love the look of it. It’s a great way to use a larger photo on a page. It’s also a great way to use a 4×6 sized photo across two 3×4 spaces, especially when you have a horizontally composed photo that doesn’t fit well in a vertical spot.
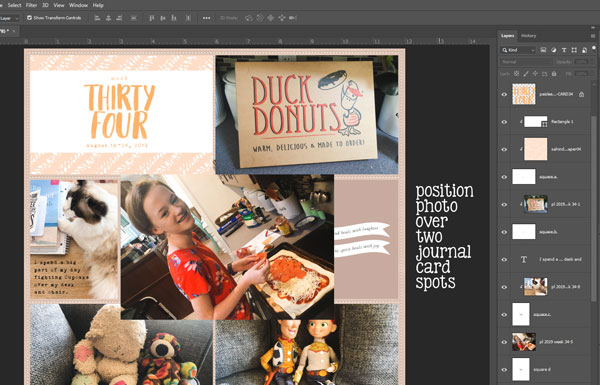
In order to use a split photo across two journal card spots on a pocket page template, I first position the photo I want to use over the two journal card spots. I make sure that something important won’t be cut off when the photo is split. I also want to make sure that the slit won’t take place in an odd position, such as in the middle of a face (no one wants that!).
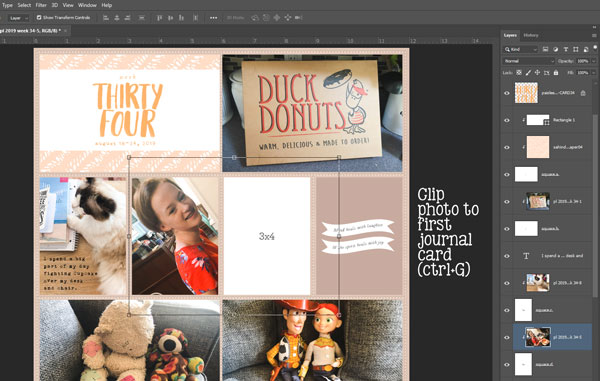
When I have the photo placed exactly how I want it, I then clip the photo to the first journal card spot, using the shortcut CTRL+G.
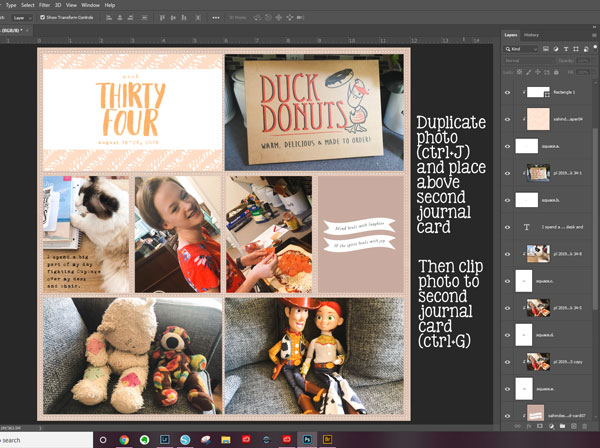
Next, I duplicate this photo (shortcut CTRL+J) and place it above the second journal card in the layers panel.
The last step is to clip the copied photo to the second journal card.
Voila!! If you’re a pocket scrapper, I would encourage you to give this technique a try. And if not, then take a look at the November Style challenge and try your hand at a split photo on your next layout!