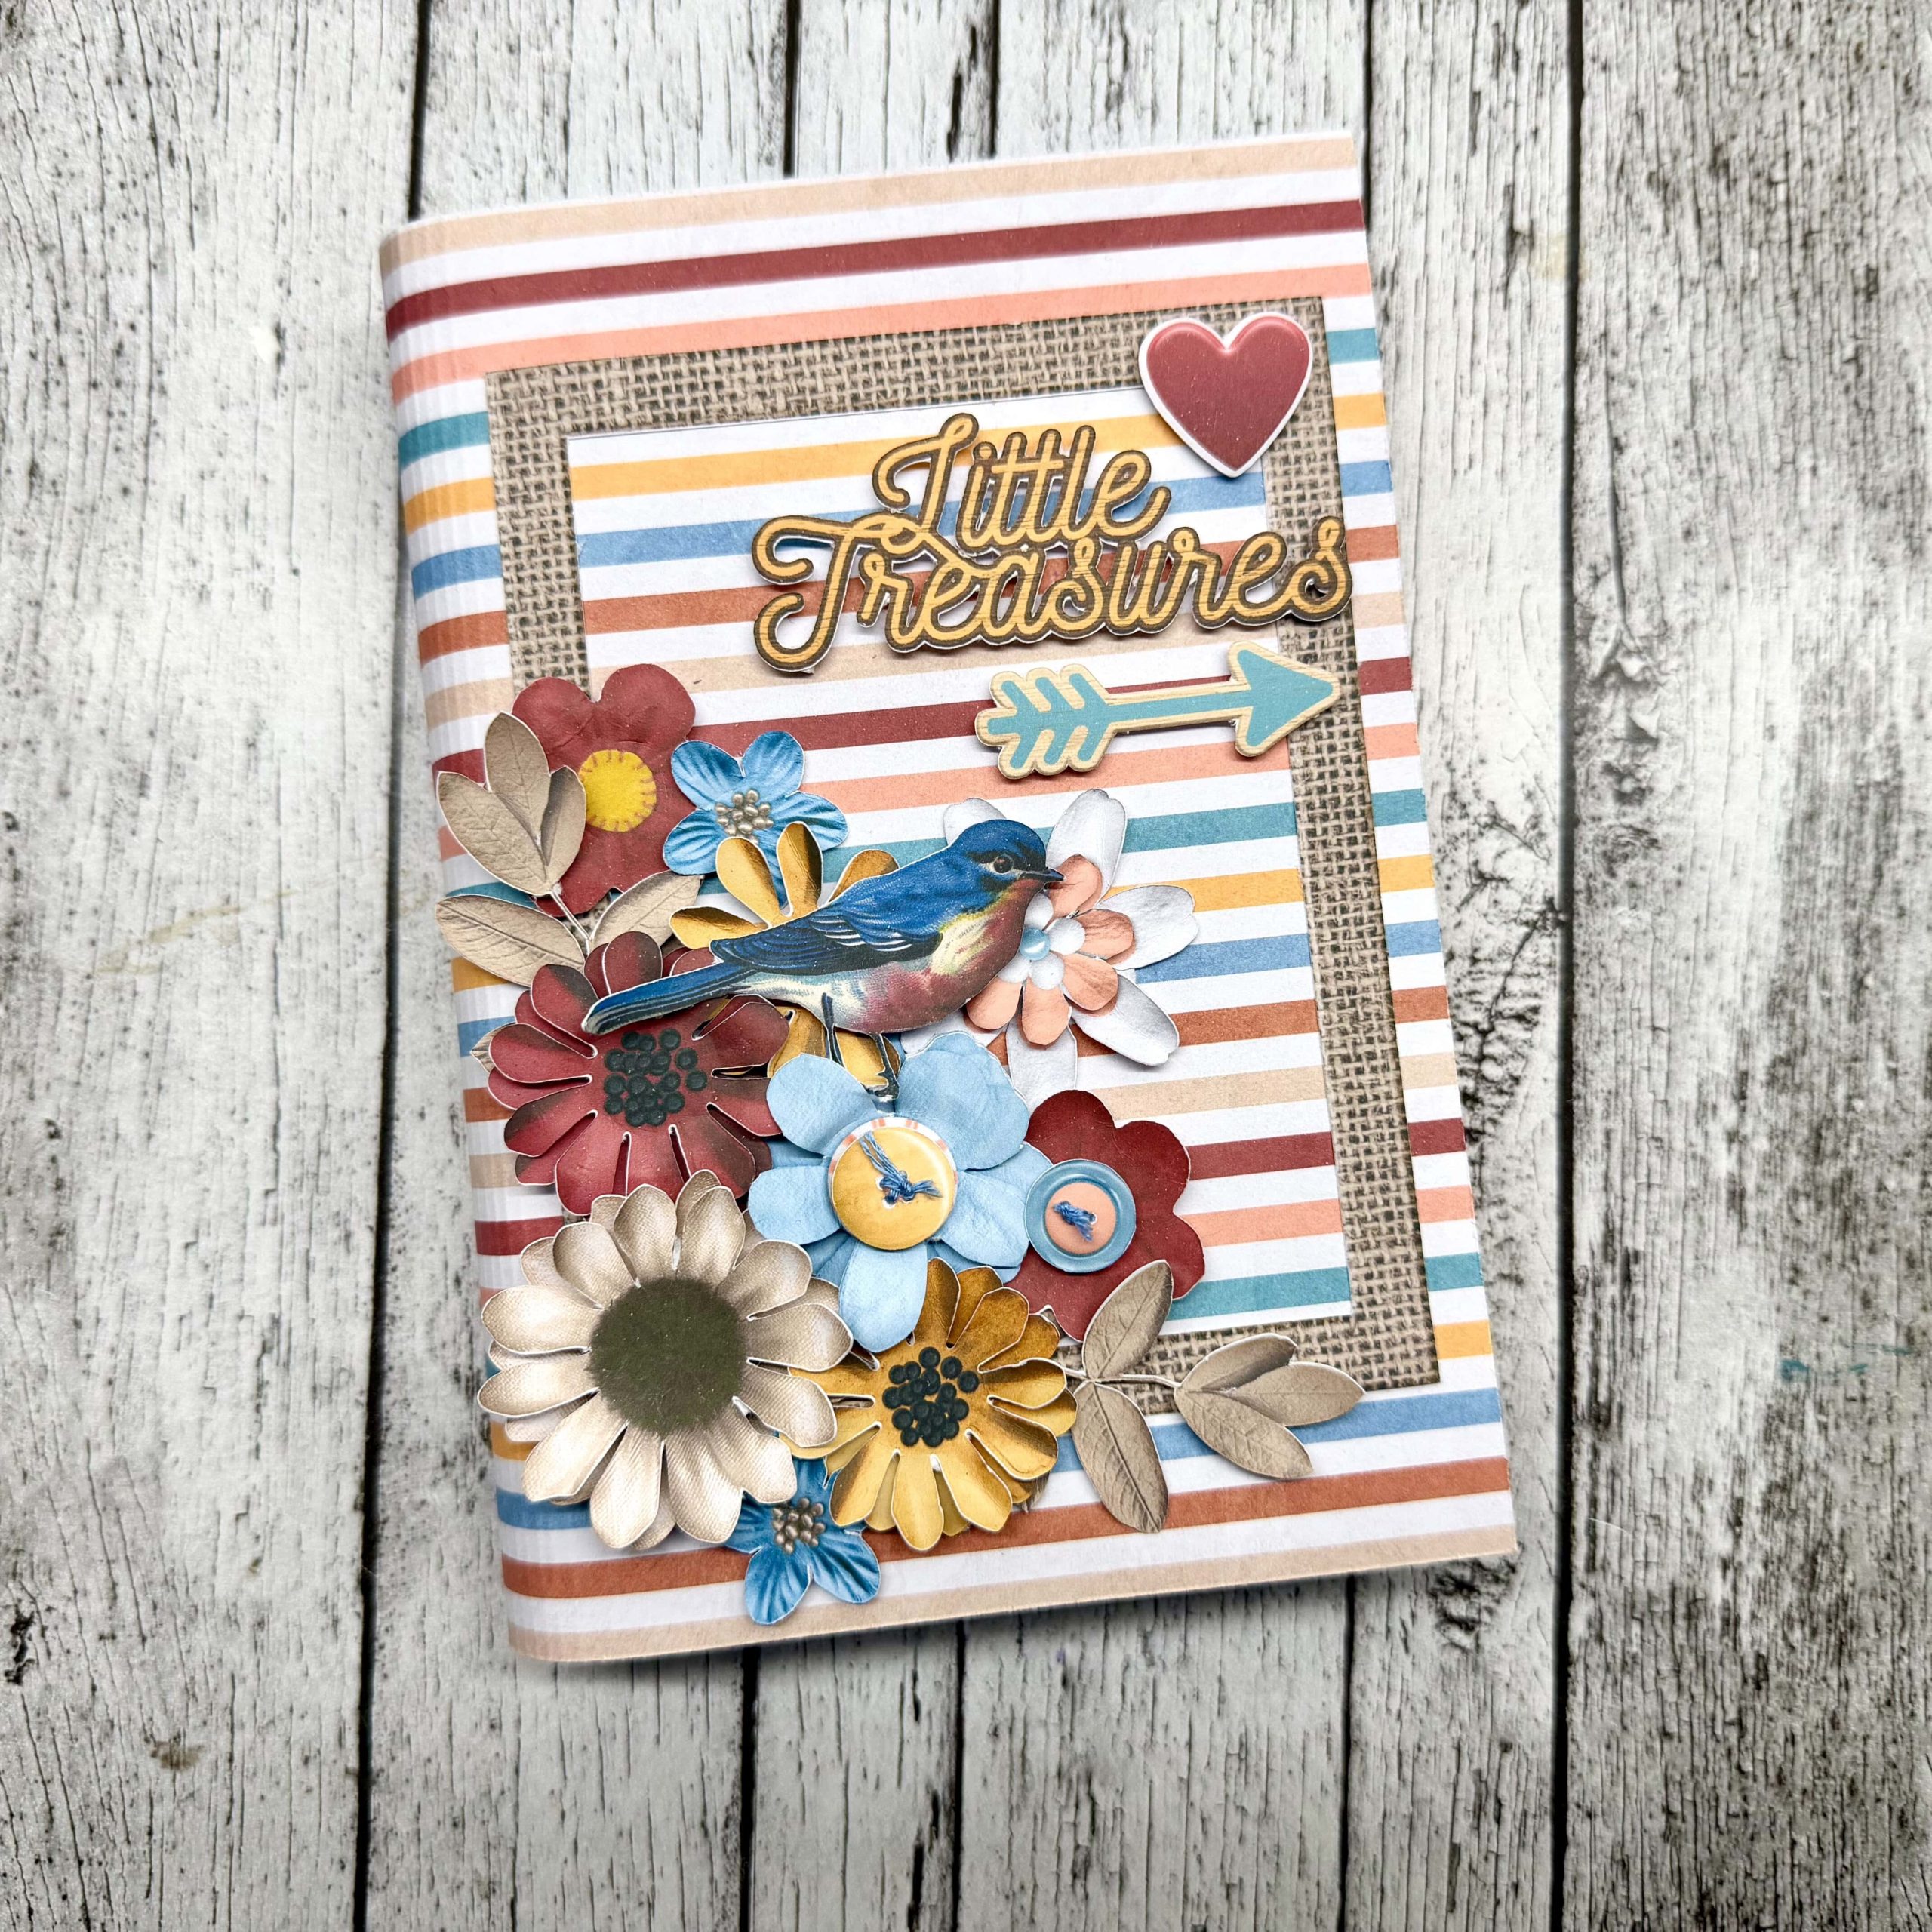
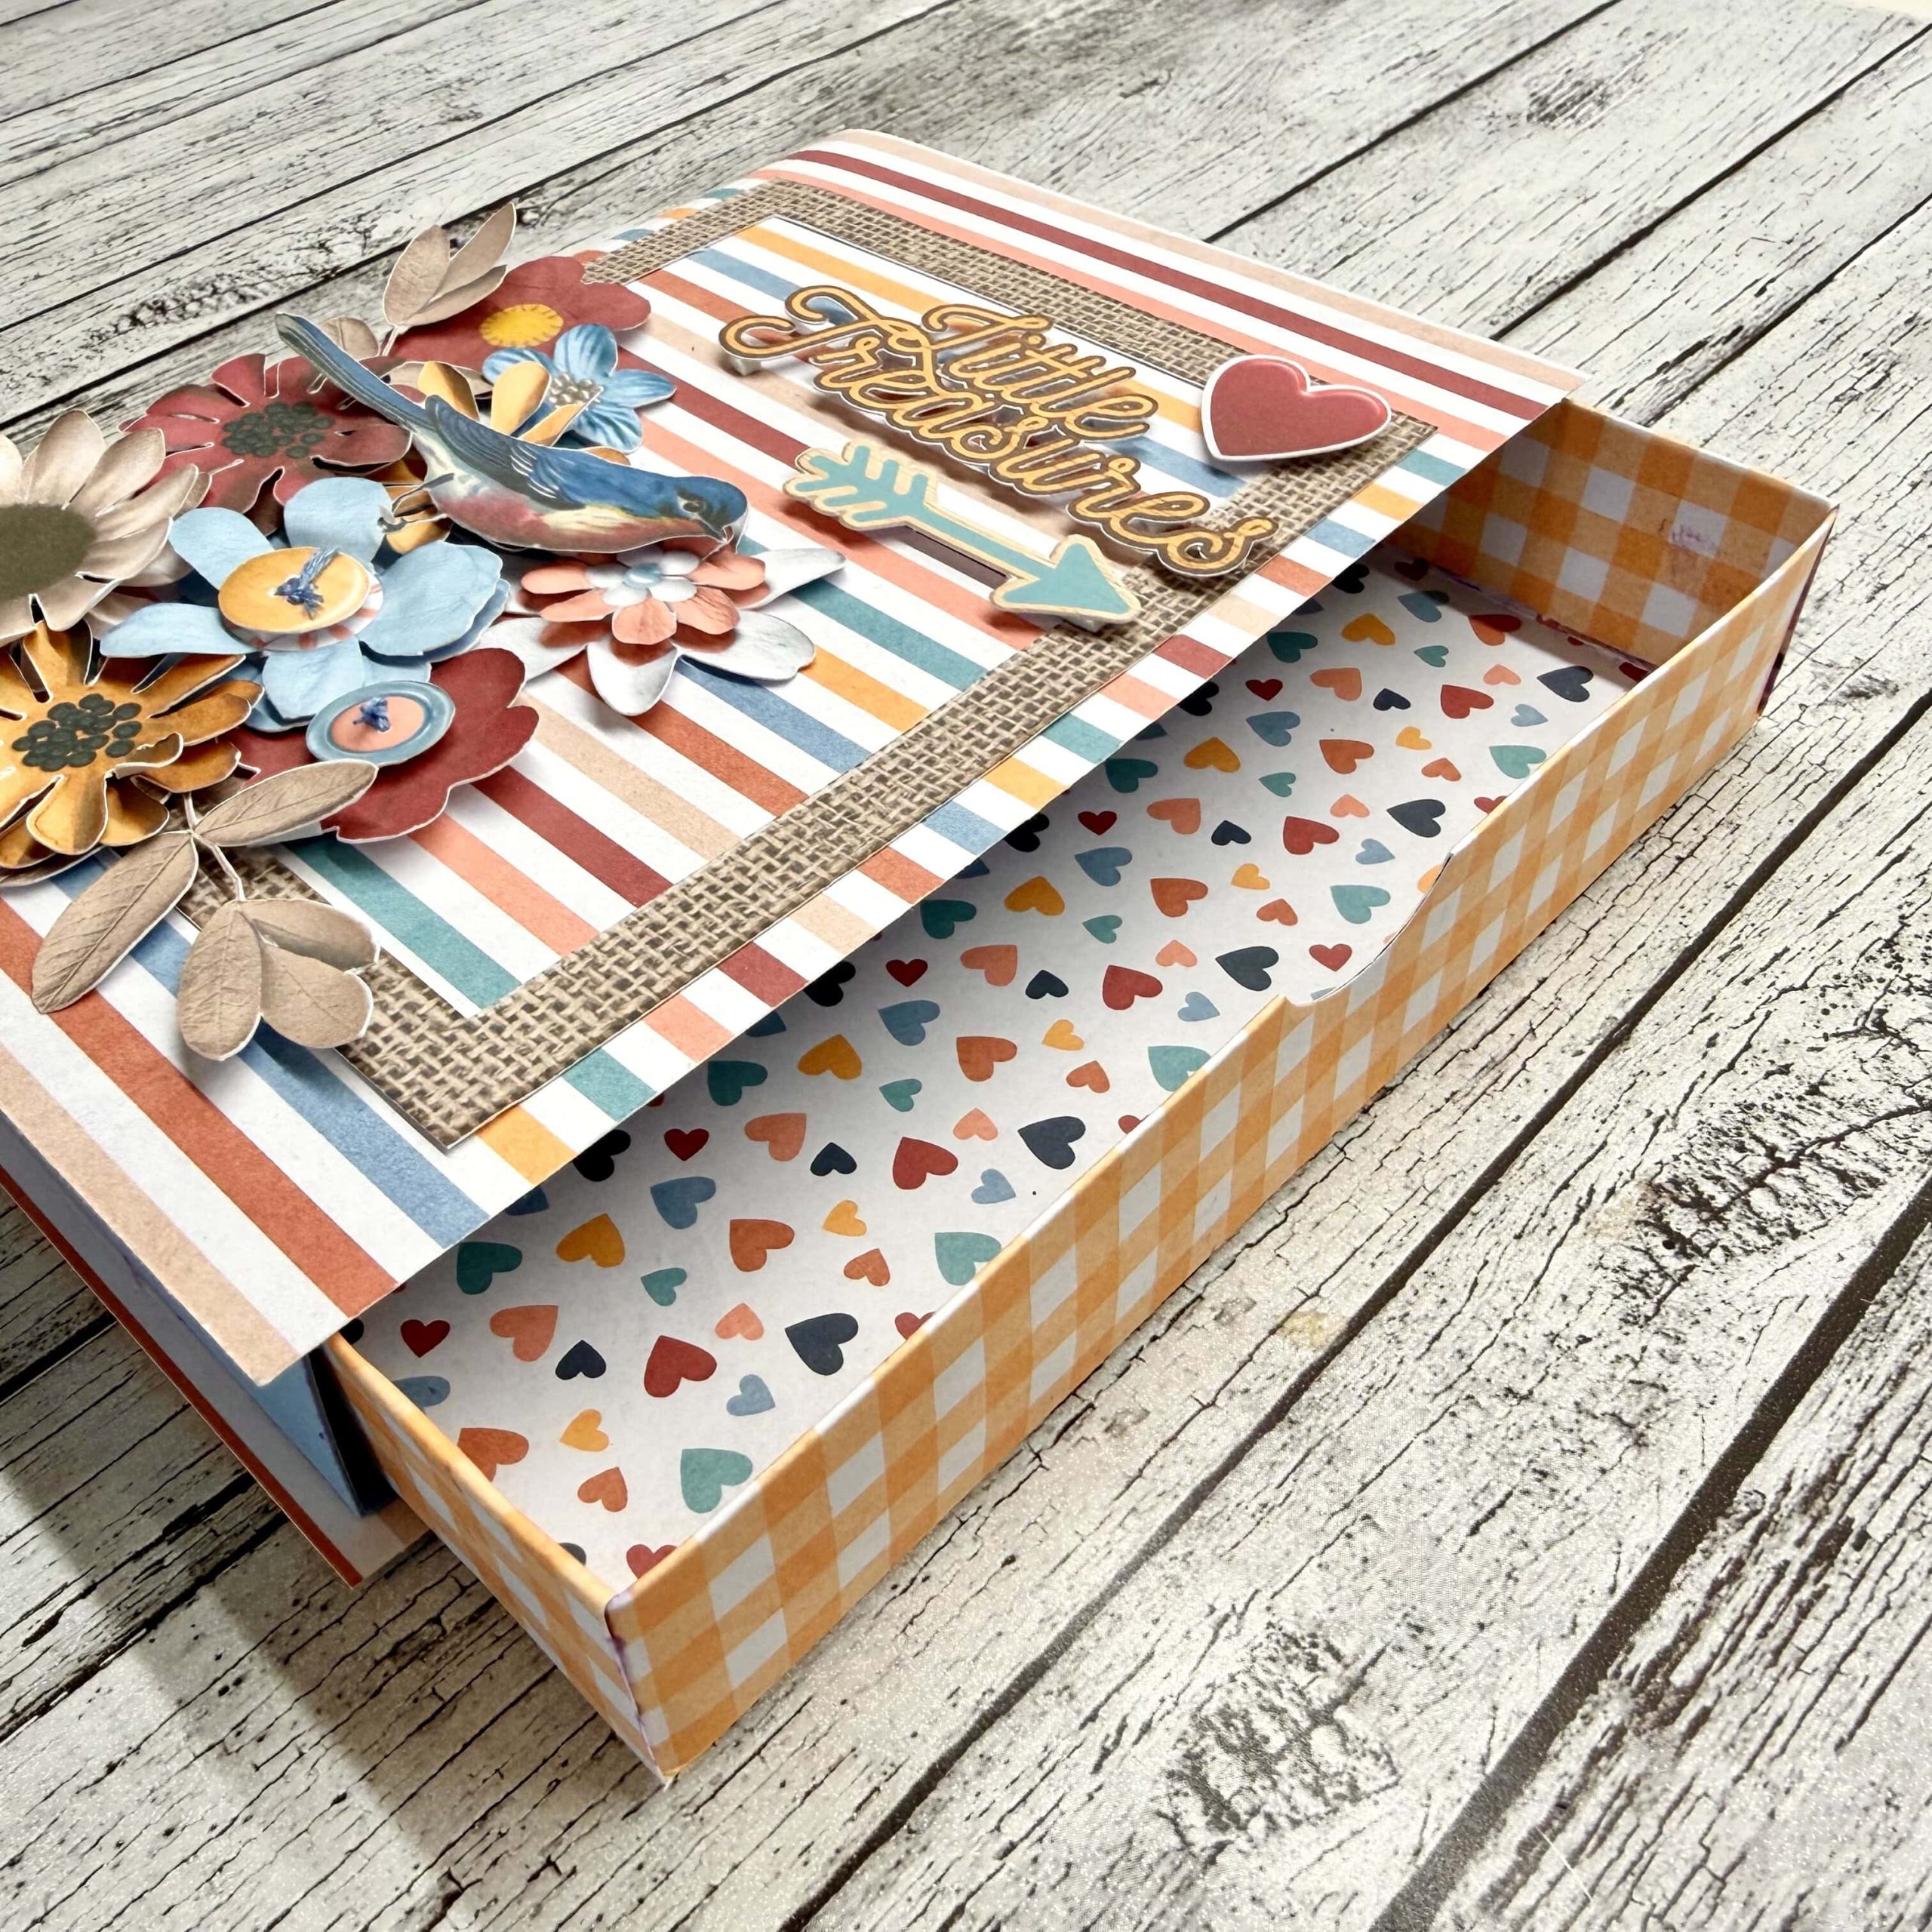
Create a book box with hybrid scrapbooking
Today I’m sharing how to make this fun and decorative book box, perfect for storing little keepsakes, photos, journaling supplies or small gifts.
All my measurements are in centimeters, but you can easily transfer this to a size suited for inches instead.
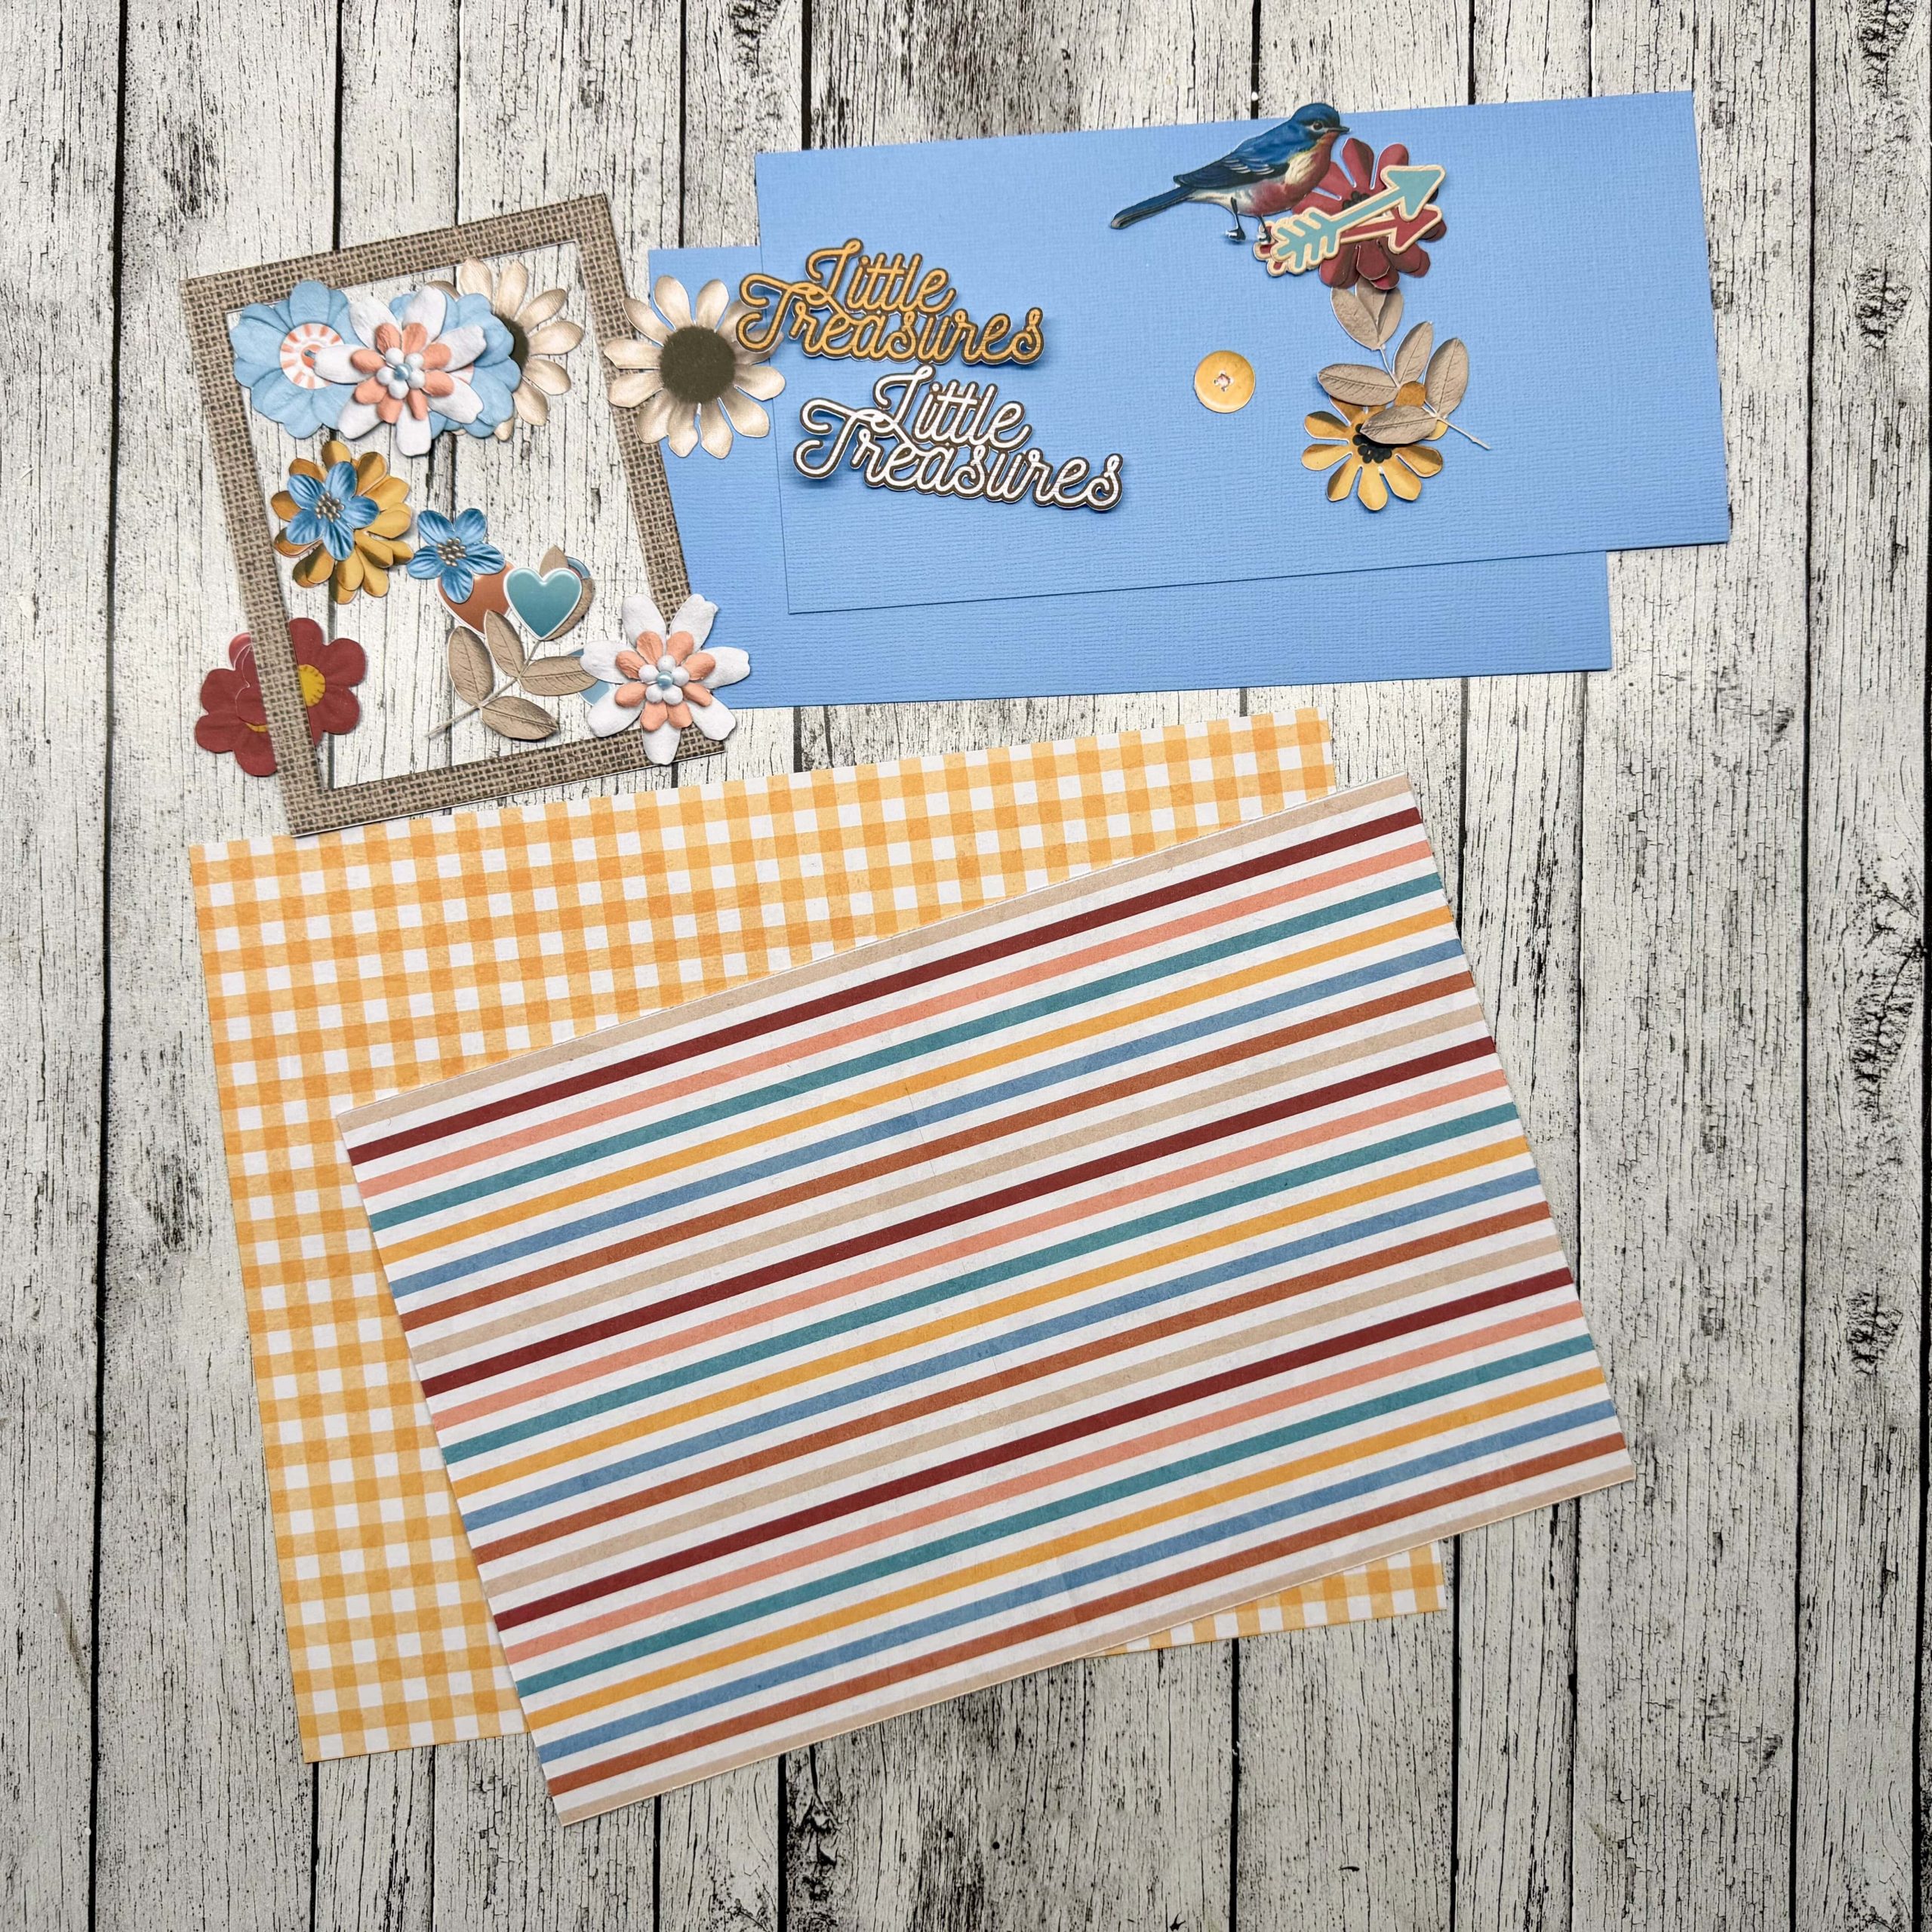
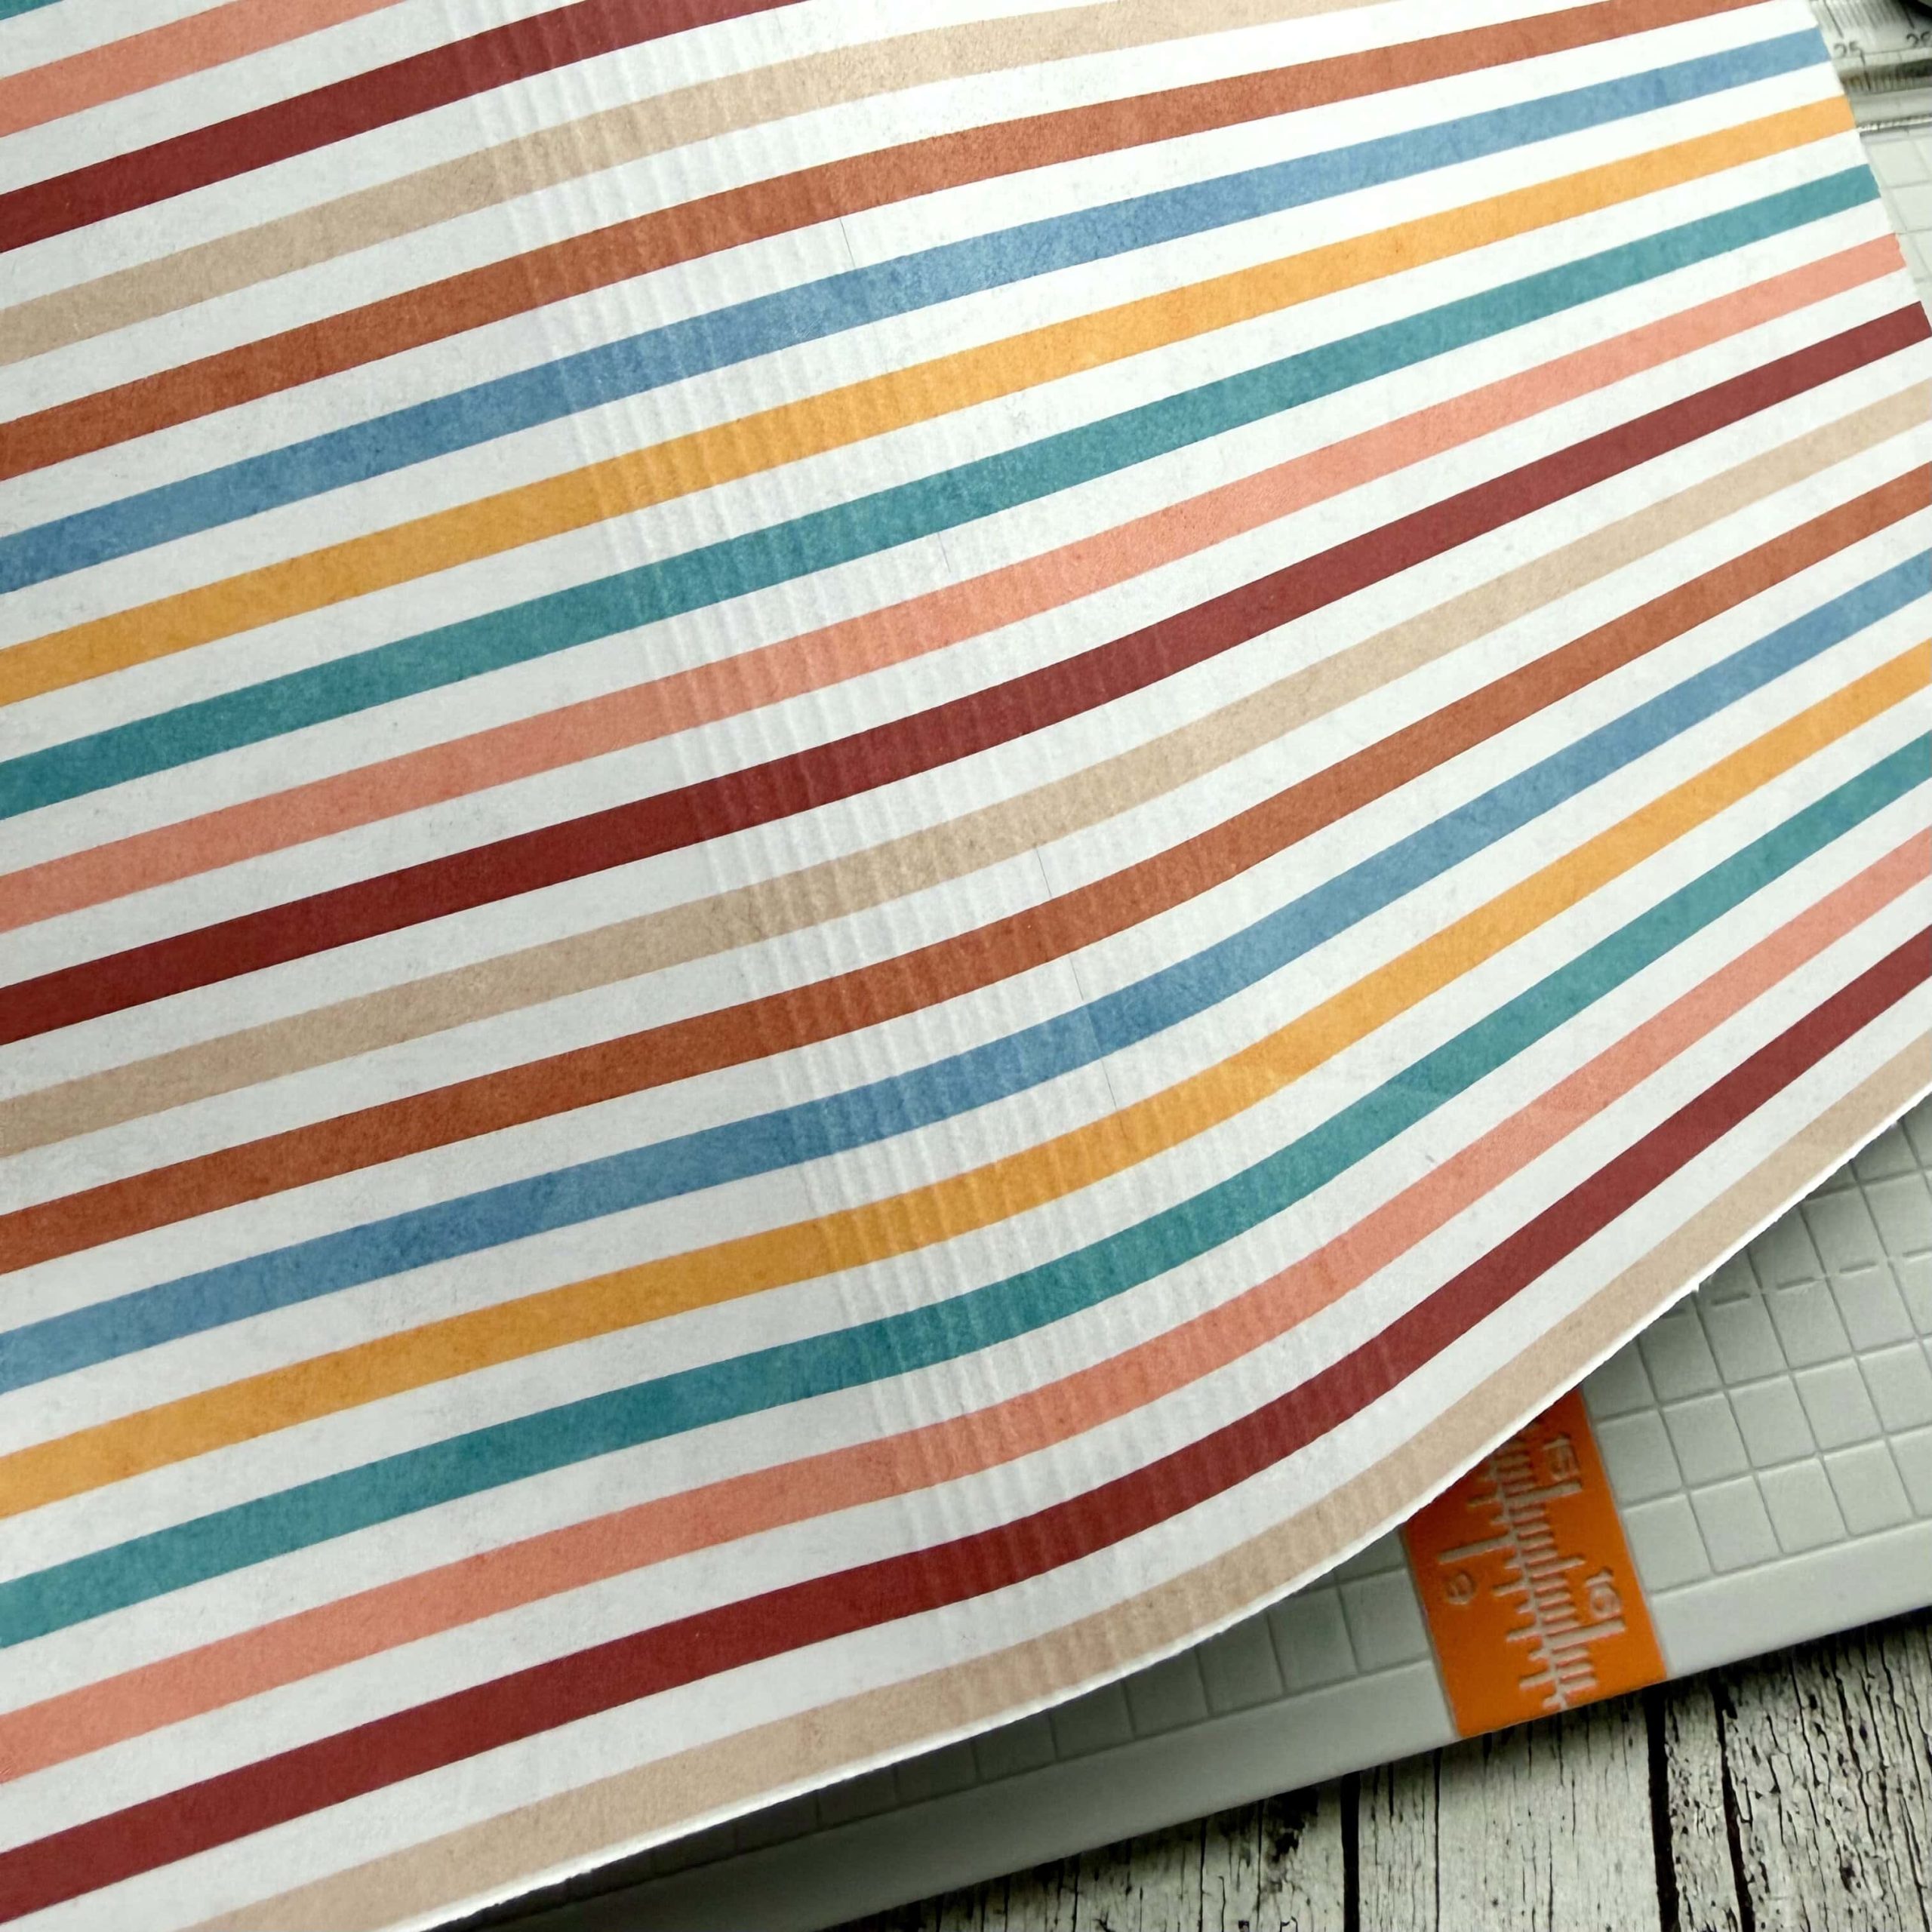
Start by printing the papers you want to use. I used papers from May BYOC Frolicky Fun Papers by Kim Jensen. The gingham paper is printed doubel sided with a heart paper on the other side and the striped one is printed with stripes on both sides. I decided I wanted a plain blue paper too, so I used a cardstock I had at home.
Next step is to choose and print some decorative elements you would like to use for embellishing your book box. I choose elements from May BYOC Frolicky Fun Elements by Kim Jensen and Little Market Treasures Elements by ninigoesdigi. The “Little Treasures” word art is perfect for this project!!
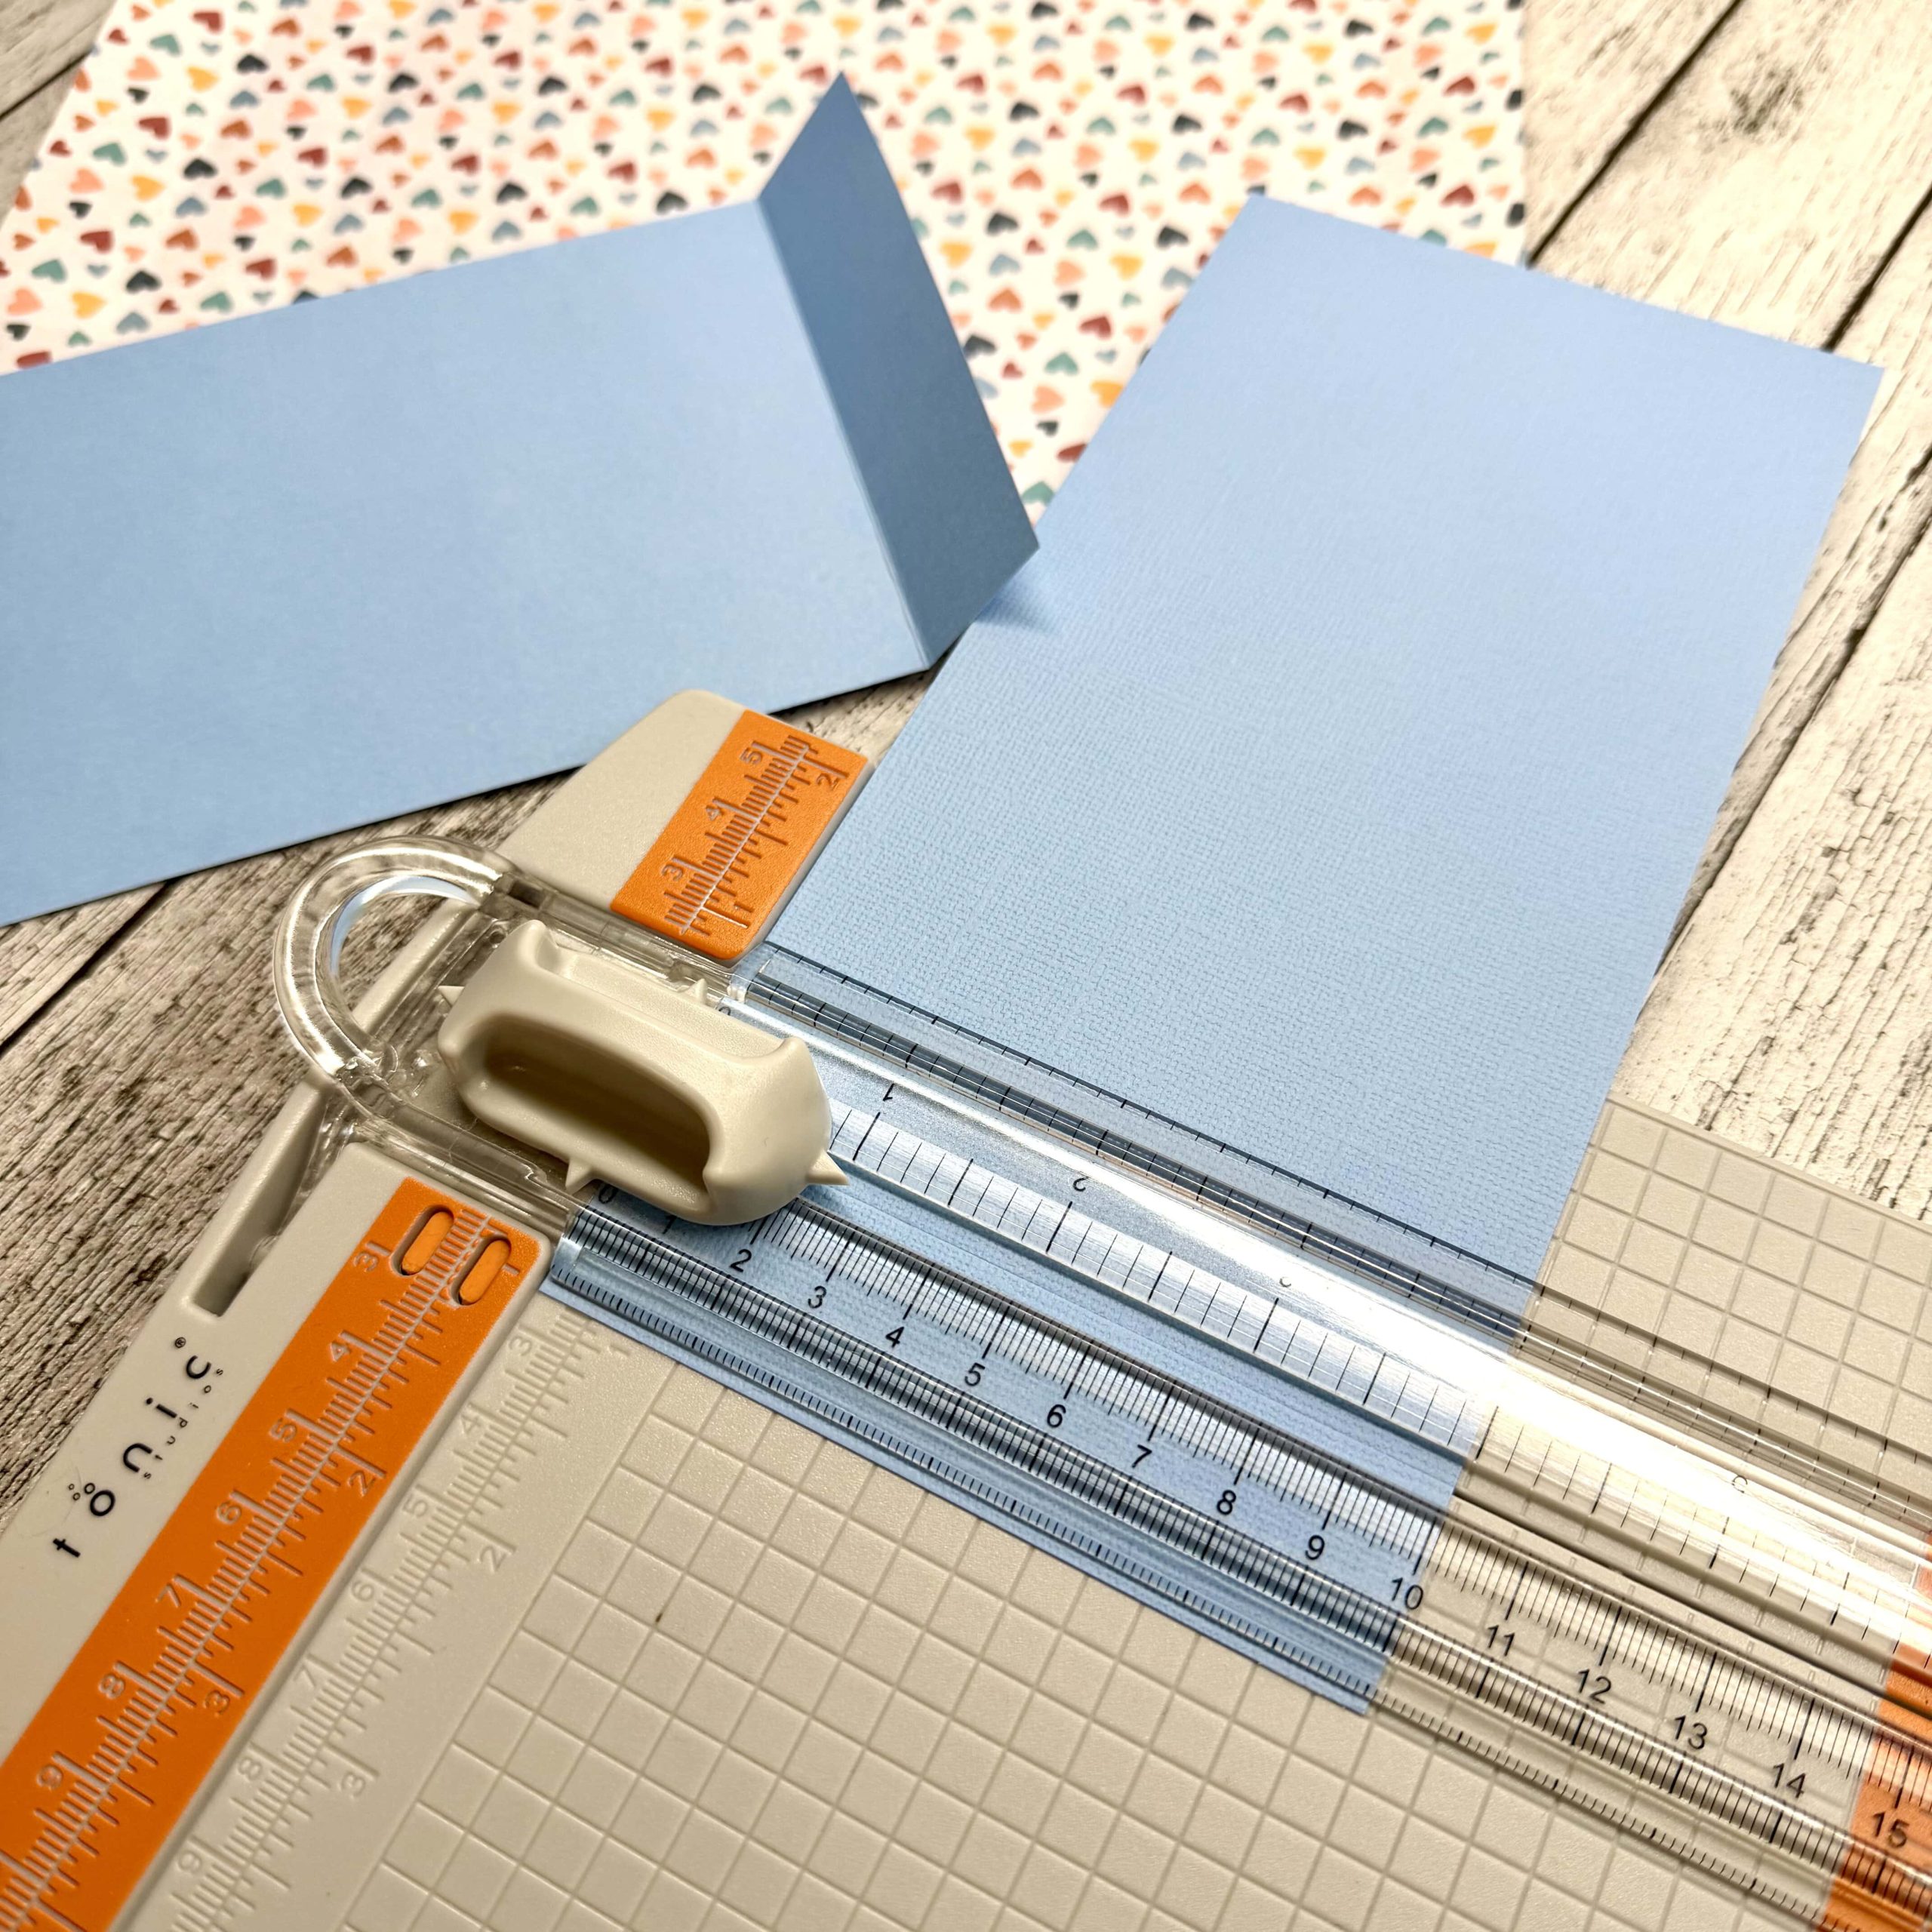
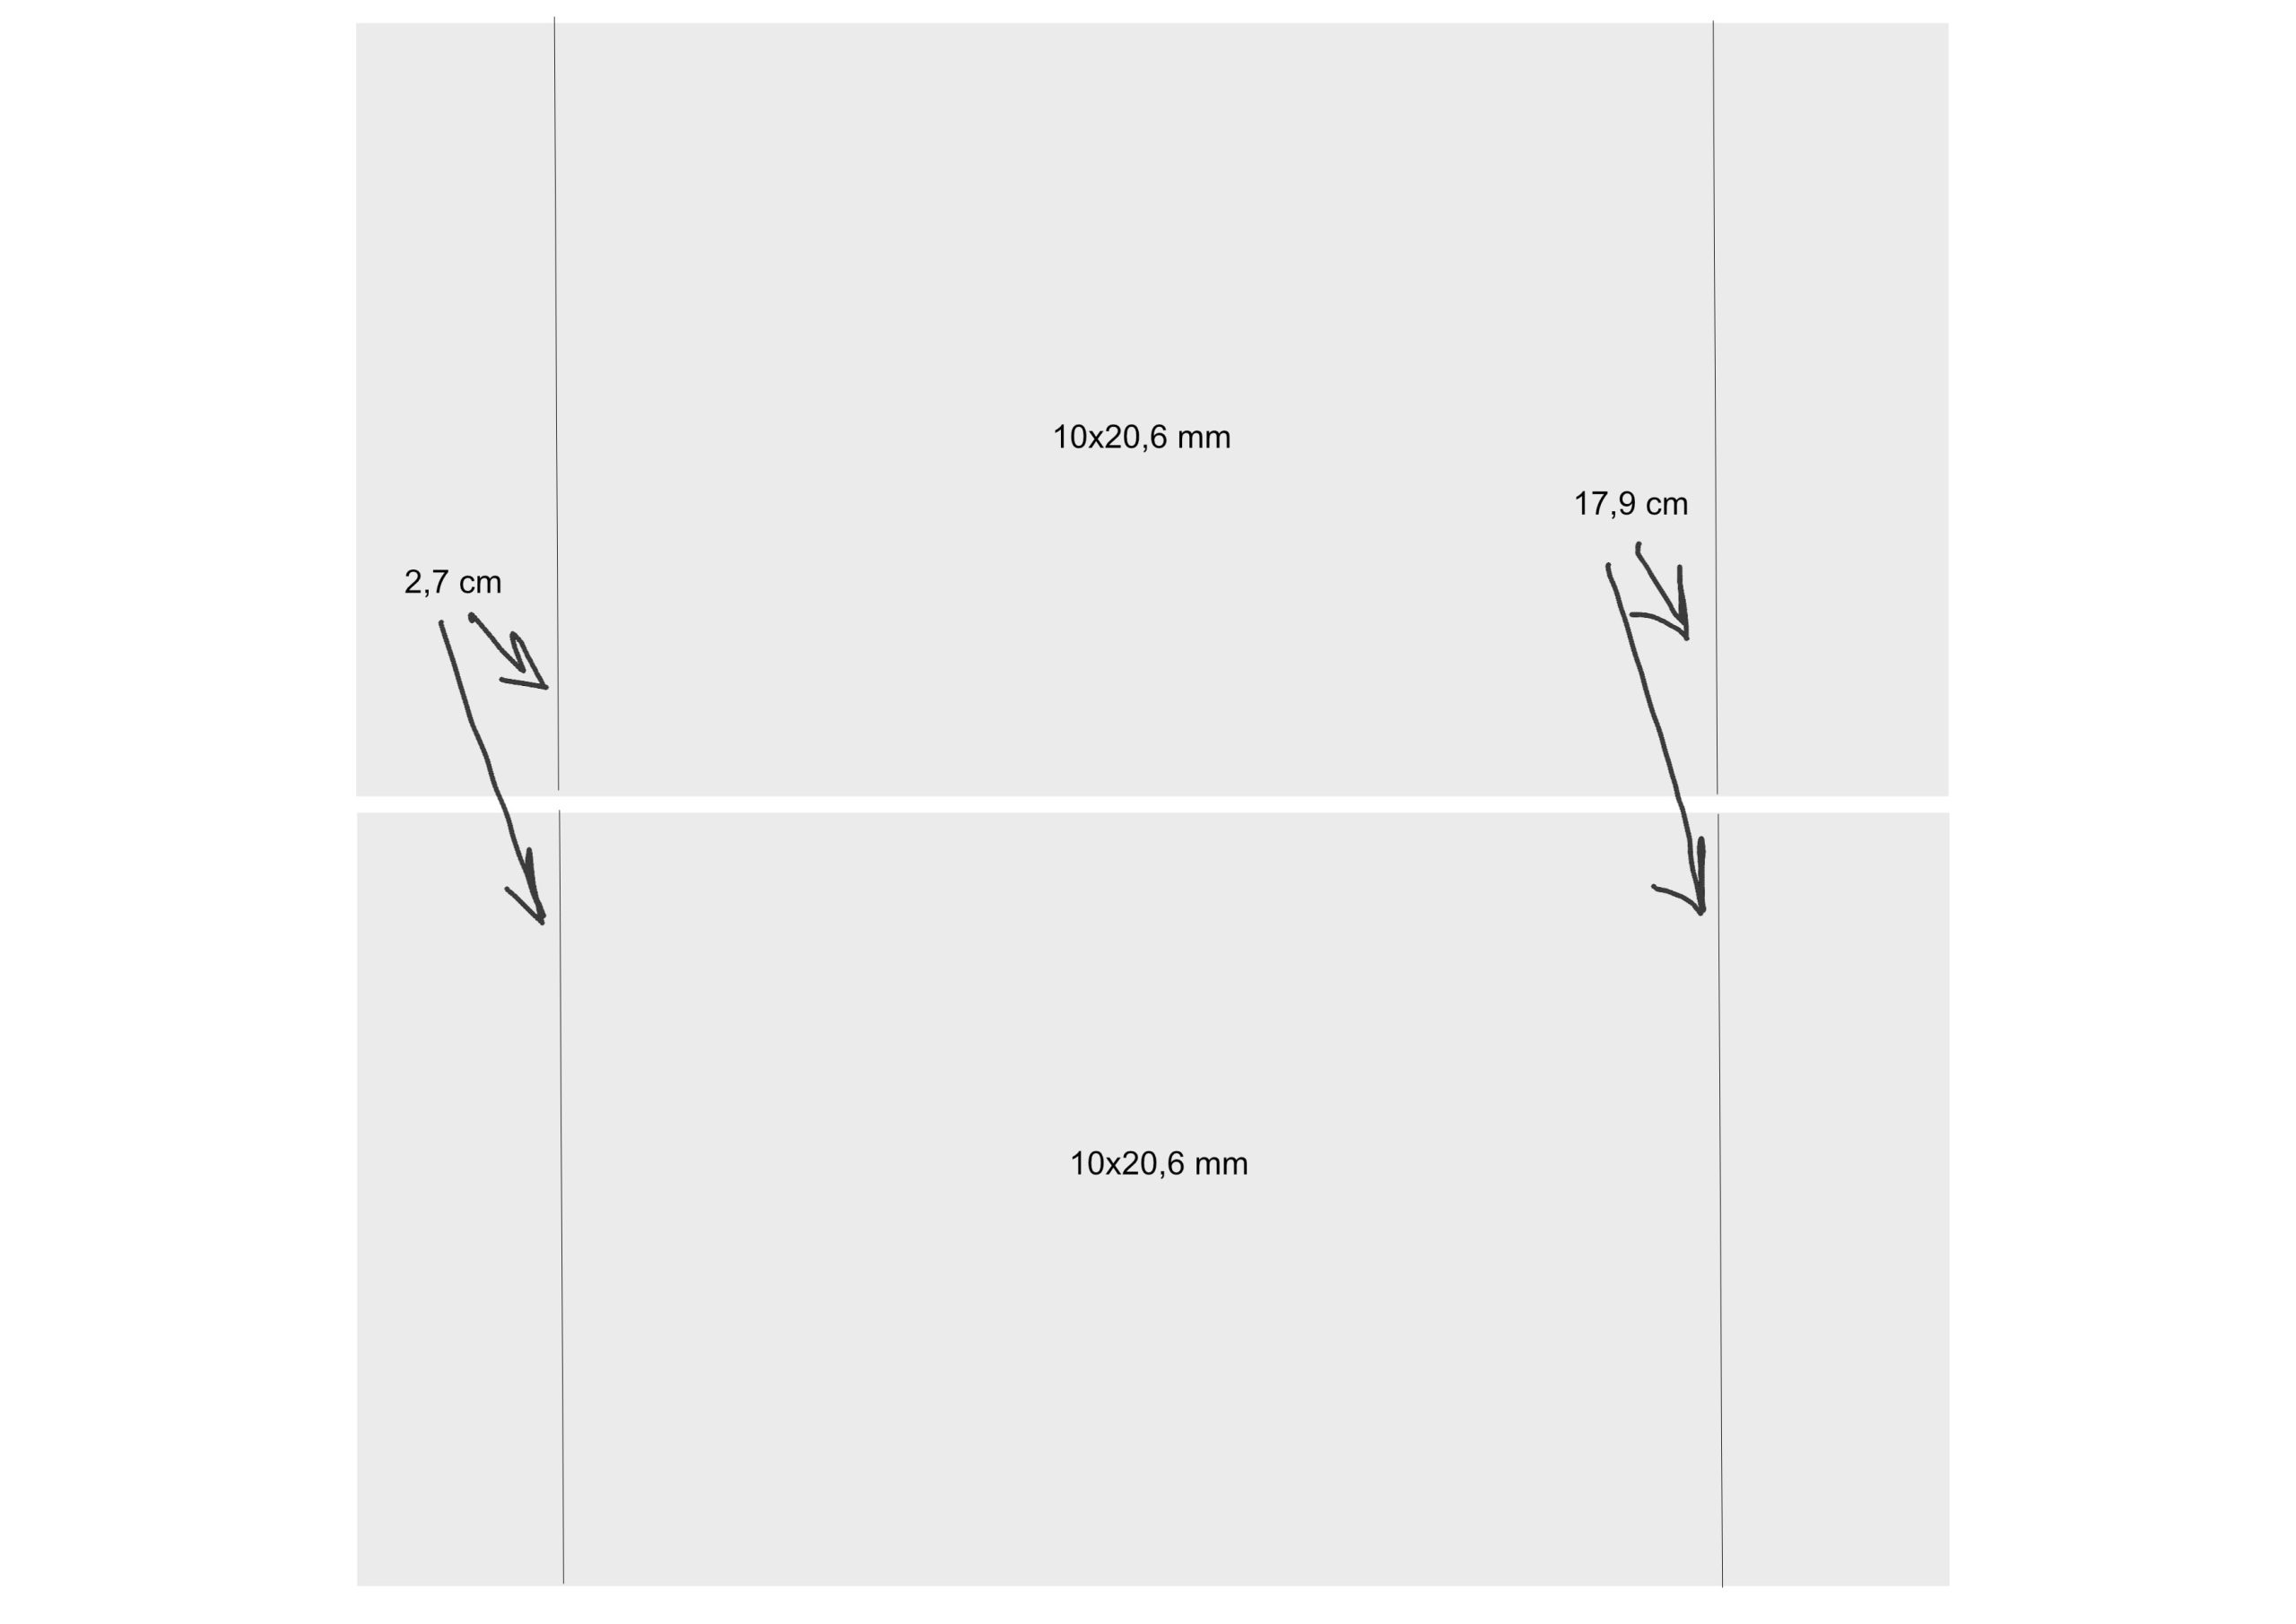
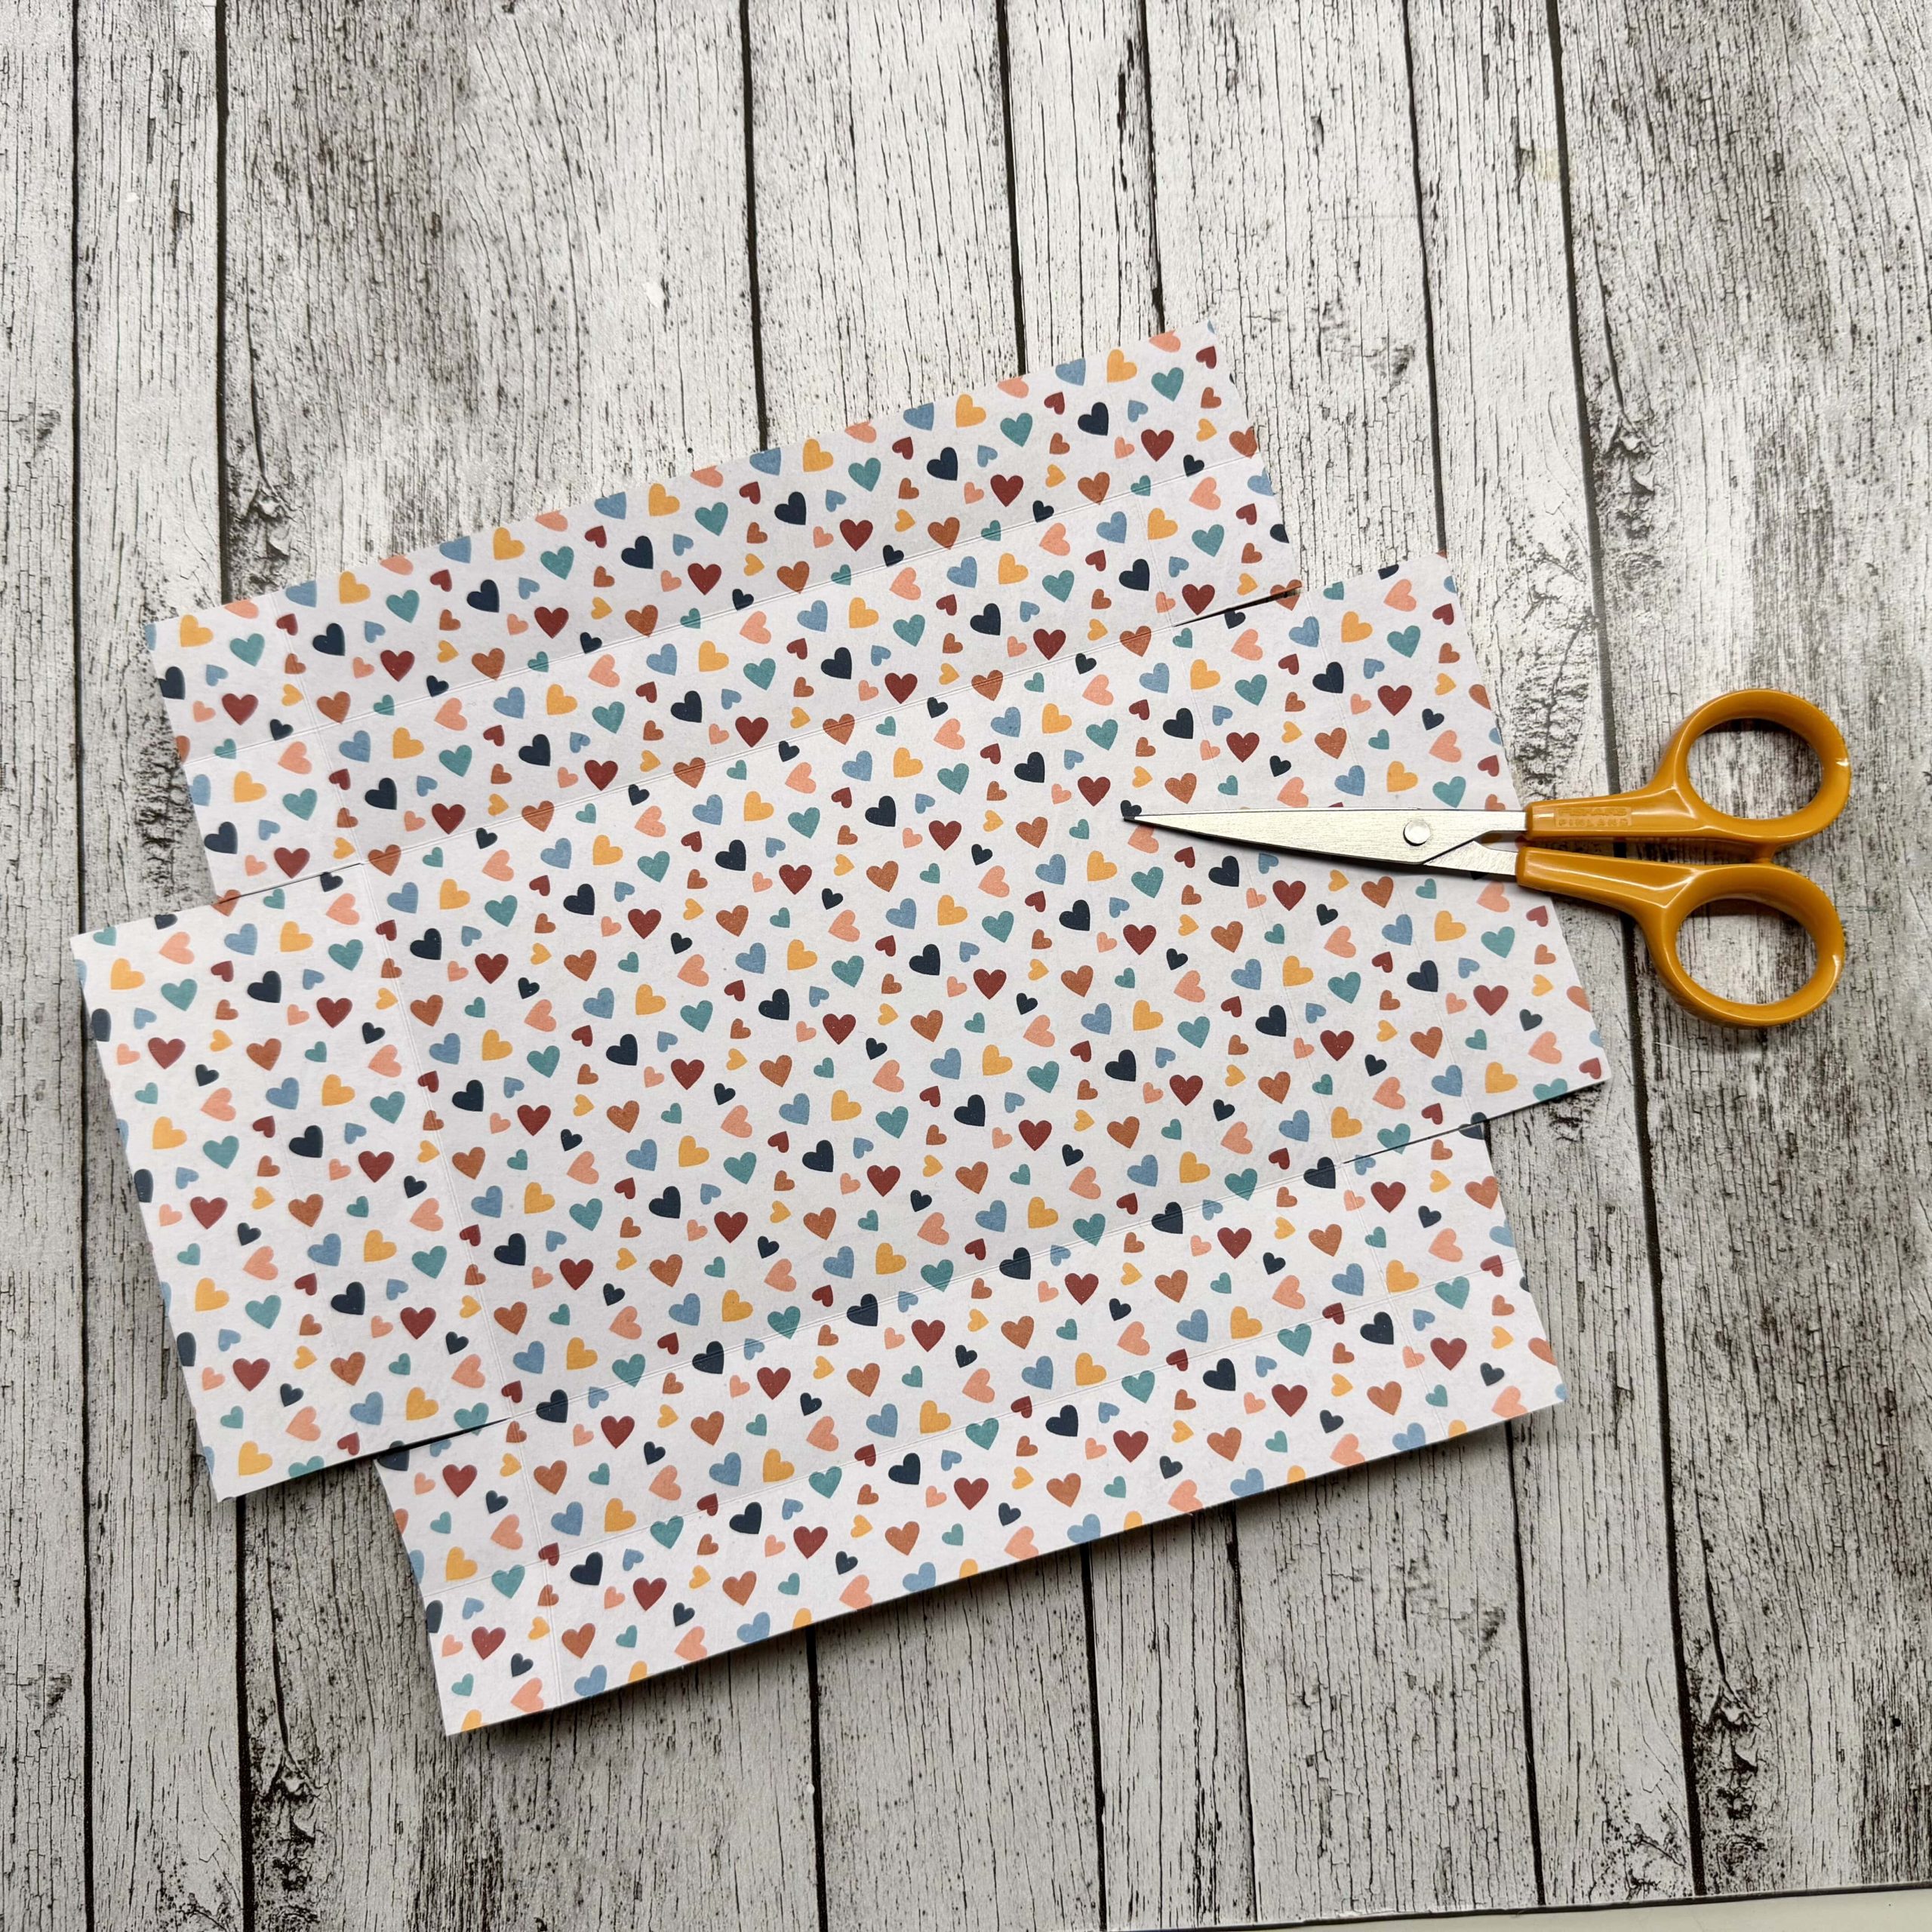
It’s now time to trim the papers down to correct size and fold along the score lines marked on the template.
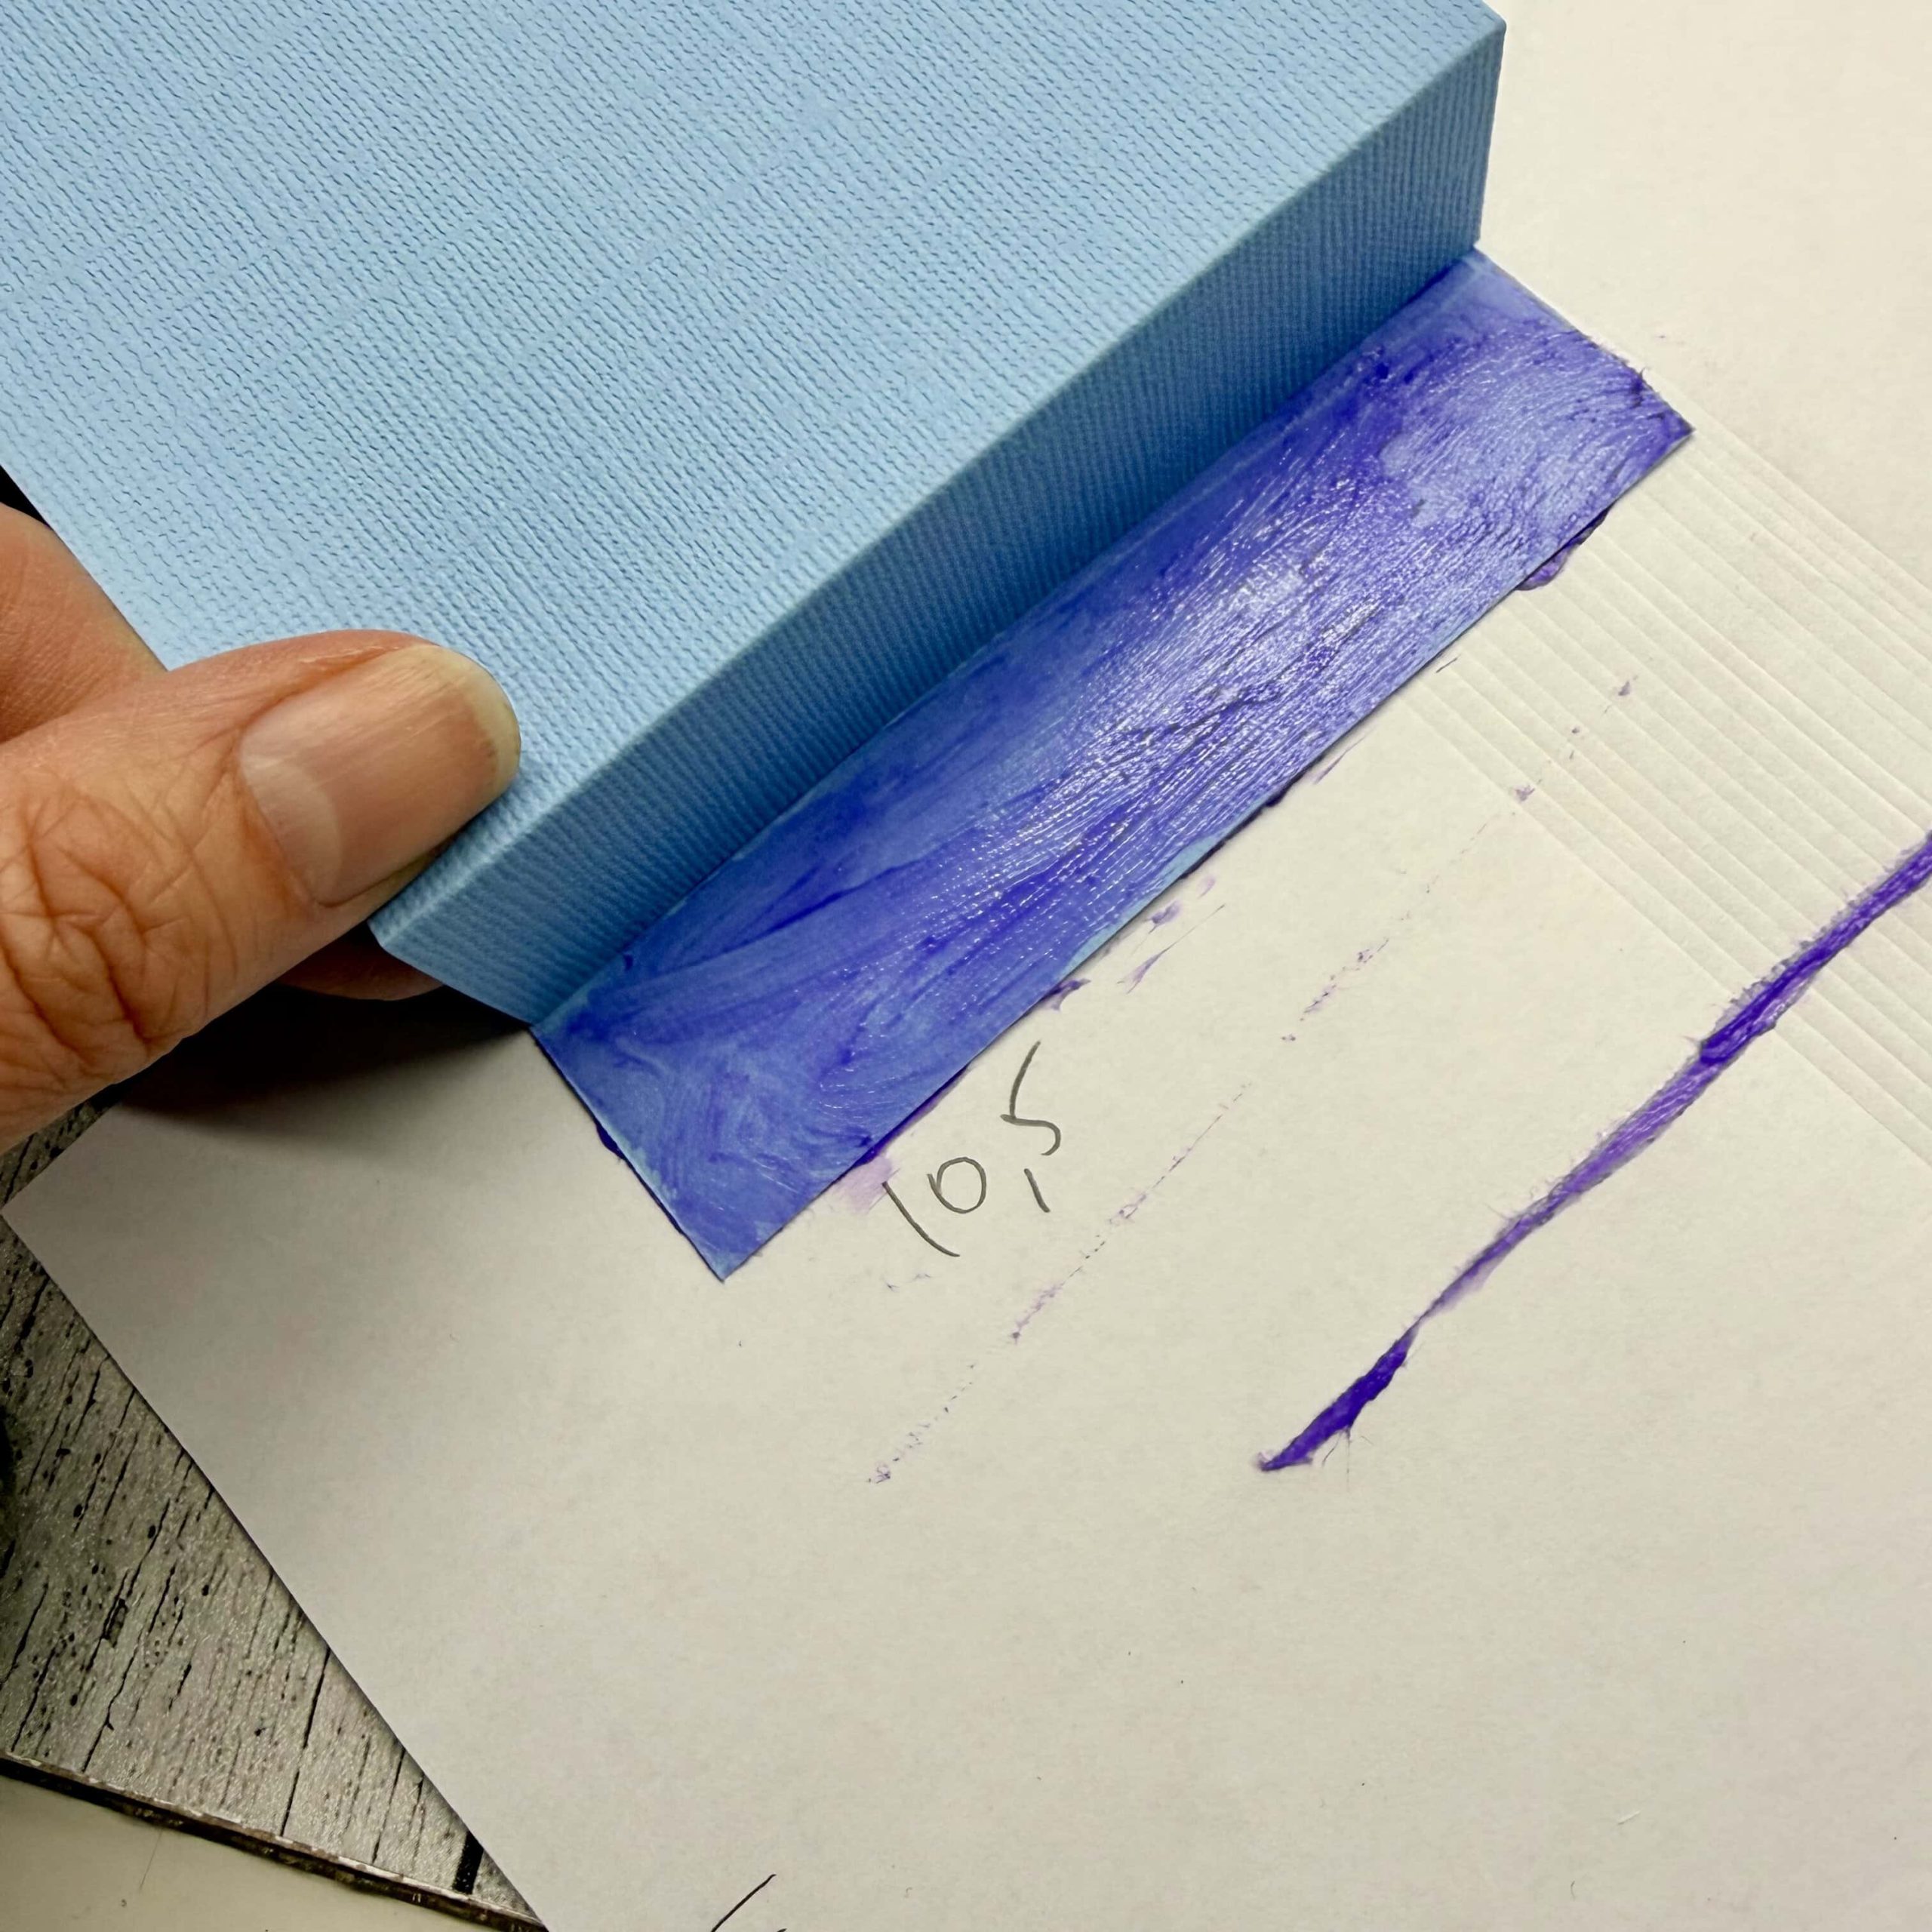
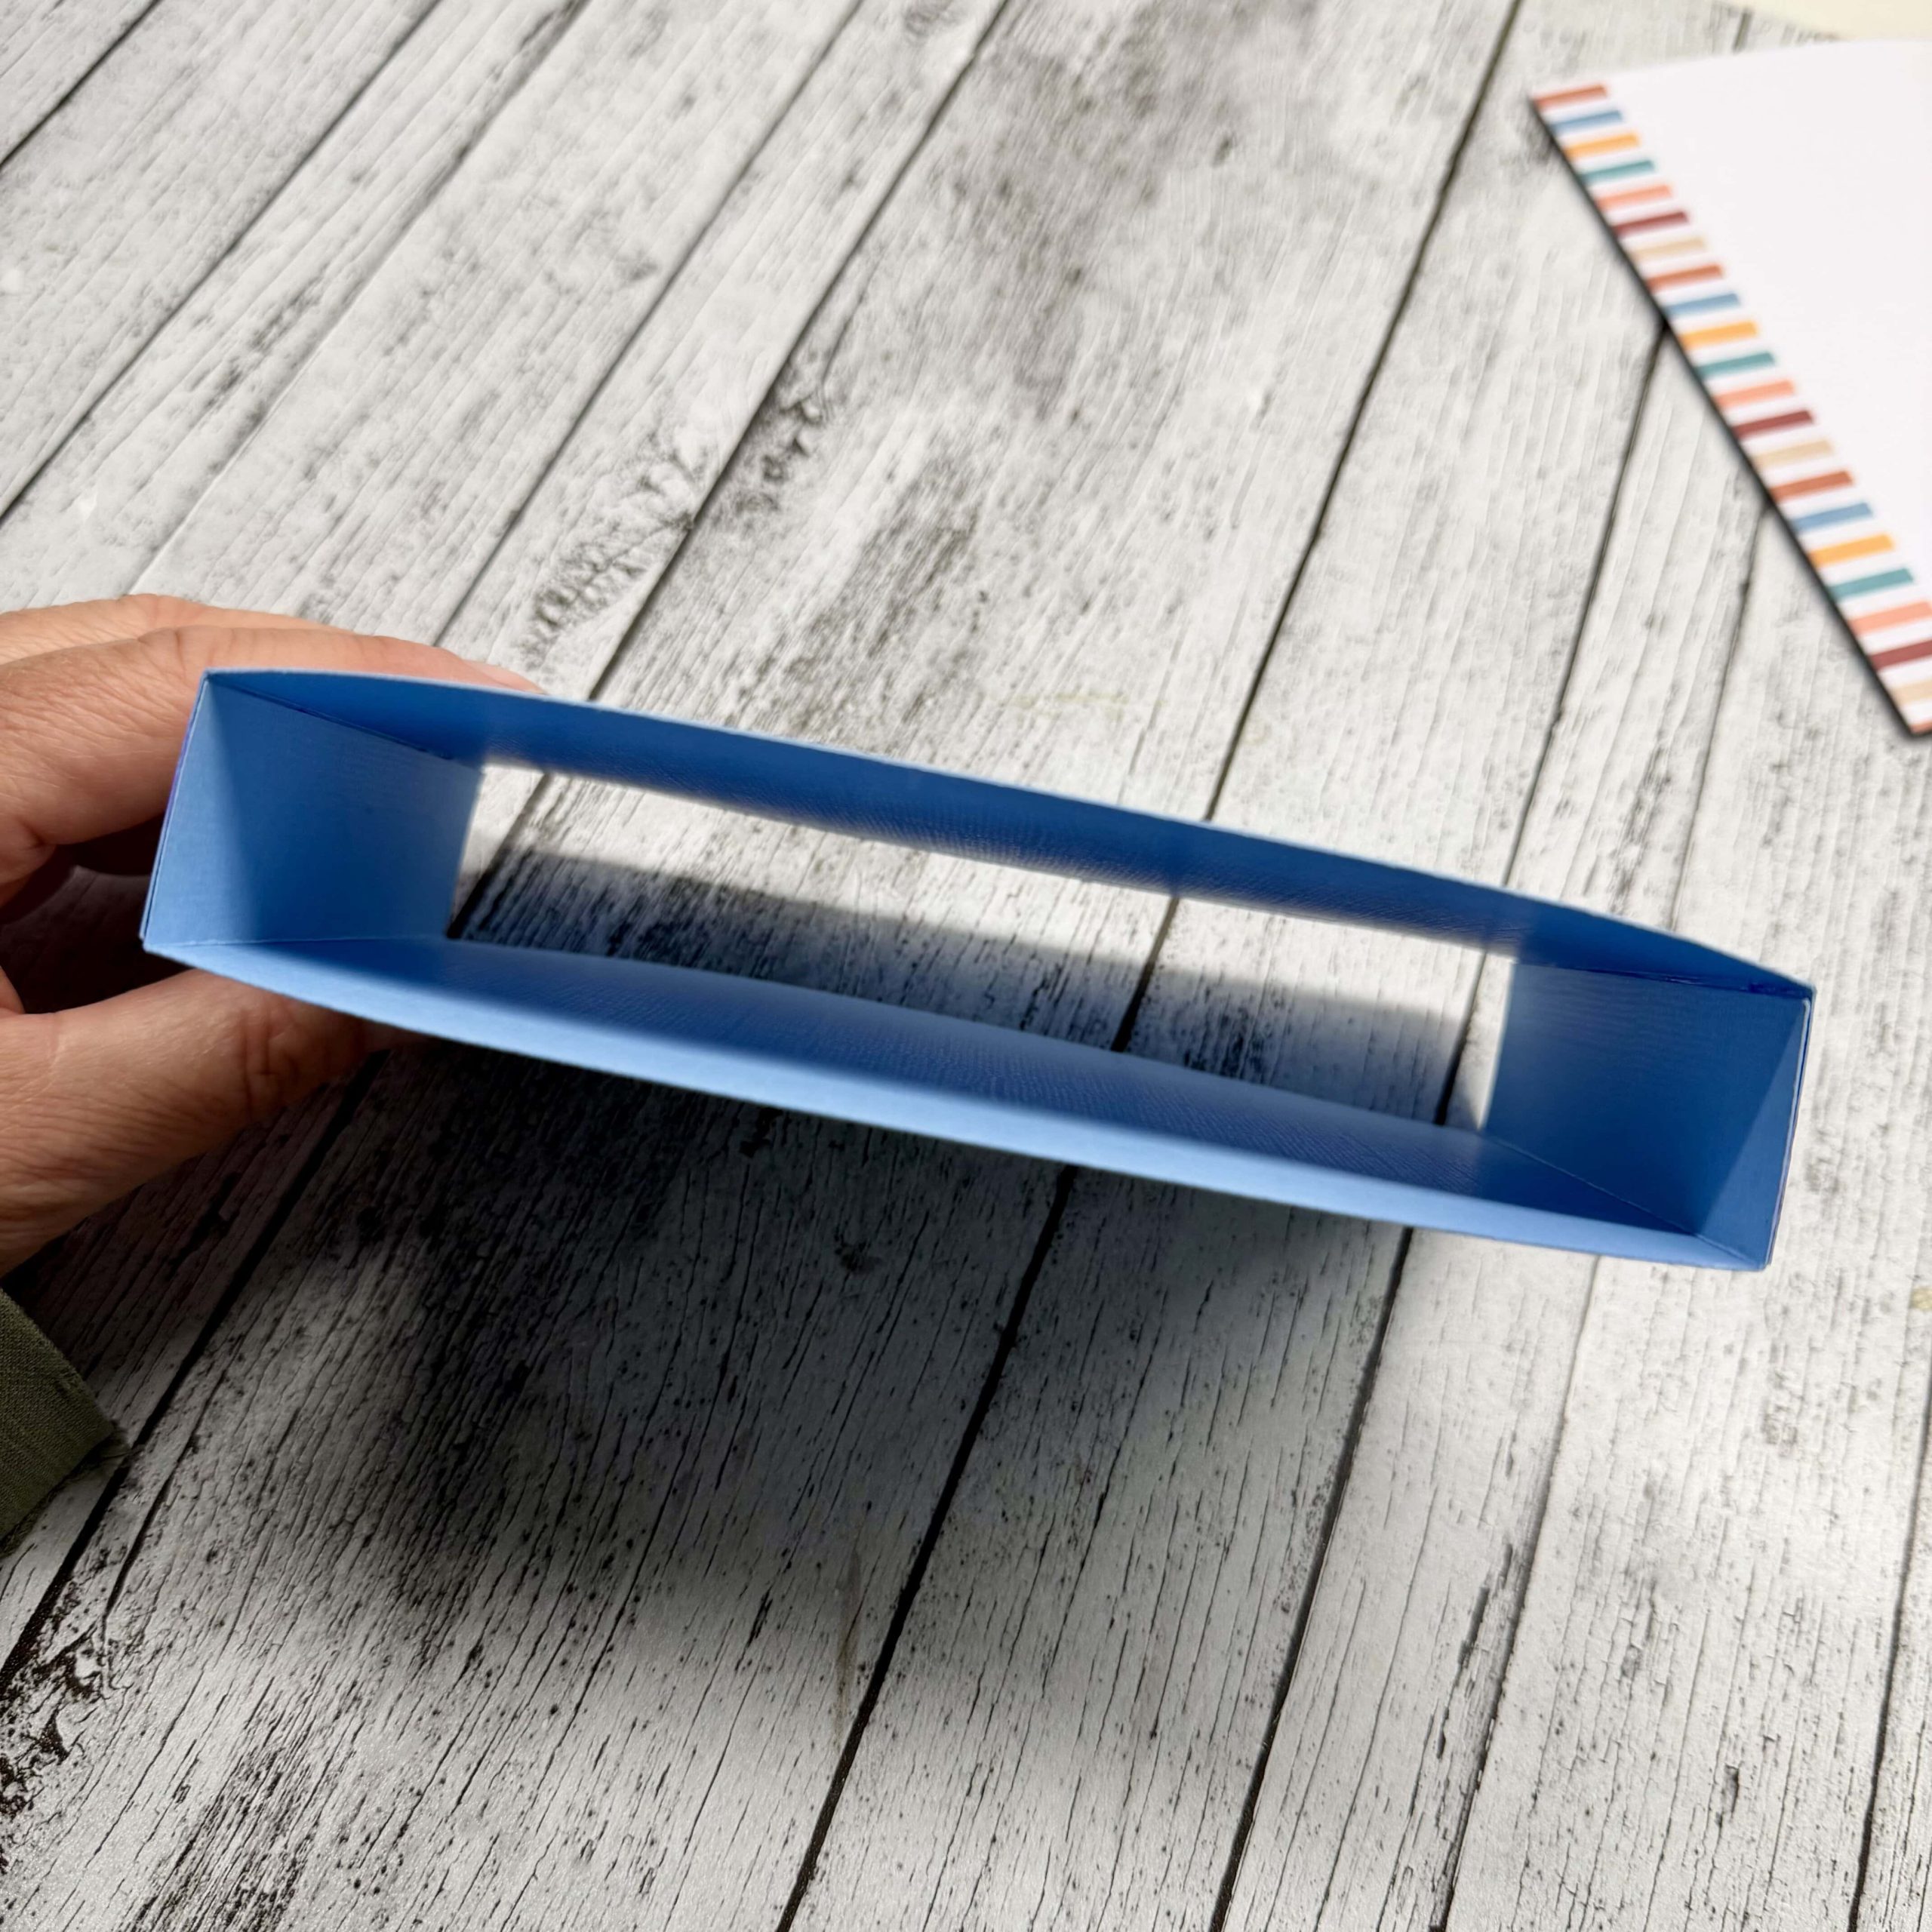
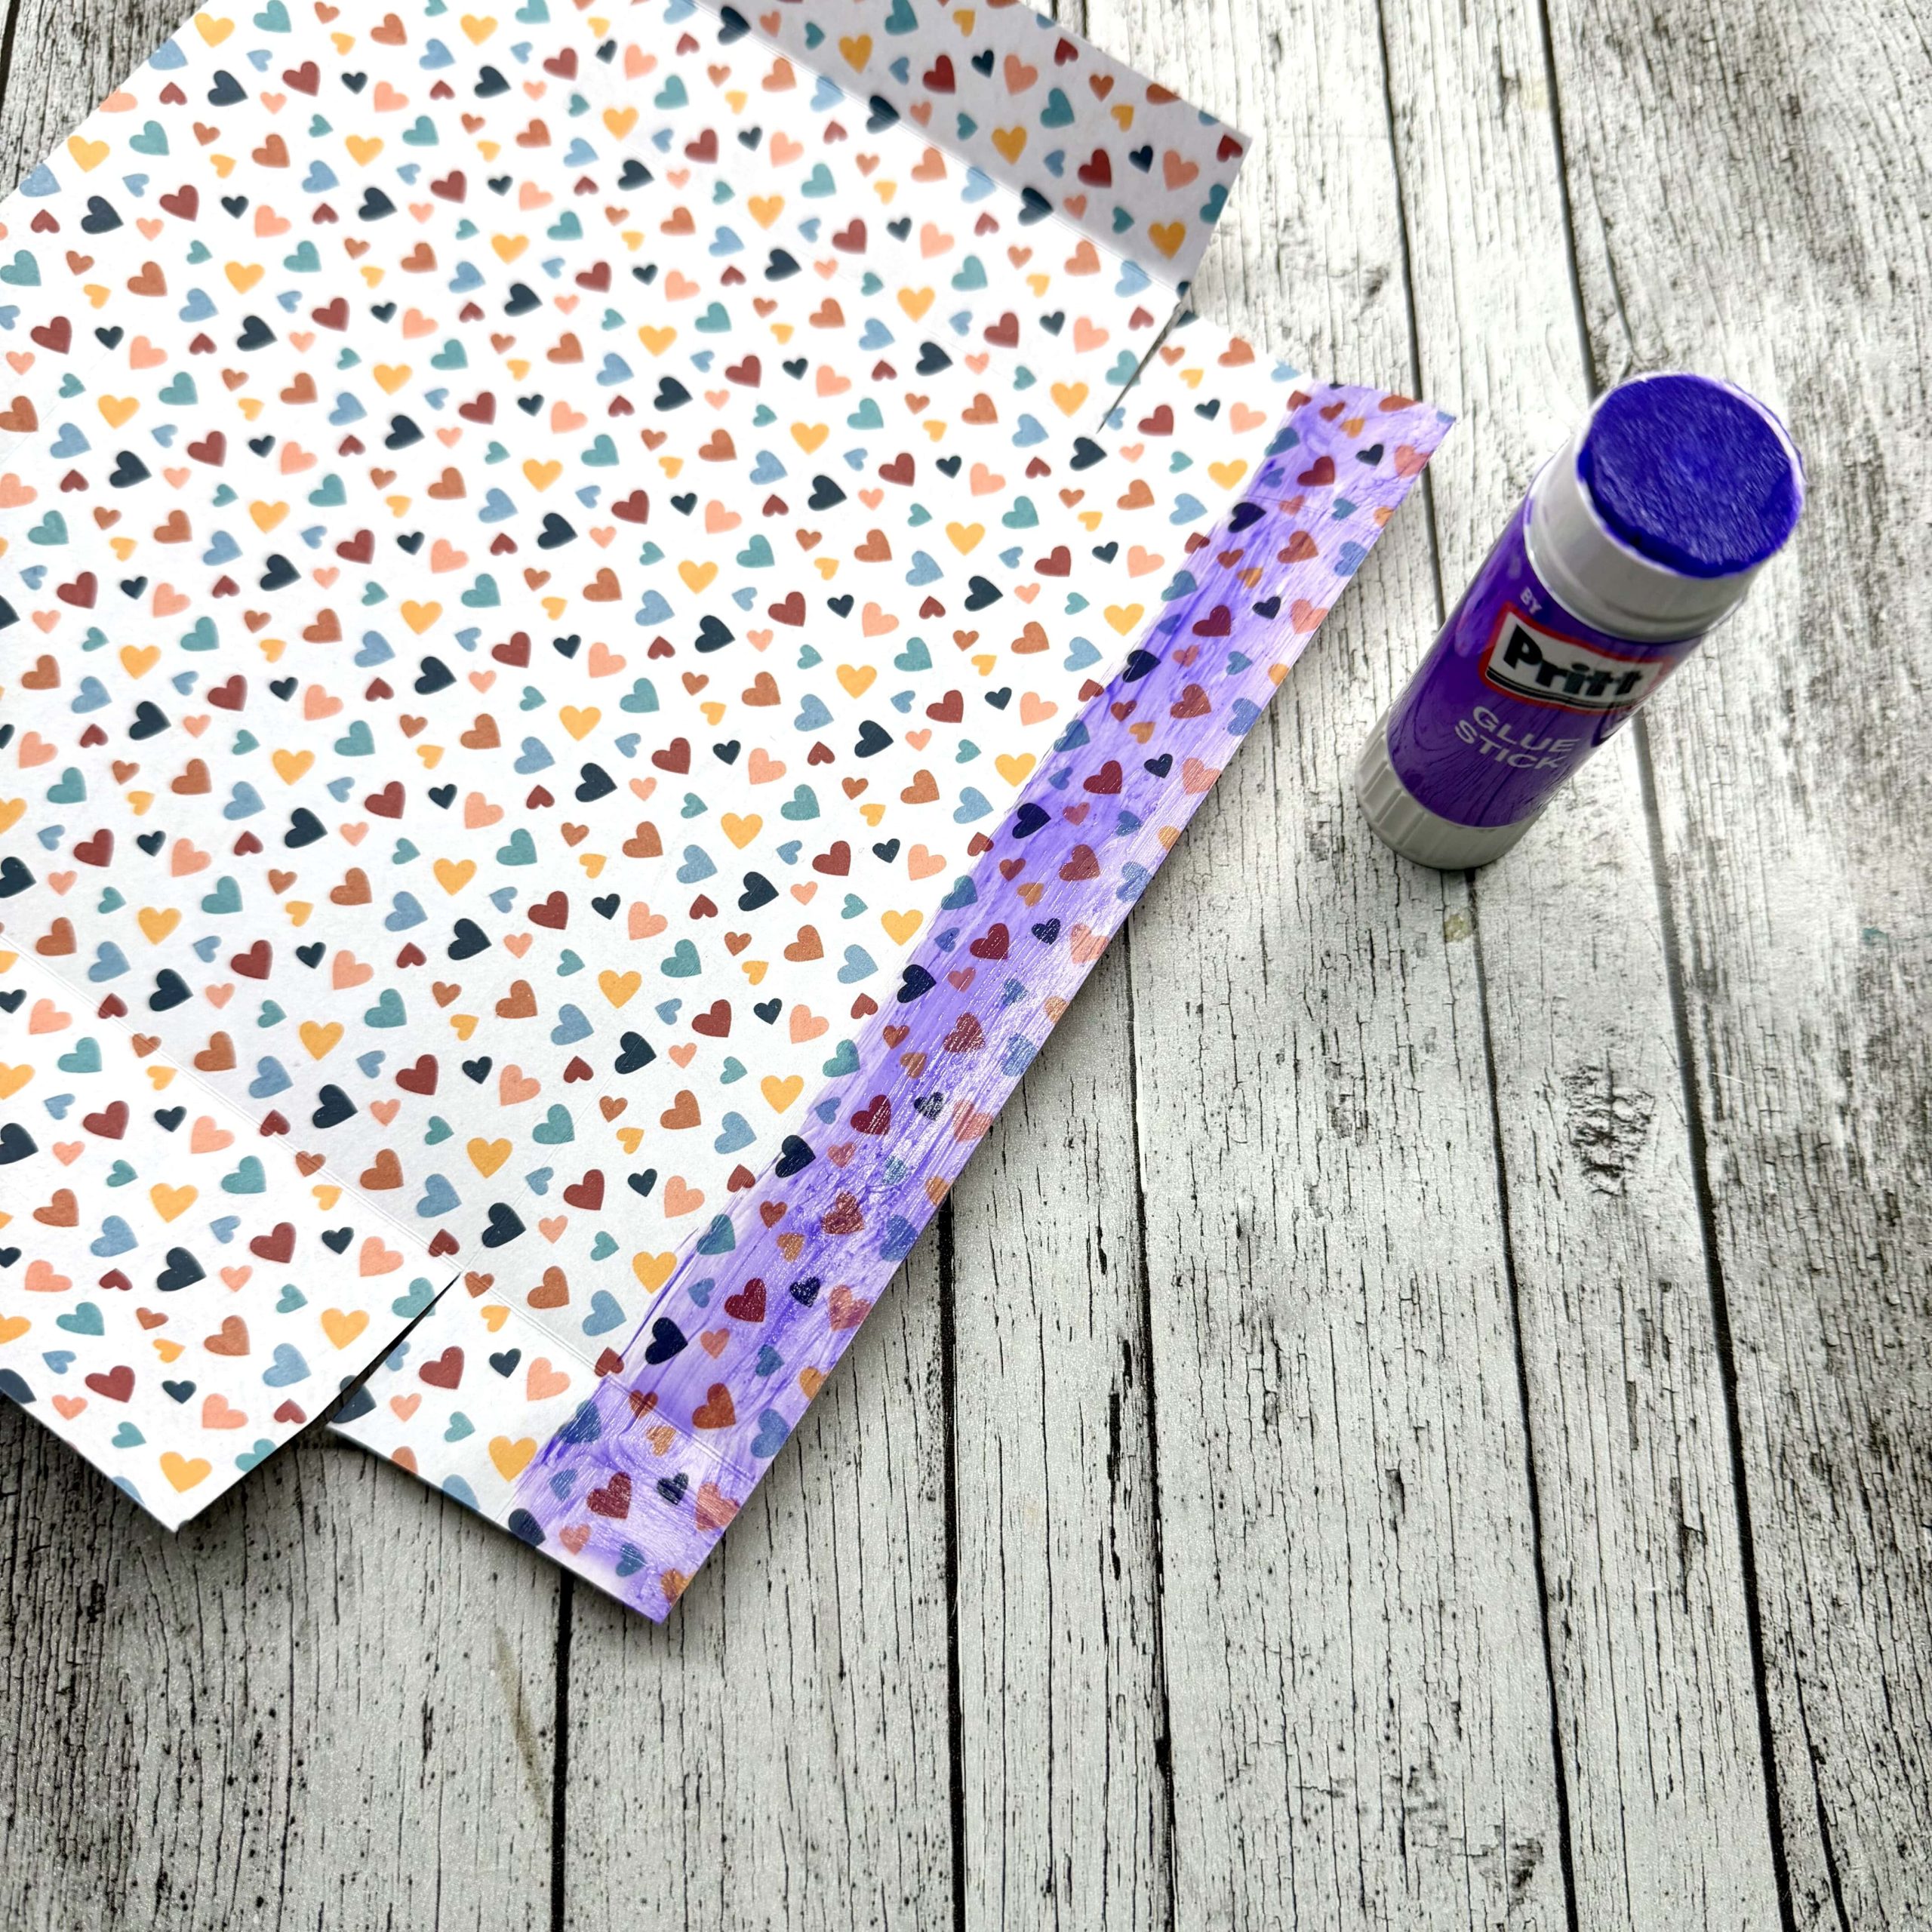
First I created the holder for the box, see template below. It’s two pieces glued togeter to create a rectangle. You can see below, how the glue is added on each flap and how the two pieces is assembled.
Next step is to create the box. Fold and cut away the corners following the markings on the template.
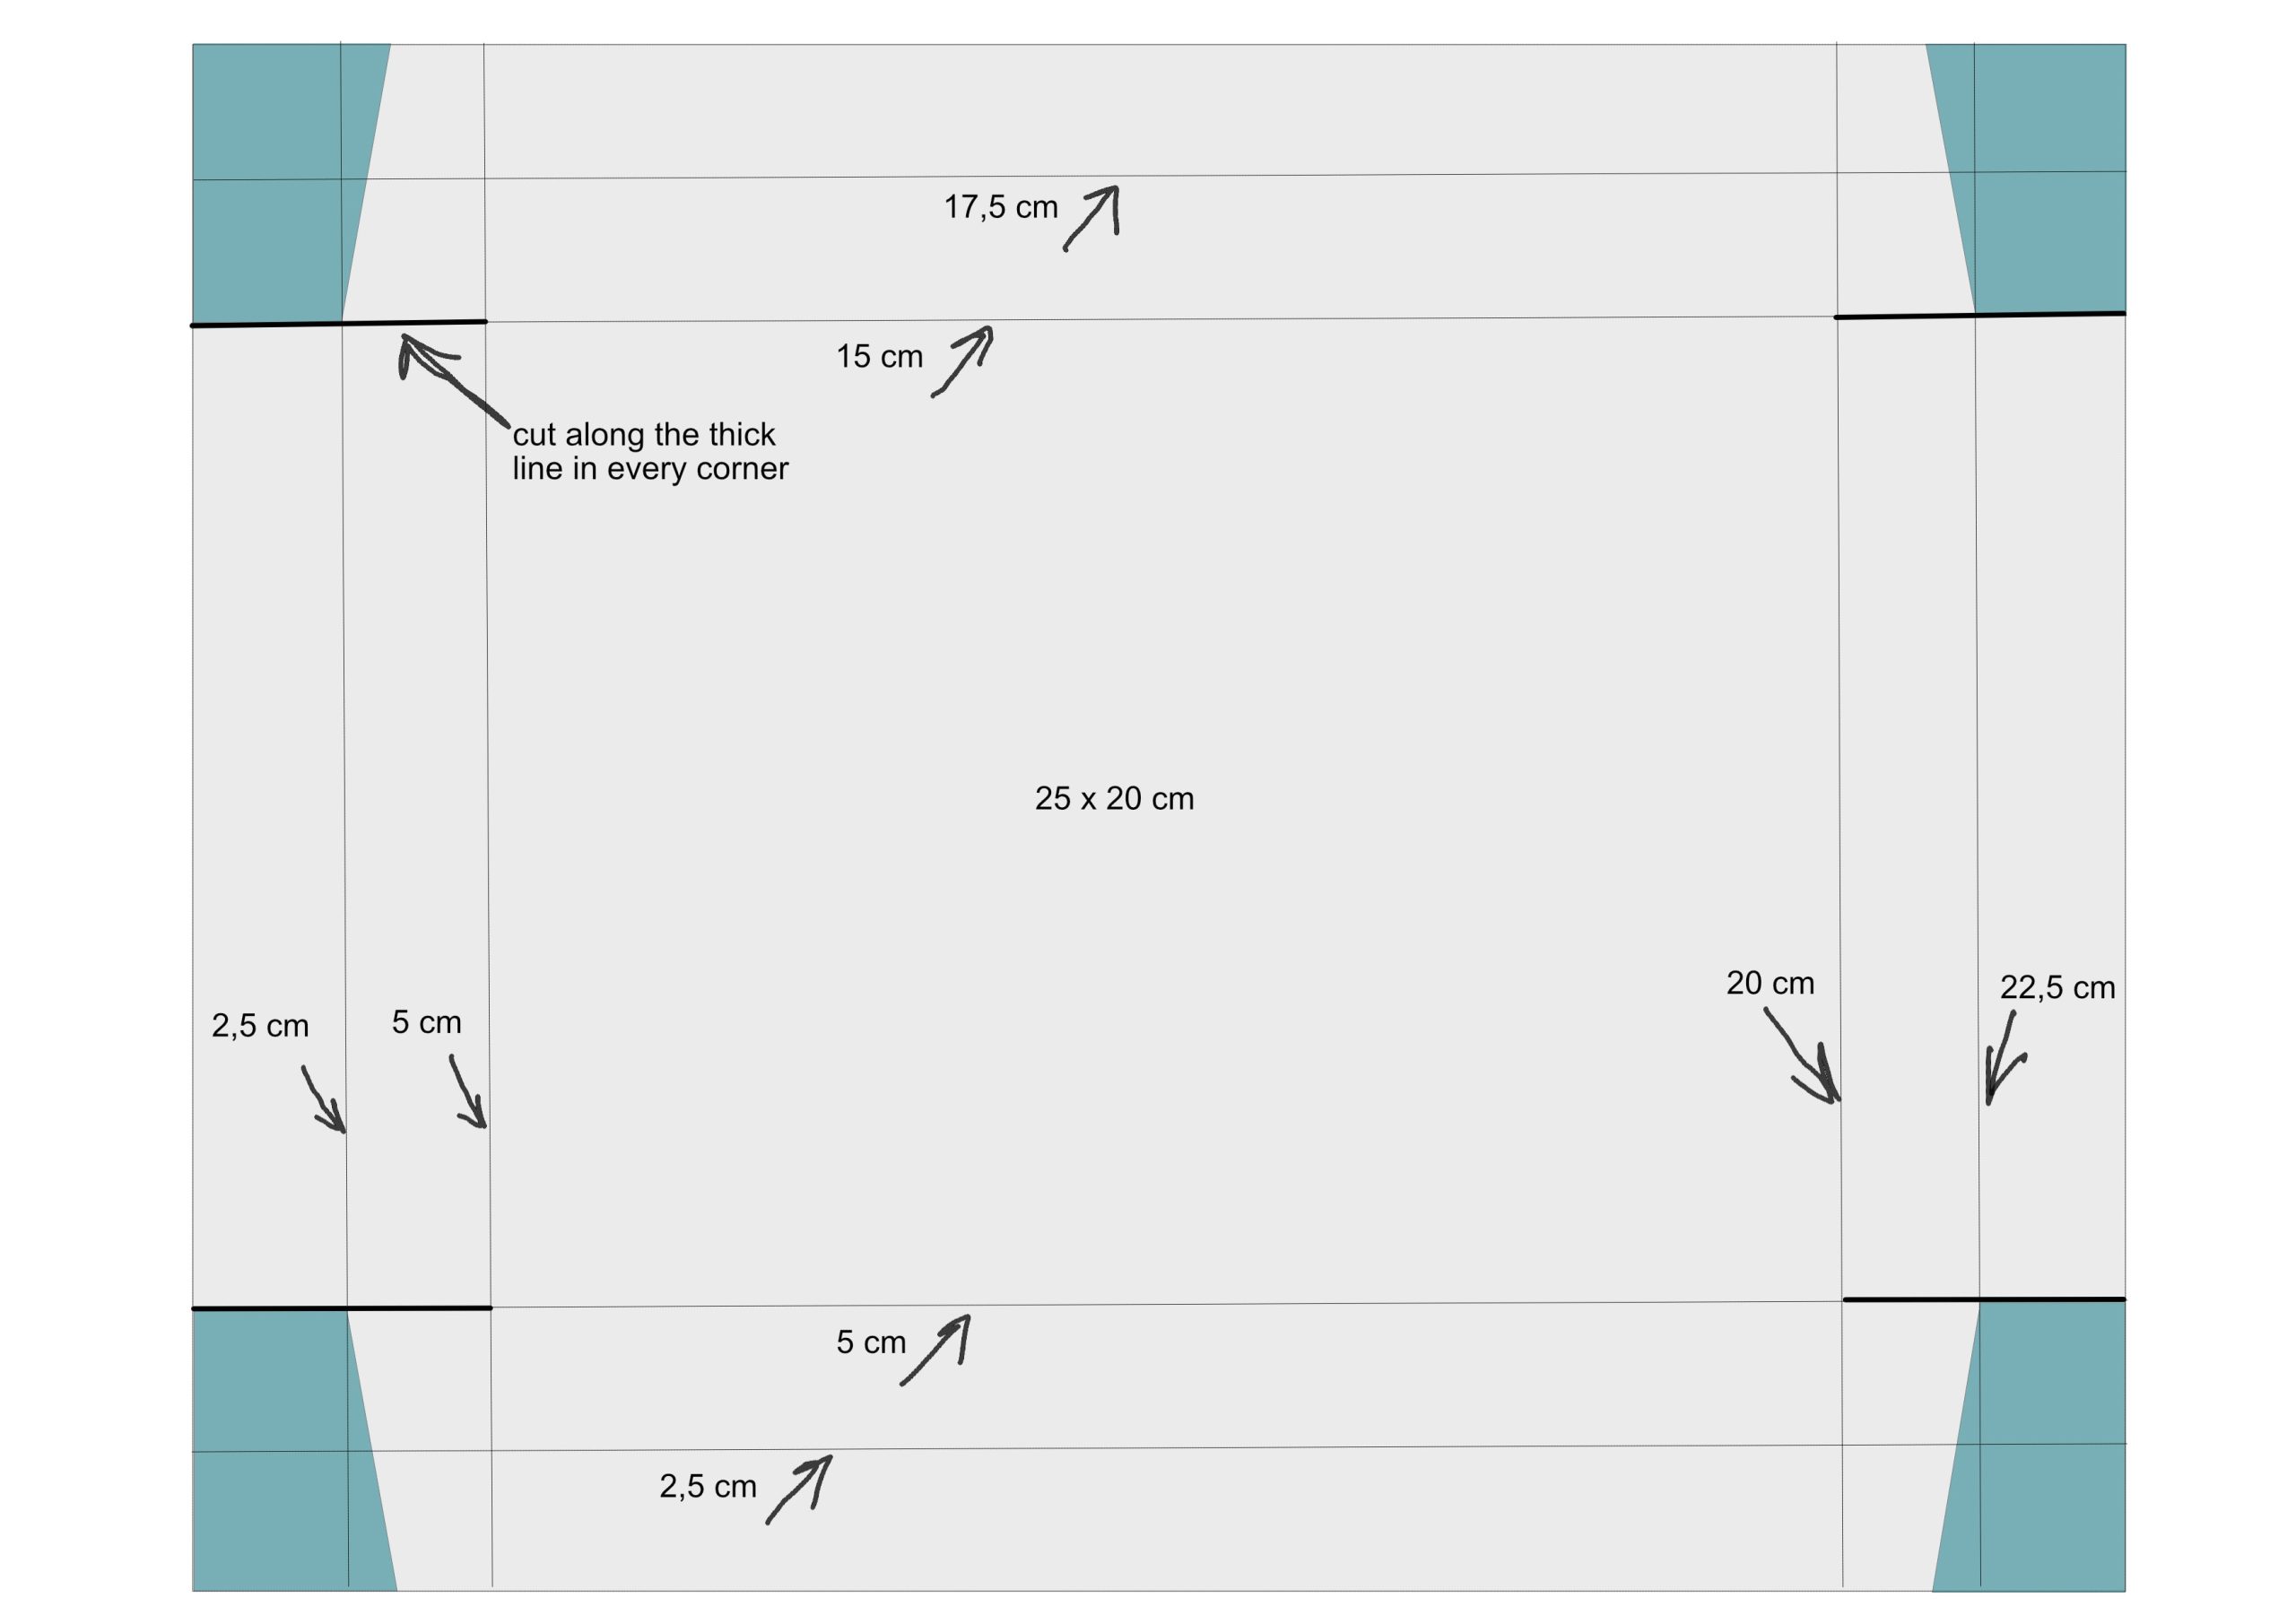
This is how it looks when the folding and cutting is finished.
Now add glue on the long sides and fold them first. After that you put glue on the short side, fold both the long and the short side together and put the flaps on the long sides in the fold of the short side, to lock the corner in place. The flaps are now hidden inside of the fold of the short side. And you have a perfect little box.
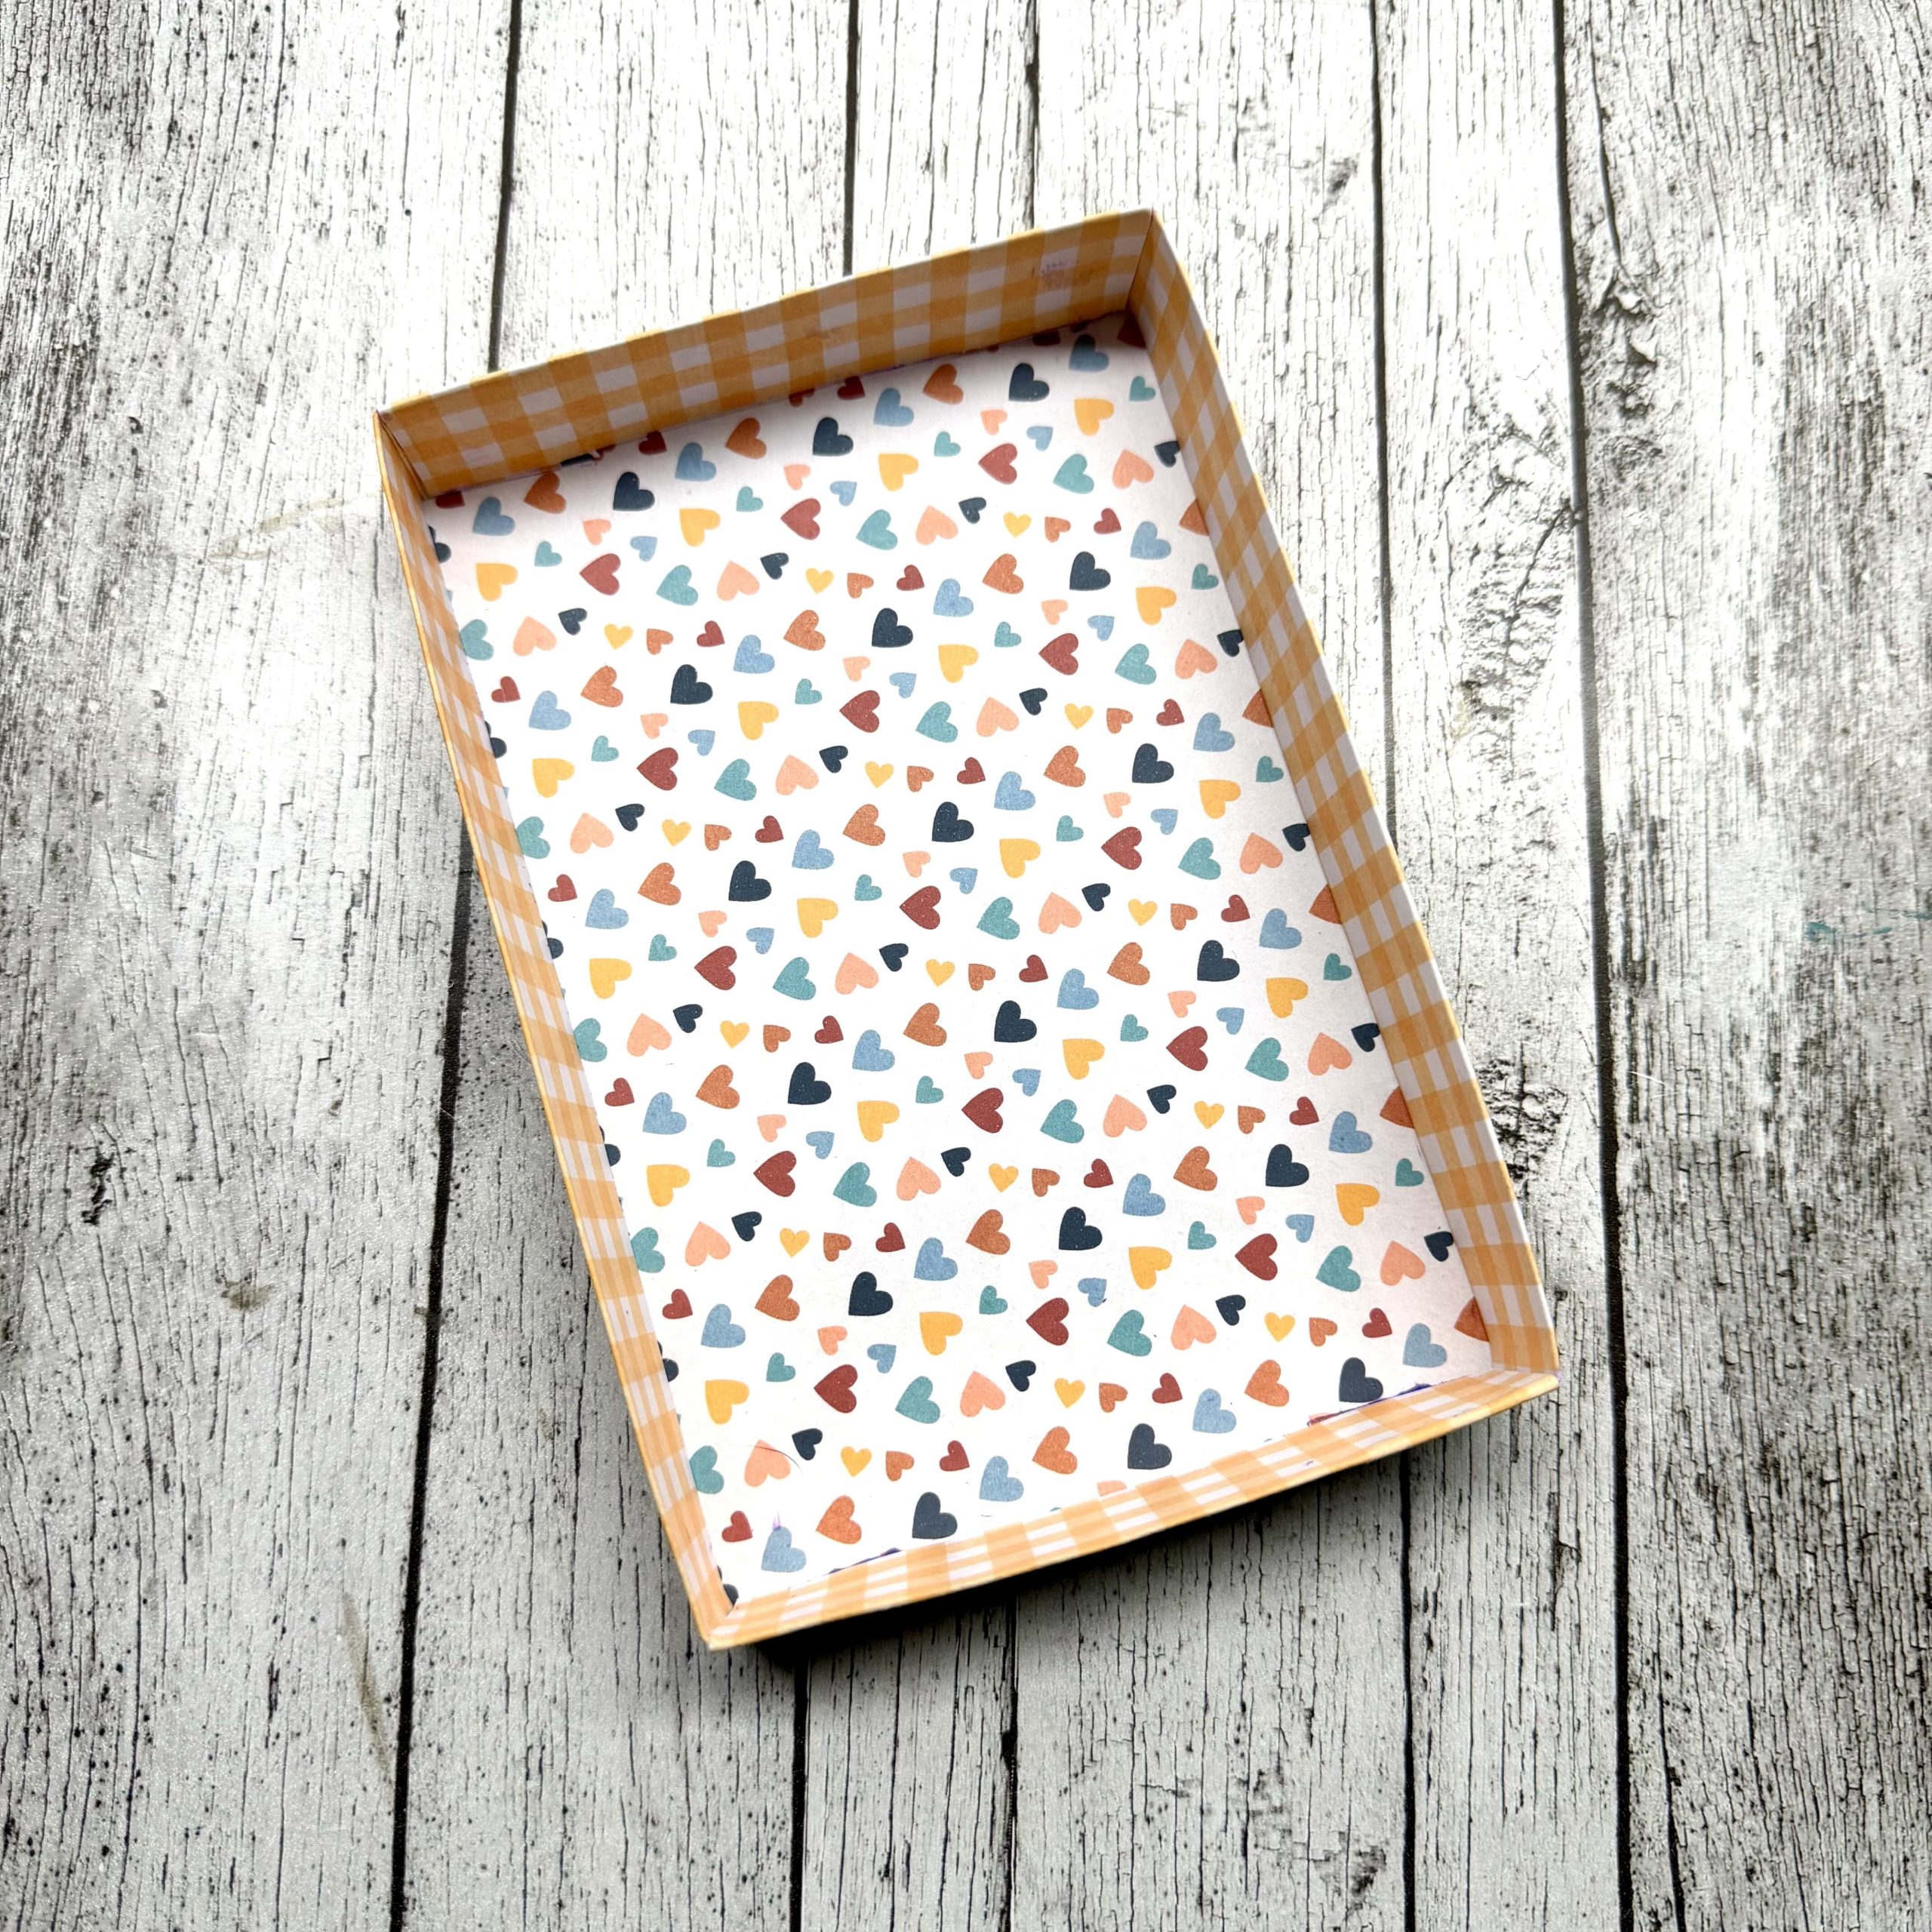
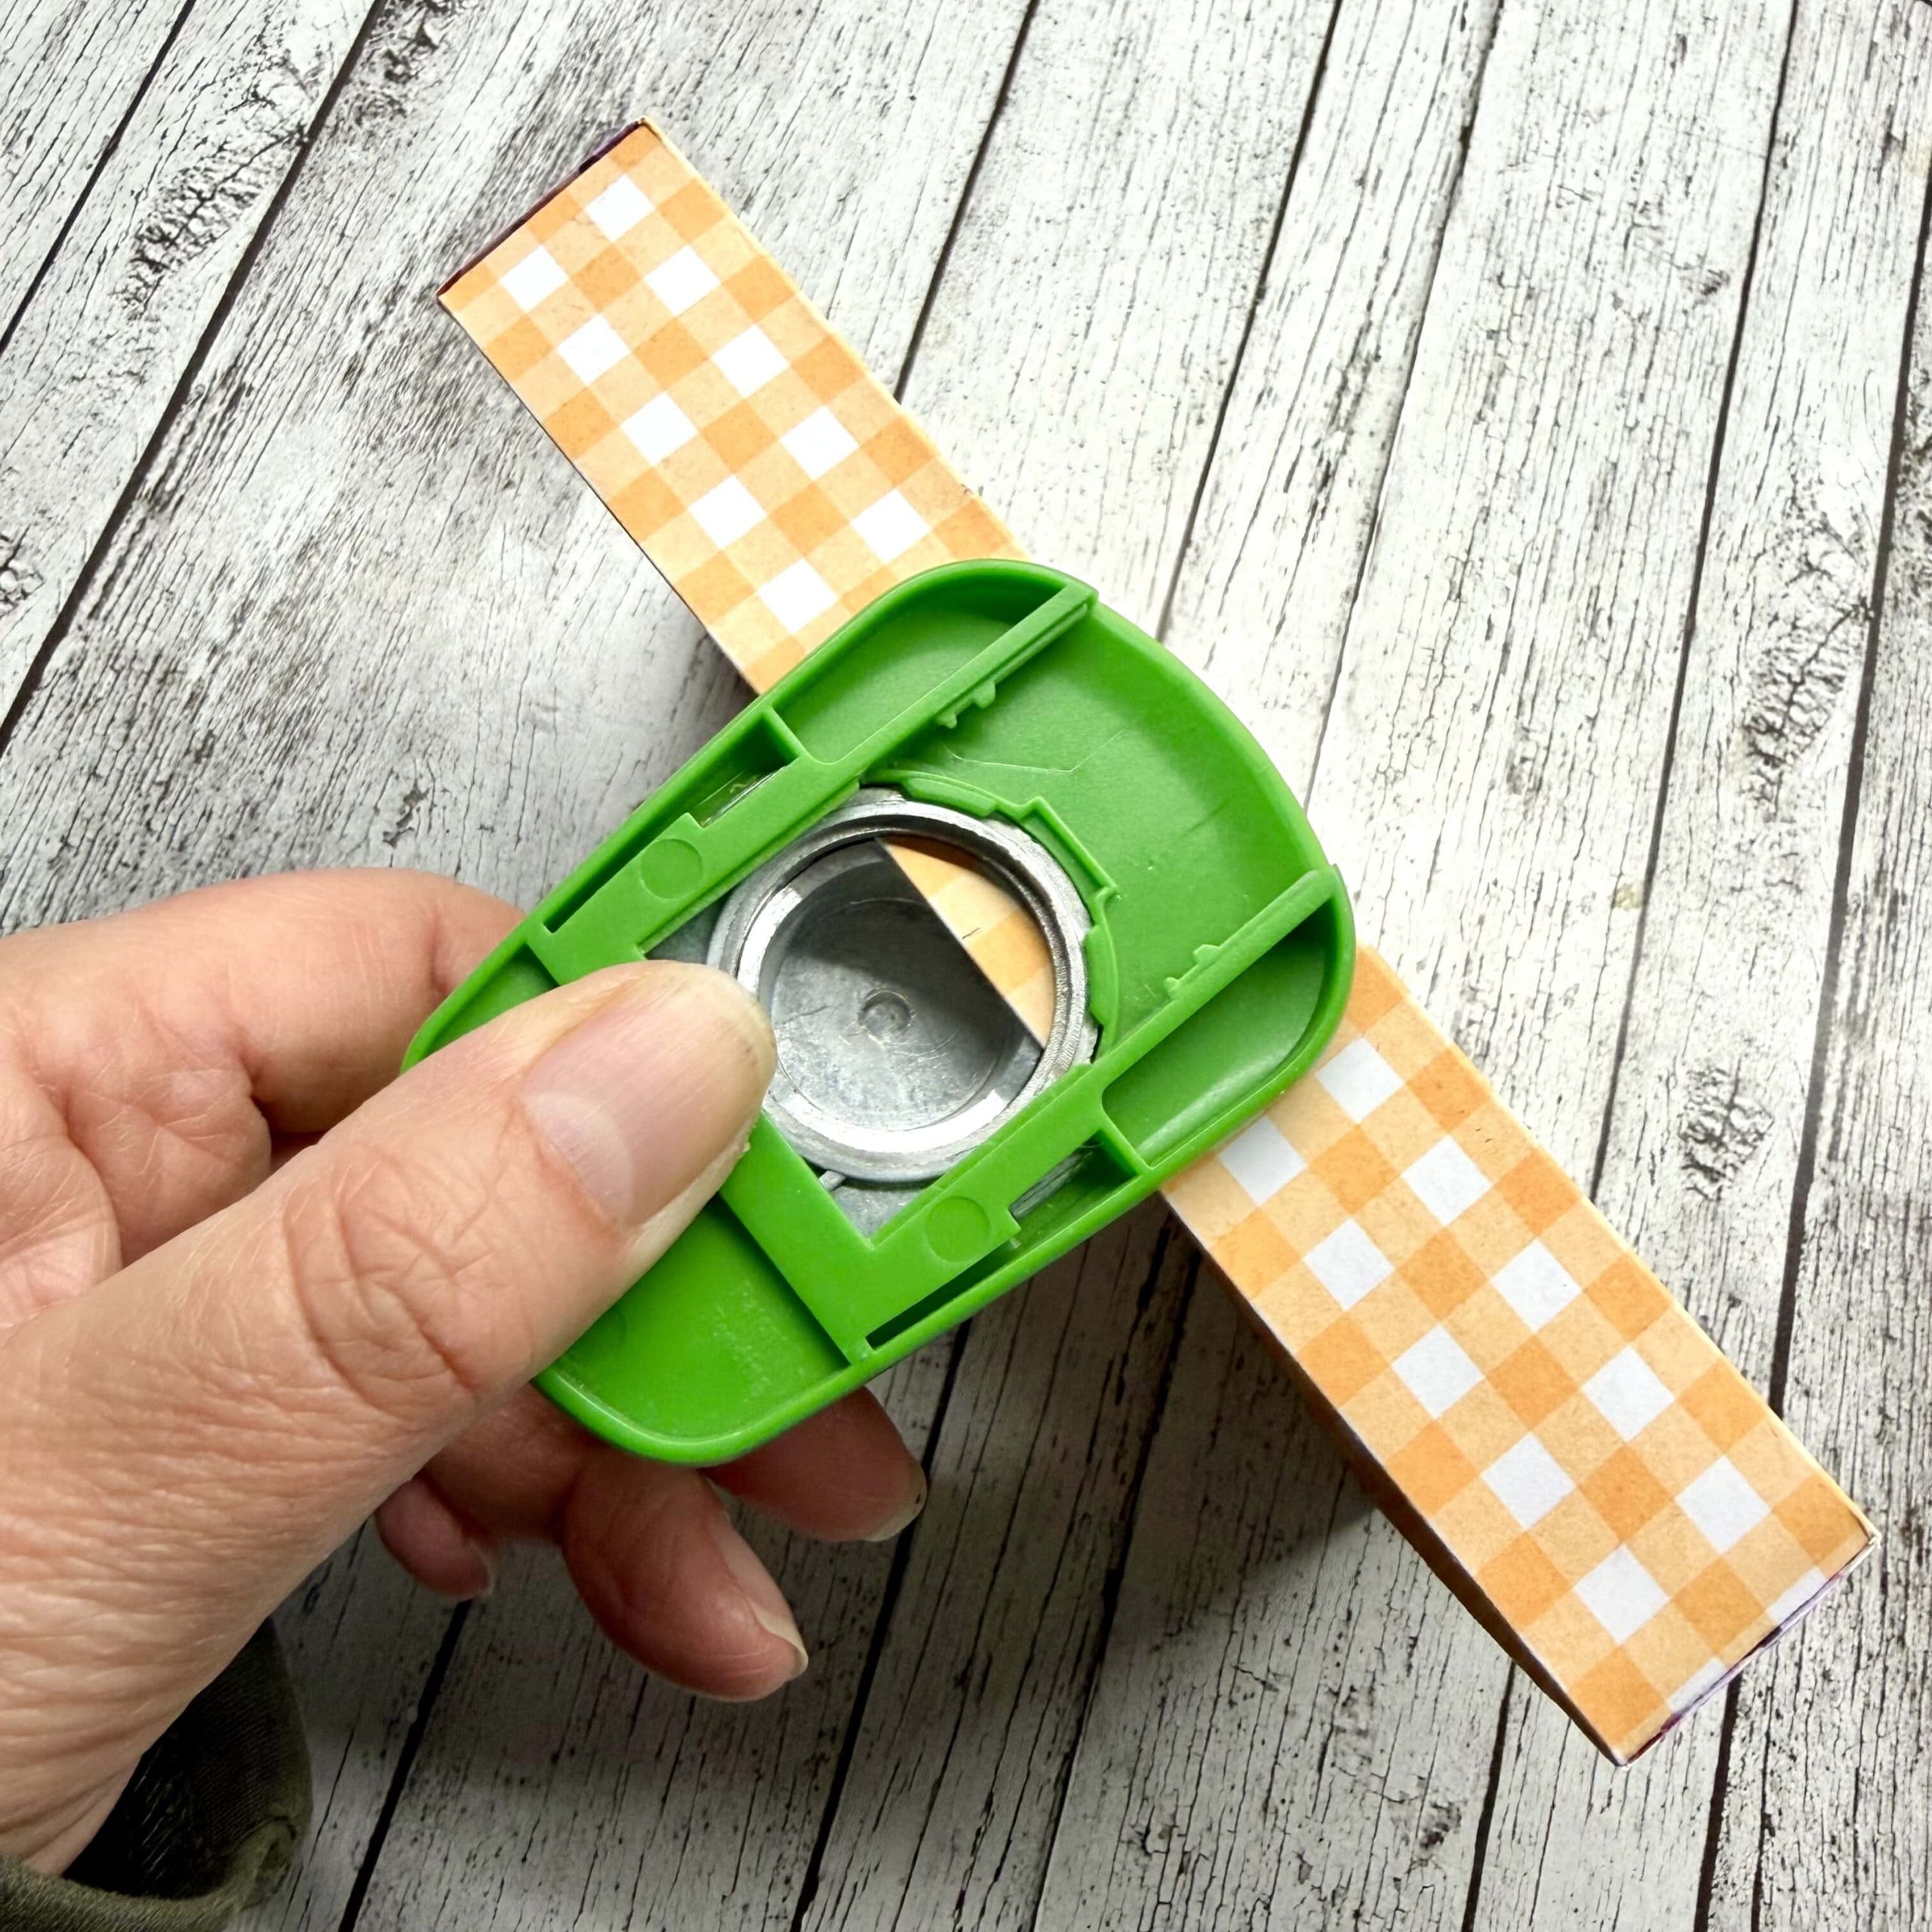
With a hole punch, or a sissors, cut a half circle in the top of one of the long sides to create a small notch at the front of the box, to make it easier to open.
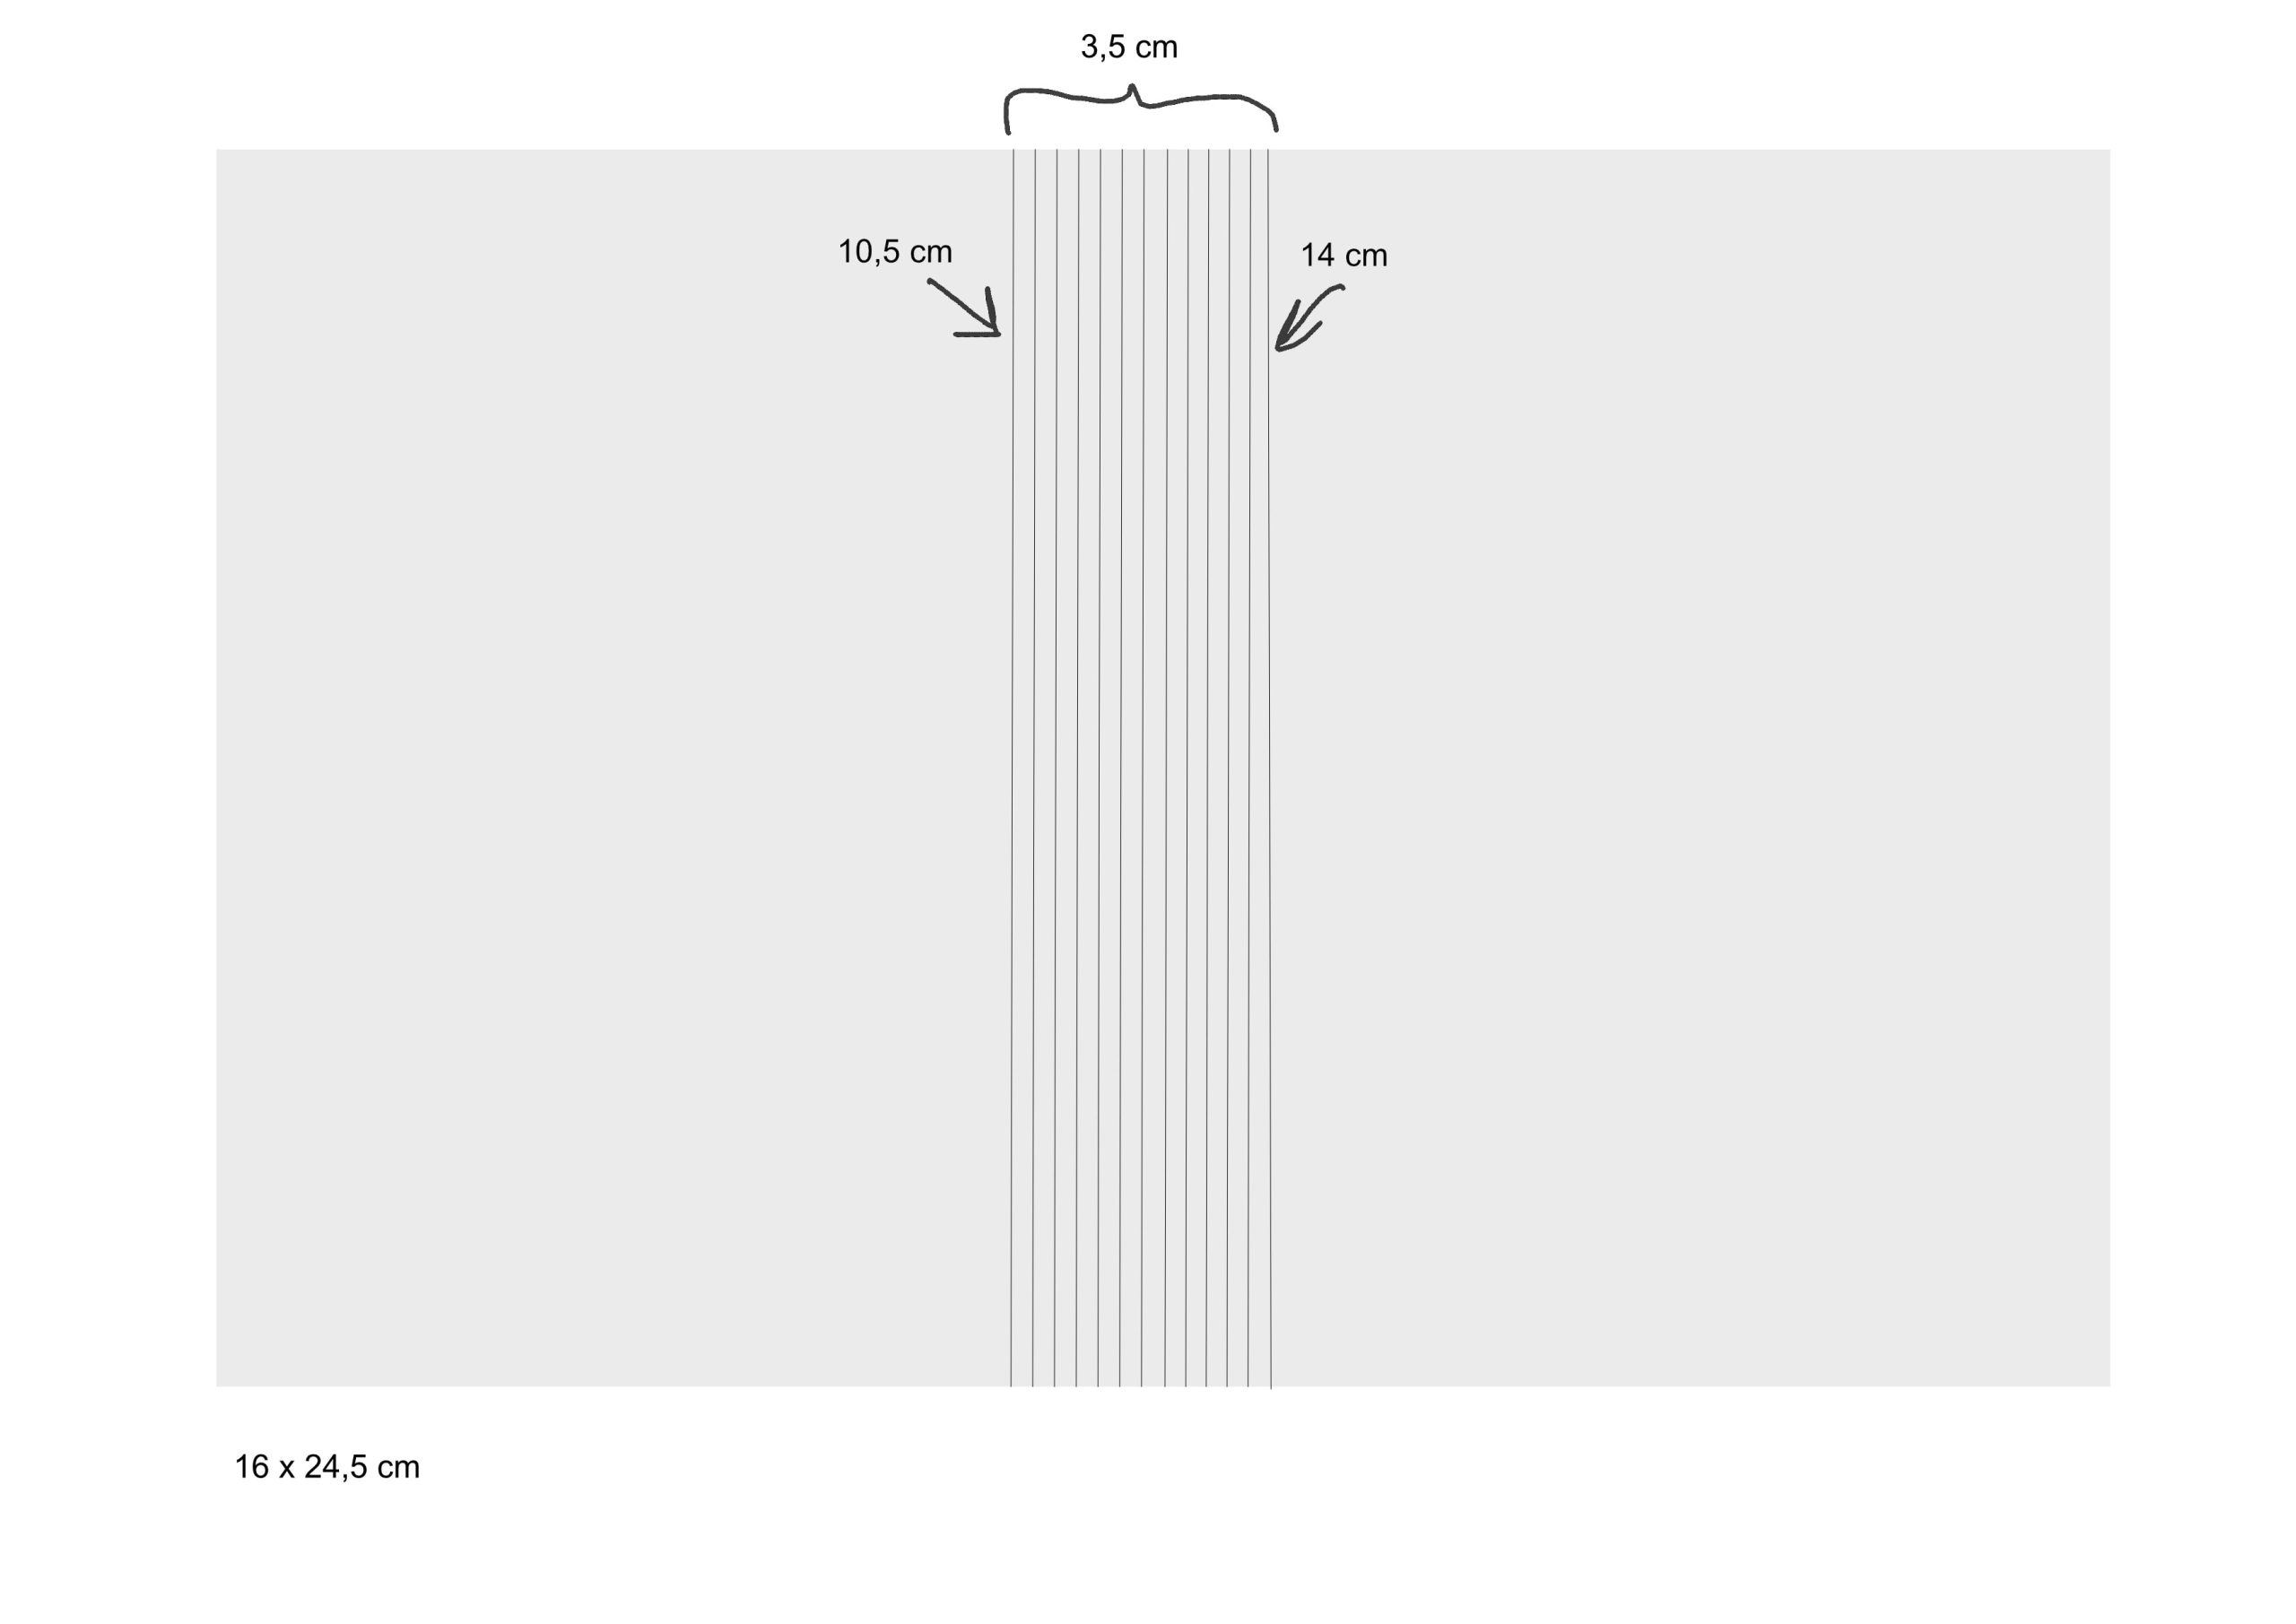
Next step is to make the scores along the “spine” of the book to make it curve just like a real spine. You can see the measurements on the template below. This is how it looks from the front and the back.

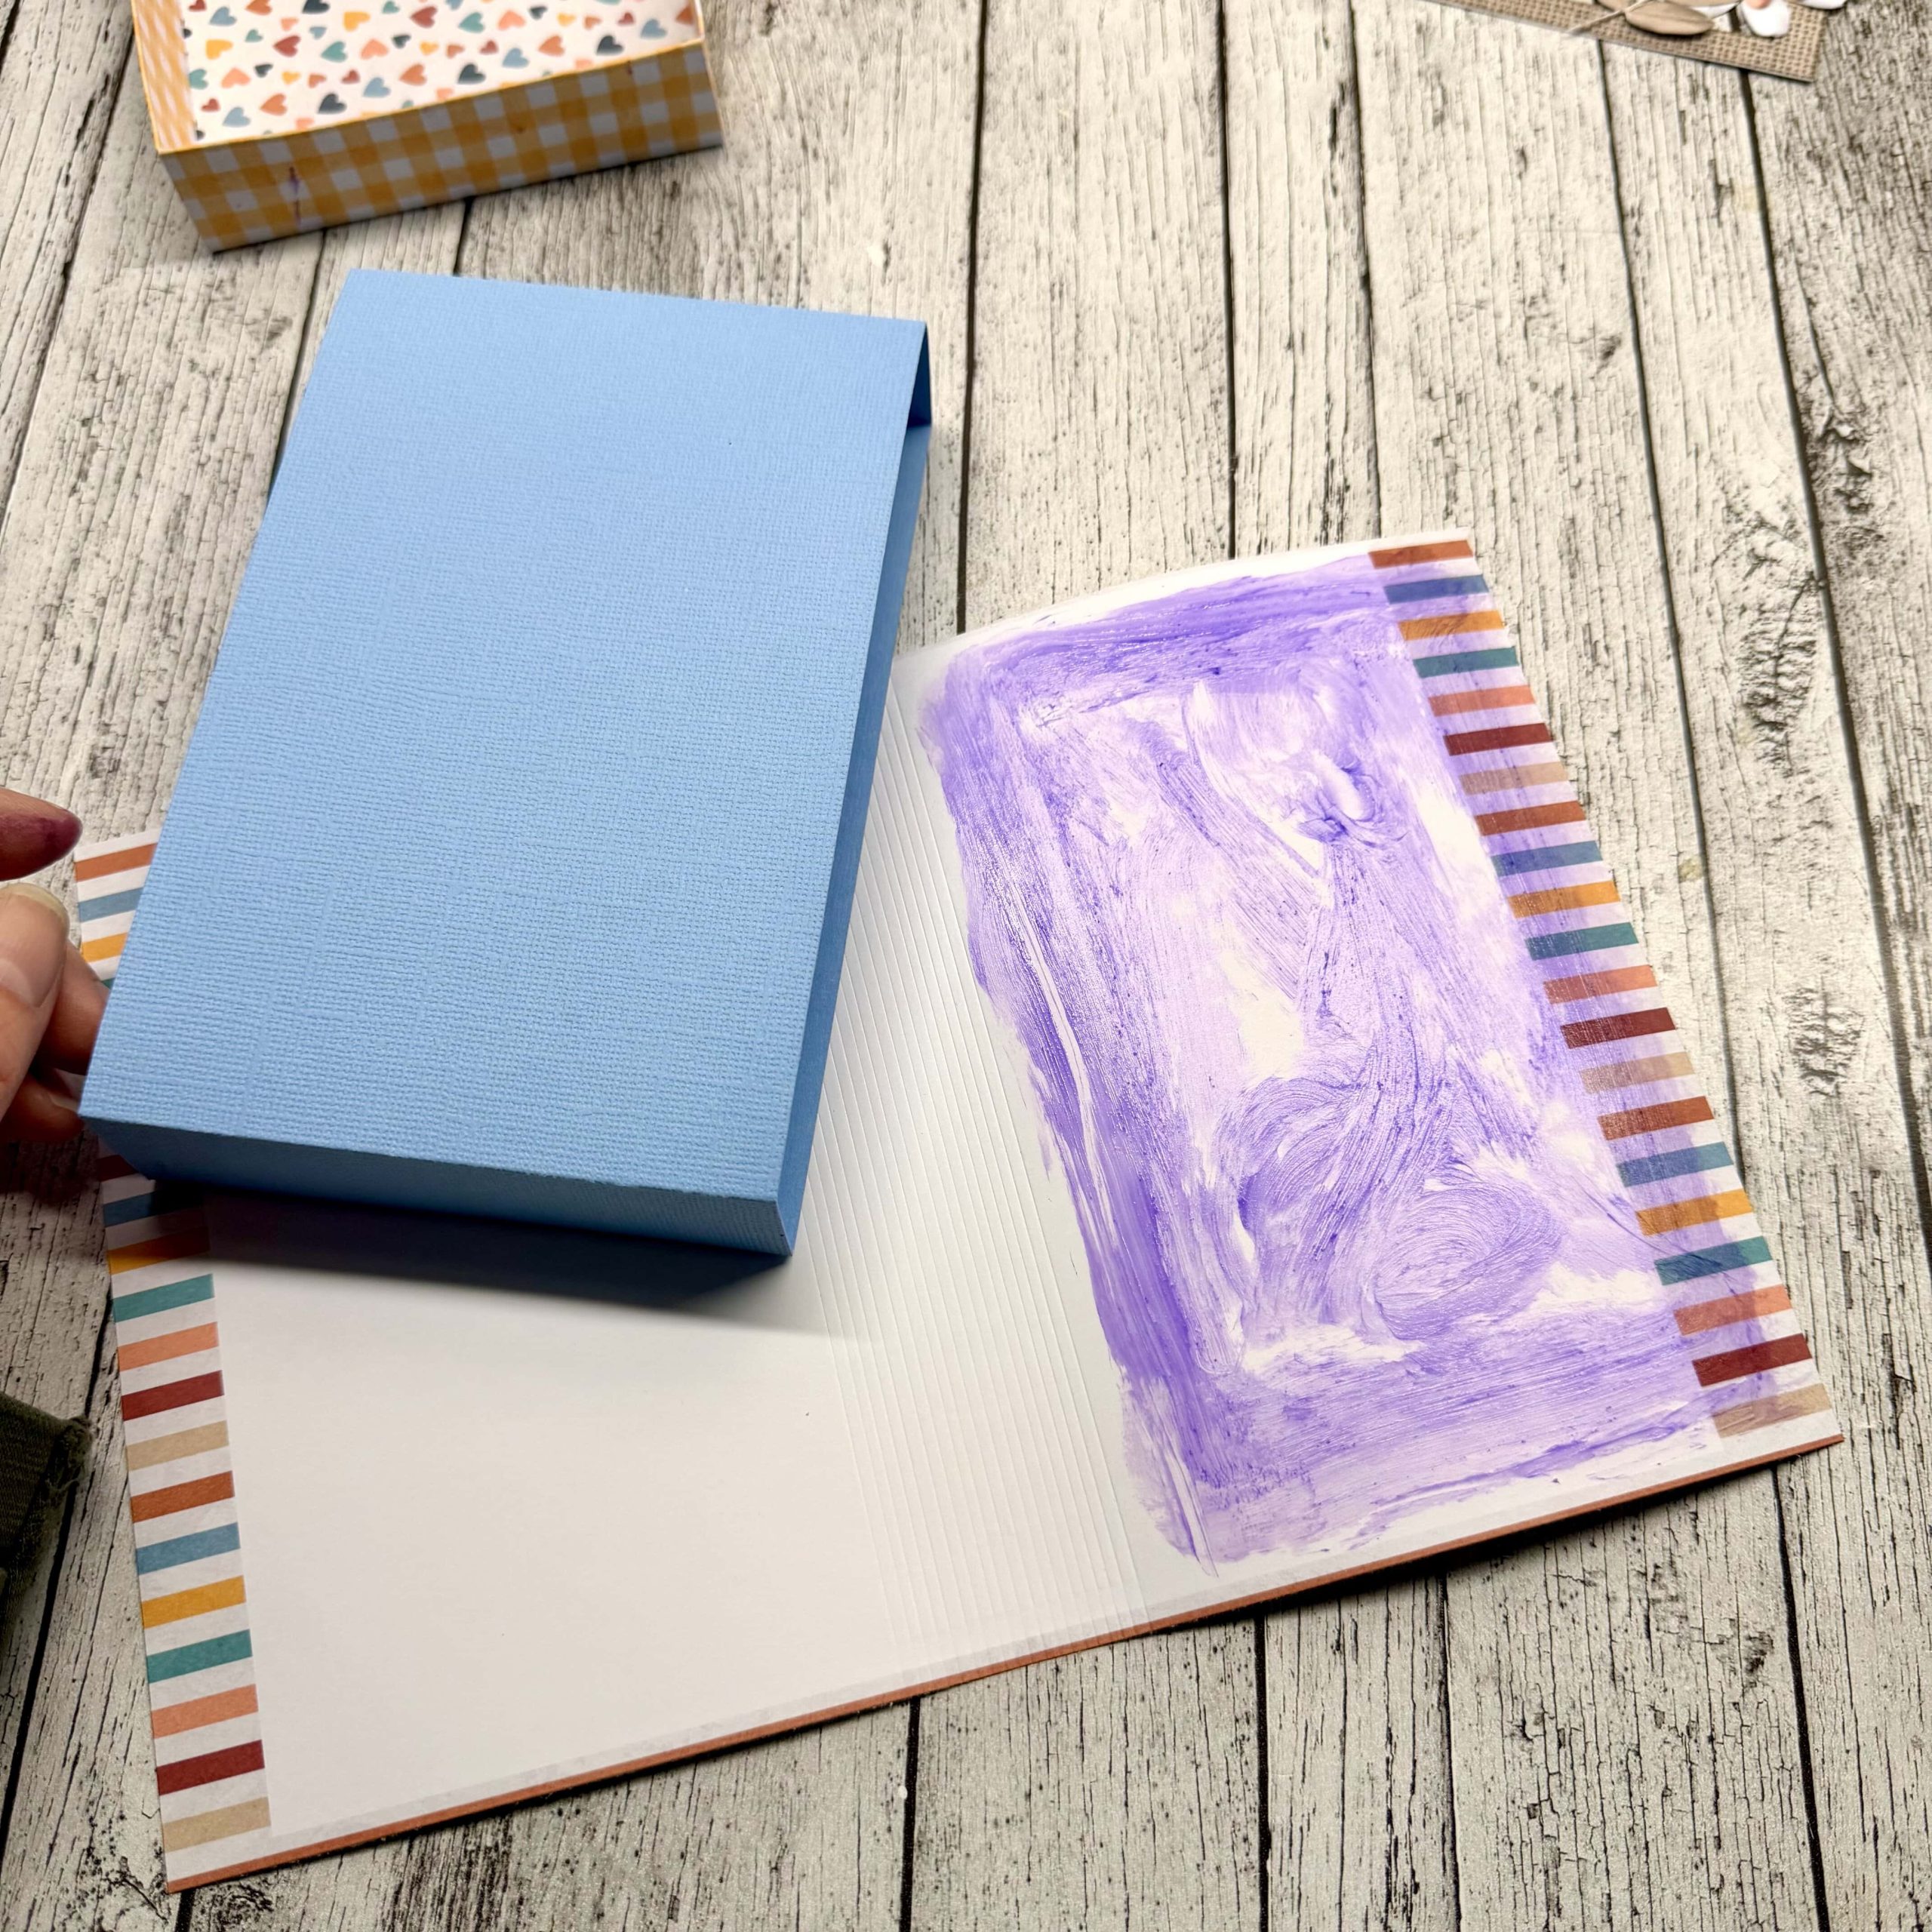
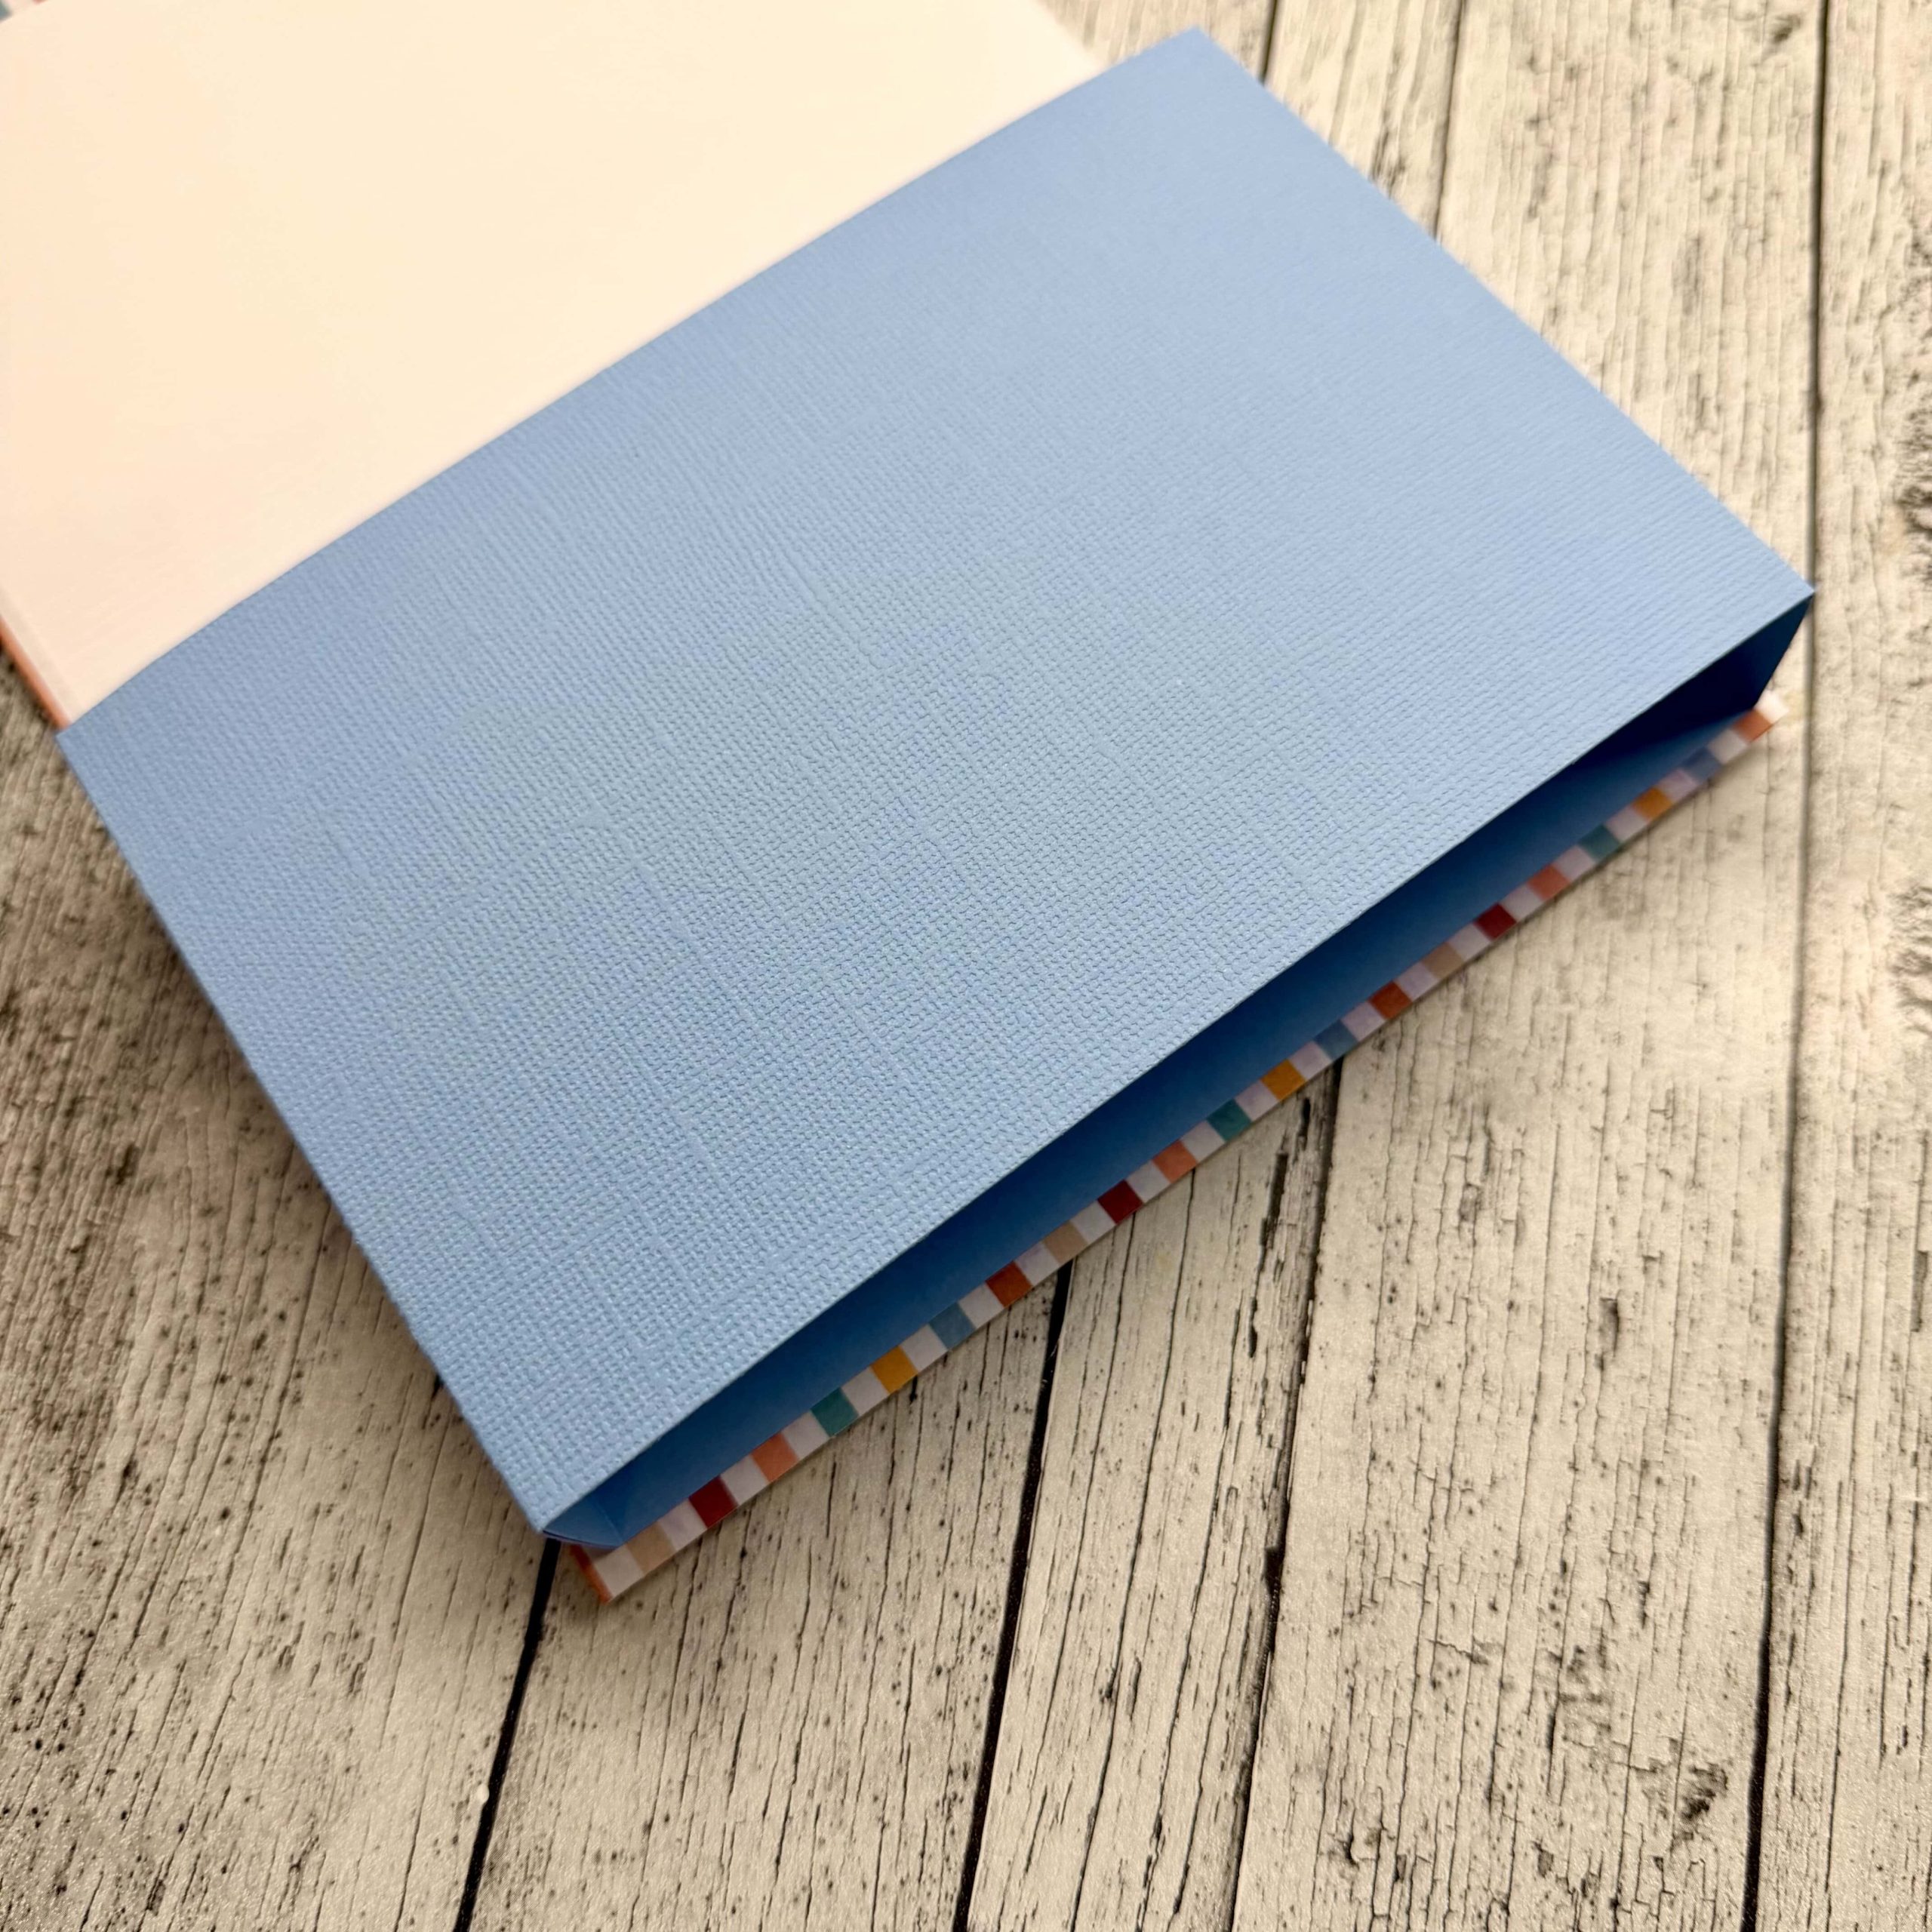
Now it’s time to put everything together. Glue the box cover on the inside of the book cover. Make sure there are a little space between the edge of the cover and the box.
Here you can see the curved spine and the box from the front.

And finally the fun part, the decoration of the cover!

I hope you’ll try this project, it looks advanced but it’s really easy and so fun to create!
Have a great week and happy scrapping!


This makes my hybrid heart go pitter patter. LOVE THIS!!!! Thank you so much for sharing.
Thank you Esther! It was a fun project to create!
Thank you for the detailed instructions! I always struggle with the dimensions when making a 3D hybrid project!
Oh my gosh! This is so awesome! I love that it’s a book, but has the awesome slide out drawer to it too! So fun and I love how you created the rounded spine with the scored lines too!