Two Templates Two Ways
Happy Tuesday from Polly Beth and Polly Nancy. We are joining forces today to illustrate how versatile templates can be. We will be using the Grow Templates from Lynn Grieveson Designs. We also thought it would be fun to use the same products so we will both be using the recently released Lilypad Collab kits: Messy, Real and Beautiful. (Real and Beautiful are available in the Lilypad Store. First we will look at Beth’s layouts and process, then at Nancy’s, followed by other layouts that have used these templates.

Beth’s Layout #1: The Real Stuff
My process is to decide the photo I want to scrap and/or the story I want to tell first, then find a template that has the number of photo spots I’m looking for, or one I can adapt. In this case I chose two stories that would work well with these templates. I then see what products I have that match the theme and the colors of my photos. The Messy, Real, Beautiful COLLABs are so versatile that they can be used for a wide variety of themes and colors.
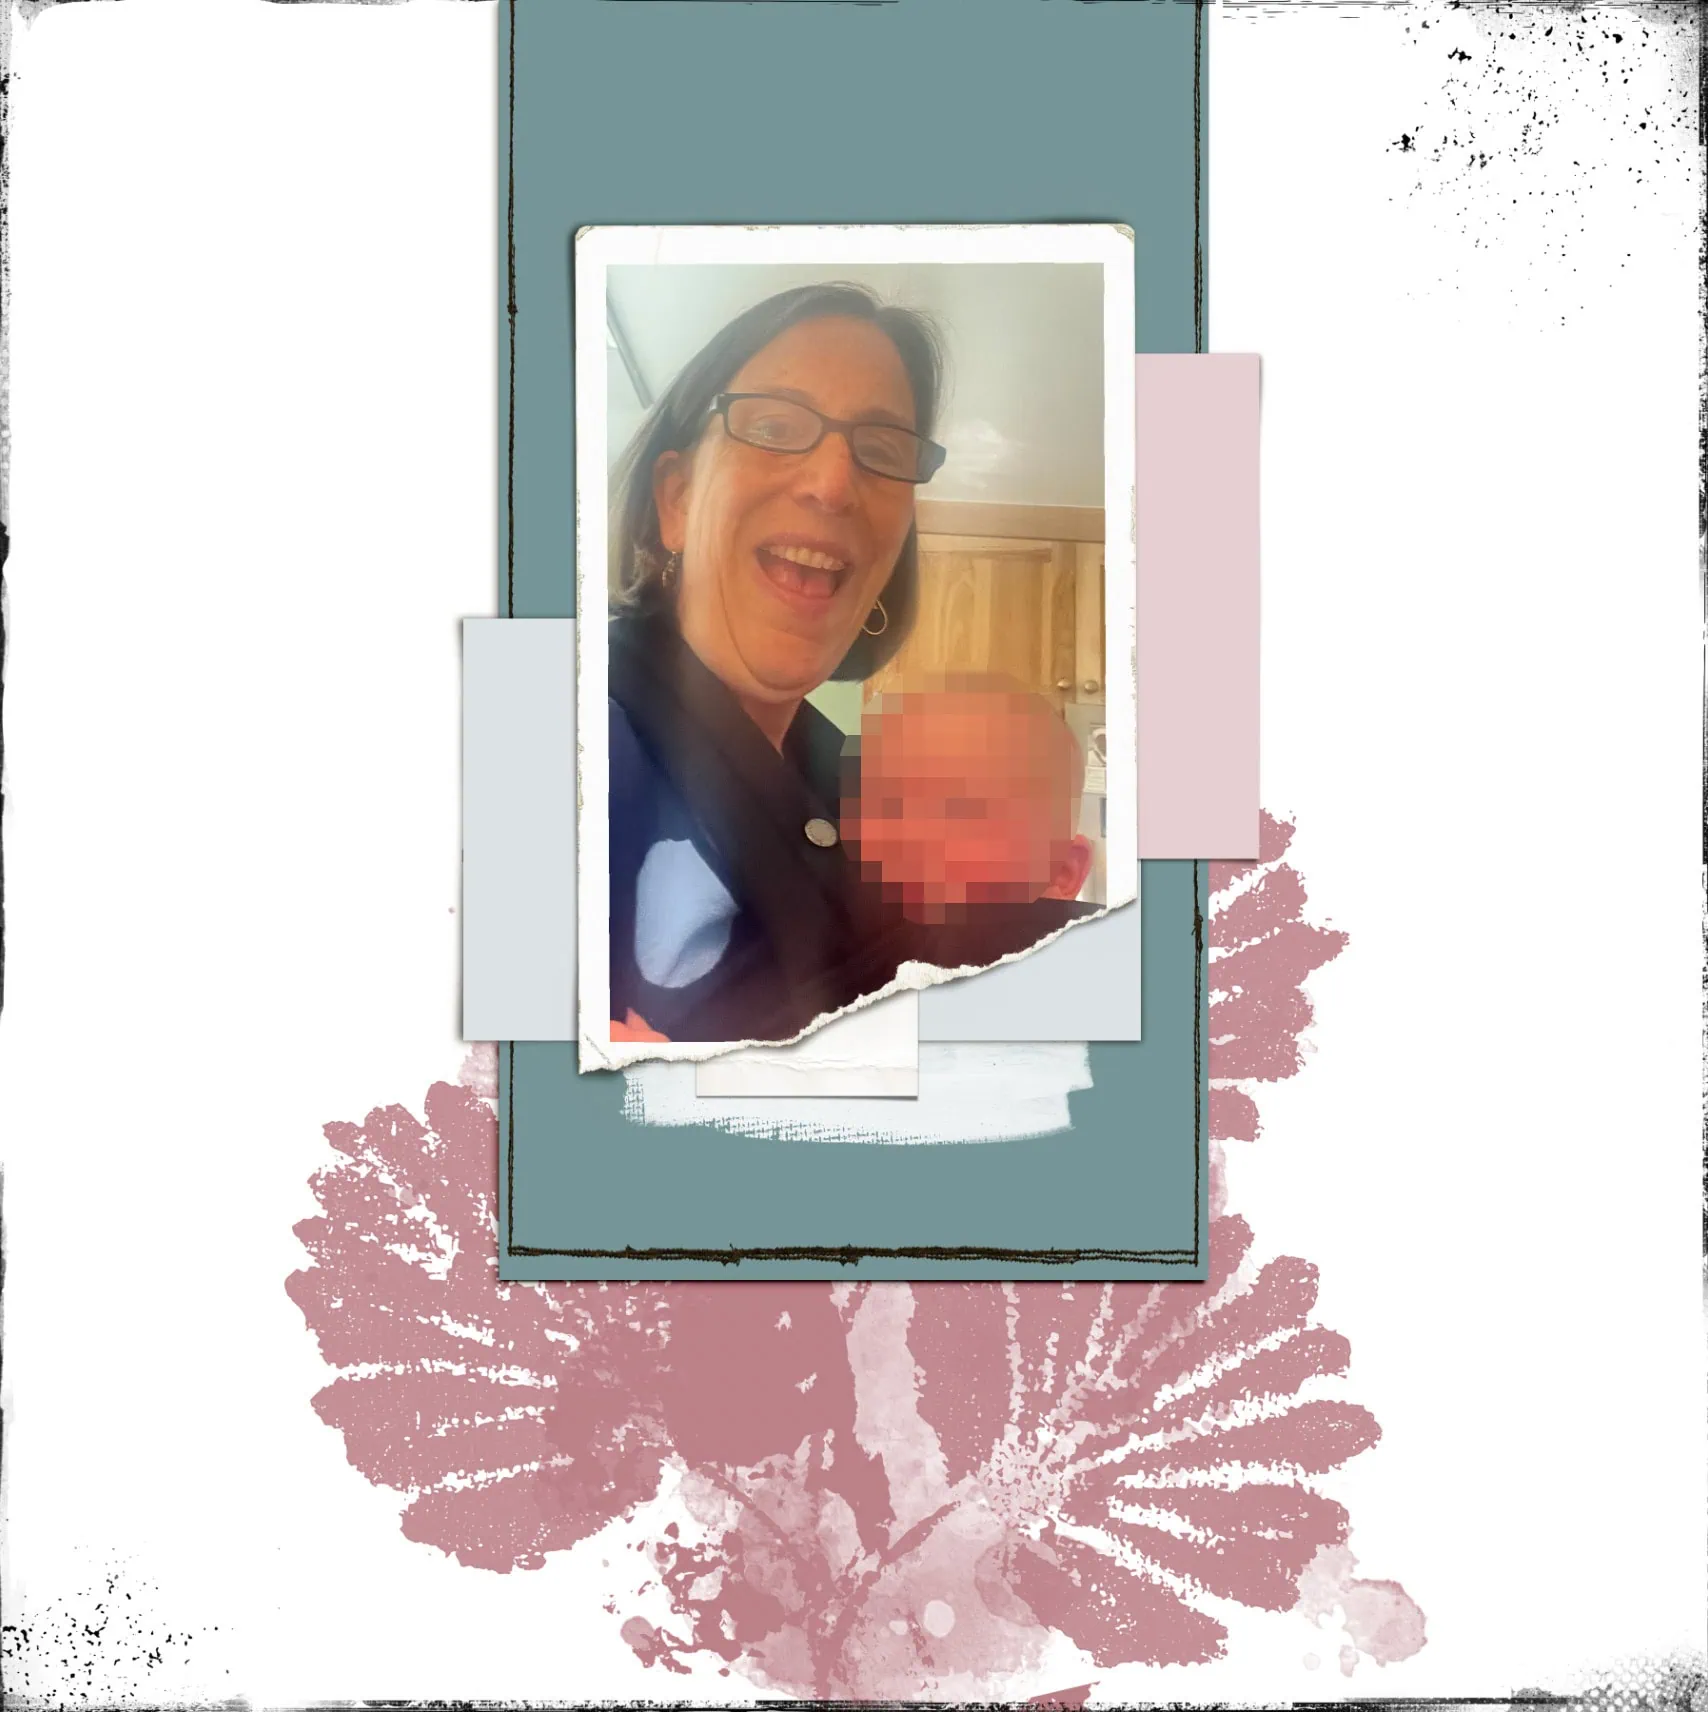
For this layout, I wanted to show the messiness, and realness of everyday life. I fell in love with the big sticker of a Mom and her Baby in a sling which mirrored Hazel in the front baby carrier with me — so I used it as a main feature of the layout — taking my colors from the sticker.
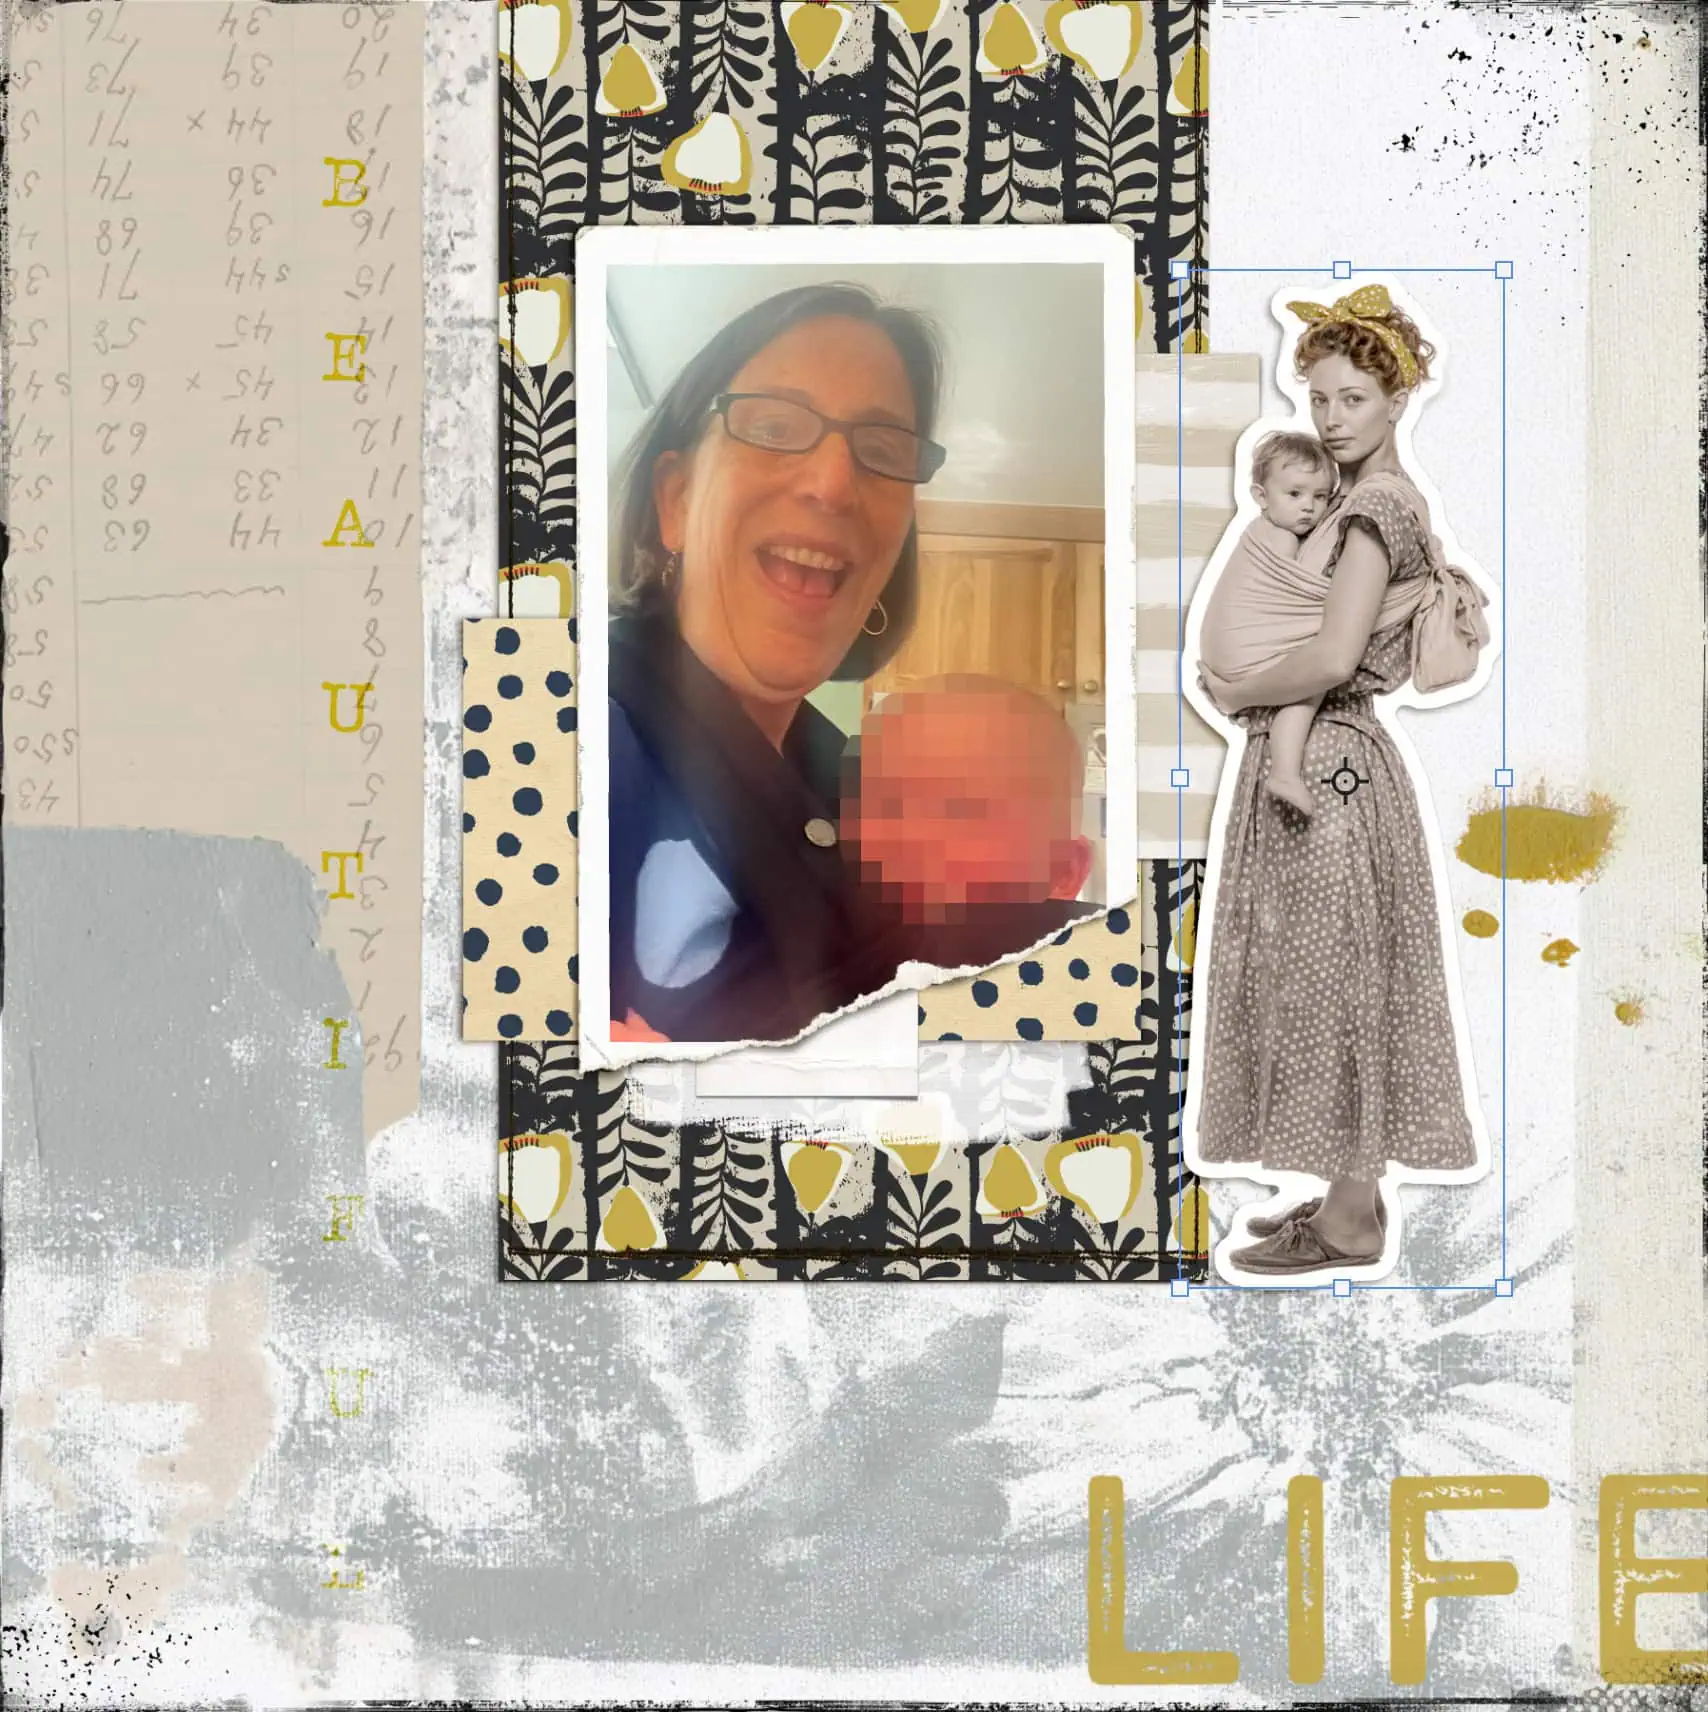
Choosing this color scheme meant that I needed to make the photo either black & white or sepia because the colors of the original photo clashed.
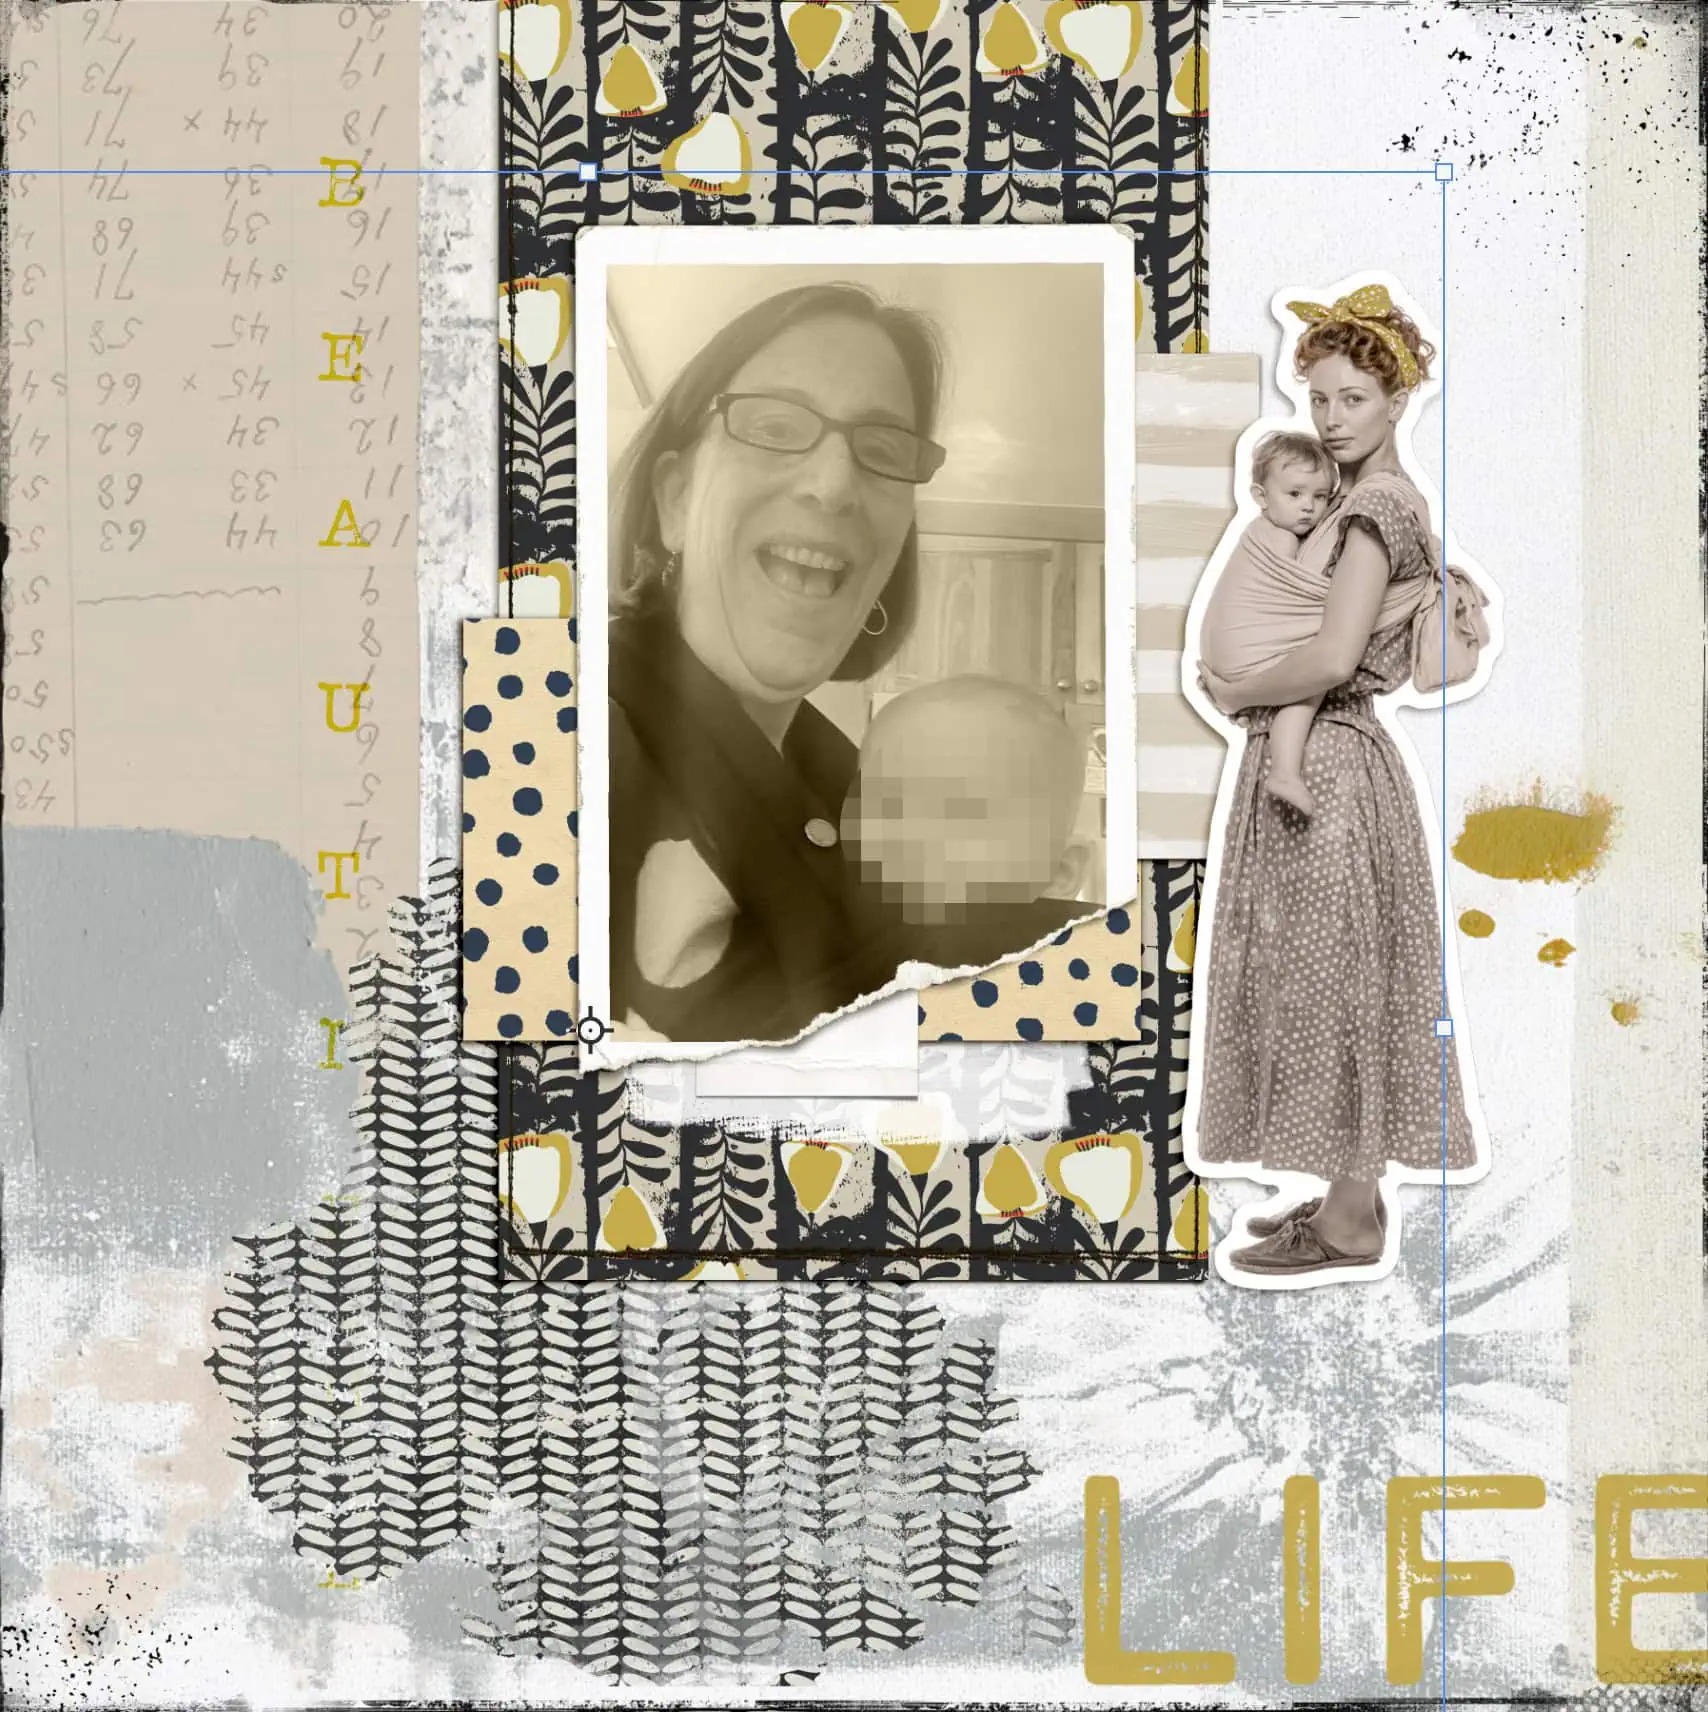
I turned off the large botanical brush layer and tried other elements in its place, but ended up turning it back on, moving it and clipping a paper to it. I chose other elements from the collection, some word art and ended up with the final layout.
Beth’s Layout #2: Adore Everyday Beauty
For the second template I decided to do a layout about the beauty I see and use in my everyday life. I took these photos of favorite things and added them to the second template.
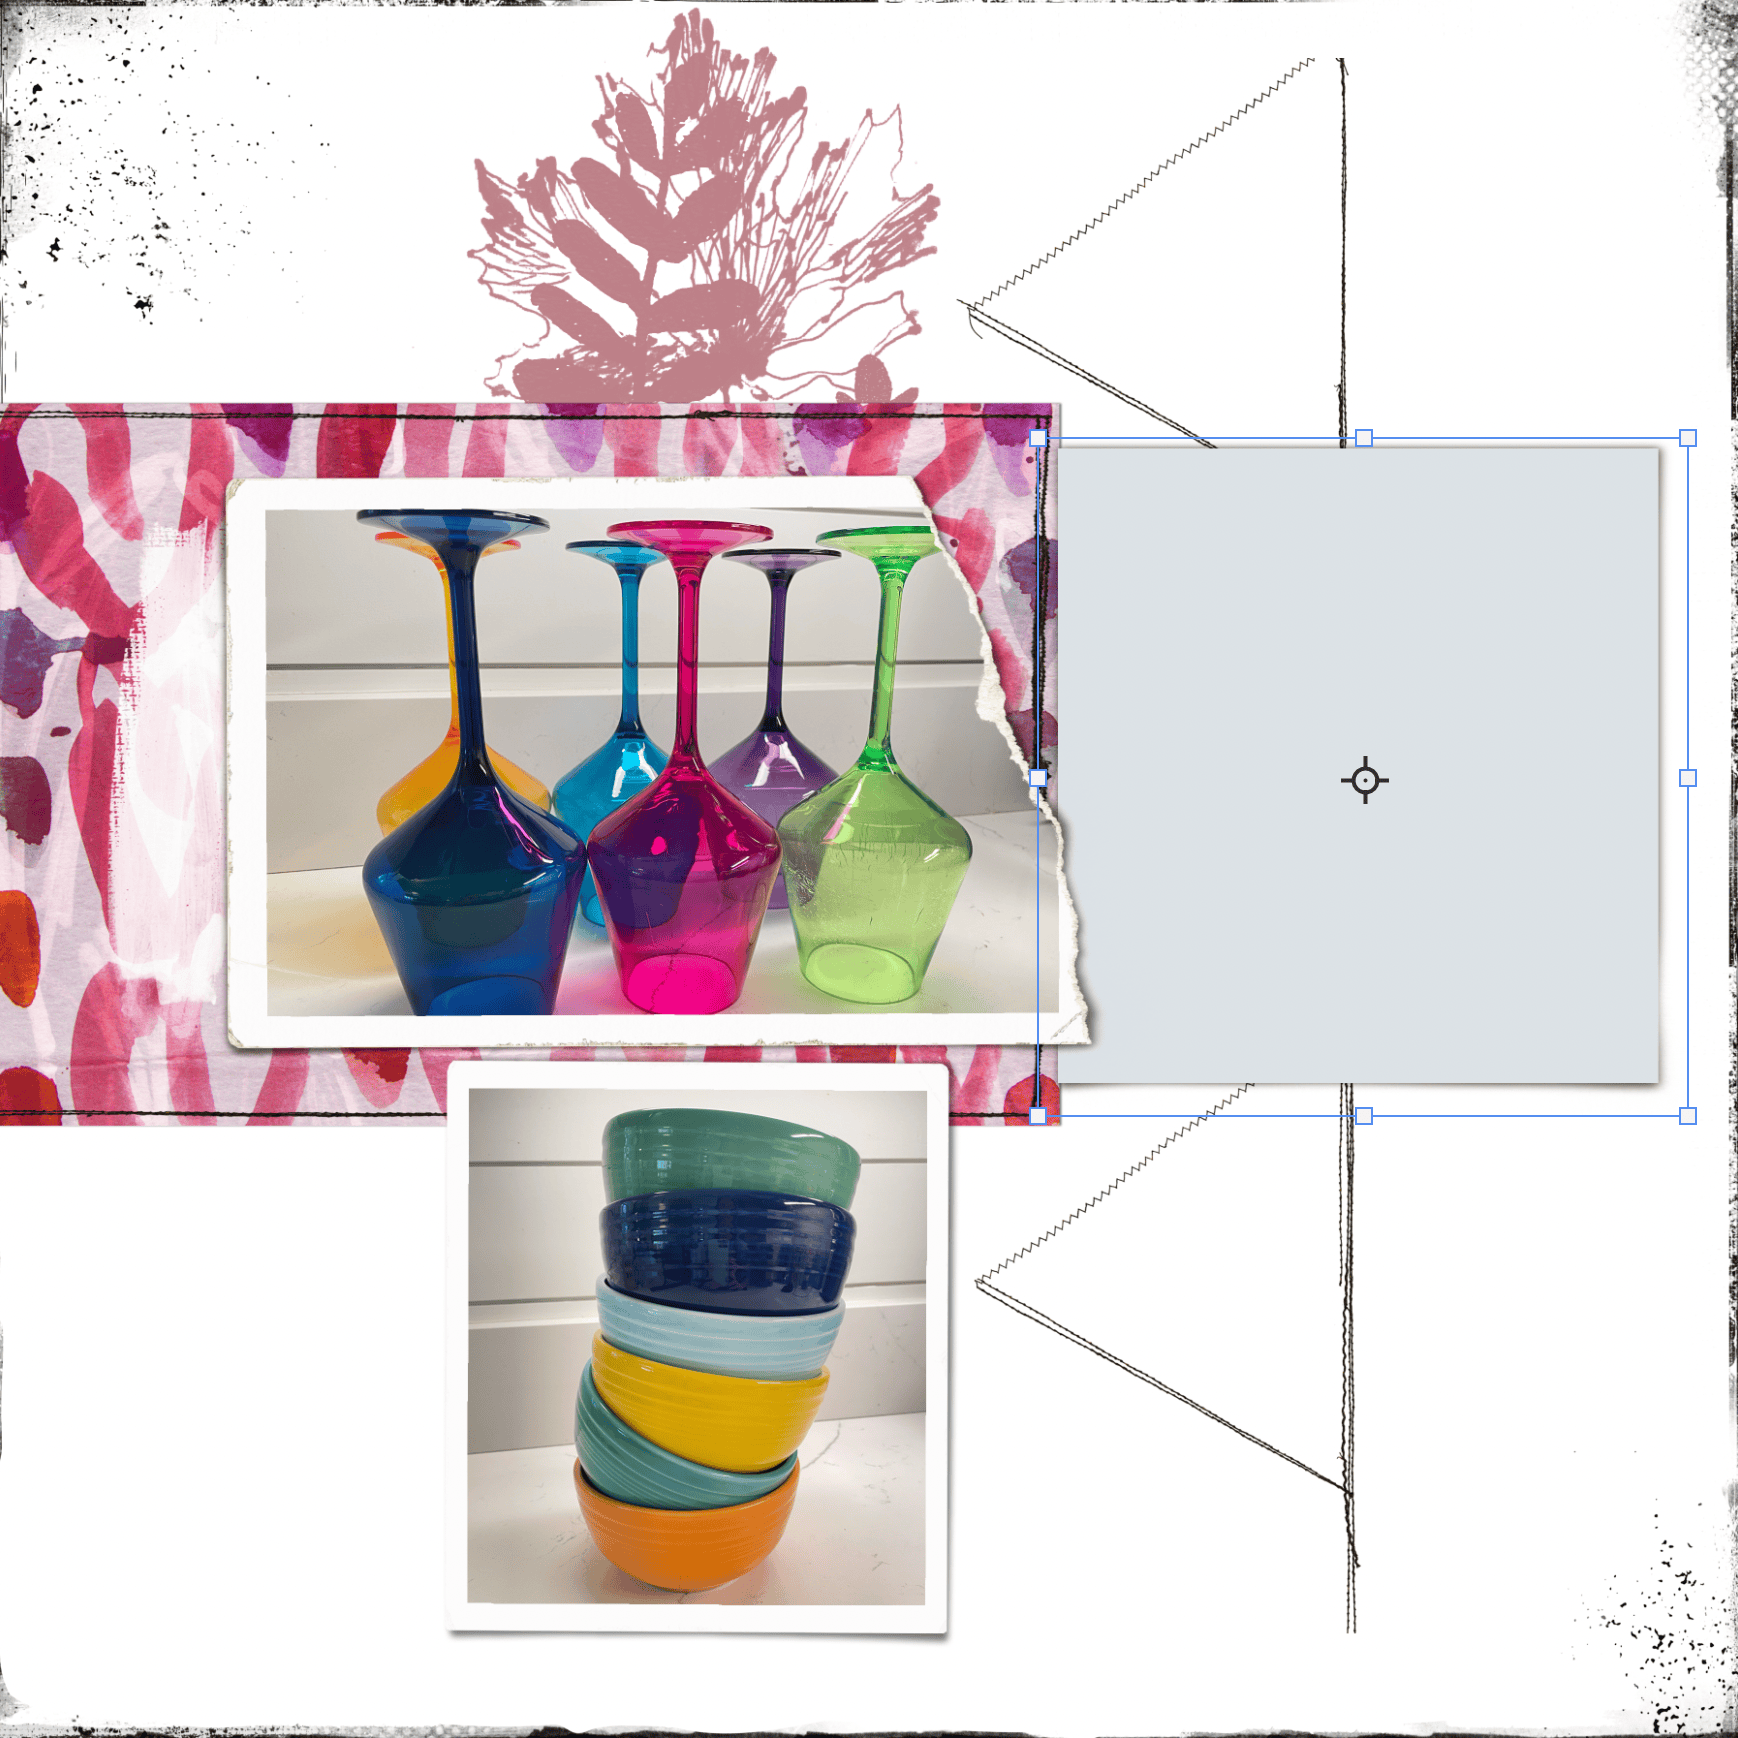
I played around with the placement of the smaller photo but ultimately moved it back to where it was on the template. This is just one of many patterned papers I tried under the main photo. One of the things I love most about digital scrapbooking is how easy it is to try different things. I turned off the triangle stitching too, as I couldn’t decide how to use it.
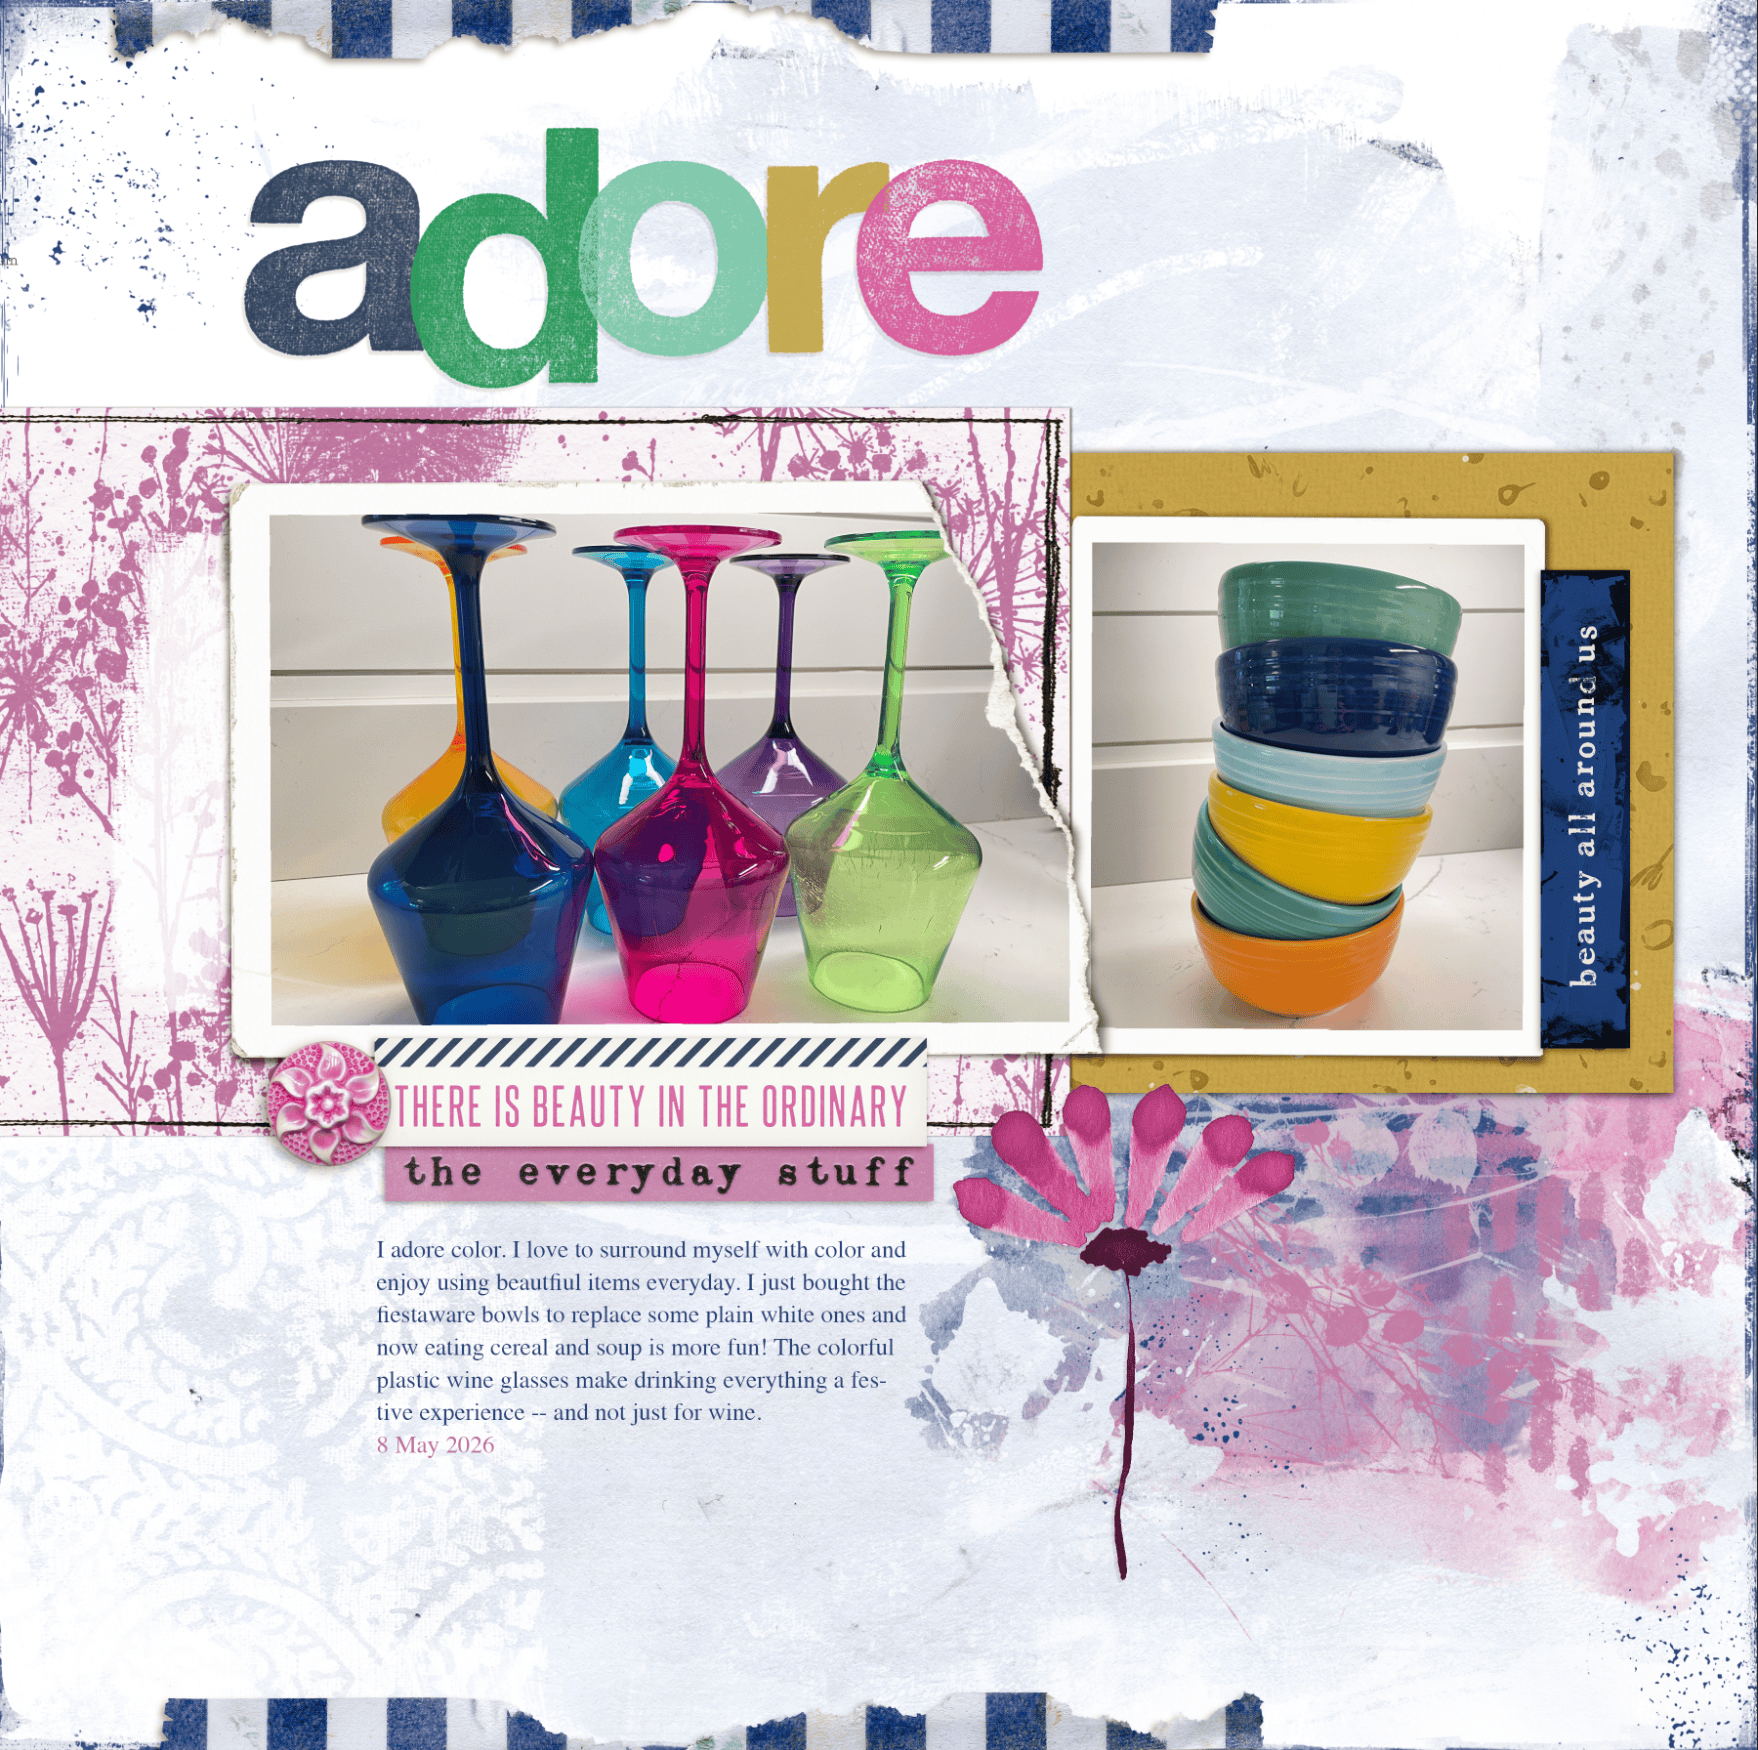
With the smaller photo back in its original spot, I tried lots of papers under it but didn’t like any of them. I turned off the botanical brush layer because it wasn’t working for me with this topic and these photos. I felt like something was missing so I tried adding a paper strip below the photos to ground them by adding a rectangle shape and clipping paper to it.
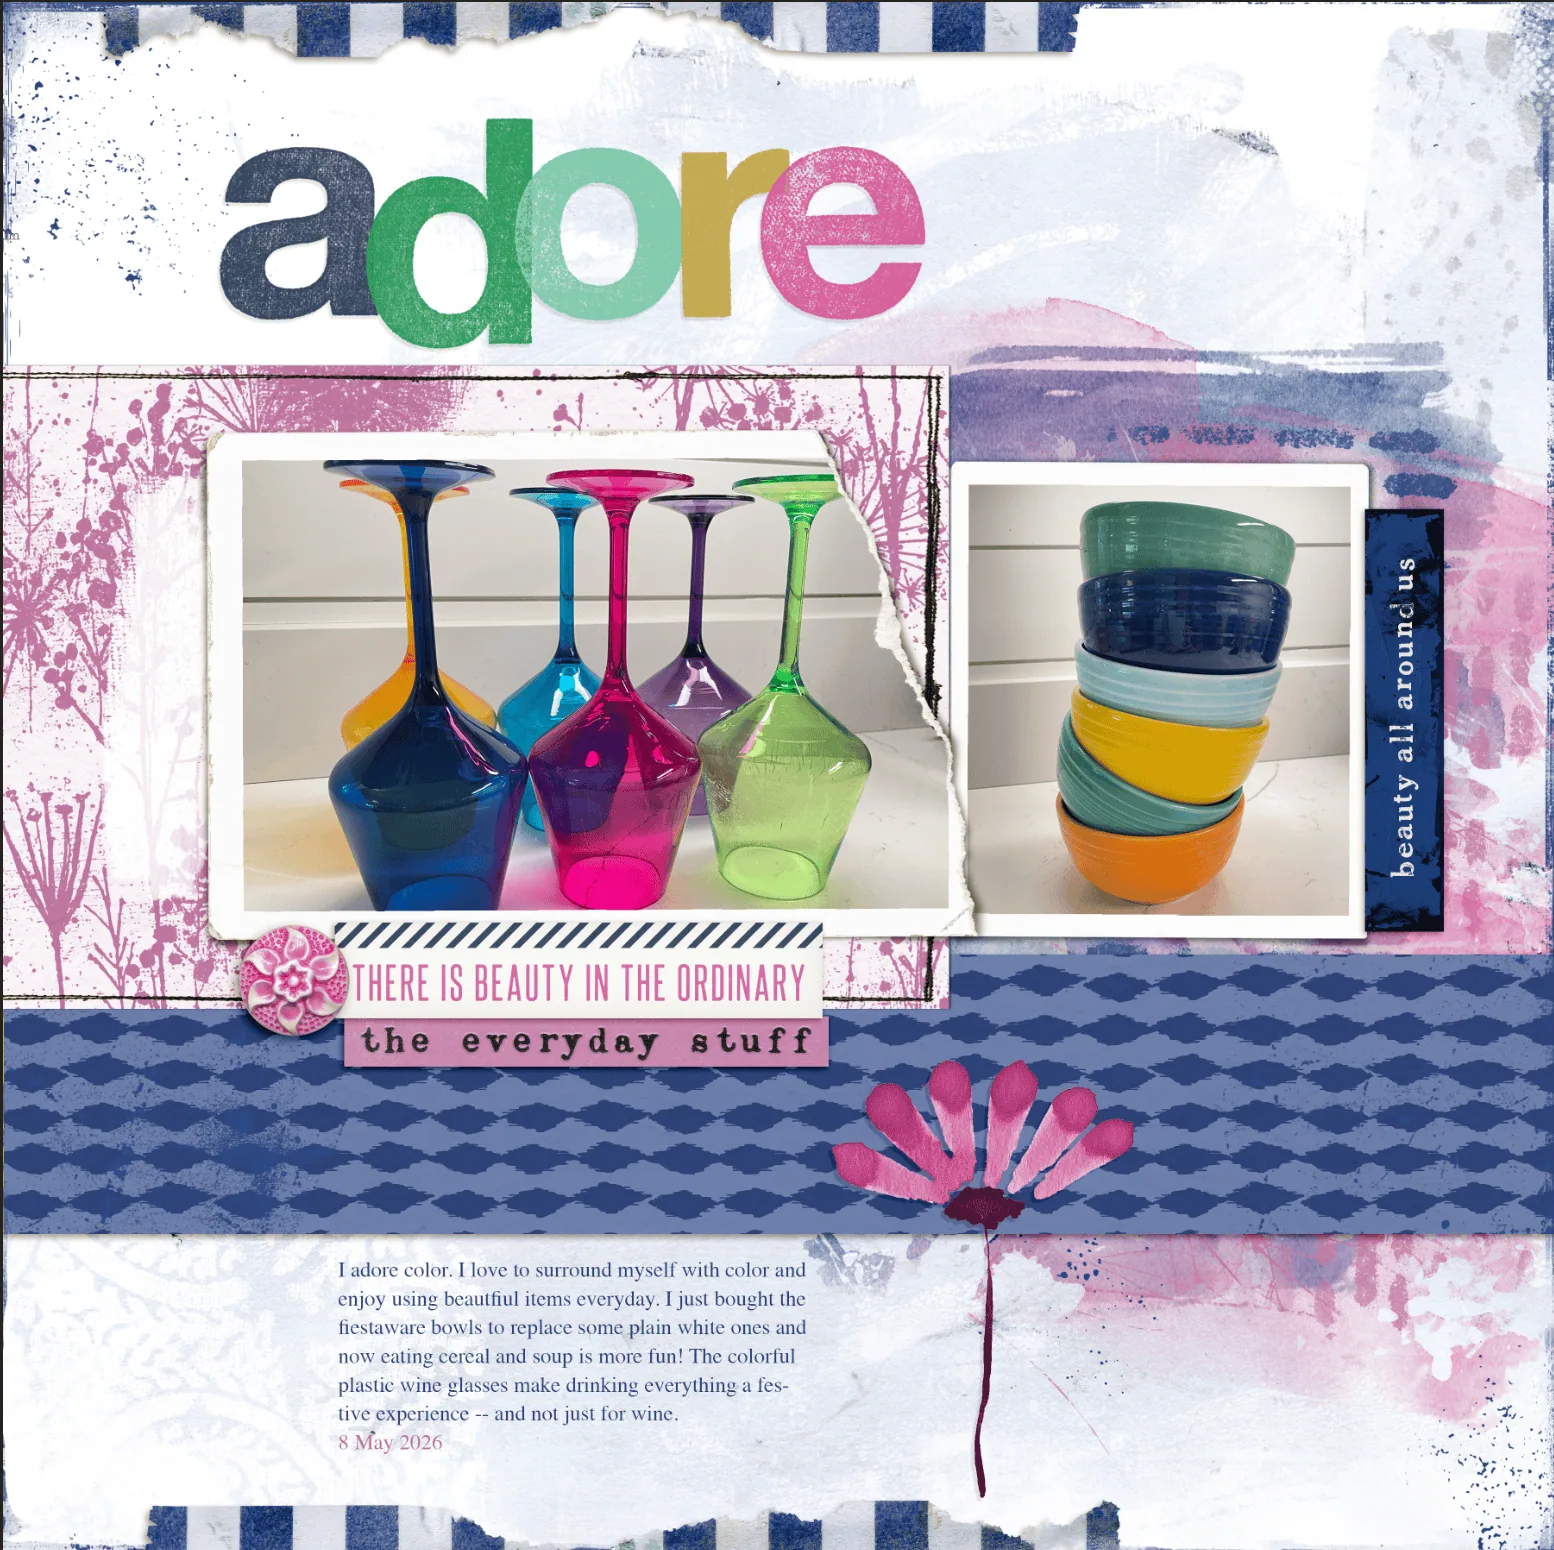
Somehow that made it all gel. I turned off the paper under the small photo, duplicated the brush under the photo and moved that copy up. Then adjusted my journaling below the new paper strip, and decided I was almost done. The missing element was messy string in two colors and places and once I added that I loved the layout and called it finished.
Nancy’s Layout #1: Cake
Like Beth mentioned above, I start with a group of photos to work with and find a template with that number of photos. In addition to a number of photos, I also start by writing a draft or my journaling, so I know how much space I will need for that. Journaling tends to be a big part of my scrapbooking, so it needs to have its own planned space. My main photo was vertically aligned, so I flipped the 2-photo template 90 degrees. After placing the photos, I placed my journaling in a vertical column along the right side of the layout, playing with the font size until the story filled the column, then shifting the photos over slightly so the journaling looked surrounded but not squished. This left room on the left side for a dramatic paper.
Nancy’s Layout #2: Flight
This layout was fun to assemble. My photos is of me hanging from a 7-foot-high Pilates apparatus, so suspending the photo from the top of the layout was my first idea and I built around that. The main subject of the photo was squarish, so I stretched the template a bit horizontally. The colors in Volume 3, Beautiful, were perfect for the photo, as the kit had similar mint and navy items to coordinate with my shirt and pants. From there, I used a mix of fuchsia and orchid papers and elements to coordinate. Last but not least, I slid the photo and its mat around, eventually separating them by a few inches, so I could drop the journaling (vertical journaling again!) down from the visual line of my arm and head.
Example Layouts from Gallery that use the Grow Templates
If you’d like more inspiration for how site members are using these templates, you’ll find over a dozen more layouts in the gallery that use Grow. To find them, once you go to the gallery, find the Navigation box on the top left of the screen. Click on Lilypad Designer Galleries to expand the list, then scroll down to Lynn Grieveson’s gallery. Since Grow is a newer template set, it will appear in the first few pages of Lynn’s gallery.
Here are just a few of the additional layouts in the gallery that use the Grow templates.
Fun and Games, by Marijke
Marijke used the single-photo template to make a bright and fun golf layout. The bright blues of her paper choices make the photo stand out and evoke a sense of joy.
Sister, by Angela Toucan
A small change to the background gives a unique look to the one-photo version of the template. Angela paired a panel from the single-photo Grow template with a template by ninigoesdigi, Shaped Stories Volume 3, to make her layout. The diagonal lines of the triangles draw the eye along to her lovely photo.
Kom Ombo, Egypt, by kateli
The torn photo that comes with the template go well with these photos of the temple and its hieroglyphs. The golden papers and green foliage set off the photos well.
Grow_Messy-Backgrounds, by mcurtt (Marilyn)
Marilyn made some simple adjustments to the template to make it work for a 8.5 by 11 layout. She “borrowed” the triangle stitching from the other template in this set and used it to accent her photo, as well as moving the brush to make space for her journaling.
We hope our post inspires you to use templates and make them your own by tailoring them to your photos, stories and scrapping style. Happy Scrapping.


This is why I love templates! You can have multiple people using the same template and same products and end up with completely different layouts! So fun!