Template Tuesday: Making Room for Journaling
Hi, this is Polly Beth. I’m writing today about choosing or adapting templates so that there is space for longer journaling. I’m going to go through my process which I hope will be helpful to you.
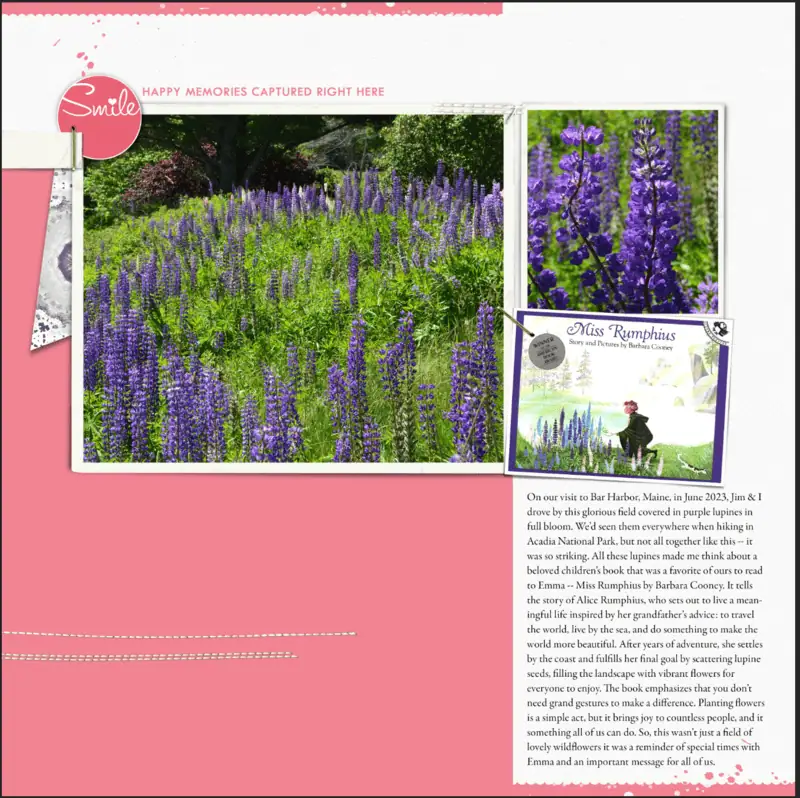
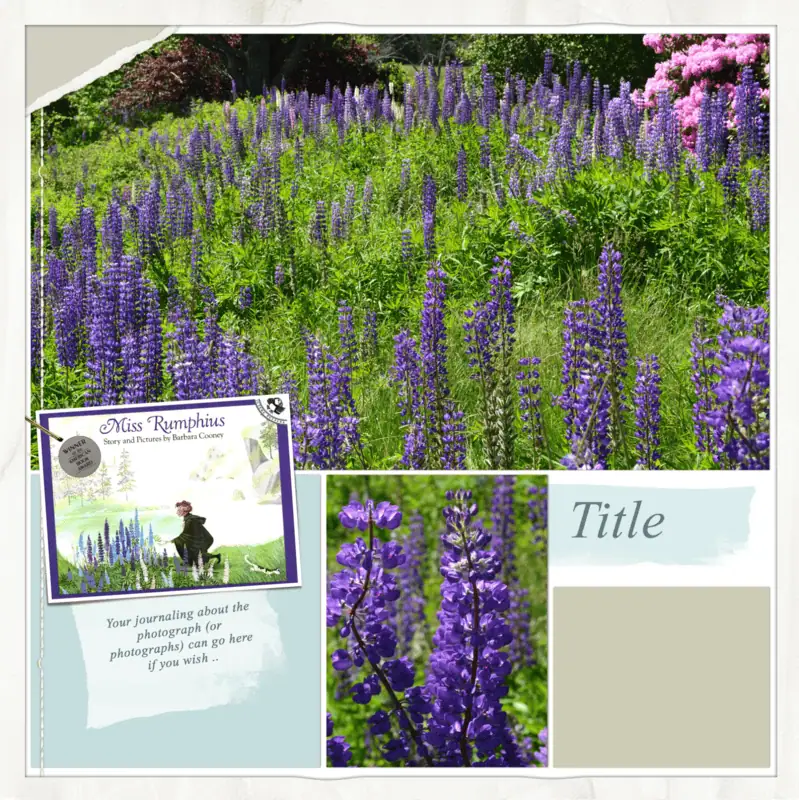
For this post I’m creating a layout about lupines that we saw on a trip to Maine. These flowers are especially meaningful to me because of a favorite children’s book I read over and over again to my daughter, called Miss Rumphius by Barbara Cooney. The main character is called the Lupine Lady because she plants lupine seeds all over Maine. I want to tell the story of why the photos of these gorgeous flowers are so significant to me. The photos are good enough to stand alone but the layout has more relevance to my family with the story included.
Journaling First, Then Photos
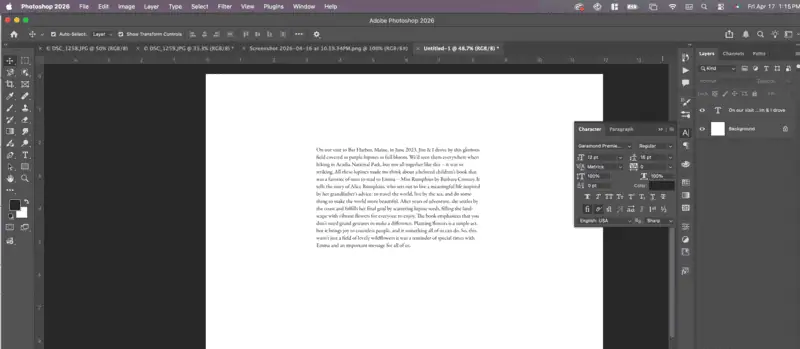
Lately, if I know I want to write more than a couple of sentences I’ve started writing my journaling before I start my layout so I have an idea how much room I will need for it — or if it’s longer than I want to make room for I can edit it down. I tend to be wordy on my first drafts! I used to add my journaling last and then I had to juggle to fit it in, or end up writing less than I wanted to — leaving some stories incompletely told. Below I created a 12 x 12 blank layout in Photoshop, then created a text block using my go to font, Garamond, in 12 pt with 16 pts distance between lines of text (leading). After typing up my journaling I can get an idea of how much space I’m going to need on a template for my journaling.
Next I look at the photos I want to include and note their orientation: landscape, portrait or square and think about how big I would like them to me. In this case I want one of the lanscape photos to be big and the other photo that shows detail can be small and square or portrait. I may also want to include a small screen capture of the book cover. Now I’m ready to chose a template.
Choosing a Template
I have my templates tagged with number of photos, so for this layout I looked at templates with room for 3 or 4 photos — treating the journaling as a 4th photo. From there I narrowed it down to two choices I think will work.
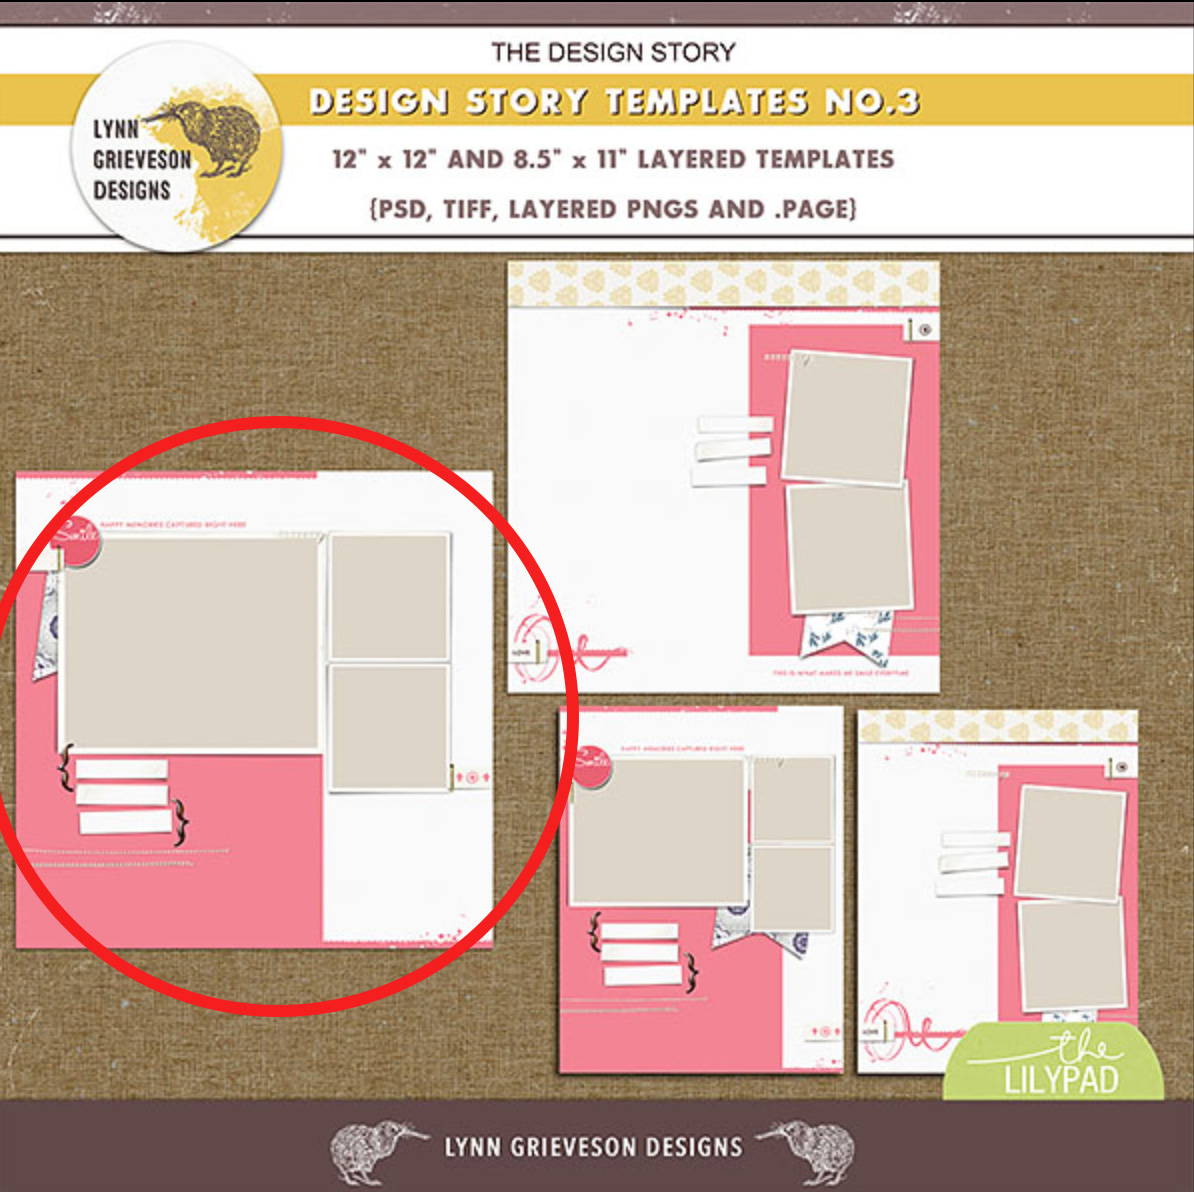
I’m leaning towards this one because it had more room for elements and can be adapted to fit my journaling,
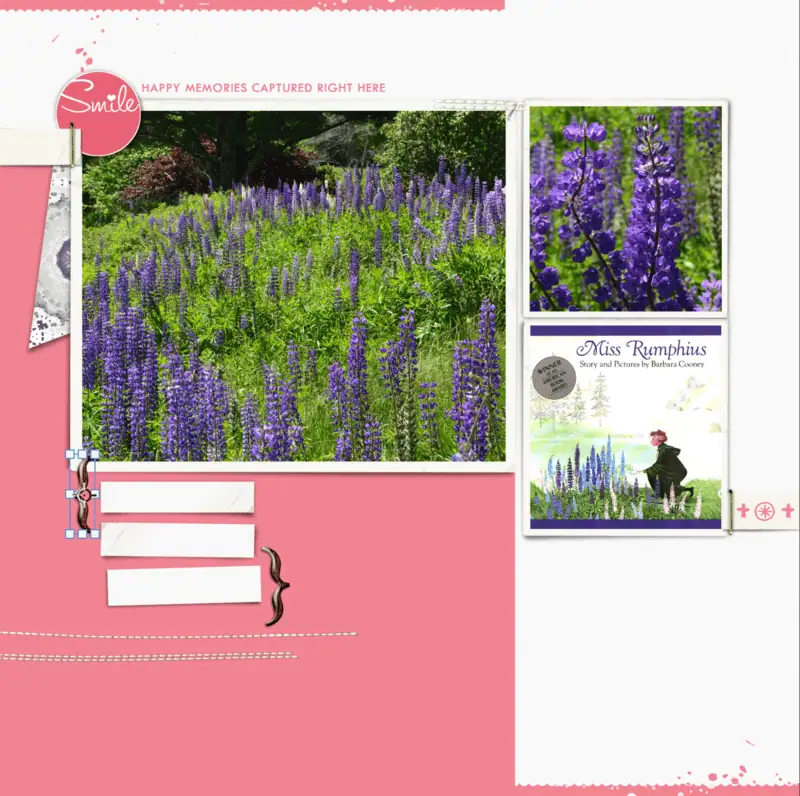
I wasn’t happy about fitting the book cover into the square photo space so I copied the horizontal photo spot from the template on the right and moved it into this template. Then I cut and pasted my journaling into the space below.
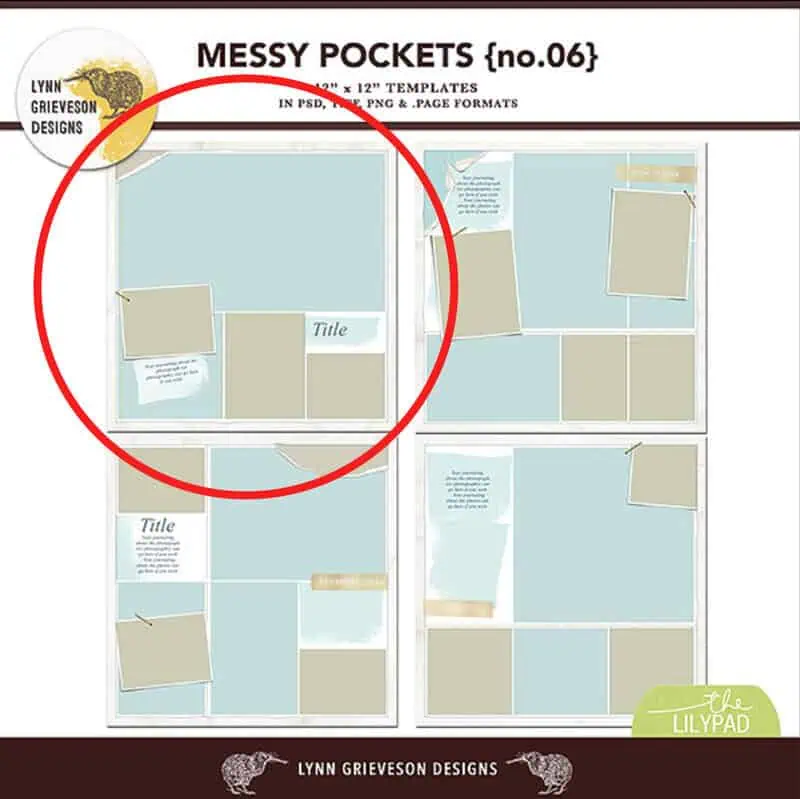
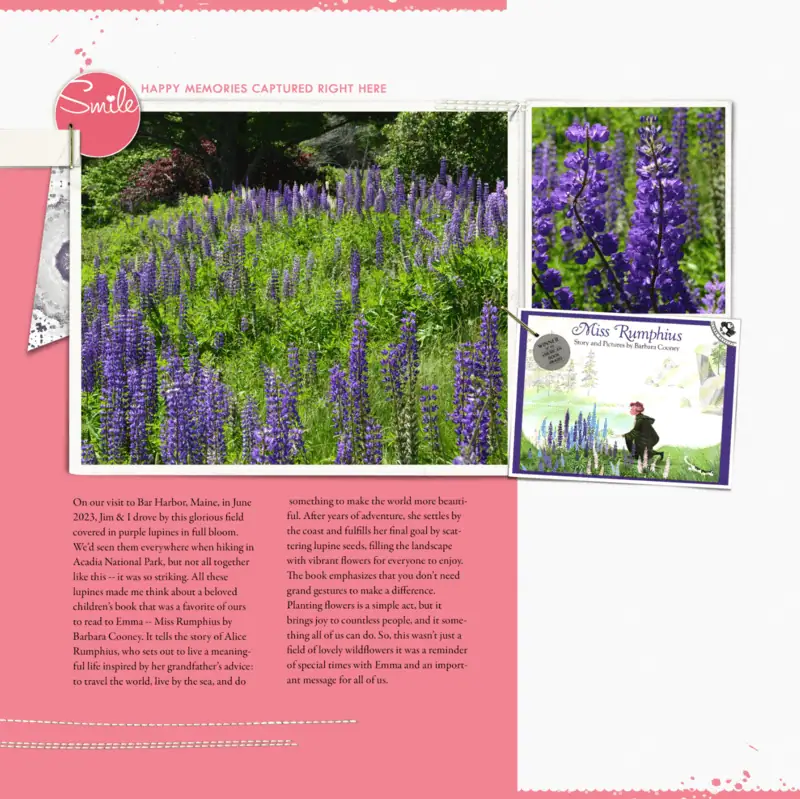
but I’m not sure so I also opened this template and added my photos to both templates to compare.
I tried adding my journaling under the title in the beige box but there wasn’t enough room so I moved the photo spot with the book cover over to the right and tilted it the other way. Then I added my journaling to the larger block on the left.
After seeing both templates next to each other with the photos and journaling I decided to go with the template on the left. I didn’t like how crowded the one of the right was, even though I really liked the large photo.
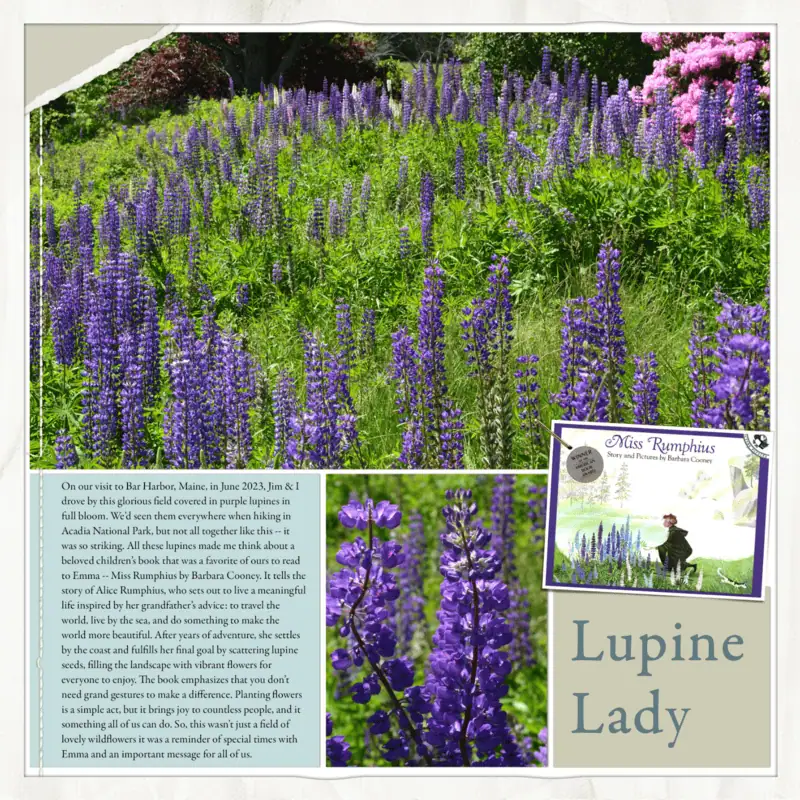
Concentrating on the Design story template (the one on the left), I decided to move the journaling to the space under the larger photo. It wasn’t readable as one large block so I created two columns by adding a text box, to one side and then duplicating it and moving it beside the first one. It took a bit of finagling to get the text divided up between the two boxes but once I did it looked like this.
Choosing Products to Complete the Layout
I usually start by looking through my stash to see what kits or other elements I have with colors that match my photos. I have them tagged by color so I can do this. If the theme or subject is important I will also look for products that support this, but in this case it wasn’t as important. I decided to use the Hope Springs Kit by Lynn Grieveson which is on sale tomorrow in the store for SOSN.
I kept a lot of the elements in the template, moved some of them, and turned off many of them. It’s always trial and error to see what works the best. For example: I moved the stitches on the left lower to accommodate the journaling; I used transfers rather than patterned paper; I replaced the flag to the left of the large photo with a transfer, and I removed the journaling strips below the large photo. Never be afraid to try things because you can always turn a layer back on if you want it back.

Takeaways
1.) Consider writing your journaling first so you have an idea of how much space you will need on your layout to accommodate it.
2.) When picking a template count your journaling like a photo and then consider adding your journaling to a spot designed for a photo or for a paper piece.
3.) Don’t be afraid to make changes to the template. You can delete elements, move things around, rotate them, change their size, and/or add things from other templates. I did this above when I borrowed a frame from another template, turned off layers in my template I didn’t want, and moved the stitching down to make room for my journaling.
Now go and tell those stories that go with your photos — you will make the Historian in me happy.
I was born in North Carolina and grew up all over the place because my Dad worked for Citibank and was transferred every few years. I lived in: New York State, Ireland, England, Belgium and finally Baltimore, Maryland which I call home. My husband was in the Navy, so we moved around a lot for those 8 years but now We’ve have settled down in Barrington, Rhode Island with our Pug dog. Our only child, a daughter, lives with her husband and daughter in Pennsylvania — I wish they were closer! I had a 30+ year career as a Law Librarian and an Academic Librarian which I loved, but took early retirement last September which has freed me up to be a Grandma and to really get in to all of my hobbies — digital scrapbooking, as well as knitting, reading, taking walks, and hanging out with my dog. I’m also learning to play Mah Jongg.
My creative style is primarily clean and simple, but I do enjoy trying out new styles but am uncomfortable using lots and lots of elements on my pages. My primary motivation for scrapbooking is to document my life and to tell stories, so my layouts always have at least what the photo is and a date, and often there is a whole story. My default style is either using one or two photos only and making them the star of the layout or using a lot of photos to document an event with minimal elements and journaling. Templates are great for this and for many years I always used templates as a starting point, but lately I have either not been using them, or I will take one as a starting point and then change it to suit my needs.
My words of advice for new scrapbookers are: You can’t do it wrong, just get started and enjoy the process. Be patient with yourself as you learn new techniques and skills.
I am inspired by my fellow scrapbookers at the Lilypad, and by our designers’ products. I love color and am drawn to art, layout, products and images with lots of color. I start with the story I want to tell and the photos that document it and draw from the colors in the photo and from the theme of the story. I use Lightroom to organize supplies, and Photoshop to create layouts.


Thank you for this very useful tutorial. I often do family history layouts with lots of journaling, and finding room to fit that journaling (in addition to photos, ephemera, a title, and so on) is always a challenge. I love your advice to journal first, and to treat journaling like a photo when choosing a template. Gorgeous layout! and I love how you used those transfers
Thank you so much for these tips. I tend to pick the template pick the papers and then decide what pictures and journaling. However your tip makes a lot of sense especially when I know that I’m going to be doing a layout for something that generates a lot of memories for me.