Quick Back To School Card-Fundraiser for Sabrina Dupre
Hey there, it’s Katrina aka @katrinahunt13 (and from Paper, Scissors and Glue) to share a back to school hybrid card with you. And to let you know about a fundraiser going on in the store for one of our designers, Sabrina Dupre, who has lost everything in the flooding in Louisiana. All TLP collaboration kits are only $5.00 thru the end of the month, will all sales going to Sabrina and her family to help her recover from the flooding! And if you have all the kits or aren’t quite sure, shop Sabrina’s store, as Laura (aka Boss of the Applesauce) is going to pay all of Sabrina’s paypal fees, to make sure she gets 100% of the sales from her store also. You can read the thread in the forum HERE.
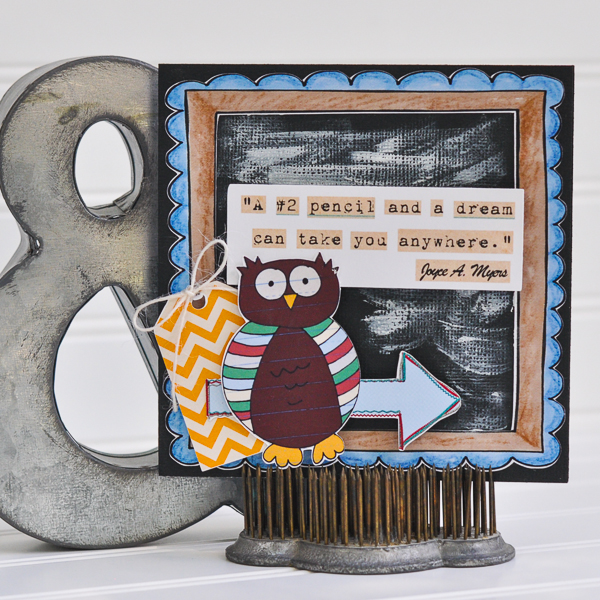
I used one of the kits for my project today, Wicked Smart. It’s a great kit for any back to school project and perfect for a back to school card for your child or your favorite teacher!
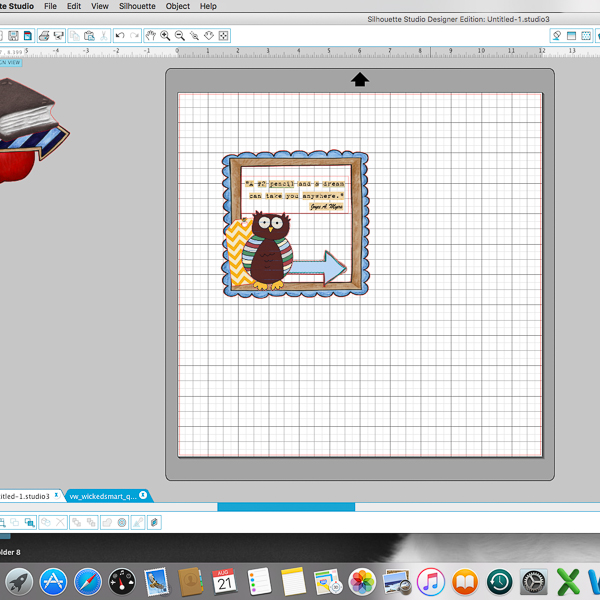
I love that I can make a quick card with digital supplies I may have on hand. And even though I used my Silhouette with print and cut, you don’t have to depending on the elements you choose to print and put on your card! All of the elements I picked could have easily been cut by hand. And I am a little weird, I like to hand cut some!
I started by putting my elements into my Silhouette software and gauging the size I needed them, by grouping them together and then resizing the entire group until I knew they would fit on my 5×5 inch card base. I am a “square” card kind of girl, and if you aren’t mailing them they are a great size to create on! I printed them out with Print and Cut and sent to work putting my card together.

When I started to make my card base, I decided it would be fun to use just black cardstock, so it would look like a chalkboard. As I started putting things together, I added a little chalk paint with a brush to resemble a dirty chalkboard. You could also use green and there is a green solid in the kit that would be perfect also! (I had this black piece laying around and decided it was better to use it!)
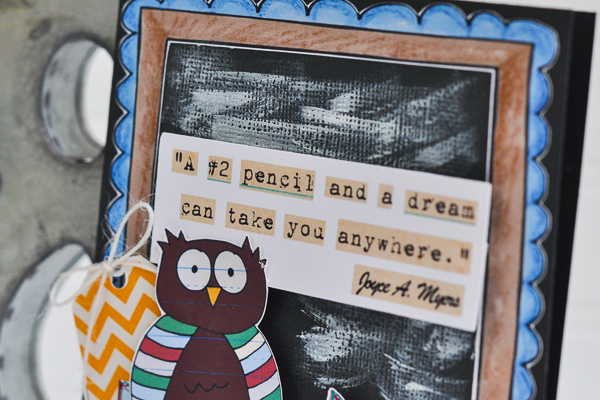
The saying comes in the kit also, and I just drew a rectangle around it so that it would cut it out during the print and cut. Easy peasy!
I love grouping elements together and with a tape adhesive and foam adhesive you can create some fun clusters for your cards. I love layering and the more the better in my book! The chevron tag comes the kit also, and I just used the eraser tool to erase the string that was at the top of it and then added my own twine bow.

These type of cards would be great as projects for the kiddos to do after school one day. Just print all the elements out that would be easy for them to cut and then let them put their own cards together to give to their teachers, etc.
And don’t forget to shop the collaboration kits or Sabrina’s store! And I will say, I picked up a few kits and all of them would be great to create, not only layouts, but projects out of as well. Thanks for stopping by the blog today!