Planner Love: Fresh Start
Hey, all. Sarah here. Have y’all seen the new planner collection in the TLP store right now? I’m excited that it gives me a chance to get a head start on my January planner pages. Today I’m going to show you how I used the collection to decorate my spread for the first full week of January 2016.
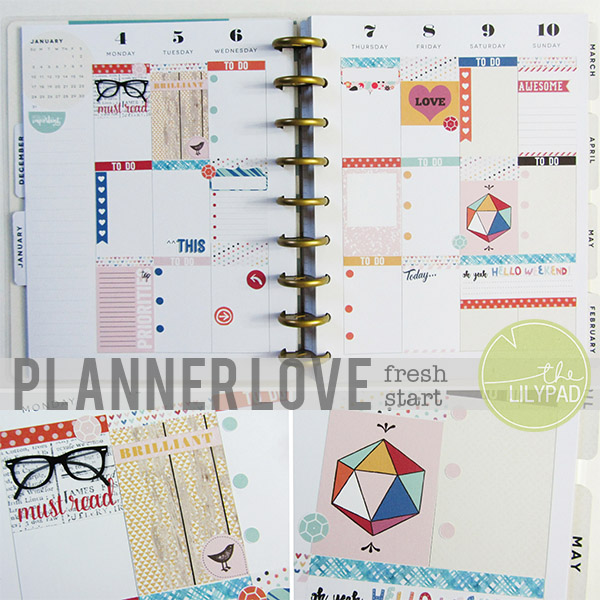
Planner Collection Monthly: Fresh Start has such an amazing variety of wonderful planning stickers, however due to the large variety of different planner sizes/stickers the designers had to chose one size to start with and build off of that. For this first collection they chose to create the sticker sizes to fit in the Erin Condren Vertical Life Planner, since this is such a popular size in the planning world. I don’t use an Erin Condren, however. My current planner is a MAMBI Happy Planner and I wanted to share with you the way I made the wonderful boxes included in the collection work for my specific planner.

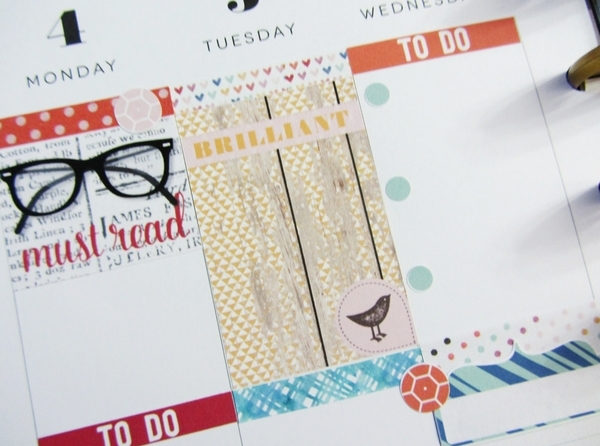
The Erin Condren boxes are the same width as the boxes in my Happy Planner but they are .35″ shorter. Of course you could just place the stickers in the boxes and leave a bit of white space. I’ve done this in the past with other planner kits and it works just fine. However, today, I’m going to show you how I was able to fill the full box with the items included in the collection. For this first pair of stickers I simply left the width the same, but made the box length correct size for my planner. This will only work with certain stickers as many of them will look askew so you just have to use trial and error to find out what works. I was really surprised that the sticker with text on it didn’t look off when I resized this way.

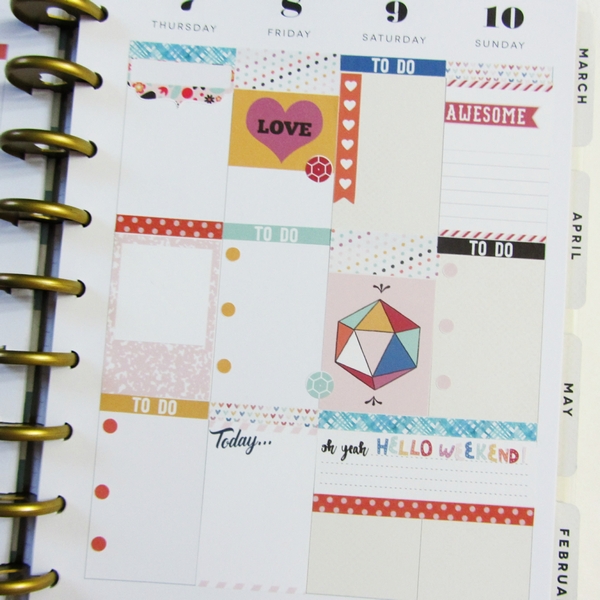
For this next pair of stickers I enlarged the entire sticker to the height of my boxes, making sure to keep the original scale. I then cropped the sides to the original width. Again, this won’t work with all stickers, if text or images are too close to the sides of the original box they might be cut off when you crop the sides back down to fit the boxes.
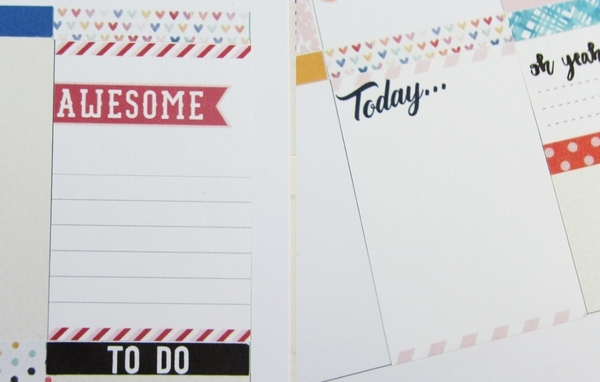
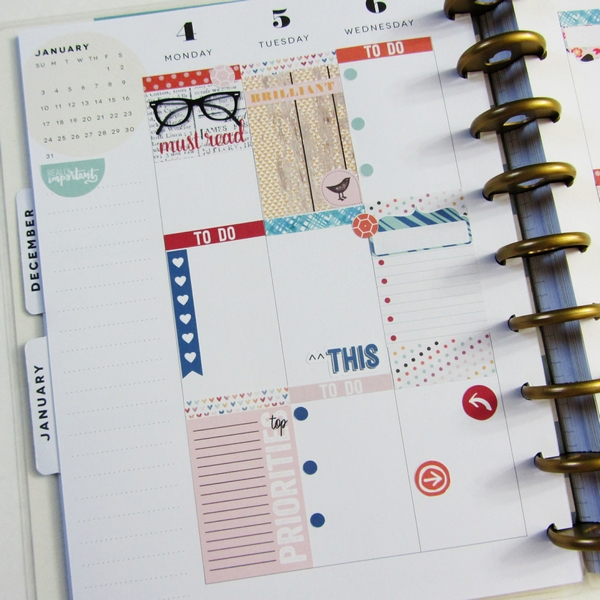
If neither of these methods work, simply print the sticker out in the original size and instead make your header stickers wider to fill up the blank space that would be left. Typically I print my header strips at .25″ but by adding the .35″ difference between the original box size and the Happy Planner box size I was able to fill up the space with a cute polka dot pattern.
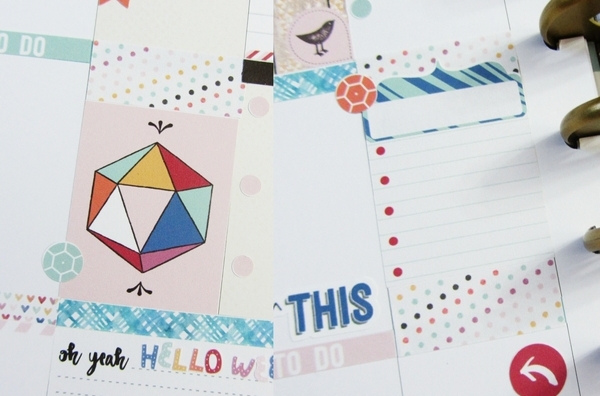
I also printed a few of the half box size stickers, since they aren’t meant to fill the entire space they also work fine unaltered. And finally, you can create your own boxes with the papers and stickers included in the collection. For the Brilliant sticker I cropped a piece of the included patterned paper to the needed box size and added a couple of stickers for decoration.
Here’s a closer look at each of the pages in my planner.
If you don’t own an Erin Condren, or even a Happy Planner, I hope that this helps you to be able to adjust the stickers included in the collection to your planner size. If you use a different sized planner I’d love to know what you do to make the stickers work for you.