Make It Monday Thank You Card
Welcome to another Make It Monday blog post. Polly Robin here with another card and I’ll show you how I made it!
I needed some thank you cards and knew I wanted to work with a new die cut that I received. I needed five papers that went well together so I shopped my stash and found this Treasured kit by ninigoesdigi:
The great thing about using digital kits from The Lilypad for hybrid projects is that the designers have done all the hard work for me. I knew that any 5 papers I picked would look good together so all I had to do was pick the ones I liked the most, and these are the ones I decided to use:
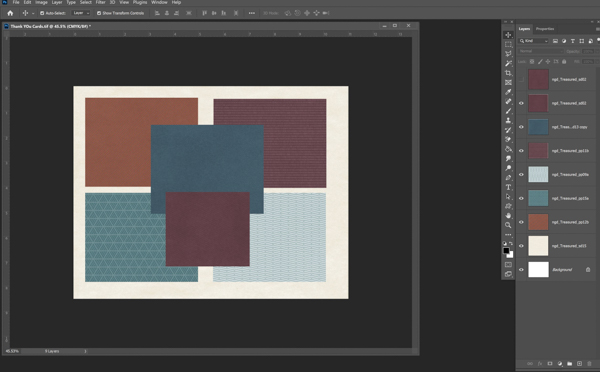
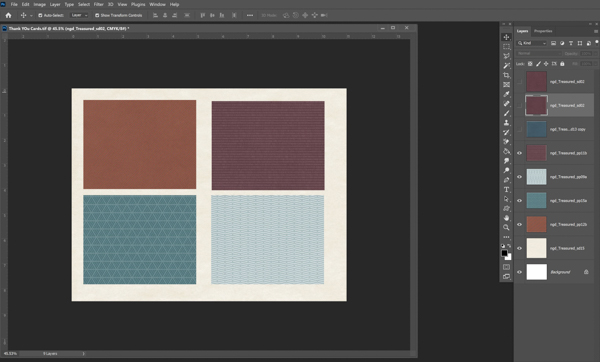
Next, I do what I always do and used the Print function to save my papers as a PDF. I had to do this twice to get all that I needed, but here’s an example of my first selection I wanted to print:
After my printing was done, I pulled out this die that I was given to use:
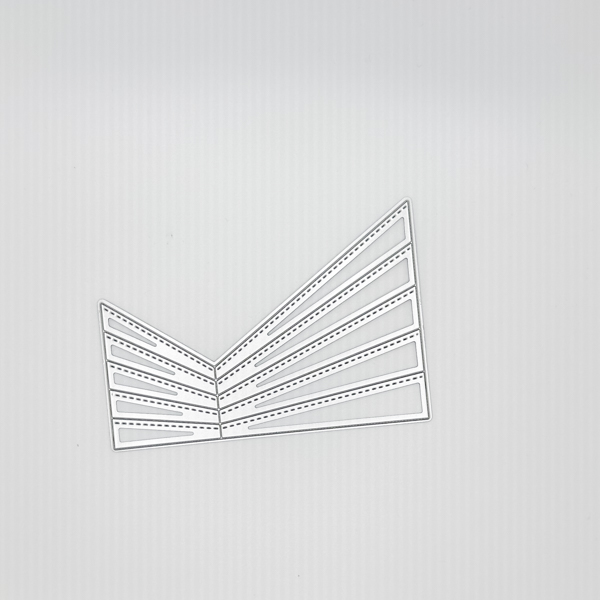
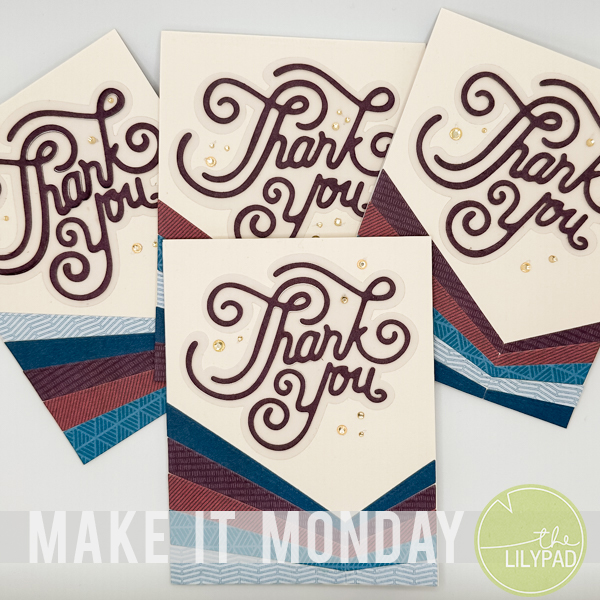
Do you see how it cuts all the papers out so that the strips are lined up next to each other? I cut one set from each of the five papers. Then, I arranged them differently on five different cards. After that I added my title that I cut from a paper in the kit and mounted it on vellum. Finally, I added a few pieces of bling, and my cards were done. I made 5 cards total, but the first one was confiscated by my kid before I could photograph it! So here are the four I have left:
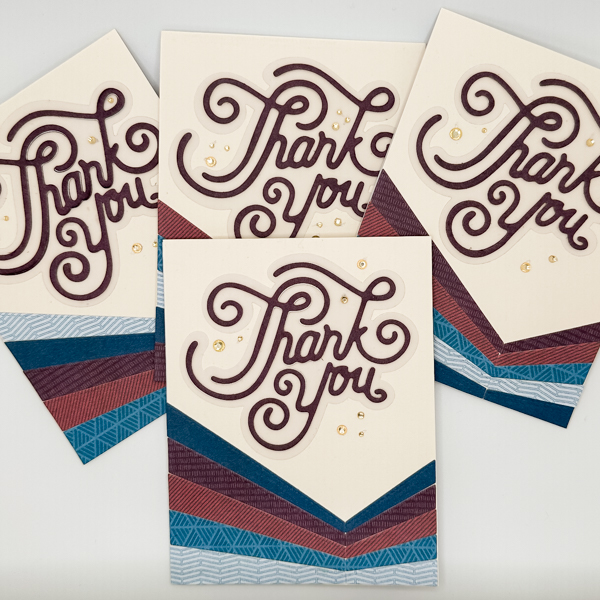
See how the order of the papers are different? For the cost of printing two pieces of paper, I made five cards. You can’t beat that!
You can still make this card without a die. Just line up the five pieces of paper on top of each other and use a metal ruler and craft knife to cut the strips out. If you cut them out all at once, you’ll be able to nest the strips next to each other without difficulty!
Thanks for sticking through my process and I hope you give cardmaking a try! See y’all next time ????