A fun and easy gift card holder for any celebration
Hello everyone! Today I want to show you a super simple way to make a gift card holder that feels a little more special than the ones you get at the store. And even though I call it a gift card holder, you can use it for gift cards, cash or even as a cute little congrats card. It’s one of those projects that looks fancy but is totally doable.
I began by placing one of the papers from Beautiful Chaos, Joyce Paul’s April BYOC collection, onto an A4 document in Affinity Photo, which is the scrapbooking program I use, but you can do this with pretty much anything that handles images like Word, Google documents or Canva, whatever you are comfortable with.
I resized the chosen paper to about 6×6 inches and filled the rest of the page with elements I wanted to decorate the holder with. I made sure to resize the elements for a perfect fit. Since I was making a birthday version, I changed the text on the bingo stamp to Happy Birthday and used the alphas from Just Jaimees Chirp collection to match the style. I love how easy it is to combine different parts of the BYOC!
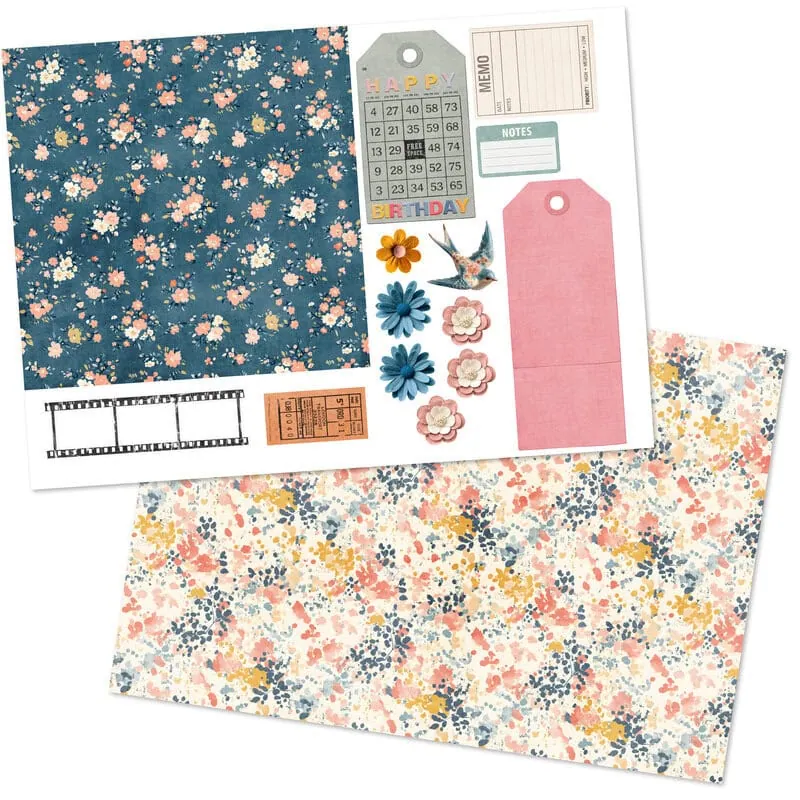
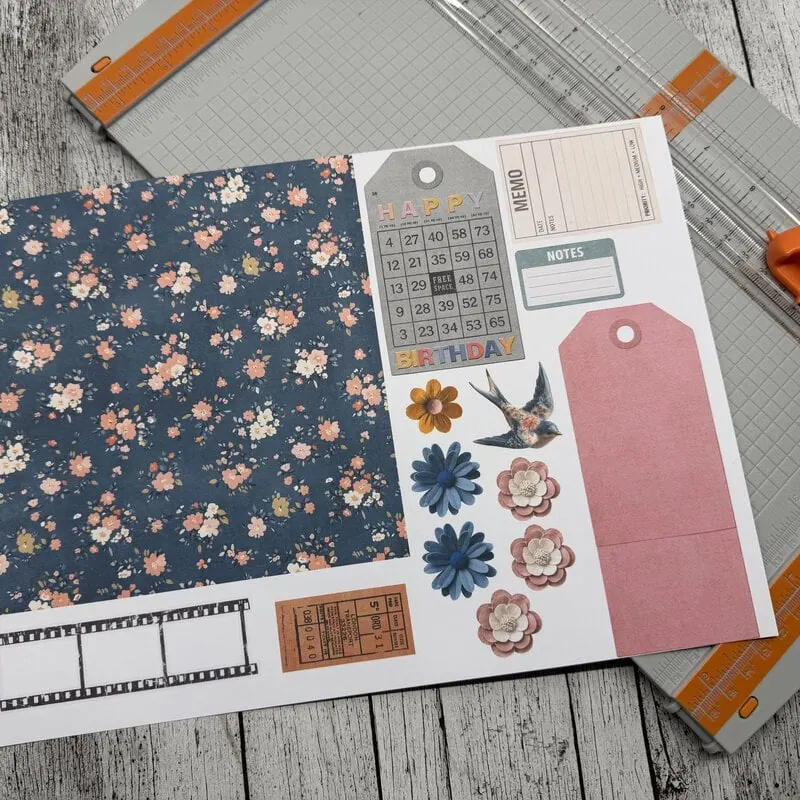
Once everything looked ok, I saved the page as an image and printed it on my inkjet printer. For hybrid projects, I like using a slightly heavier paper, this one is 200 g/sqm with a smooth finish. It’s absolutely worth spending a little extra on good paper if you enjoy hybrid scrapping.
I also printed another coordinating paper from Joyce collection on the back of the same sheet. That way, the inside of the holder will look just as nice as the outside.
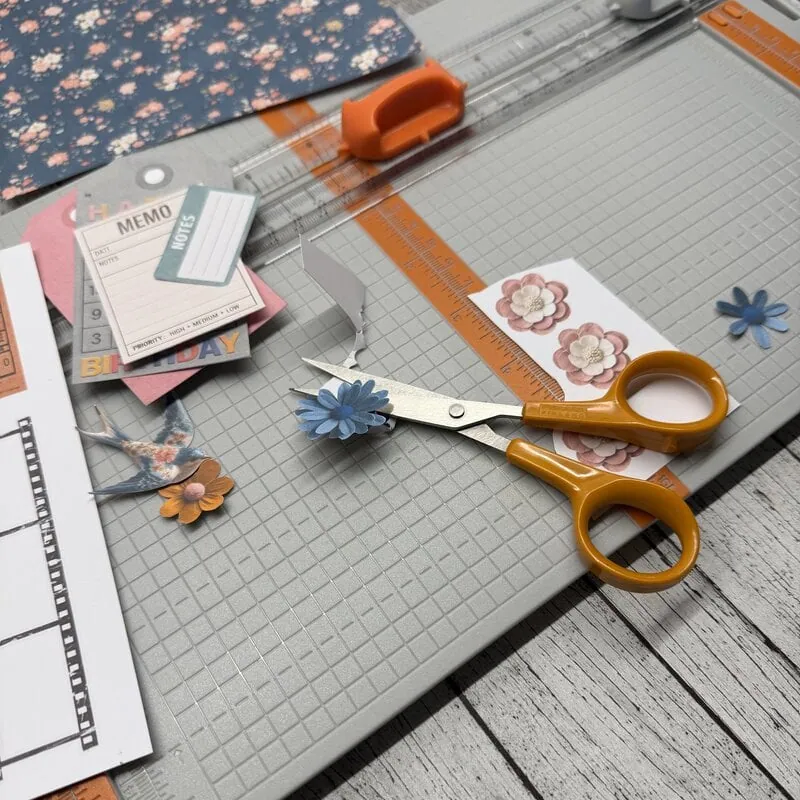
I do have an electronic cutting machine, but unless I’m cutting text, I usually skip it. A paper trimmer, scissors, craft knife and a metal ruler get the job done faster for me.
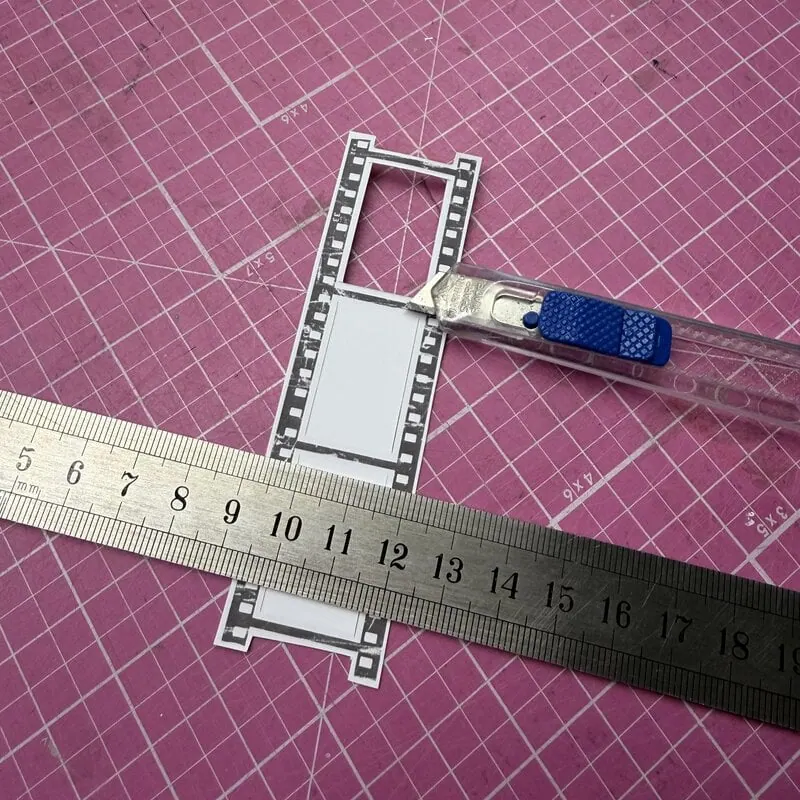
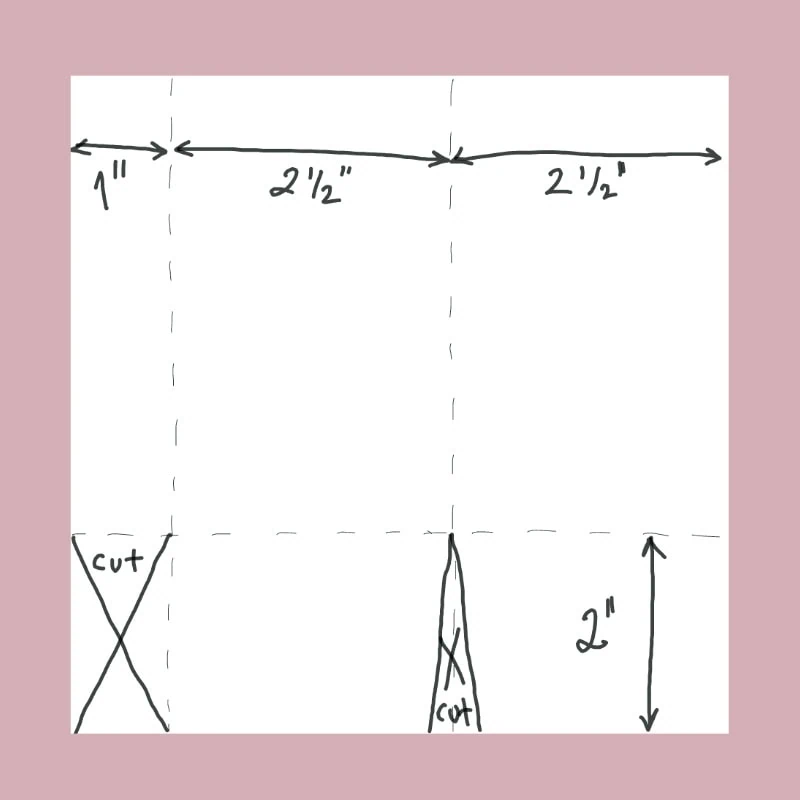
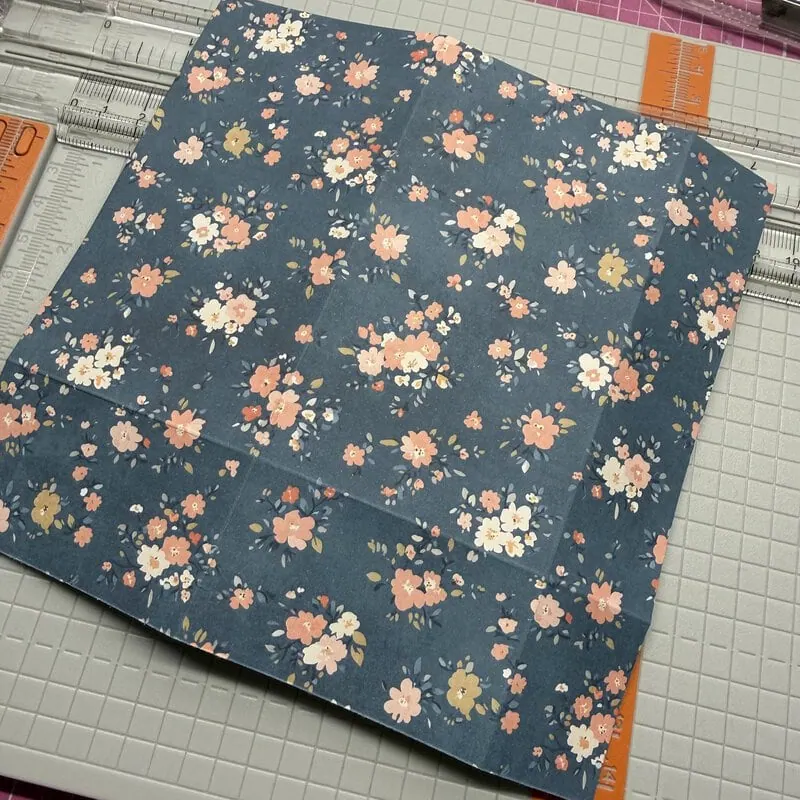
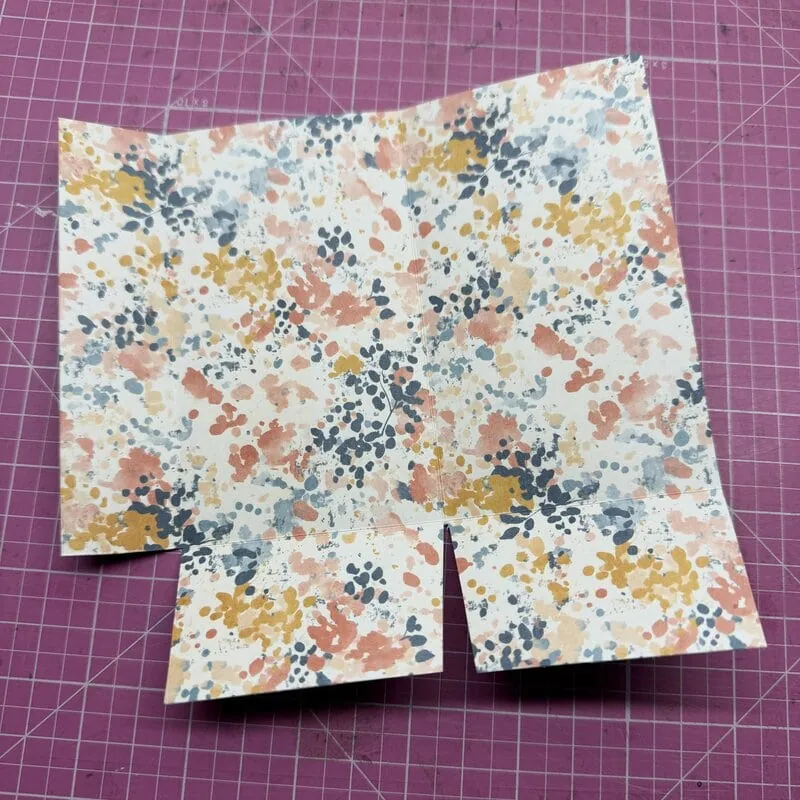
I scored the paper where the folds should be following the measurements from my sketch above, it’s a little hard to see on the photo with the dark patterned paper below, but they are there. Then I cut away the two sections that were marked out. That leaves you with the basic shape of the holder.
Next I taped one edge of both the pockets that will hold the gift card and tags. I only taped one side so it’s easier to slide the card in and out.
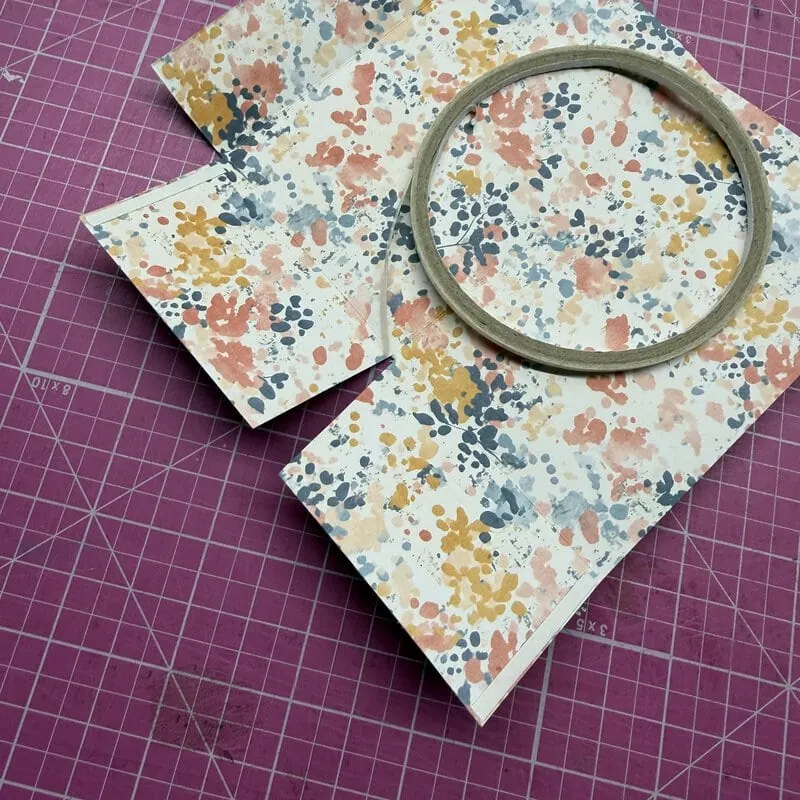
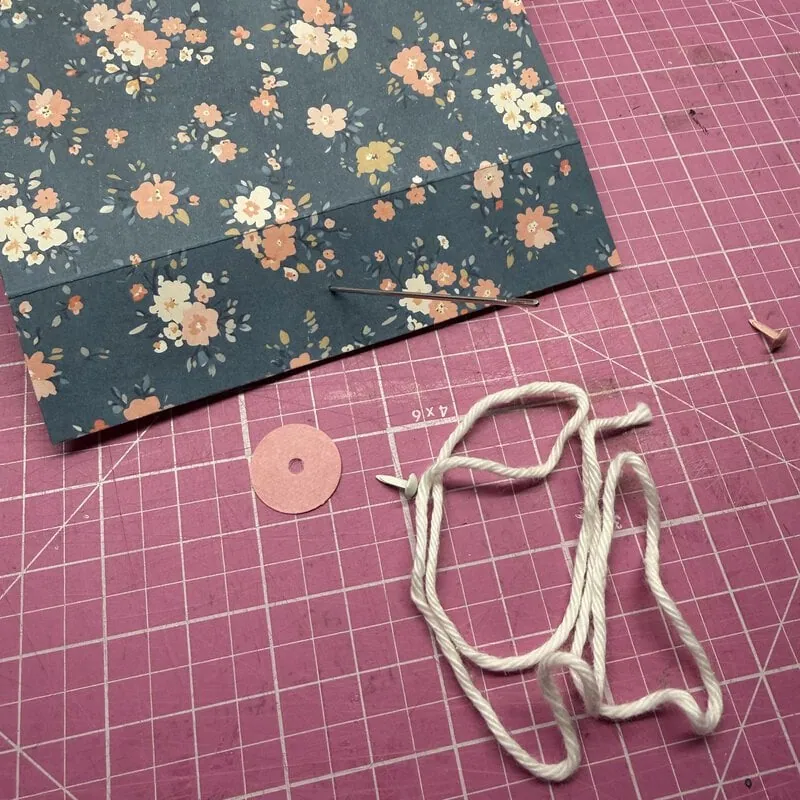
To keep the holder closed, I punched out a circle using a circle punch and added a hole in the center for a brad. I attached the brad to the flap of the holder. If you look at the first photo of the printed sheet, you’ll see I duplicated the pink tag and placed it underneath the one I planned to cut out. This gave me a matching solid colored piece of paper to punch the circle from.
I tried using white yarn to wrap around the brad but it felt to bulky. A thinner blue embroidery thread worked perfectly.
Now for the fun part, decorating the holder! I used double-sided tape to attach the elements I had cut out. I tied the tags together with a ribbon and tucked them into one pocket, leaving room for the gift card in the other.

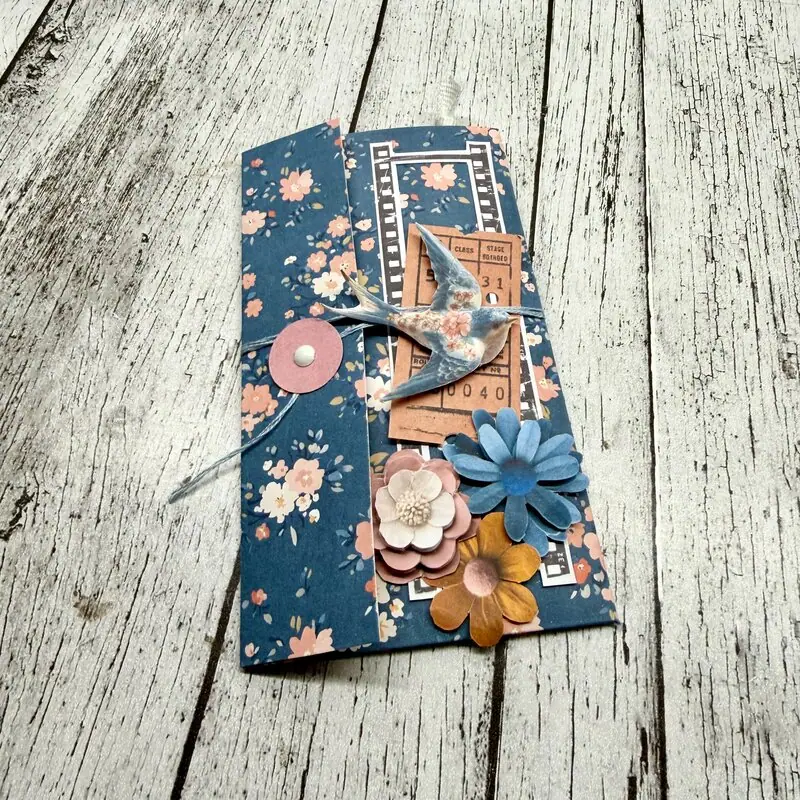
I hope this inspires you to make your own gift card holders. The best part is that you’re not limited to this size, you can make them as big or small as you want. Your imagination is the only limit.
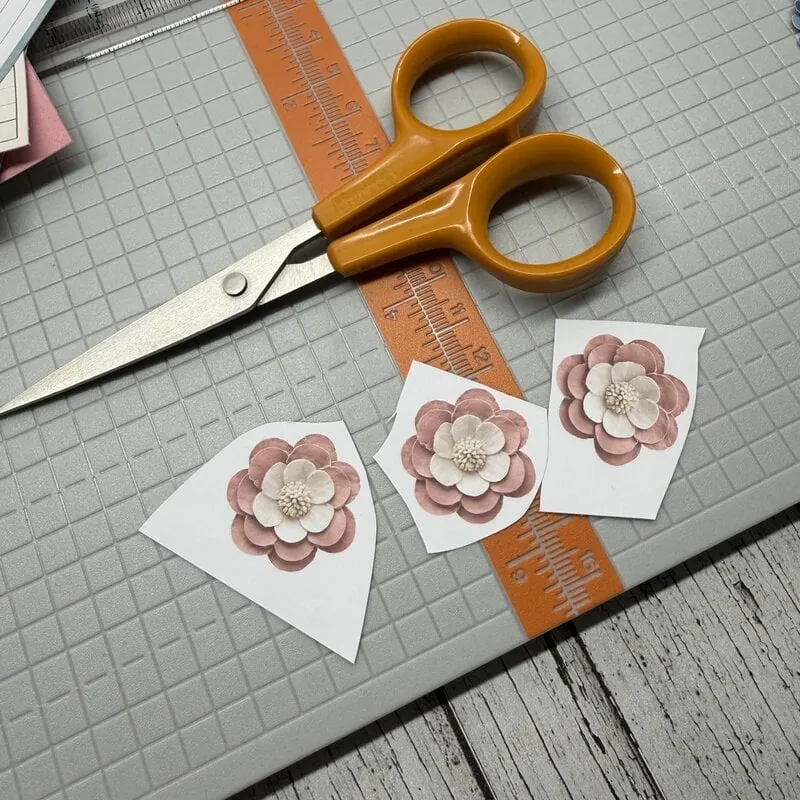
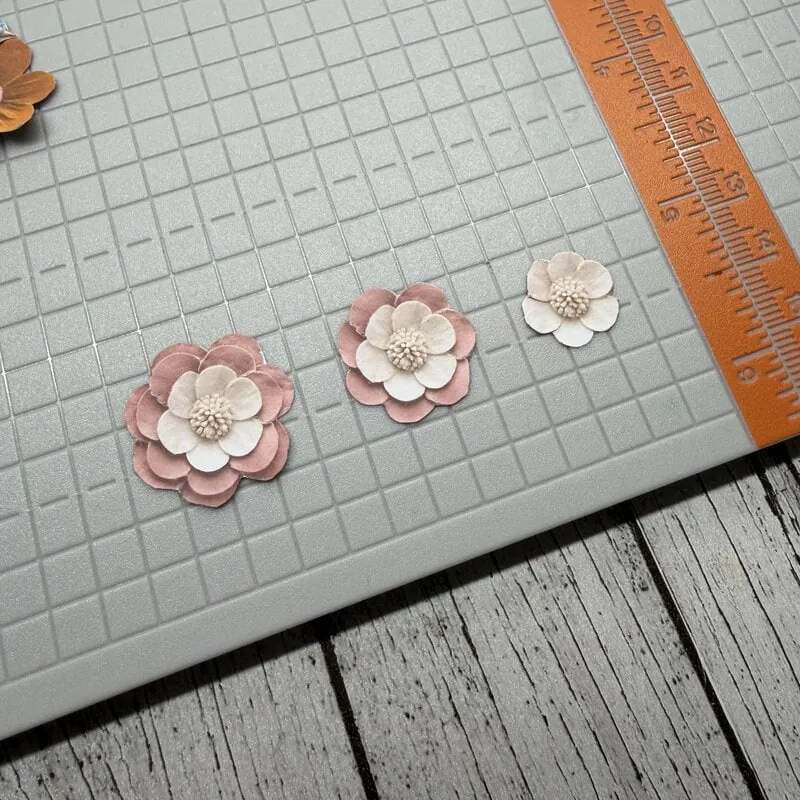
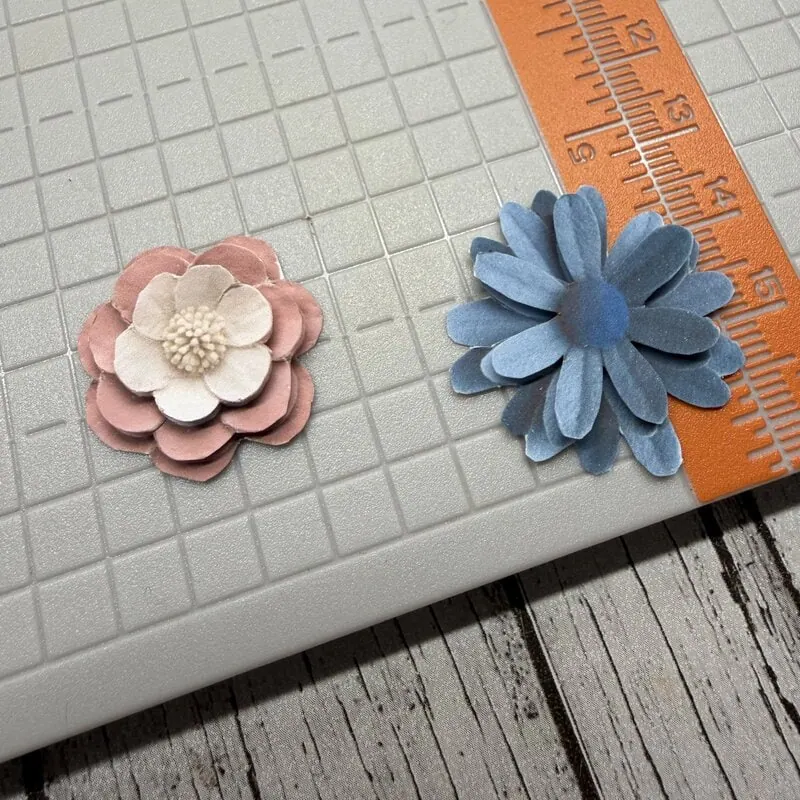
Bonus Tip: Adding dimension to printed flowers
Here is a little trick I love for giving printed flowers more depth. I usually print two or three copies of the same flower, cut out different parts and layer them with foam tape. The pink and white flower in my example has three layers and the blue has two. It’s such a simple technique, but it really brings printed elements to life.


What a fun project! I love seeing step by step instructions for stuff like this too!
Thank you Karen! I had so fun creating it.
Fabulous tutorial! Thanks, Ann-Sofie!
Thank you.
Thank you for sharing Ann-Sofie … I’ll try this for sure ….
Thanks Marijke. It’s a really easy and fun project.