Make It Monday Sliding Card
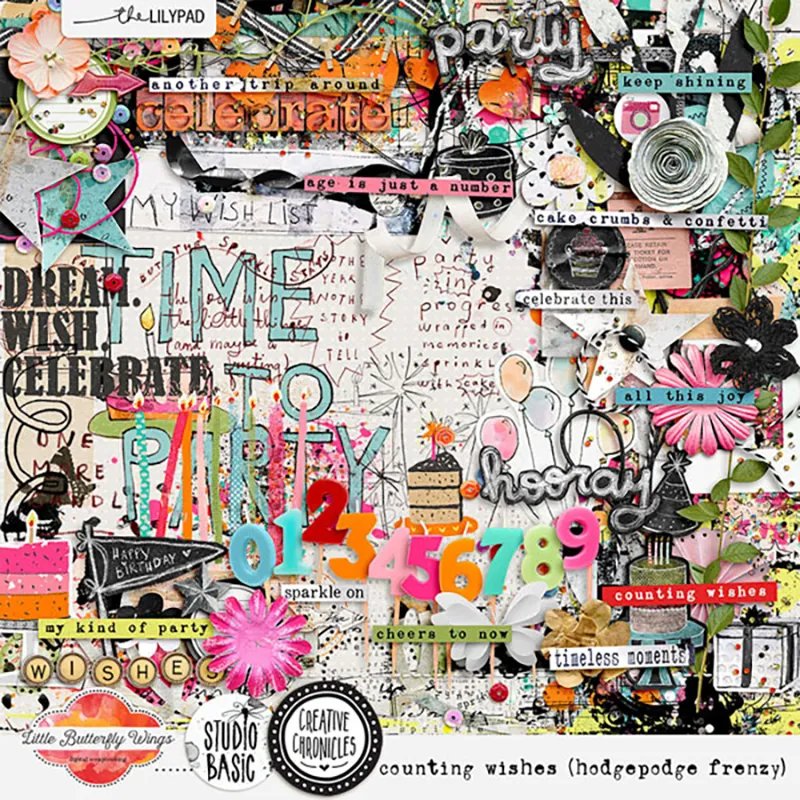
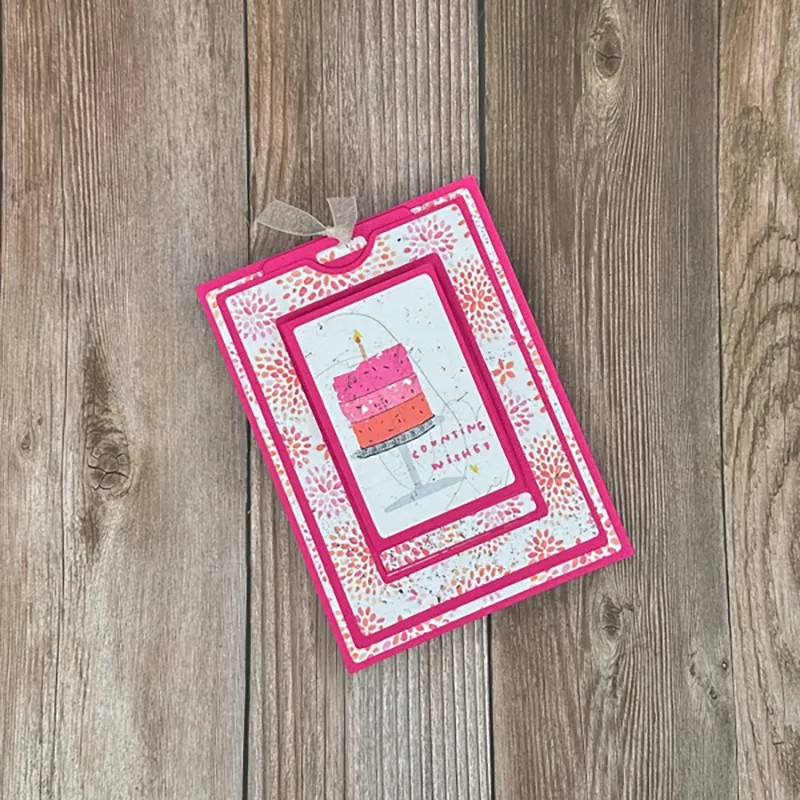
Hi y’all! Polly Robin here with a Make It Monday Slider Card. My daughter loves interactive cards, so I made a slider card for her birthday using Counting Wishes by Little Butterfly Wings and Studio Basic. This kit has the cutest birthday cake and bright pink patterned papers which I knew it would be perfect for her.
To make this slider card, I downloaded an SVG which I used to cut all my pieces from the papers. I love it when I can print my papers and then take them to my Scan N Cut and let my machine do all the work!
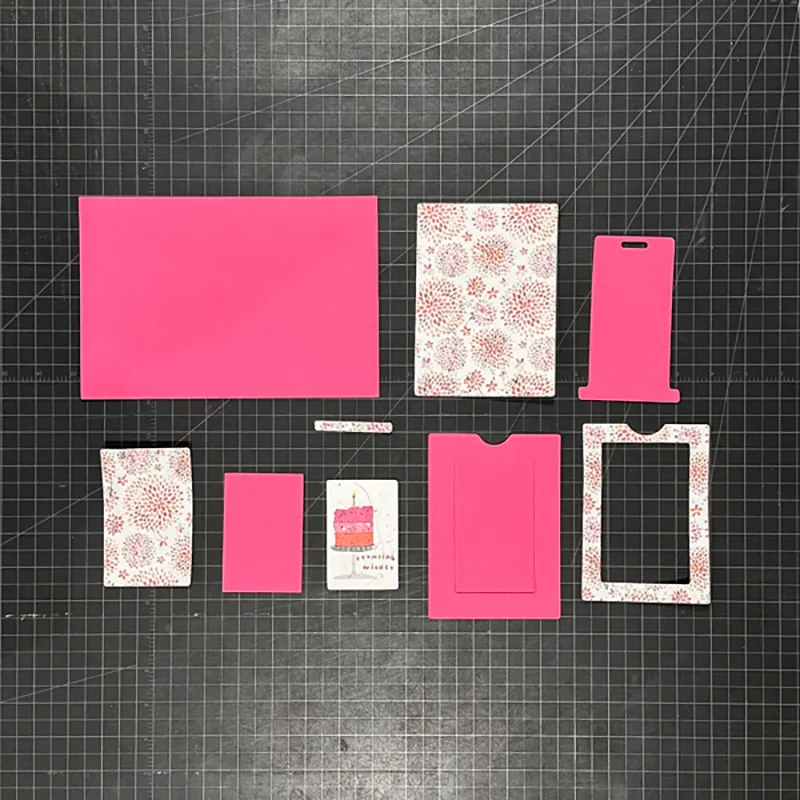
Next, I glued my pattern papers onto the solid ones and then folded the inner flap along the score lines. You can see that I glued the inner panel onto this flap, but only along the bottom half.
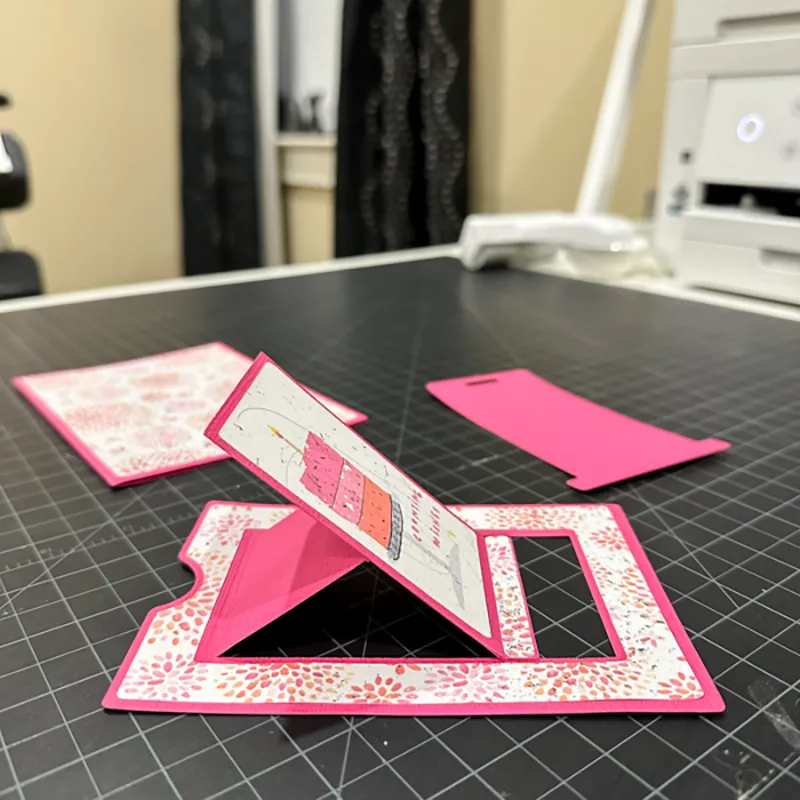
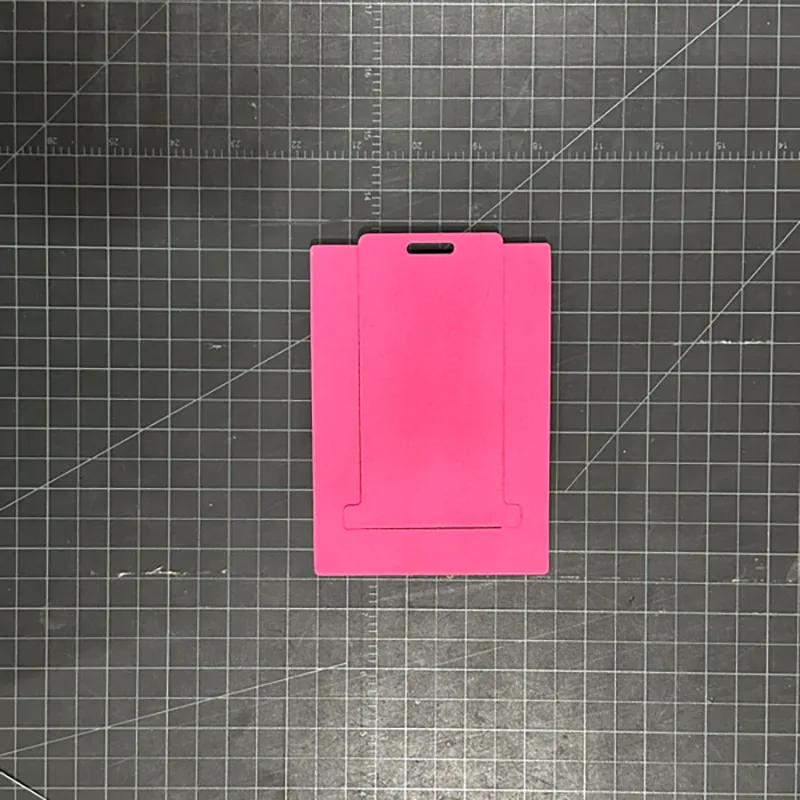
I then turned that piece over and adhered the funny looking “T” shaped piece to the back of it just along the bottom edge. This is the mechanism that will allow the slider card to work.
One that piece was dry, I put the whole mechanism on the top of my base panel and glued it together making sure I didn’t put any glue along that “T” shaped piece so that the mechanism would slide easily. I also added a snarky sentiment underneath the panel since she loves snark. Oh, and I tied a ribbon on top so that my daughter could pull the tab 😊 You can see what it looks like once you pull the tab – that panel just slides up to reveal that message.
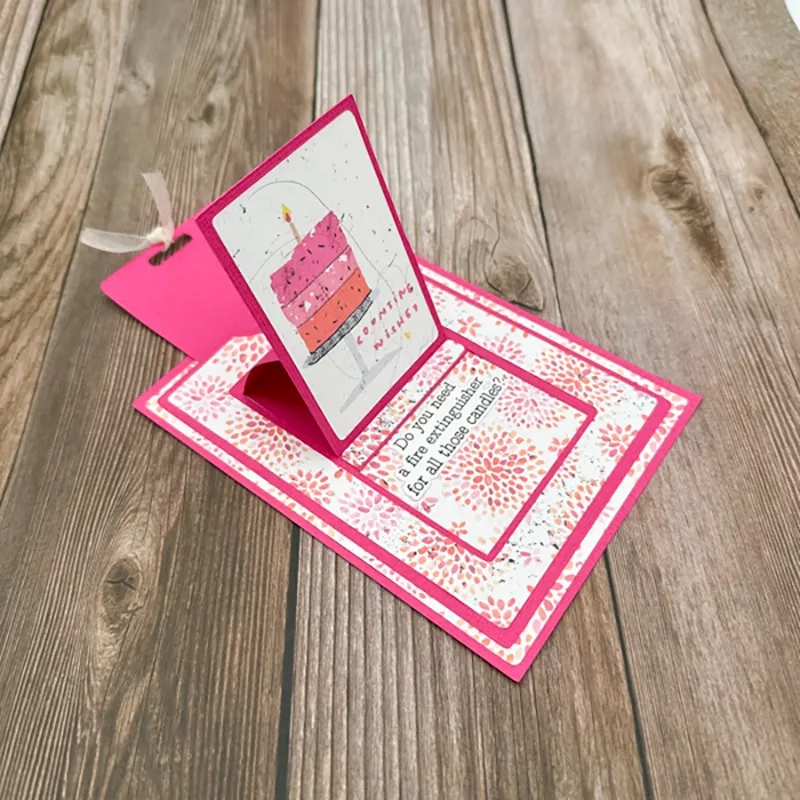
The best part of this card is even though it’s interactive, it lays flat and can be mailed in a regular envelope!
I hope you like this card and thank you for stopping by. See you next month with another card.


Ok, I saw this card in the forum and loved it there, but I love it even more after seeing the fun sliding parts and the saying inside. Hee hee! (I’m at the fire extinguisher phase of life myself!) Ha!
Nice card, thank you for the tutorial.
Sliding cards are so much fun! I haven’t done cards in years but I remember having fun creating these.