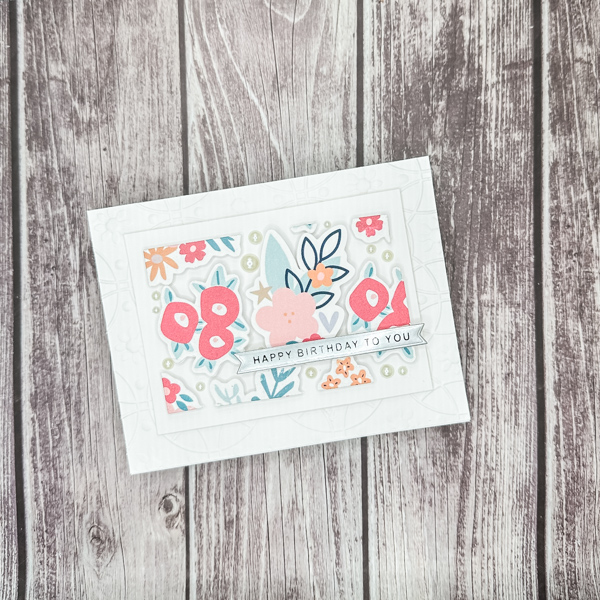
Make It Monday Floating Frame Card

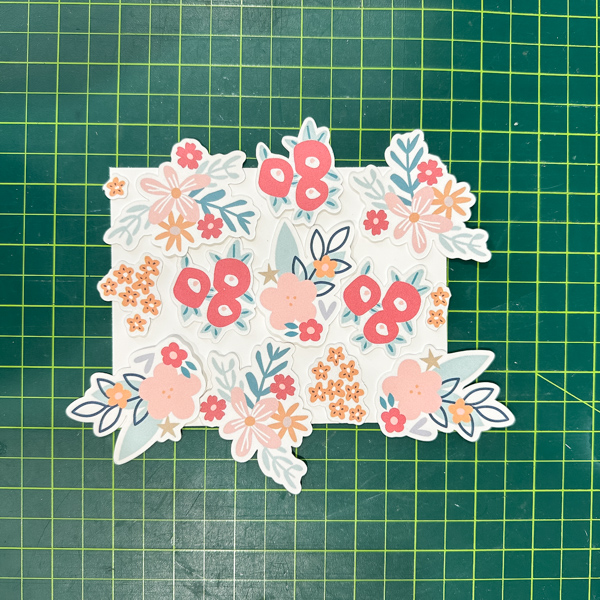
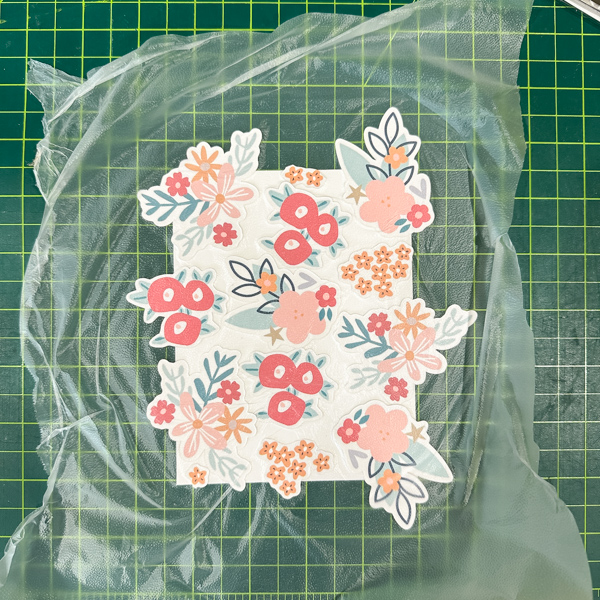
Happy last Monday of August! How has this summer gone by so fast? Well, now that my youngest is off to college, I’m officially an empty nester and trying to fill all my time so I don’t think about that fact ???? Polly Robin here today with another Make It Monday. Today I’ll show you how to make a Floating Frame card. It’s a little time consuming (perfect for me staying busy!), but still very easy I promise. The added bonus is that it can make two cards with one technique. First, I cut out a bunch of flowers from the Memory Pockets Monthly kit and arranged them to cover my 4.25 x 5.50-inch card front like this:
Next, I laid a piece of Glad Press N Seal over the flowers (which were not glued down, just placed down!)
Then I turned over the card:
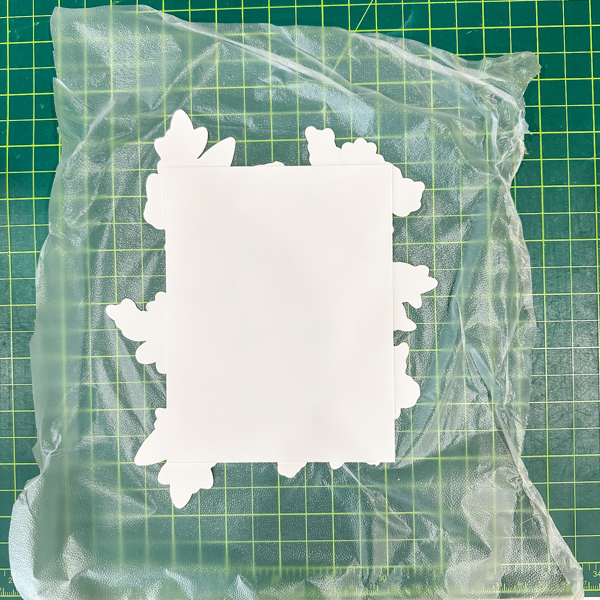
I cut away all the extra pieces hanging off the card front, and after that, I took my trimmed piece over to my die cutting machine and used a rectangular die:
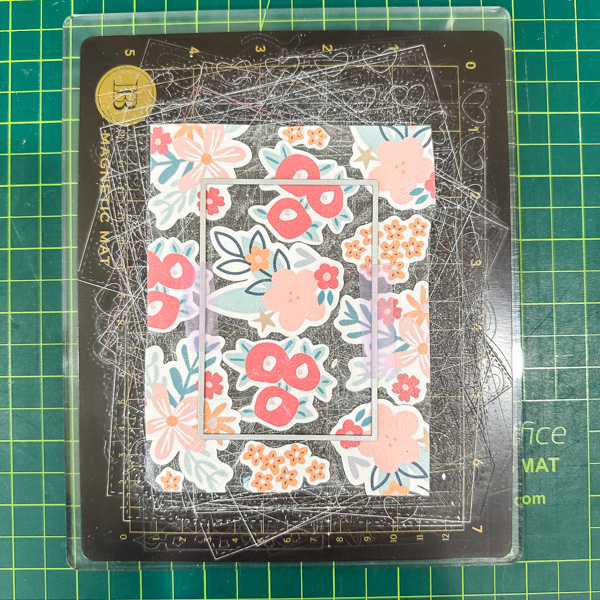
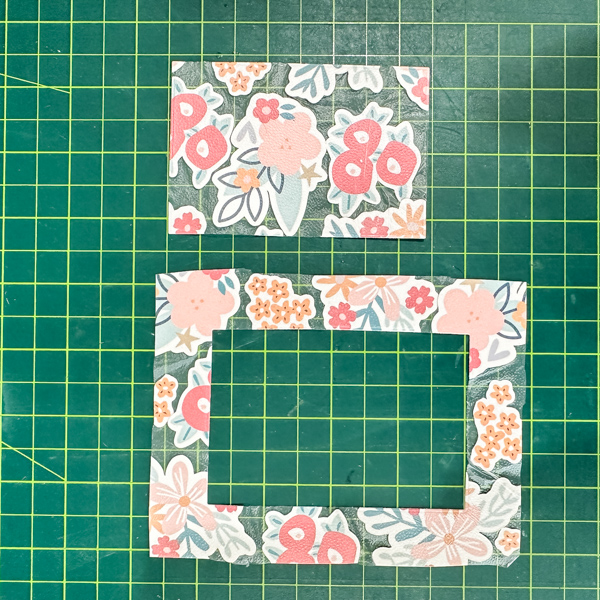
Notice I now have two pieces. Both can be used to make a card! I’m going to focus on the inner piece for this blog post, but you may see the frame used in another project later on ????
I turned over my small rectangular grouping and added foam adhesive to each and every piece. This is the time-consuming part, but again, it’s quite easy!
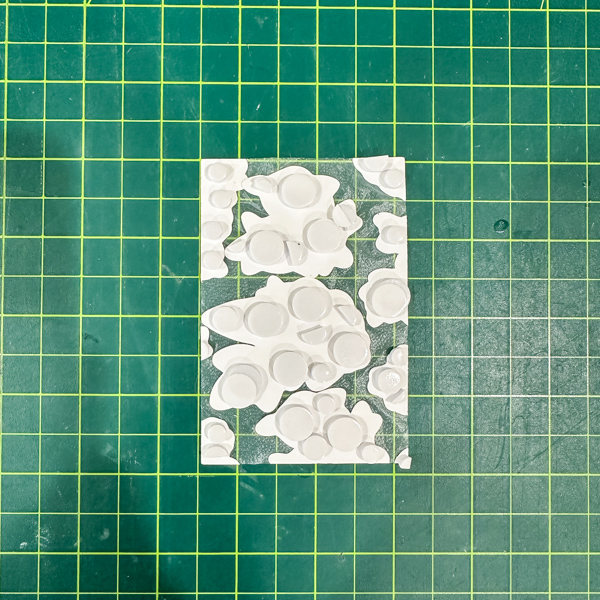
I laid my cluster on a rectangular piece of cardstock and then removed the Press N Seal. The foam adhesive held the pieces tight, so I didn’t have any difficulties maintaining my cluster. I added some pearls in the spaces between the flowers and then matted that entire piece of cardstock on another 4.25 x 5.50-inch piece of embossed white cardstock. Once I added my sentiment strip, the entire card was done!!
I wish you could see the depth and layers in this picture. Trust me that the texture is just fabulous!
Well, I hope you like this floating card, and I’ll see you in September!