Make it Monday Faux Fractured Card
Hello and welcome to a Make it Monday blog post! Polly Robin here to share with you another card tutorial. This week I’d like to show you how to make a faux fractured card. It’s a simple card that doesn’t require many supplies and can be made in batches without taking much time. Let me show you what I mean.
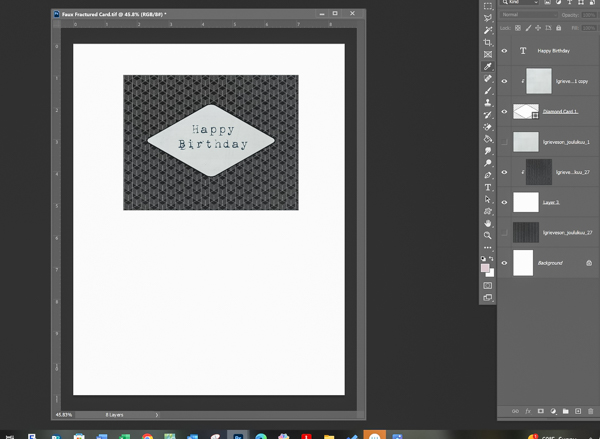
As always, I do a rough project in PSCC just so I can see what colors and sizes I want to use. I am making a birthday card for my brother-in-law, so I wanted masculine colors. These papers from Lynn Grieveson’s Joulukuu kit were perfect for the vibe that I was after.
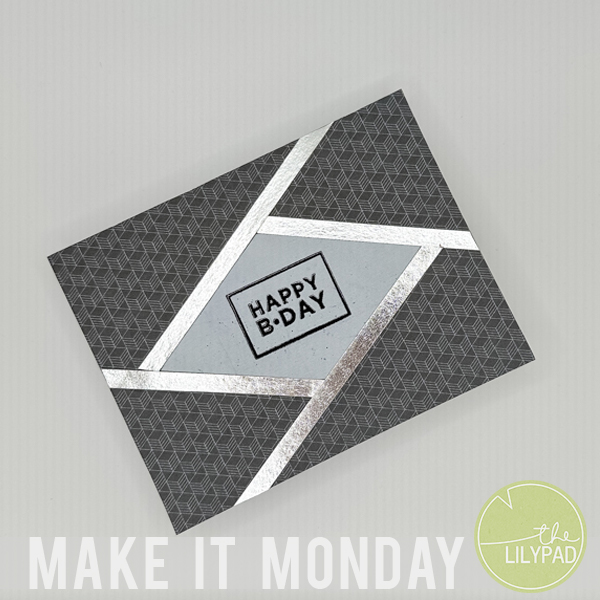
So, after printing both the black patterned and solid grey papers, I cut a diamond out of the grey paper using my scissors. Then I used a stamp and black embossing powder to create the greeting in the middle. I placed that on my black patterned paper and cut out ¼- inch strips from silver foil paper. I then started gluing the strips around the edges of the diamond shape like you see below.
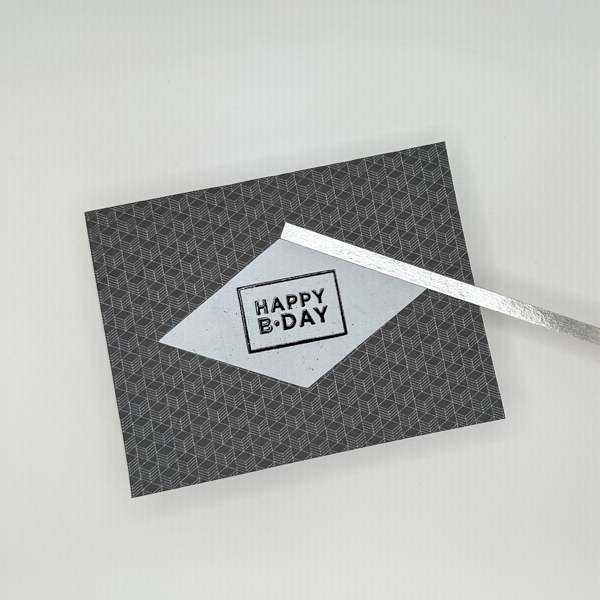
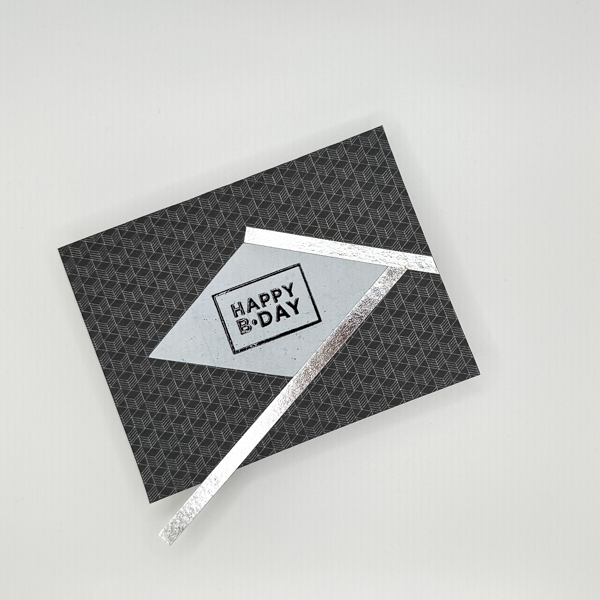
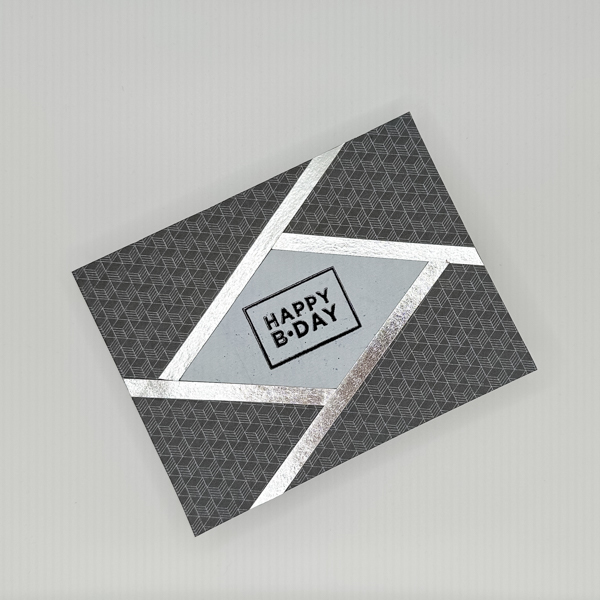
Notice how I stared with the right upper side and moved clockwise, allowing the strips to hang off the edges before cutting them flush with the card?
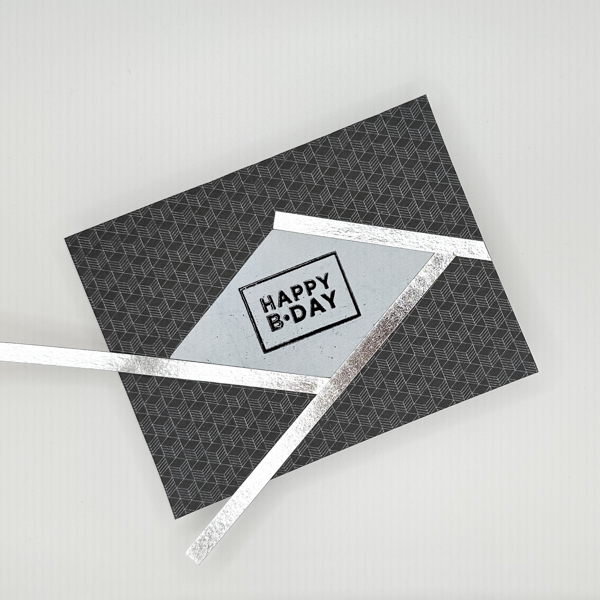
That’s it! The whole card took less than 30 minutes and that included printing, cutting, and assembling! I will repeat this a few times just so I can have some masculine birthday cards in my stash.
I hope you like the card and give it a try!