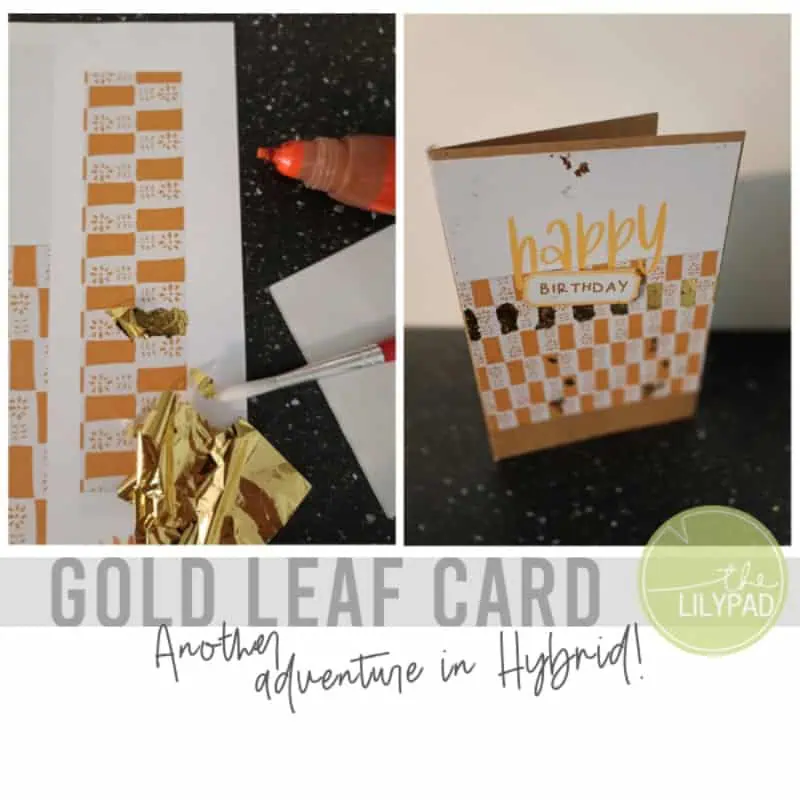
Ink it Up!
Hello scrappers! Polly Jewelle here to share with you a tip to take your hybrid projects from ordinary to extraordinary! This tip is super simple too.
Are you ready?!
Tip: Add ink to the edges of your projects.
Inking the edges of your projects can help in several ways.
- It gives a “finished” look to your projects
- It makes your layers look more dimensional.
- It can hide flaws in cutting.
I’m sure there are other benefits to inking but those are my top three reasons. To illustrate my point, check out this card I was in the progress of making using Little Butterfly Wings kit Kitschy Birthday. See how the purple patterned paper blends into the background paper? All the layers also look kind of blah.

Seeing that I thought it was time to pull out the ink. When I use ink I typically use a sponge dauber and my favorite ink Chestnut Roan by ColorBox.

I decided to add the ink to the edges of all the tan colored papers and also the purple patterned paper. Here is a comparison of what the tan paper looked like before and after it was inked. If you notice I have added very little ink to my edges. I like a nice subtle look. To get this look ink up your dauber by pressing it into your ink pad, then very lightly drag your dauber across the edge of your paper.

After all the inking was done, I assembled my card. This is the finished product.

See how the layers are more distinguishable from each other? For this particular card the ink also added a nice vintage feel.
Are your ready to get your fingers a little dirty? Go ahead and try inking the edges of your projects. I bet you will be pleasantly surprised by how easy it is and the amazing results it produces.