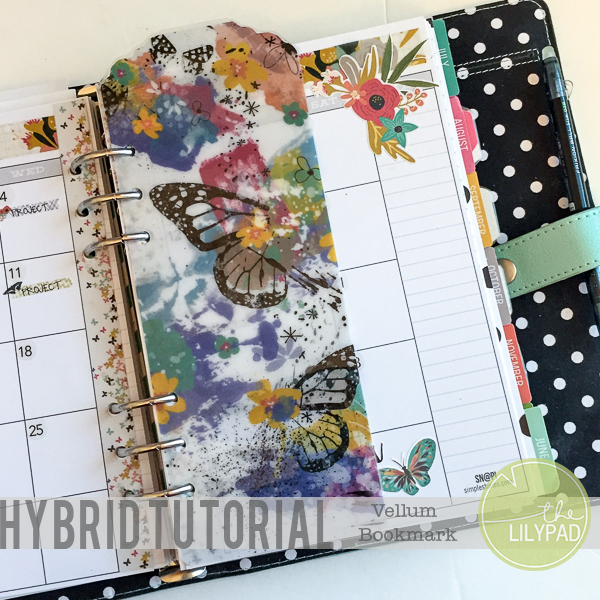
Hybrid Tutorial: Vellum Bookmarks
Hey all Polly Jewelle her popping in with a hybrid tutorial for your planner. I am a fairly functional planner girl. However, I do like to dress my planner up a bit. One way I do this is by creating bookmarks. I’ve gotten tired of the current bookmark and thought I would share with you how to make a new one using my digi supplies. Lets get to that tutorial!
Supplies:
- Drama Queen Fueled by Valorie Wibbens
- Vellum
- Adhesive
- Hole Punch
- Laminator
- Scissors or paper trimmer
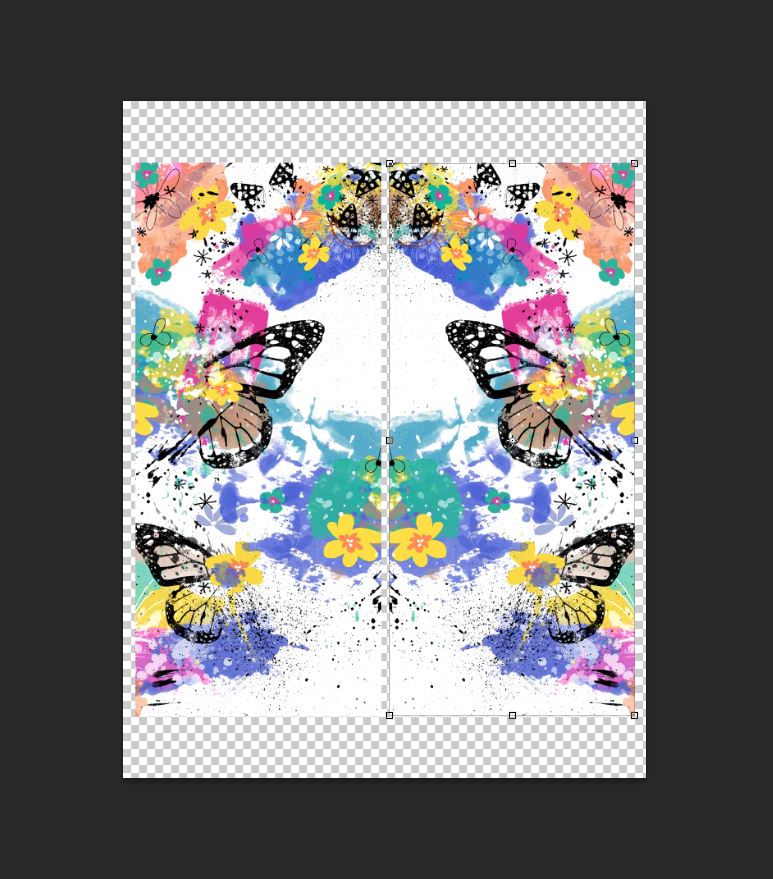
- Open a 8.5 x 11 document in your photo editing software. Use the rectangle tool to create a rectangle a bit larger than the size of bookmark you want.
- Using elements from Drama Queen Fueled create you desired pattern on top of the rectangle. Use a clipping mask to “attach” these to the rectangle.
- Duplicate the finished bookmark.
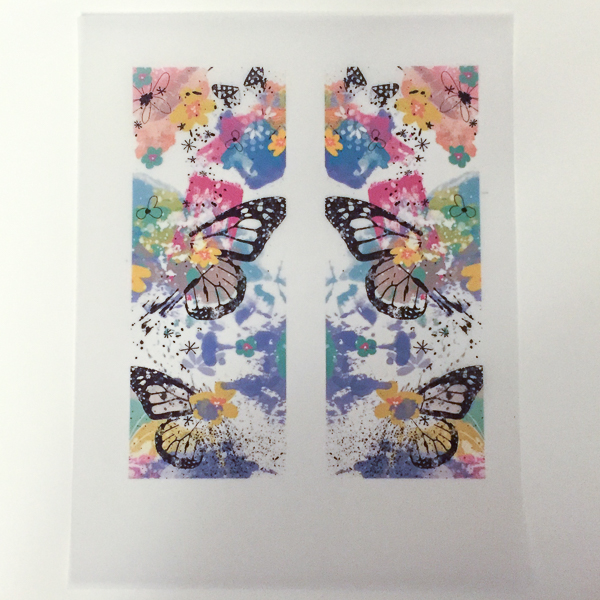
- Select the layers of the duplicate bookmark. Go to Edit —> Transform —> Flip Horizontal. This will give you a mirror image for the back of your bookmark.
- Print the document on vellum.
- Cut out vellum bookmarks. I used a few bookmarks I had on hand for a template.
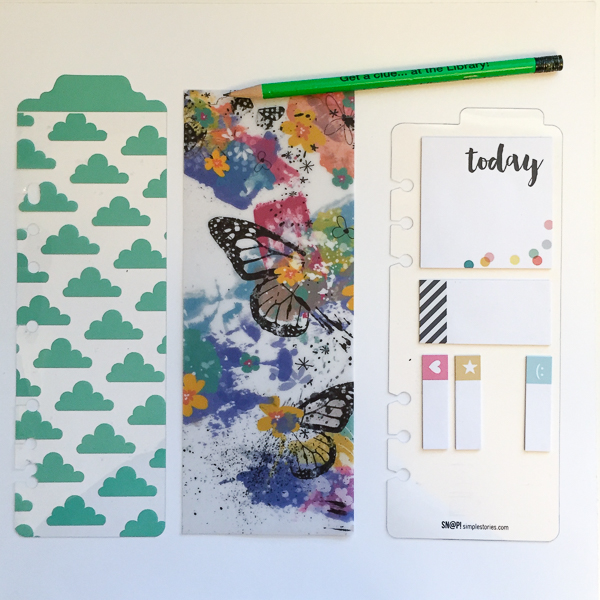
- Adhere bookmarks back to back so that they line up.
- Laminate the bookmark.

- Trim excess lamination.
- Hole punch the bookmark.
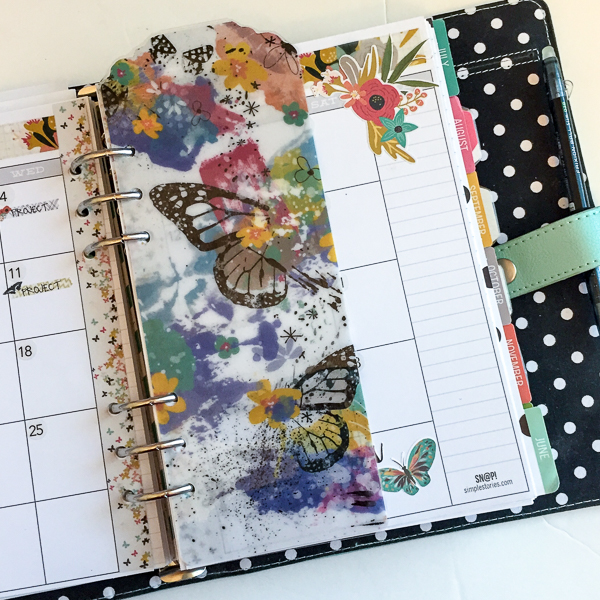
Simple as that you have a beautiful bookmark to use in your planner! As a note, I chose vellum for my bookmark because it is semi-transparent. If you don’t care about transparency of your bookmark, you could use cardstock to print on.
I hope you’ve enjoyed this short tutorial! Be sure and share any of your planner creations with us! We love to them in TLP gallery!