Hybrid Project: DIY Vinyl Coffee Cup
Hi friends! It’s Monica here with a fun hybrid project for you!!

I love my coffee in the mornings!
In fact, I love it so much that I have my second cup in a travel mug so I can sip on it all morning long. I’ve had this pink travel mug for a long time and while I love the bright pink color, I wanted to personalize it a little more.
Today I want to show you how you can use your digi supplies to personalize a mug or coffee cup using a cutting machine and vinyl.
Supplies:
- Travel mug or coffee cup
- PNG file from digi-supplies
- Silhouette (or other cutting machine)
- Vinyl
- Transfer paper (or Glad Press and Seal)
For this project, I used png files from the Good Morning kit by Paislee Press, but it will work with any png file in your stash.
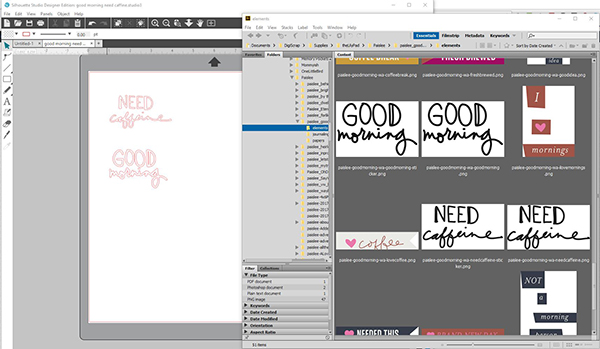
First I brought the files I wanted to cut into my Silhouette software. I selected “trace” to trace around the words.
I then prepped for cutting and sent these two phrases to the silhouette to be cut out of vinyl.
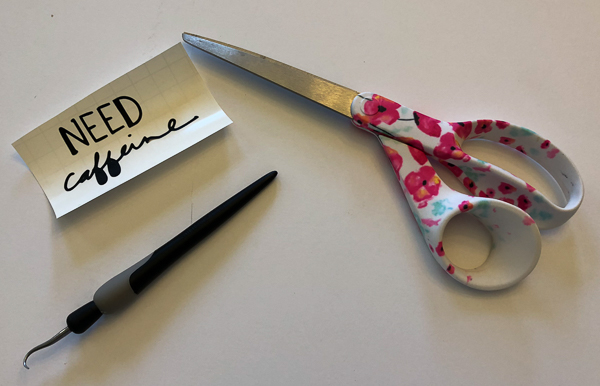
I used tools to “weed” out the phrase that I wanted on my cup. Weeding just refers to removing the unwanted vinyl.
I typically use transfer paper to then “transfer” the design from the vinyl backing to my project, but my transfer paper was lost in a basement flood we had recently. I racked my brain to figure out what I could use instead and landed on Glad Press & Seal wrap that I had in a kitchen drawer.
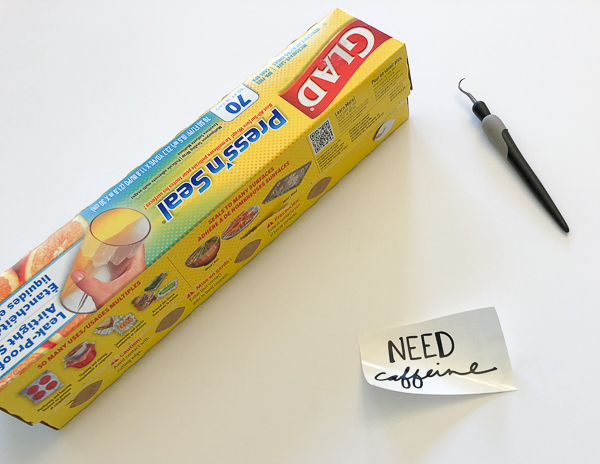
This is not my preferred way of doing things, but it did work in a pinch. I had to work really hard to get the vinyl to adhere to the Press and Seal material. But it finally worked!
Here’s a look at my newly personalized coffee cup with the two designs I used from my digi-scrap stash:
I enjoyed my first cup of coffee in my new cup this morning and it was delightful!!

This was a fun, relatively simple project that’s been on my “to-do” list for a long time! If you have a cutting machine, I encourage you to use your stash to personalize your own coffee cup…I promise it will make your morning coffee a little more enjoyable!