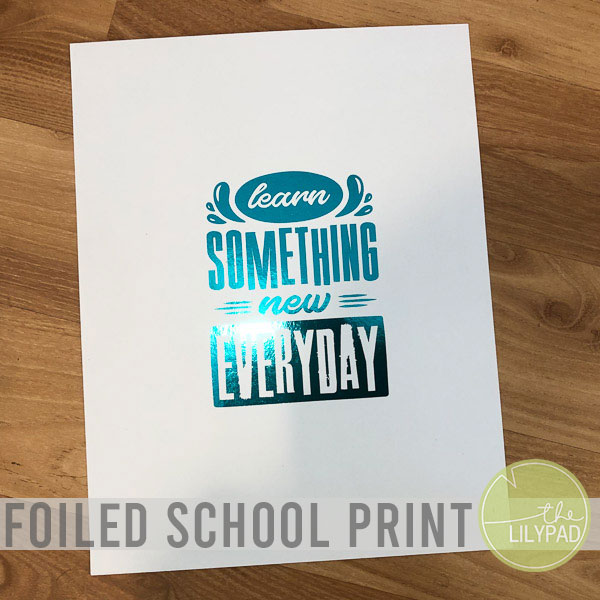
Foiled School Print
Hello and happy Monday!!
Since many of us are schooling from home, at least part of the time, I thought it would be fun to share a print I made for our school room today.
I made this print using NBK’s Mindfulness Word Arts, a laser printer, foil, and my MINC foil applicator. It came together super quick for an easy afternoon project!
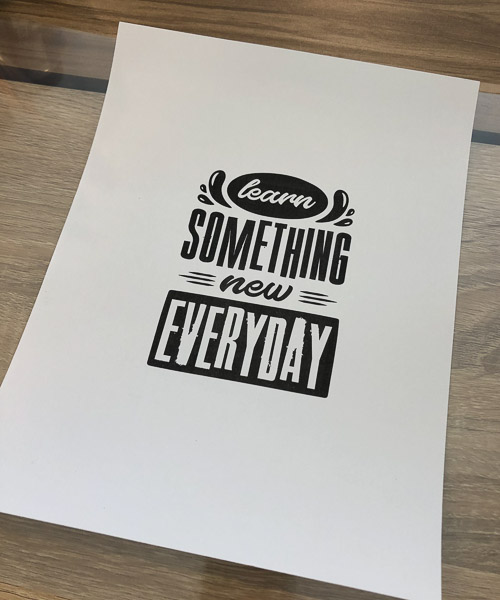
First I selected a word art and placed it on a letter sized document in Photoshop. I sent this to print on cardstock paper in my laser printer. If you don’t own a laser printer, you can send it to be printed at an office supply store. Only laser printed images will work when applying foil.
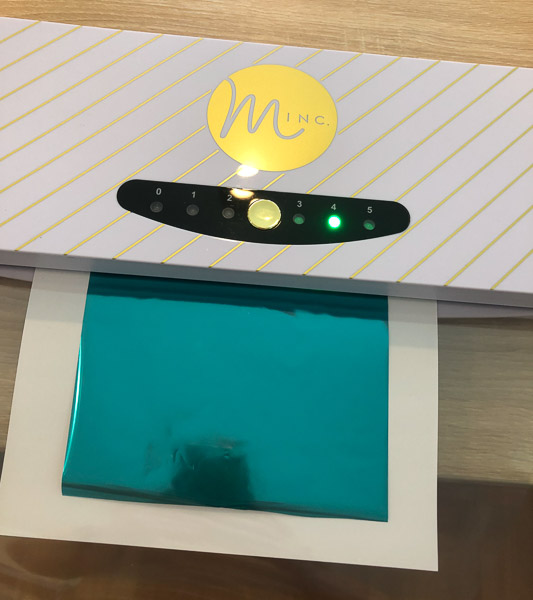
Then I placed the printed art work into a transfer folder (this works to hold the art work and foil in place). I cut a piece of foil to the size of my design and placed that on top of the printed design.
Next I carefully fed the transfer folder with the design and foil in place into the Minc Foil Applicator (preheated with a heat setting of 4). It is important at this step to let the machine slowly pull the design through and not rush things.
Once that was completed, I took the design and foil out of the transfer folder and carefully removed the foil to reveal the foiled print.
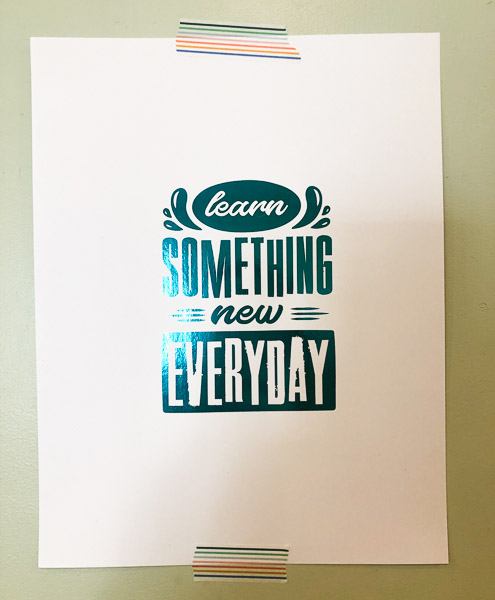
I hung this print on a wall in our school room for a little extra motivation and smiles. It would also be cute framed!
Word art is so fun to play with to make foiled prints like this!!