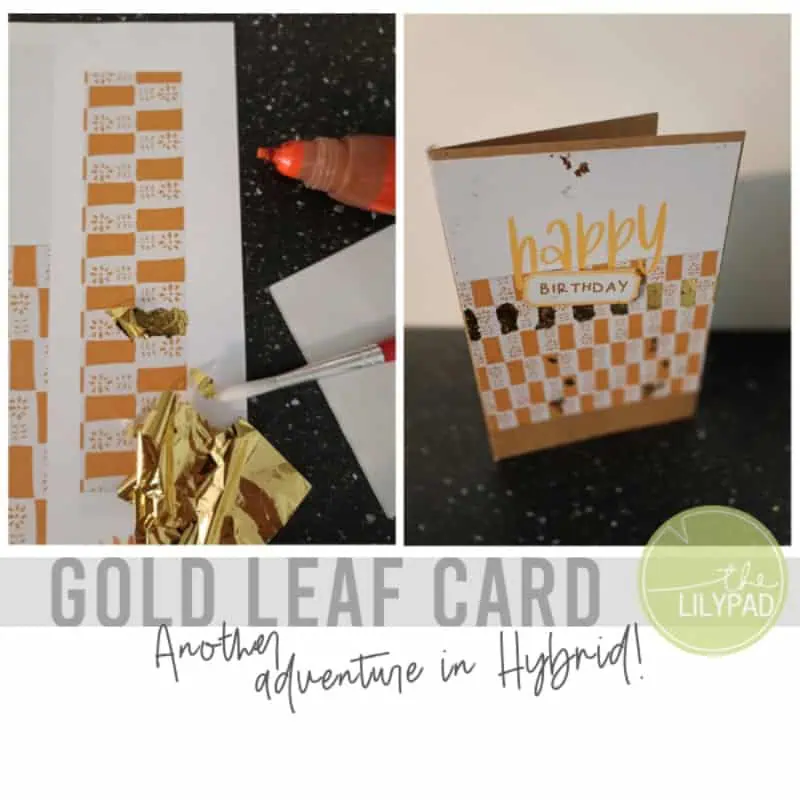
Customize Your Own Grid Paper
Hey there! It’s Katrina, aka katrinahunt13, hanging with you on the blog today. And I have a fun tip for all you hybrid (or want to be, you know you want to!) scrapbookers. We all love to customize things and my post is about customizing your own grid paper!

As soon as I saw this kit by Scrapping with Liz in the store, I KNEW I exactly what I wanted to do with it. There are SO many possibilities with this for hybrid scrappers, it’s crazy! The Planner Grids kit can be found HERE in the store. At first glance this kit looked like it was for all the planner people, which it’s great for them! BUT I love a good grid paper to traditional scrapbook with, but currently that type of paper is hard to find. But now, I can create my own AND in whatever color I want! And I am going to show you how.
I used the dots grid for my tutorial today. I love some good polka dot paper! Open the dots grid in Photoshop. (I have PSE but don’t use it, I think the steps would be similar) Once you have the grid open, then do the following steps: Go to Layer, New, Layer, and then

When the box opens for the new layer, you want to check the box that says “use previous layer to create a clipping mask” and then hit ok. This will create your second layer already clipped onto your first layer.

Go to your paint bucket too and select a color. I used purple here, just so it would show up better on screen. After you have selected your color, hit ok. Make sure your second layer is still selected and then dump your paint bucket onto that layer.
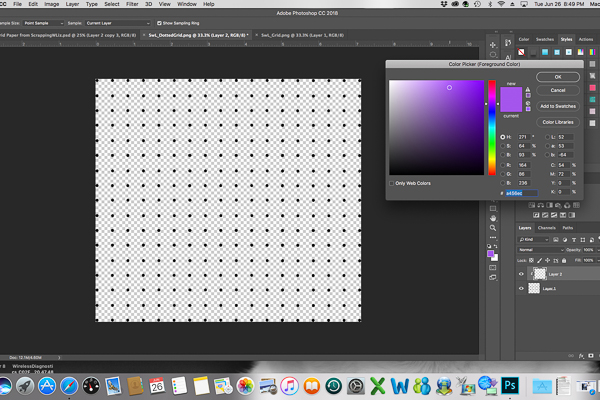
BOOM! All your dots (or whatever grid you are working with) are now colored whatever color you selected! Since I am a PS newbie, when I first thought of this I tried to color every dot! Yes, laugh, go ahead!! I knew there had to be a better way!

After you have your colored grid, now you can just create a new file whatever size you want. I just used a standard 8.5 x 11 here with a white background. Merge your layers and then copy them onto your new file.

To fill your new file, just duplicate the layers, lining up the dots, until you have your background filled. (If there is an easier way to do this, let me know!!!) I moved each layer with the arrow to get them lined up. Mine aren’t perfect, but I wasn’t aiming for that! LOL They were close enough for me!

You can see in this screenshot the layer and where I am at in the process of placing it.

I created a couple of different examples in a blue color for my blog post. I am also planning on using the blocked grid and making it smaller for a pattern paper also!

And what started all this is that I want to make a hybrid travelers notebook from scratch. I thought grid paper would be fun. I found some wooden covers that I have ordered and are waiting for them to get here. But I do know that 3×8 page protectors fit in the covers, so I just cut my papers down to 3×8!!

This has SO many possibilities. Tags, even a subtle background paper with the grids over it would be lovely!! Try it out and let me know how it turns out! If you have any questions, feel free to inbox me at the forum!!! Have a great Thursday!