Adding Cut Outs to a Template
Hi there. This week for Summer School (Holiday Break!), Monica has brought back a fun MOC challenge that requires using a background paper and cutting at least 3 pieces out from it and replacing them somewhere on the page. I love the dimension cut-outs add to a page and it reminds me of using craft punches back when I paper scrapped. For the challenge, you can also use templates and so I chose one to use from the current Christmas in July sale called Winter Wishes 2 {Dressed Down} by Fiddle Dee Dee Designs and this is how I modified it to fit the challenge.
I started with a template that has a large amount of background visible so my cut-outs could be a feature of the design. I’m using the top right template from this pack.
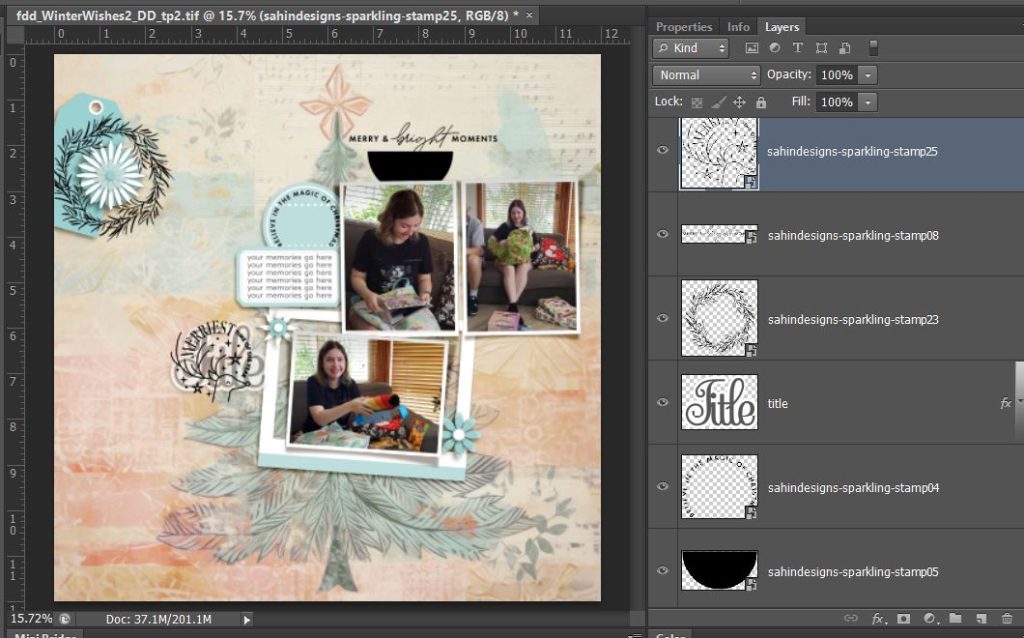
Then I dropped in my photos, a pastel-y mixed media background paper from NBK Designs artCrush no.69 that had a Christmas tree painted on it and some wordart and digital stamps from Elif Sahin Designs called Sparkling Digital Stamps.
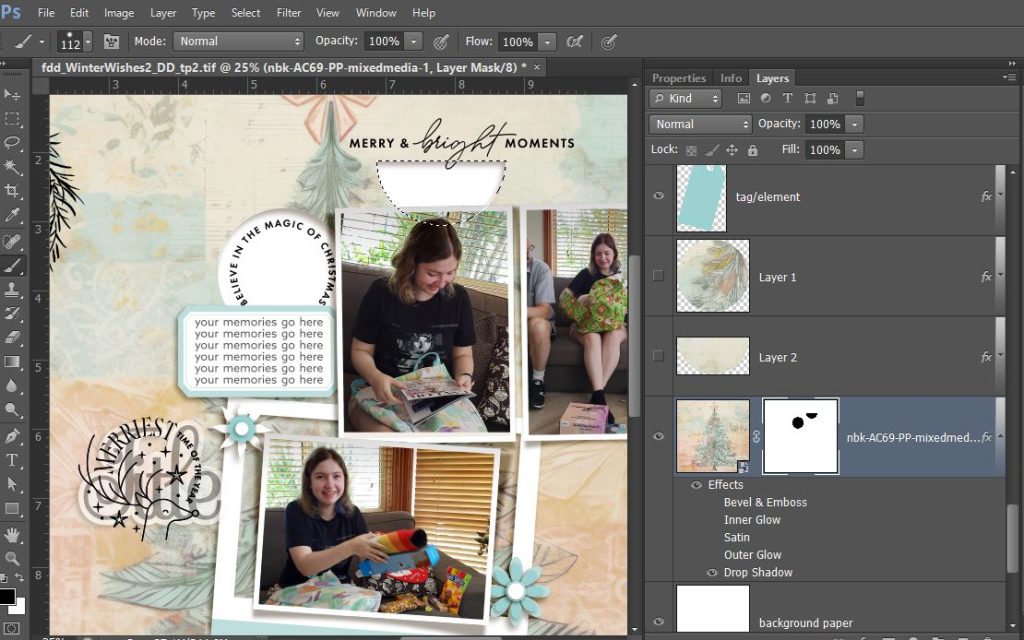
I used the blue label spot from the template as a ‘cookie cutter’ and cut out the paper below it so that the circular wordart would look like it was stamped below the level of the background paper inside a cut-out.
- To use it as a cookie cutter, I made sure the active layer in the Layers Palette was the label/element and then hit ctrl and clicked on the little thumbnail of the label right next to the red underlined layer name to give me ‘marching ants/ dashed lines’ around the perimeter of the circle.
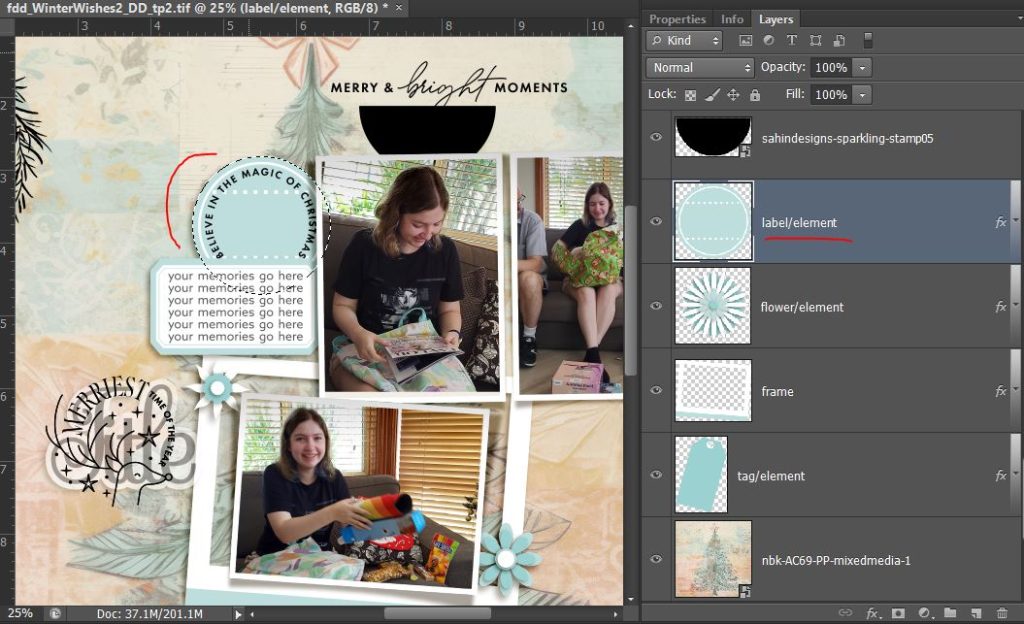
- But because part of the requirements for the challenge are also using your cut-outs somewhere else on the page, I first went back to the nbk-AC69-PP-mixedmedia-1 layer and hit ctrl+J. This copies the section of the paper in that dashed circle and adds it on a new layer, now called Layer 1.
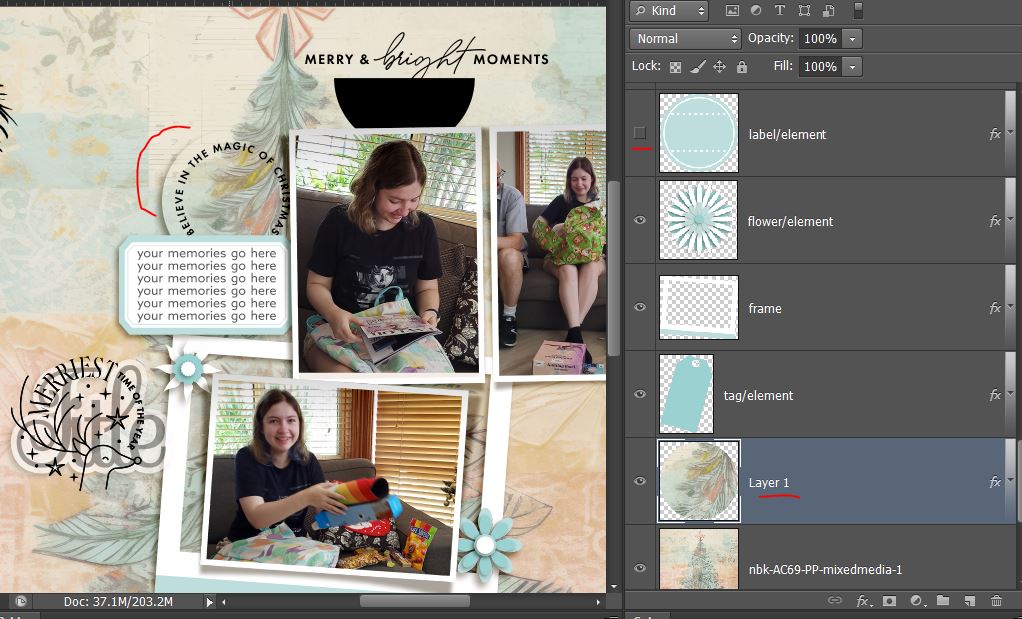
- Now I go back to the NBK’s mixed media paper layer again and with that dashed circle still active, I select the inverse (ctrl+shift+I or just find ‘Inverse’ in the Select drop down menu ) and mask the paper layer so the cut-out shows up in black. You can now see the default white background of the template through that portion of the paper (because the shadow is applied it’s more obvious, otherwise it would look like a white sircle was just part of the background paper), and also the semi circle that I cutout using one of Elif’s stamps as a cookie cutter using the same process. You could also use the ‘eraser’ to delete these shapes from the paper and if you aren’t happy with it, start again by dragging the paper in again but I’ve been using masks for it feels like forever so I didn’t even think of doing that at the time.
I copied and moved the blue label from the template to cut the same size circle lower on the background paper as well where the title would have gone. You could use the Marquee tool to cut any size circle or shape you want as well. This label worked well with Elif’s digital stamps and saved me another step! It’s just like in baking, using the same cookie cutter again really! Hiding the label, you’d never even know the role it played in the creation of my page!
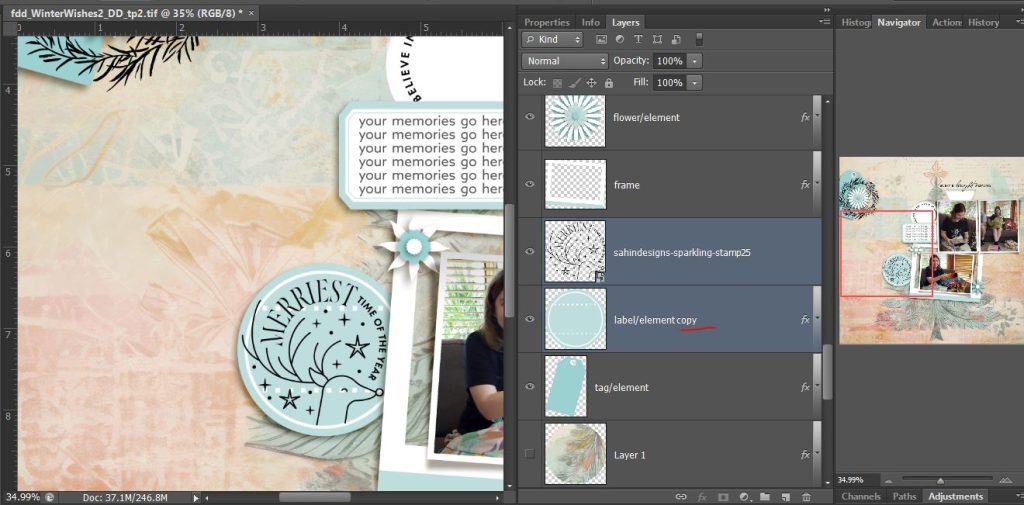
Now to make sure the other part of the challenge is met, I brought back and moved my paper pieces. So at this stage, my cut-outs are backed with white and my 2 paper circles are on the right of the paper frame and my semi circle will form a pocket for some kind of element over in the little left cluster.
With the challenge requirements met, I went into NBK’s artCrush 69 Bits & Pieces pack and started adding elements and I just wanted to show you the blingy Christmas bauble and star brad up-close. See the shine and shading in the enamel and gold? These details give the finished page such realism, in my humble opinion.

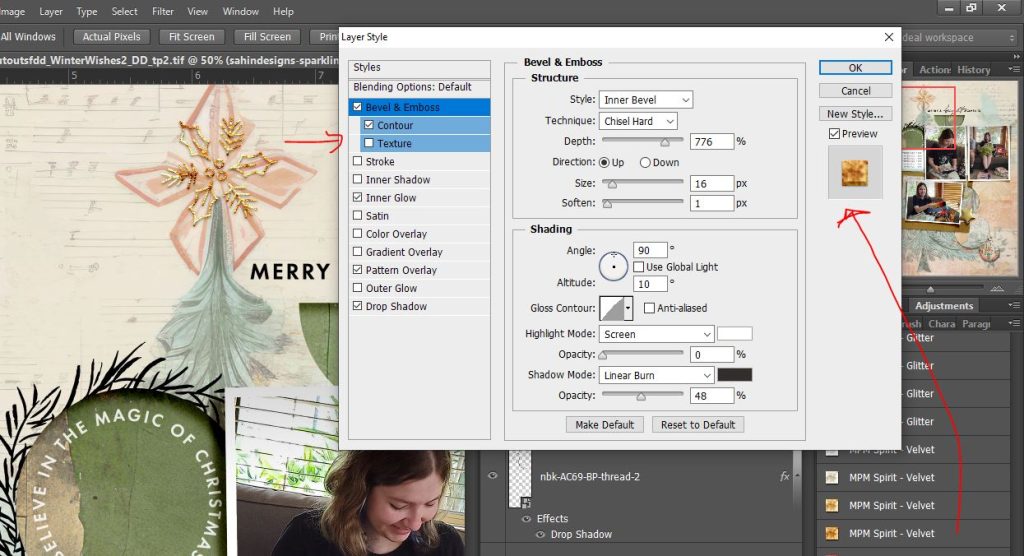
At this stage I also decided to make the stamps a bit more blingy as well with some glitter and gold and grabbed MPM Spirit Layer Style pack by Mommyish from the Christmas in July sale as well.
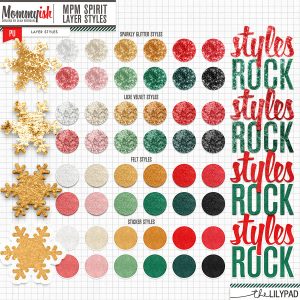
The velvet treatment with some extra tweaking in the Bevel panel ended up giving some of the stamps the effect I wanted at this stage to play against the enamel and gold elements. Zoomed in you can see the glittery colour variation that even the Velvet style can give but to make it pop a bit more, I kept the original black stamp under it and offset it a bit like a slight shadow.
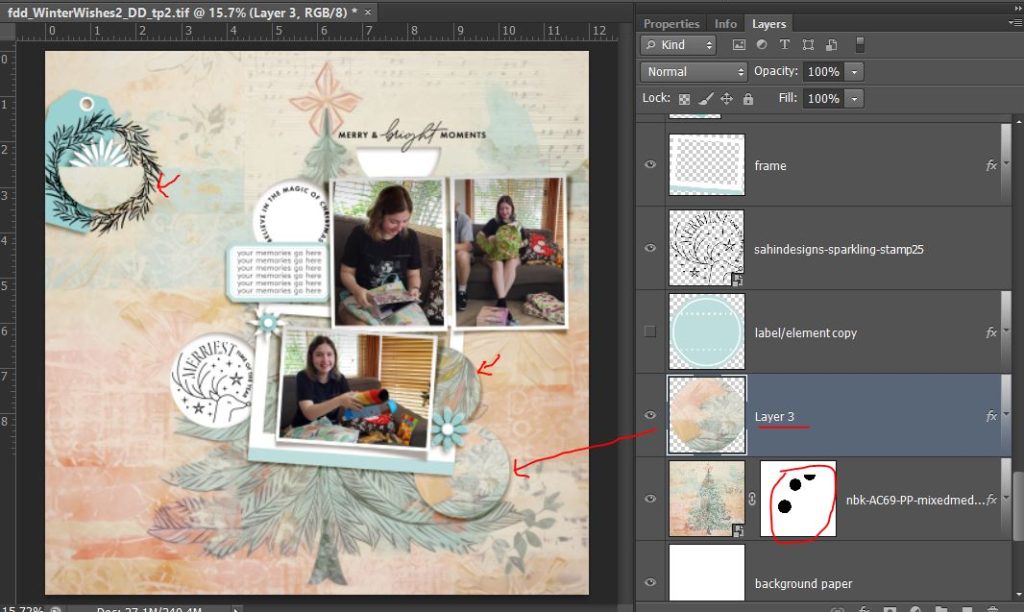
And here’s how my page ended up with more elements after I decided it needed another cut-out so I used the Marquee tool to cut the rectangle below the photo on the far right. I just shuffled that rectangle of paper over a little to show give some contrast and interest to that portion of the layout.
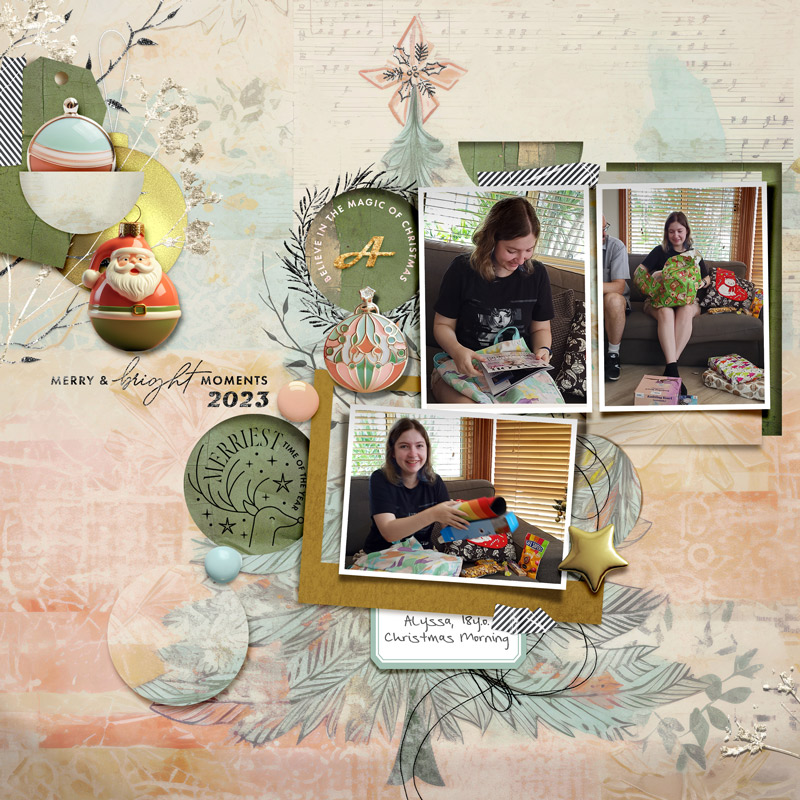
I tucked another enamel ornament into the pocket I made from the cut-out semi-circle and backed all the cut-outs with another paper from NBK artCrush 69 in a worn green and clipped that paper to the tag shape in the template as well. I did end up moving the journal tag, title wordart and one of the paper circles in the end and adding some more stamps and Velvet layer treatments to bring in some more foliage and texture at the last minute too.
Thanks for stopping by today and come join us for the last day of the Christmas in July sale and Monica’s Summer School challenge! See you next time!