Who’s interested in a little distressing?
Well hello there LilyPad friends! Brandi here again! I’m here to share with you something a little different this time.
I don’t know about you but other than digi-scrapping, I have found a love for distressing furniture. So… I thought I would share it here with all of you crafty folk! Hey, ya never know… it could inspire YOU in your scrapbook pages. 🙂
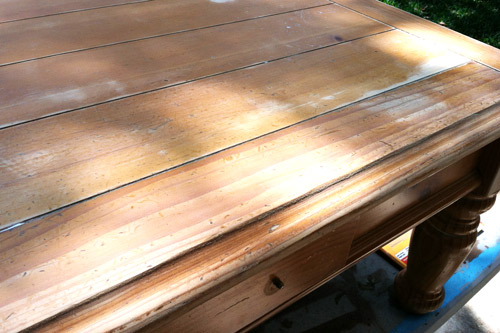
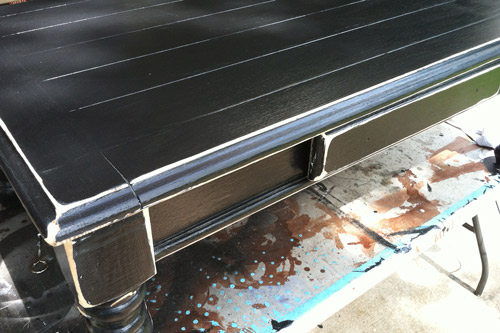
Here is what I started out with.
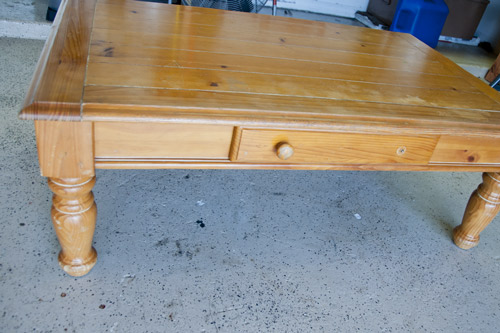
This is a table we have had for many many years that has sat in front of our couch(es) and has been through many MANY kiddie fingers, foot prints, drink splatters, food, foot rests, MOVES, you name it!
Notice how the knob on the drawer is missing, along with the finish of the actual piece. I can’t tell you how many times I’ve used Clorox wipes on this thing just to keep it clean, but those do not help protect it- if anything it strips it of it’s pretty shine (but with little kids I didn’t care). So, I knew I had to give it a makeover! Plus, it needed to match the mantle piece that I redid and distressed a few months ago that holds the T.V. in the kids’ play room because that is where it’s going.
So, to start out you will need these tools:
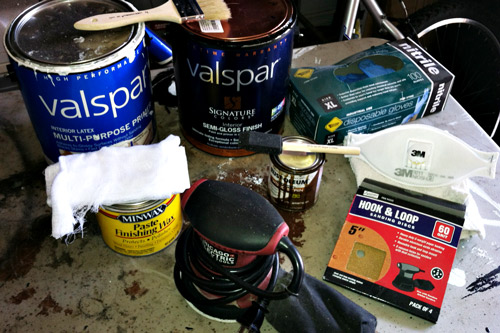
- Primer (Interior Latex Multi-Purpose Primer)
- Paint (Interior Semi-Gloss Finish Paint and Primer in one)
- Wood Stain (Rust-Oleum Ultimate Wood Stain in Early American)
- Automatic Sander or sanding paper ( or block)
- Sanding Disks
- Minwax Paste Finishing Wax, protects & polishes
- Cheesecloth (for Minwax Paste Finishing Wax)
- cloths (to wipe dust/debris from sanding, removing access stain, and one for wiping off finishing wax)
- mask (to protect your lungs when sanding)
- fan (to blow the dust away from you b/c it can get VERY dusty!!)
- disposable gloves (to protect you from getting paint on your hands)
- paint brush
- sponge painter (I think that’s what you call them LOL)
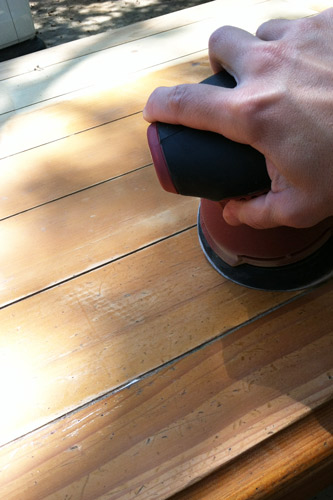
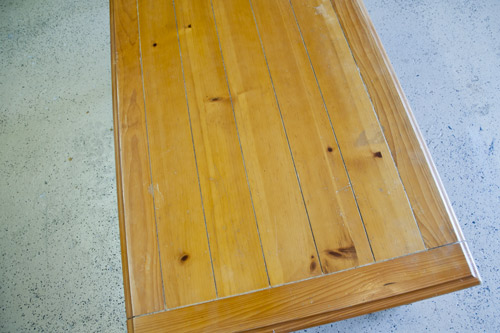
Using your cloth, wipe clean any debris/dust from the table so it’s ready for priming.
Paint one coat of primer onto the table. Allow it to dry overnight. I put a fan on it to help speed up the process.
Then you’re going to sand again where you want your table to look distressed.
Wipe clean again.
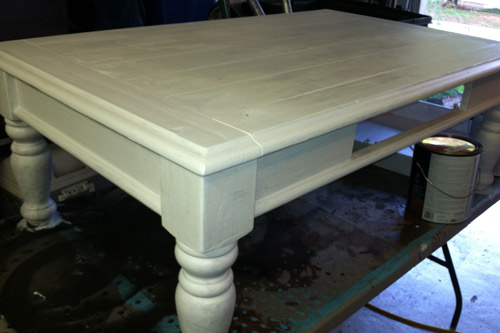
Now we’re ready for the paint!
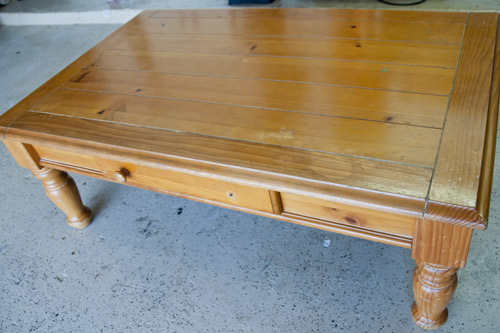
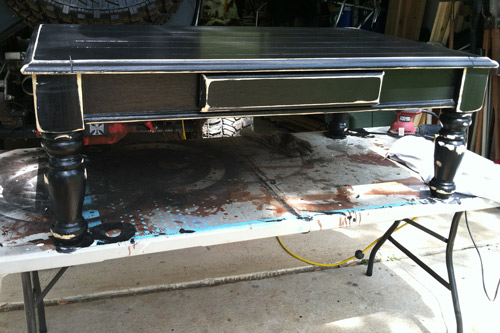
So, as you can see in the picture above I have done my first coat of paint and then I let it dry overnight with a fan. Then, I sanded in the same places where I sanded after I primed.
Dust and repeat. (Paint, let dry, sand, & dust)
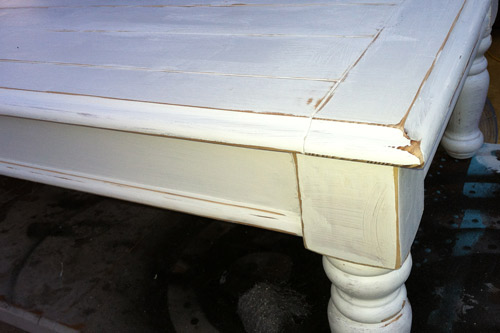
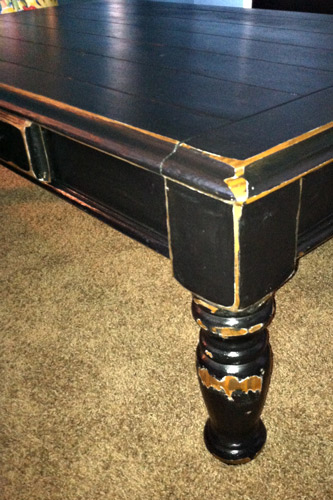
Now that we have two coats of paint and have sanded (distressed) our edges, we want to take the stain and rub it where we have sanded (the edges). Let dry for about 5-10 seconds and then wipe off access stain with a clean cloth. Let dry a couple of hours. This is what it will look like…
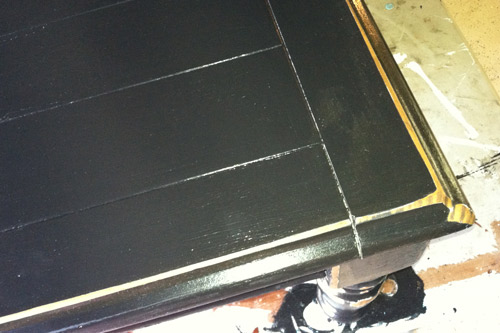
Super pretty! 🙂
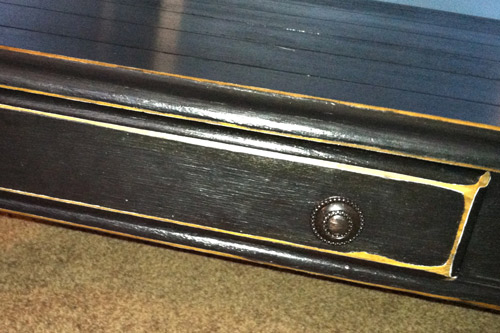
Now we’re ready for the protection part for our table. Using the cheesecloth (you can pick this up at Lowe’s in the paint section or in your local grocery store), apply the wax to the cloth and rub it evenly over the entire table, legs and all. Wait at least 15 minutes for the wax to cure then wipe the table clean with a cloth. Add your new knobs (since mine were wood and one was missing) from Lowe’s and VOILA!!!! You have a brand new table.

I hope you enjoyed this different kind of blog post! I’d love to hear if you’ve made anything similar.
Thanks for reading! 🙂
~Brandi


