Twistin’ Your Text
Have you wanted to make your text wild and crazy, tilted and twisted? Or simply doing something other than sit on straight even lines. There’s a really simple, easy way to make your text go crazy without a lot of angtsy hair-pulling frustration.
(materials: November BYOC– Amy Martin’s Project Grids 4, Just Jaimee Autumn Jamboree)
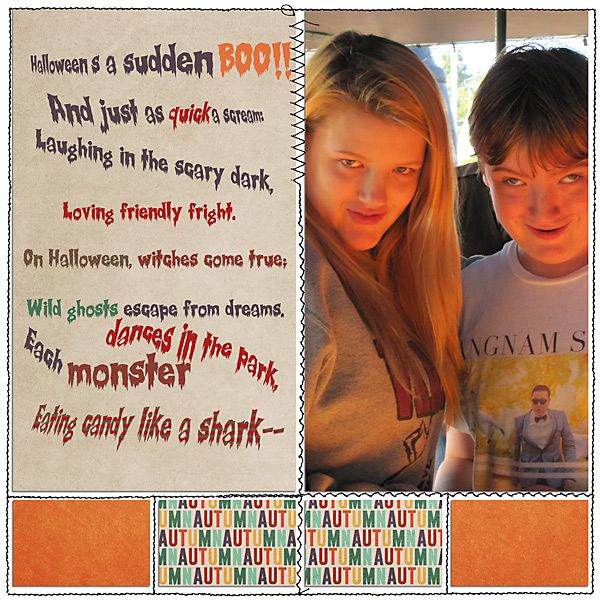
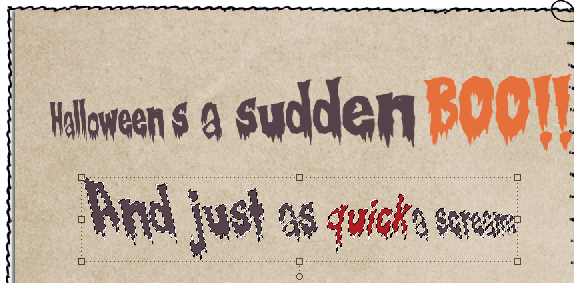
Here’s an example. The text started out looking normal, on straight lines. I added in a lot of space between the lines, however, so I’d have room to use the marquee and/or lasso tool.
A note: I used Creepsville Font (free), centered it in the panel. Chose 30 point font size, with 72 point spacing.
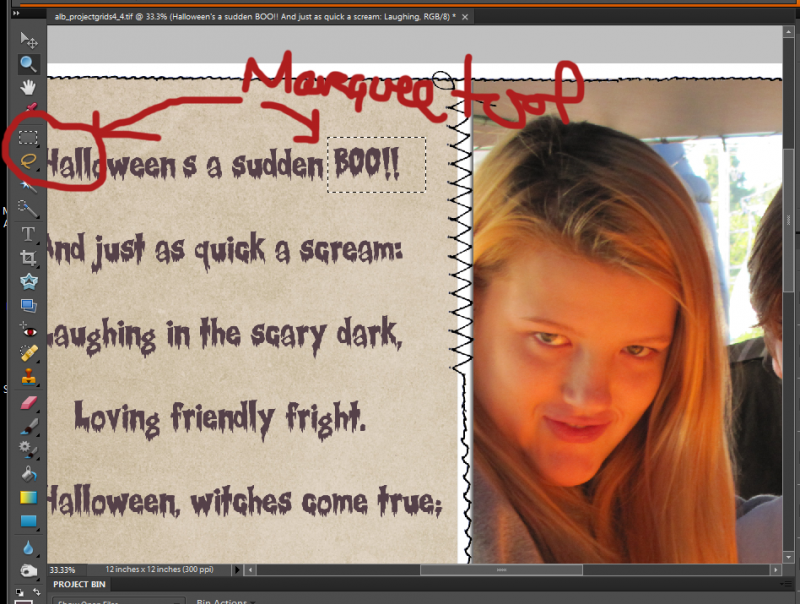
IMPORTANT! Duplicate your original text box, then HIDE it (click on the eye in the palette). Simplify or Vectorize the text so that it’s now a PNG file. Now you can use the Marquee and Lasso tools to manipulate the words and lines in the text.
You can go simple, use the Marquee tool and select a single word in your text and then:
After selecting BOO! with the Marquee Tool, I clicked on the MOVE TOOL. To recolor the text, I used the Paint Bucket & selected a color off the photograph. Also, I used the sizing handles to make the BOO! larger. On the keyboard, I used “Control D” to turn the marching ants off. Unless I reselect the BOO! again, it stays exactly where it is in its new orange color and larger size.
Next, I selected the rest of the line with the Lasso Tool, then activated the handle boxes with the Move Tool (the arrow) and tilted that part of the line. I was careful not to overlap the words because once I click the green arrow, it turns into one solid image, and makes it nearly impossible to change it up. (which is why you duplicated your original text)
If you make a goof, you can always try Control Z to erase the move if you don’t like it.
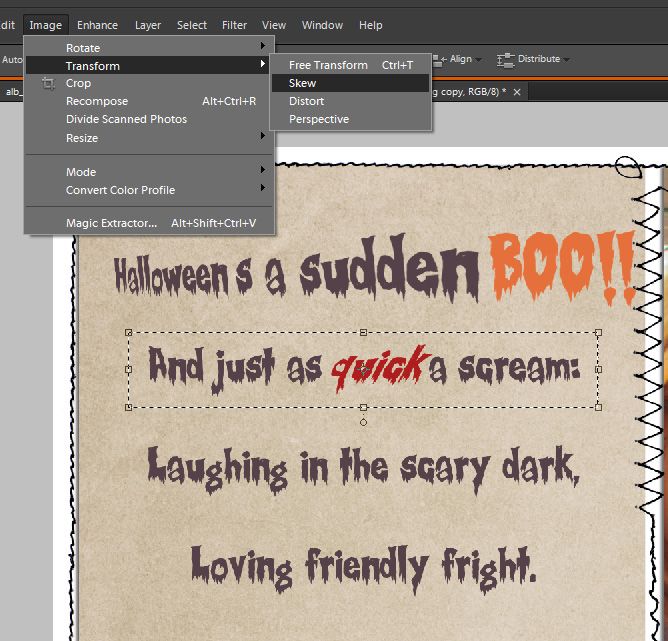
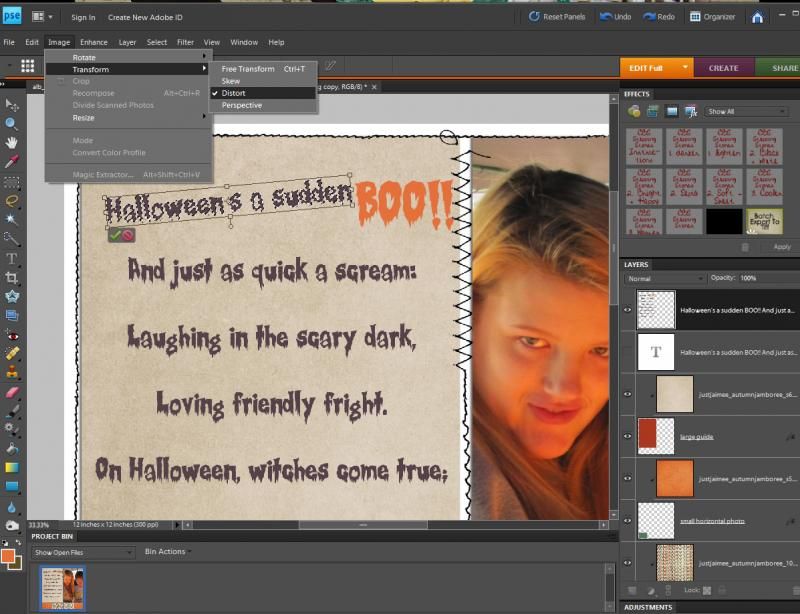
To make your text go a little nutso, click on IMAGE on the top bar, then Transform, and select one of the options from the menu. I chose SKEW. Let’s see what happens.
Glancing back up at the layout at the top of the post, you can see what else I did.
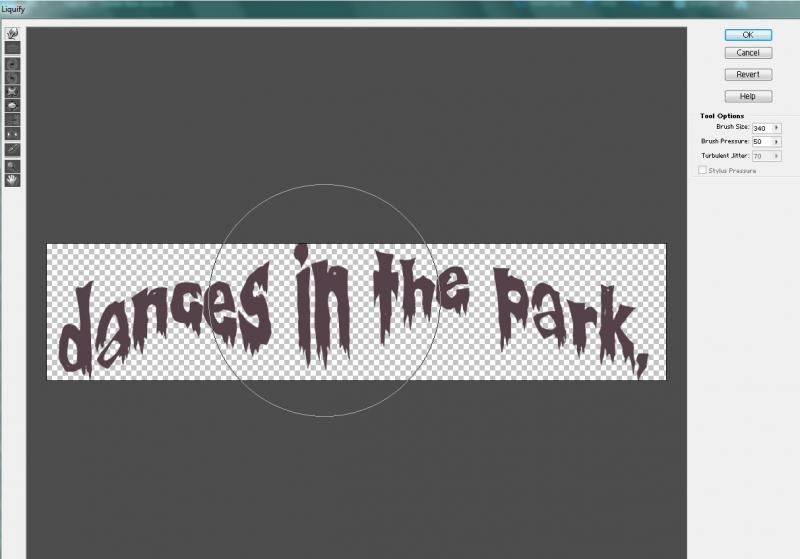
With this part of the PNG converted text, I could use the Liquify Filter to squish the pixels around and give this line a different look from the other ones. On another line, I used the Marquee/Lasso Tool to select a line and then use another filter on the words.
After Rasterizing or Simplifying text depending on whether you use PSE or PS, it’s the sky’s the limit with what you can do to create your own word art.
(Halloween poem from Poems for Free.com)
Give it try. It’s a lot of fun!


