Stepping Outside the 12 x 12 Box
Whenever I mention to someone that I do hybrid projects, one of the most common responses I get is “Oh wow, I could never do hybrid projects!” I always feel so sad when people say this because the truth is that anyone can do hybrid. Today I want to demonstrate how easy it is to take the jump between digital and hybrid. Cards are a great way for someone to dive into the hybrid. I recently saw Templates: Shaped Up – Triangles by Amy Martin in the store and just knew these templates would make great foundations for cards. So follow along as I use one to make a card and hopefully this will inspire more of you to give hybrid a try.
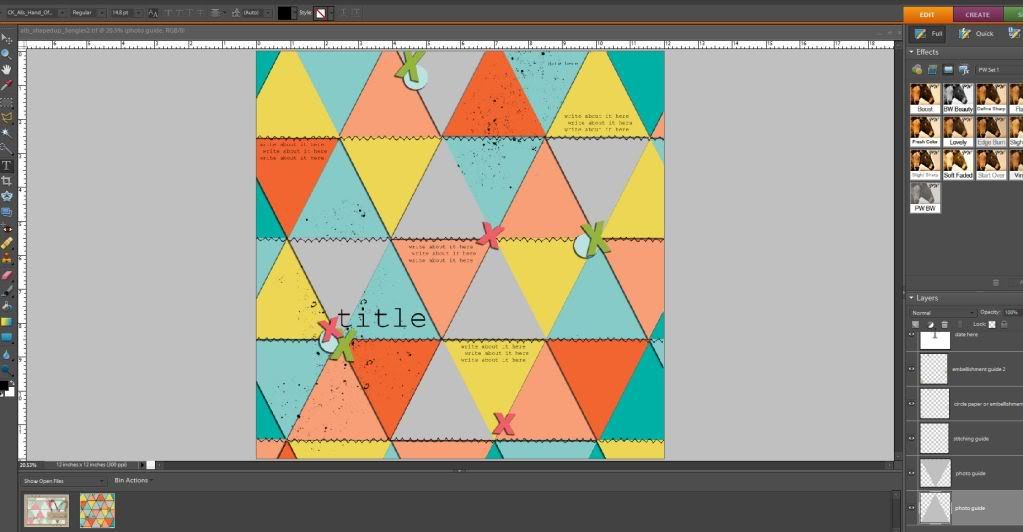
1. Open up a digital template in photoshop. I chose this template from Templates: Shaped Up – Triangles by Amy Martin for my card.
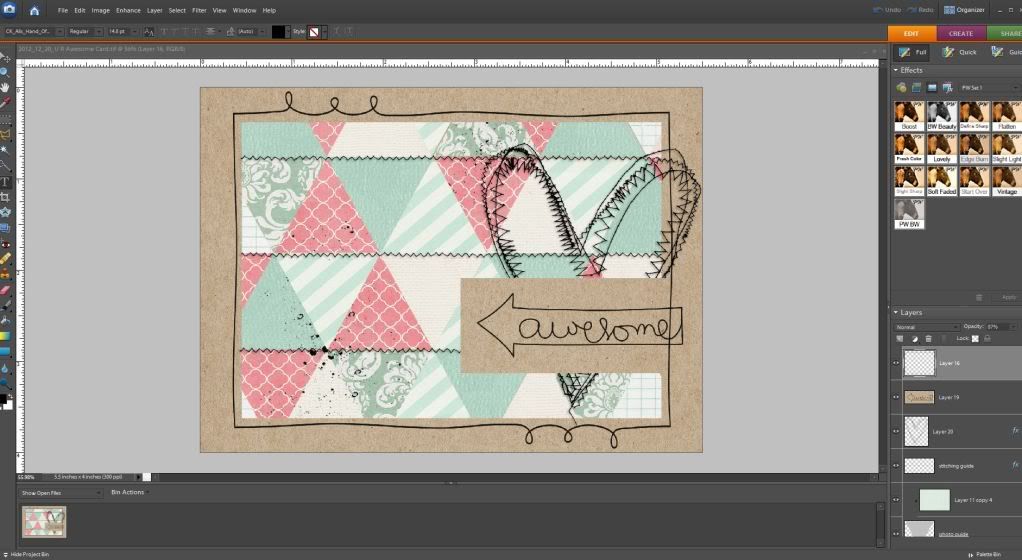
2. Create a new file the size of your card face. Mine typically are 4 in by 5.5 in. Drag you template onto the new file you have created and adjust it to fit your card. Now keep in mind that your template will not fit perfectly onto your card. Some will hang off the edge. That is okay! Just position the part of the template you want on the card.
3. Create your card just as if you were creating a miniature scrapbook page. Add embellishments, papers, alphas, or whatever you want. Crop you canvas so that it is the same size as your card face. This will get rid of anything that is hanging off the edges of your card.
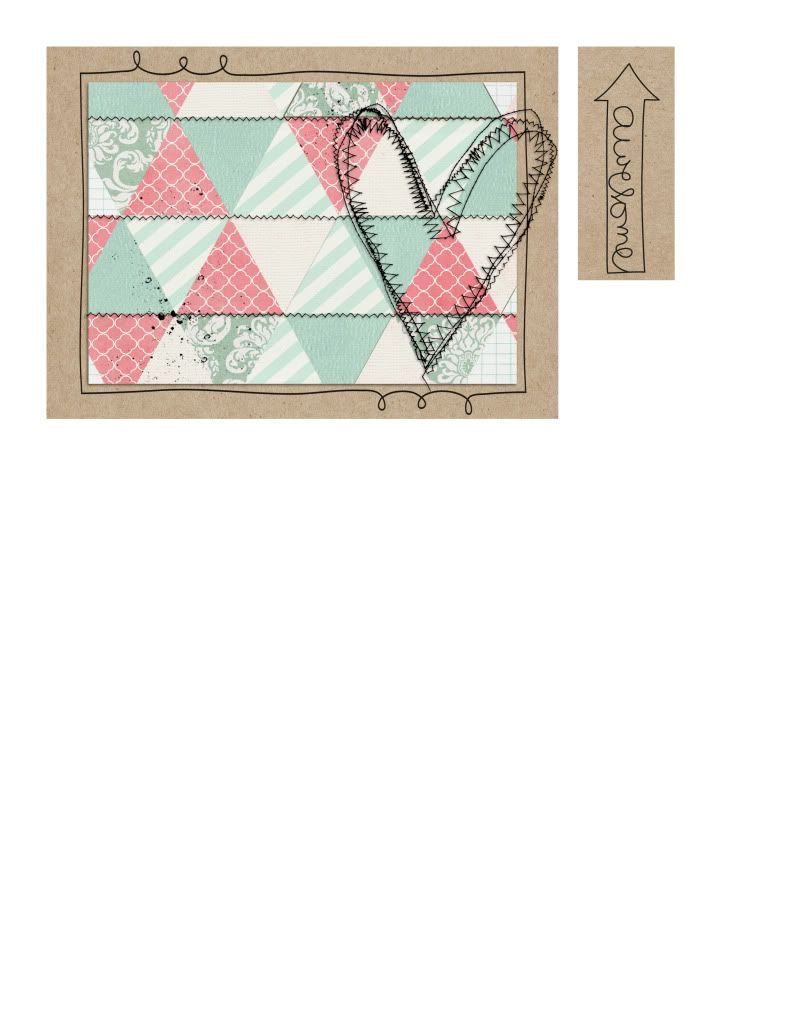
4. Create a new 8.5 x 11 file. Drag your finished card onto this file. The reason behind this is so that you don’t waste a whole bunch of papers. If you look at my picture below you will see that I have an extra piece sitting to the side of the card. I planned to cut this out instead of just printing it flat on the card. If you have any elements you plan on doing this to, just pull them off the card to the side.
5. Print and assemble card. Now wasn’t that easy? Here is a peek at my finished card.
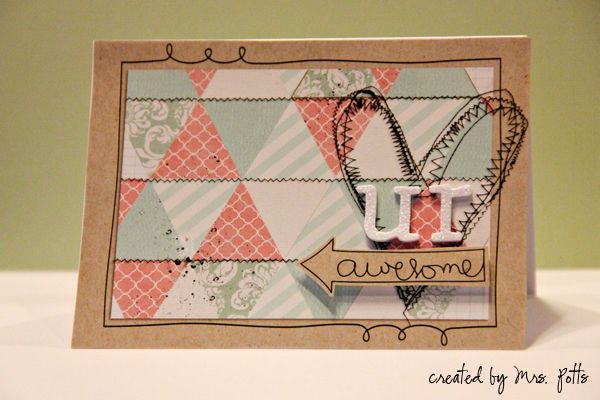
Enjoy making some cards of your own!
~Jewelle {aka mrspotts}


