Hybrid Tutorial: DIY washi tape part 2
Hello scrappers! I’m back with part two of the DIY washi tape series! Lets review quickly the three ways I will be displaying how to make your washi tape.
- Using Avery labels
- Using sticker paper
- Using digital washi tape on sticker paper
If you missed part 1 be sure and click on the link above to go back and learn about using Avery labels. Today we are going to learn about using sticker paper to create your own washi. One reason that I enjoy using sticker paper to make my washi tape is that I’m not limited by size. I can make a variety of widths of washi tape all on the same sheet of sticker paper. Let me show you how!
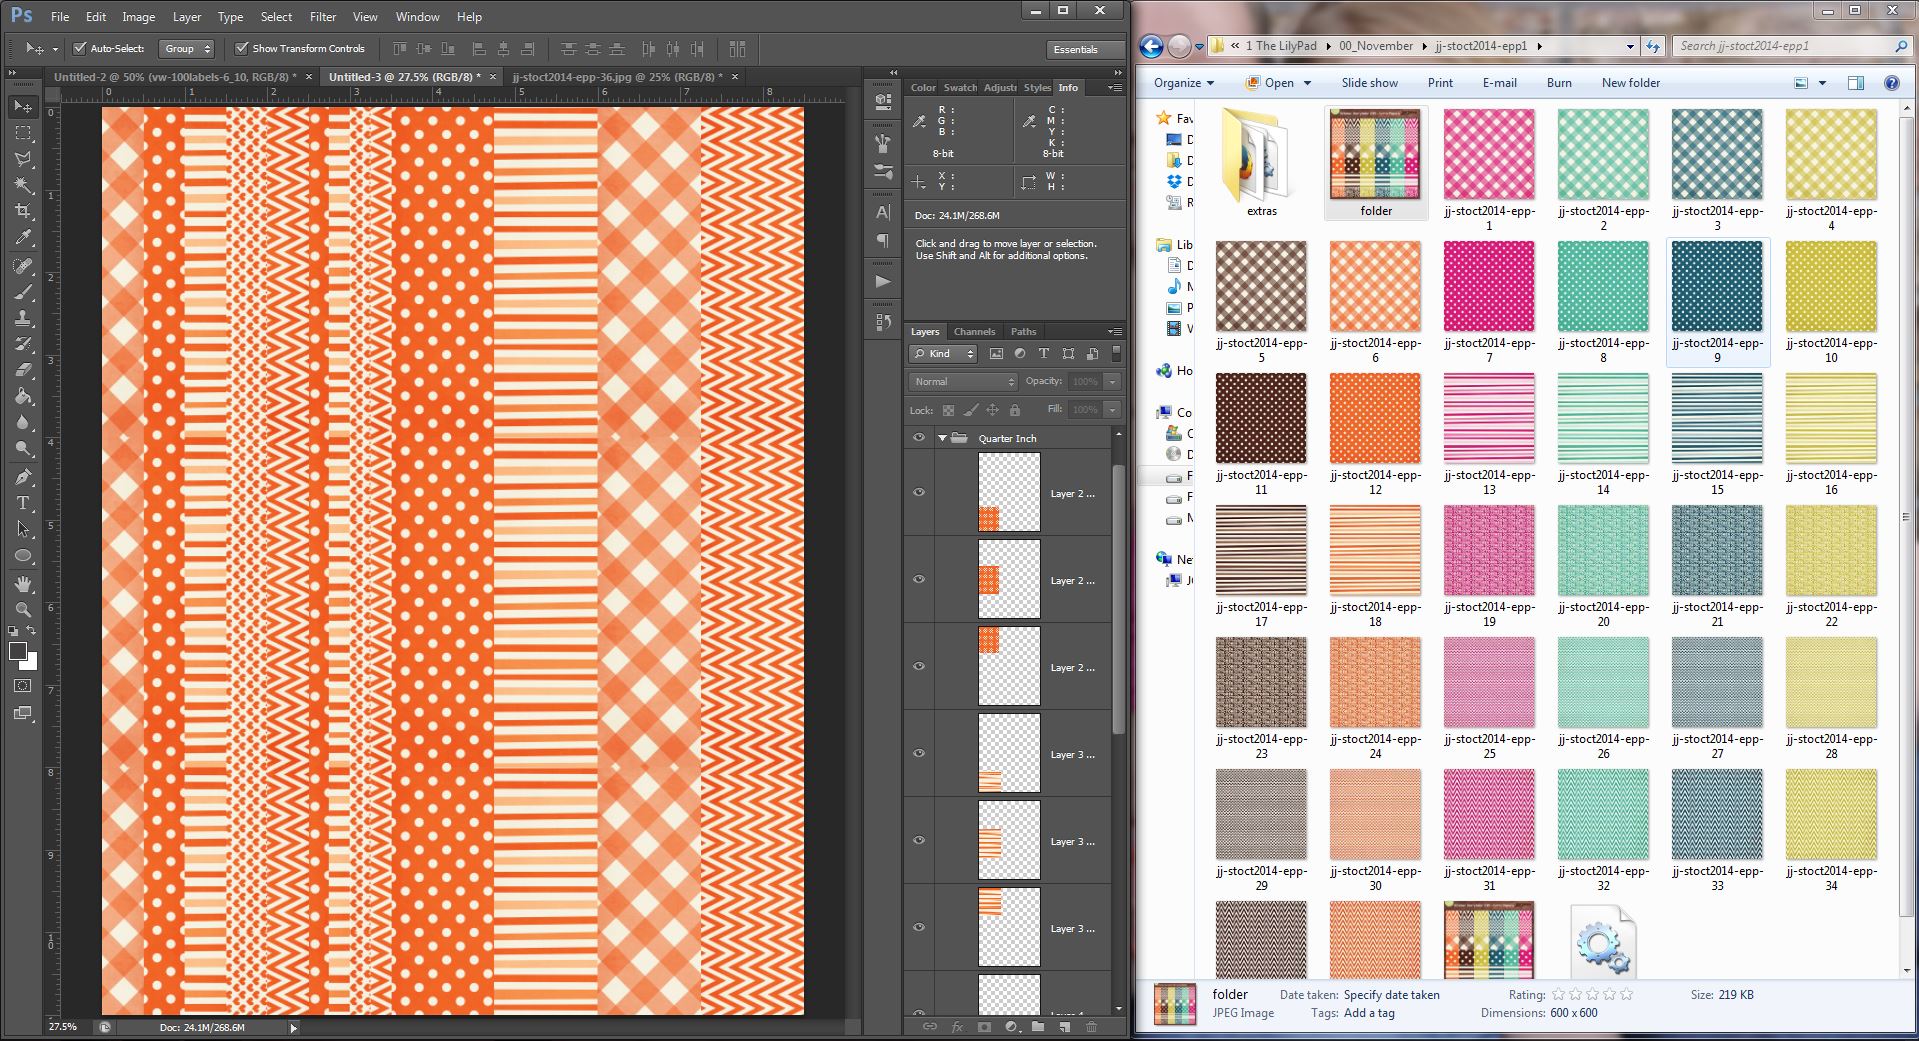
1. Open up a 8.5″ x 11″ blank document in Photoshop.
2. Open up several of your favorite digi papers and resize them. This is done so your patterns will be to scale on your washi tape. I used papers from Storyteller October 2014 – Extra Papers by Just Jaimee.
3. Drag and drop your papers on to your blank document. Arrange the papers into columns. I chose to do columns that were .5″ wide, .25″ wide, and 1.25″ wide. They are arranged in that order in my picture below. Be aware of what way your patterns are oriented. I chose to rotate a few of my papers (ie the chevrons, and hearts) because I thought the orientation made more sense that direction.
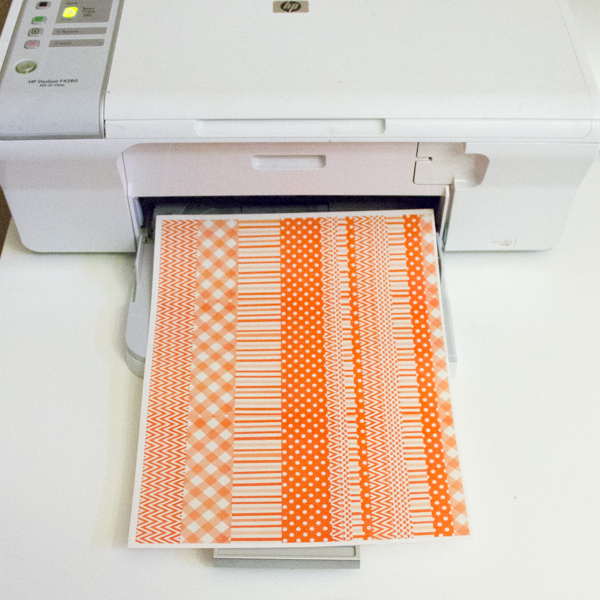
4. Print your document on clear sticker paper. This can typically be found at your local craft store. Make sure your get the clear sticker paper. I accidentally bought white once and the “faux” look of washi tape was lost. Also, make sure and print on your best ink setting. This guarantees vibrant colored washi. Here is my document coming out of the printer.
5. Next using a a paper trimmer or scissor cut apart your strips of washi tape. I left mine in long strips that I could trim down to fit my project.
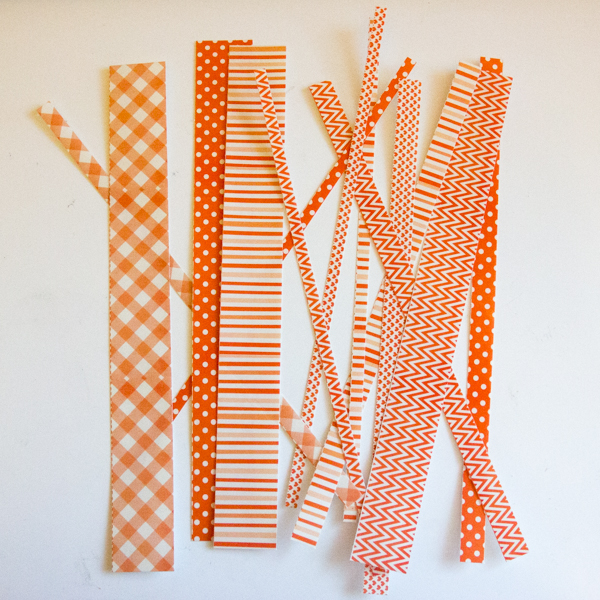 5. Peel your “washi tape” off its backing and use for a project!
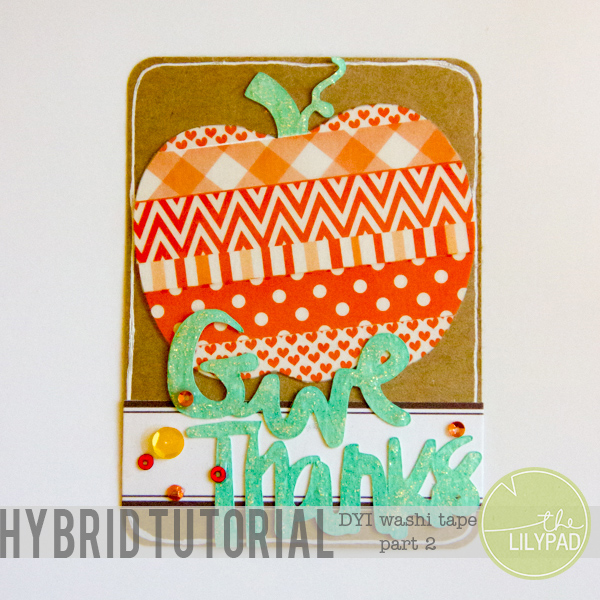
My project this time was a filler card for my pocket scrapping. Occasionally I like to get fancy with my cards! I used the washi tape to create a fun little pumpkin for the card. I have plenty of extra washi tape left over that I can use on other cards in the spread. I love using the same washi throughout my spreads so everything coordinates!
I hope you have enjoyed this tutorial! Be on the look out for part 3 later on in the month! If you create something with your DYI washi tape be sure and share with us! We love to see your creations in TLP gallery!