Hybrid Mailbox Tutorial
There is just something special about receiving a handwritten note from someone you love. With Valentine’s Day just around the corner it is the perfect time to get a few notes ready for you to hand out to those you love. I’m getting some ready for my husband and daughters! But this Valentine’s season I wanted to extend the love fest to more than one day. I came up with the idea of providing each member of my family with mailbox. Each day in February my family members will receive a little note from me in that mailbox. They also have the option of giving each other notes! I dressed up my mailboxes for the occasion and thought I would share a tutorial with everyone so you can have your own mailboxes!
1. Buy a mini mailbox at your local craft store or Target Dollar Section. I’ve seen these made out of metal and card board.
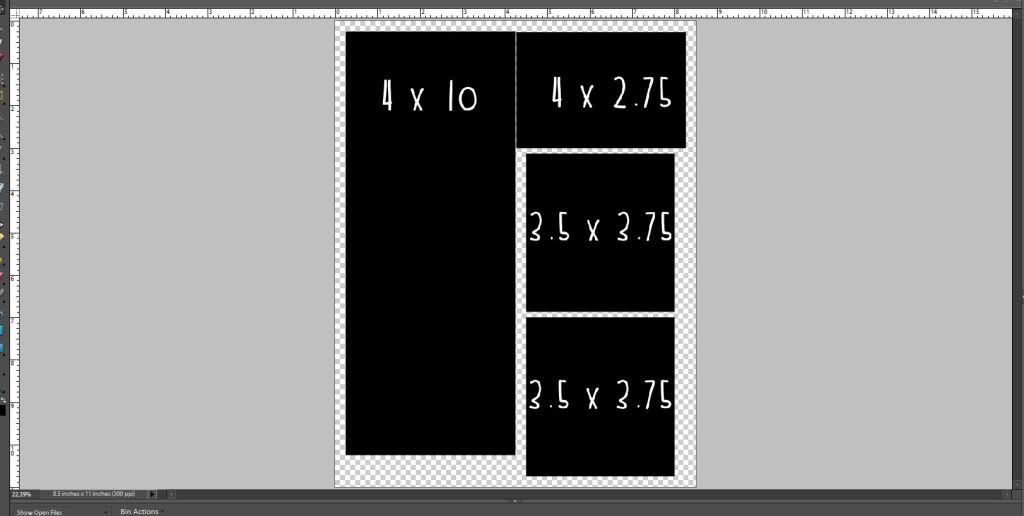
2. Create an 8.5 x 11 document in Photoshop. Using the shape tool create the following shapes with the coordinating dimensions. *Note: please make sure these fit your individual mailbox before printing them!
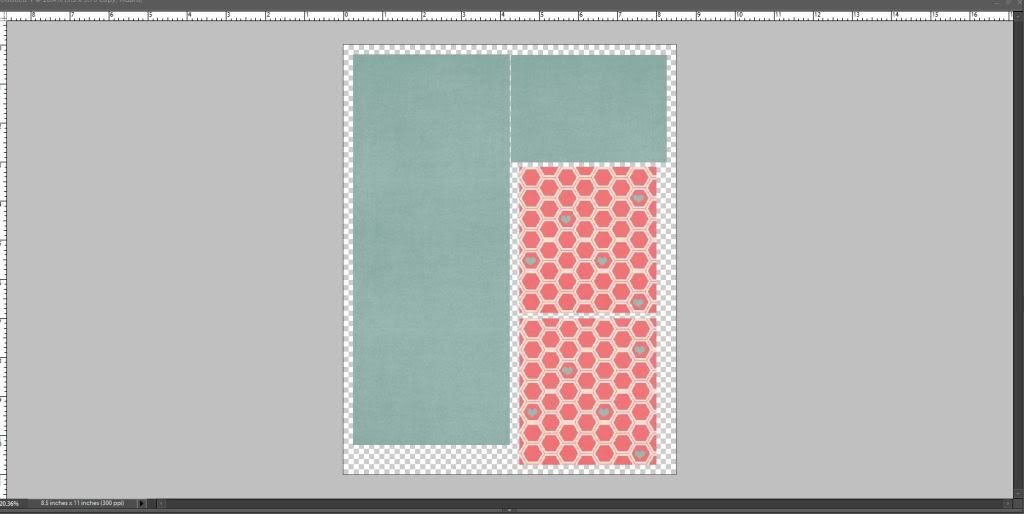
3. Clip a digital paper to each each shape. To make things easier I used a solid paper on the two larger rectangles. These pieces will be wrapping around the mailbox. I will have to piece these two papers together so I didn’t want to have to worry about matching a pattern up. For my example I am using the kit XOXO by Amy Jaz Designs and Traci Reed.
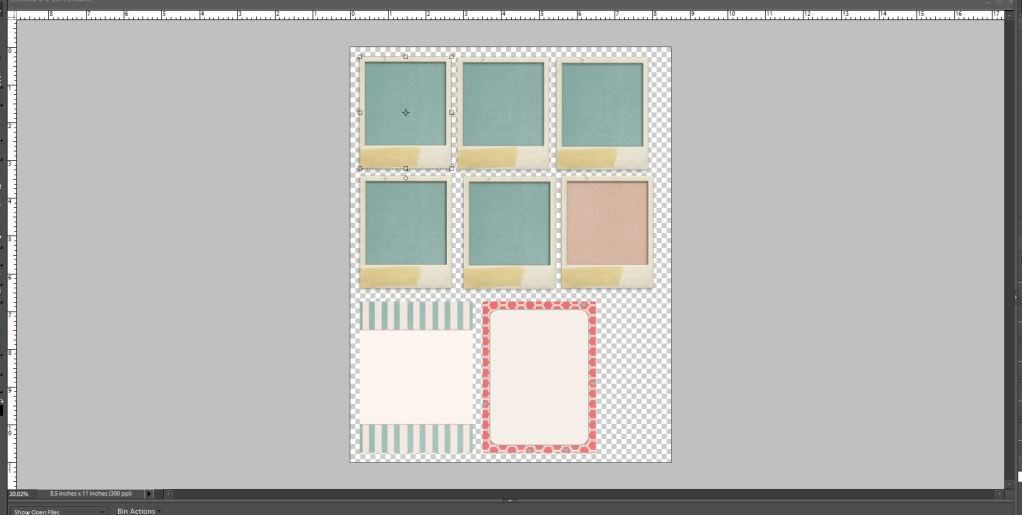
4. In a new 8.5 x 11 document create any embellishments you will be using on your mailboxes. I also used some extra room I had on these paper for few journaling cards that I will be using for my notes.
5. Print all of the pieces to your mailbox and cut them out.
6. Paint your mailbox a color that coordinates with your paper. This is an optional step which I chose not to do. Instead I took some coordinating washi tape and lined the area around my mailbox lids that would not be covered with paper. Either way works, it just depends what you want to do!
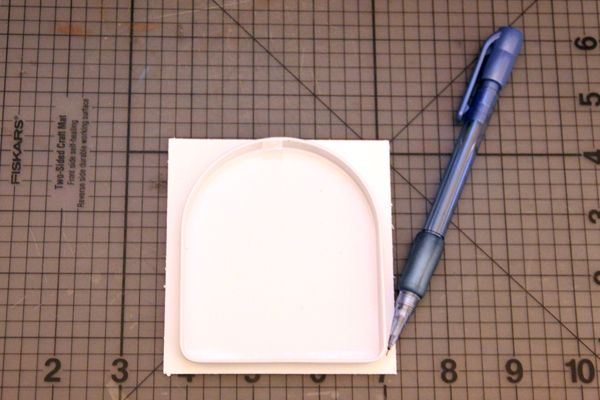
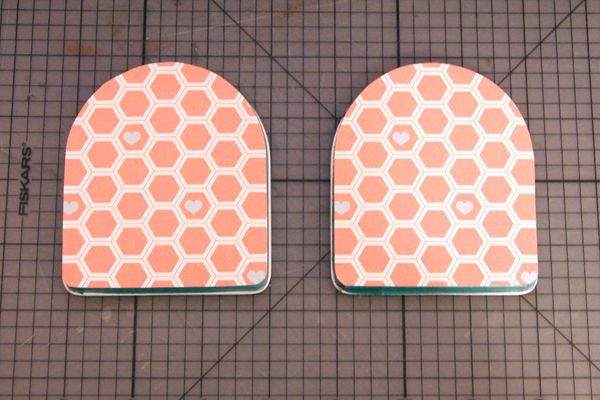
7. Using one of the covers to your mailbox trace the shape on the back of your patterned paper pieces. Be sure you are tracing it right side up so that when you adhere it, your pattern is not upside down.
8. Cut out cover pieces and adhere to covers.
9. Adhere your small solid paper to the bottom of your mailbox.
10. Take your large solid paper and measure approximately 2 inches across the top. Then draw a line 1/2 inch straight down. At the end of the line draw a circle that has diameter of about 1/2 inch. Cut down the line and cut the circle out. These measurements are approximate because it will just depend on the placement of the flag on your mailbox. Another way to do this would be to wrap your paper around your mailbox, and press down firmly where the flag is attached to the mailbox. This will cause an indentation showing you where you need to cut.

11. Carefully slide your paper underneath your flag. Adhere paper to mailbox. Embellish your mailbox. I kept my embellishments super simple, but you will see in my finished project I changed them just a bit. 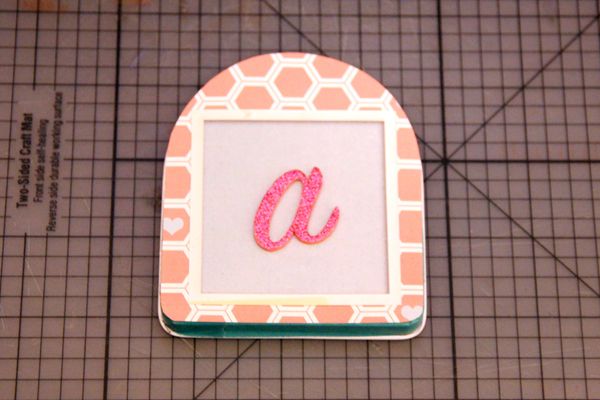
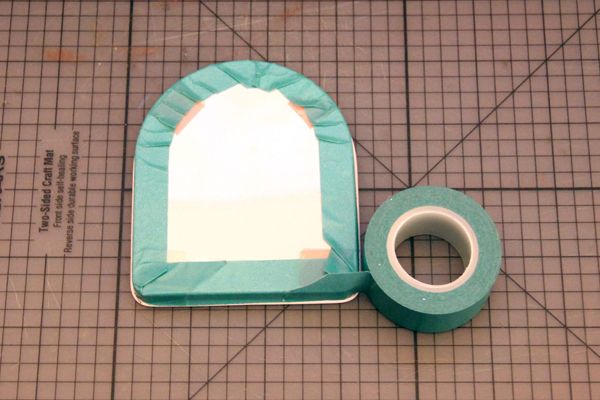
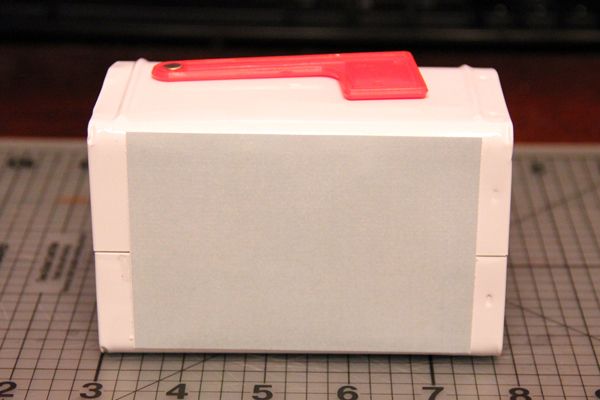
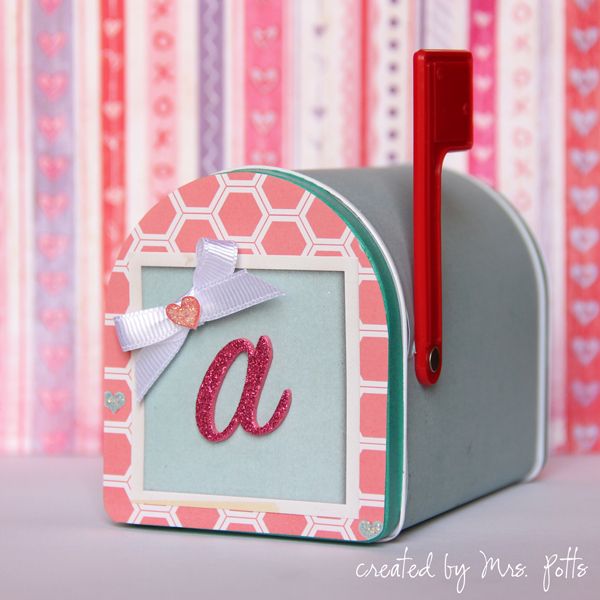
After that you should be left with a fun mailbox looking something like this:
My girls are so excited to see their mailboxes coming together. They can’t wait to get notes from me and from each other. I hope you found some inspiration from this tutorial, and create you own way of sending notes to others. Be sure and post your projects to the gallery so we can see what you make! If you need more inspiration for hybrid Valentine’s gifts check out The LilyPad’s Pinterest board!
~Jewelle (aka mrspotts)


