DIY Photo Masks in Photoshop
Hello all my artsy friends! I’m just dropping in with a super quick tip for creating your own photo masks in Photoshop and PSE. Did you know that you can combine dimensional and flat digital elements to create uniquely-shaped masks that you can use for photos, papers or even painted background designs? Well, you can and it is a very easy process.
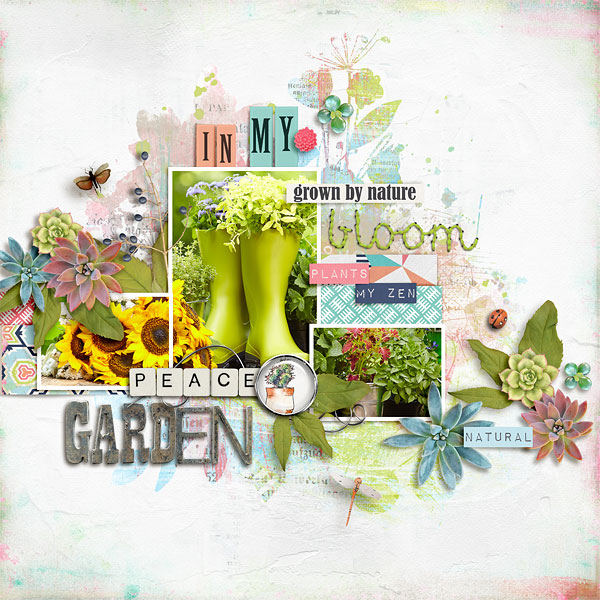
Take a look at this layout (created with kits from the April 2018 BYOC Collection):
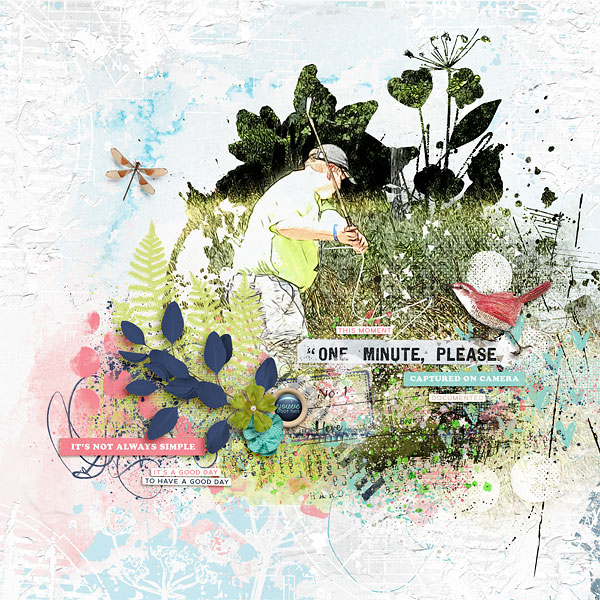
The photo mask on this layout was created with a combination of dimensional and flat elements merged together on one layer. You can use any element you want to create the mask, so the possibilities really are endless!
All you need to do is arrange the elements to form the shape that you want your mask to take. Here are a couple of tips for building your own DIY mask.
TIP #1: If you are planning to use the mask for a photo, I find it helpful to place the photo on the page and then arrange the elements over the top of it to make sure that the parts of the photo that you want to show are covered.
TIP #2: You can also start with a solid shape (such as a circle or square) and then add elements to the edges to create a unique shape. I also like to include brush elements with differing levels of opacity (especially around the edges) to help the mask blend in with the background more seamlessly.
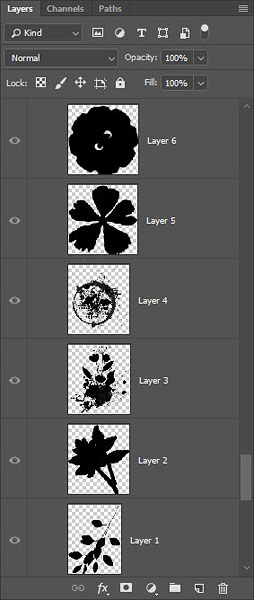
TIP #3: Sometimes it can be difficult to “see” the shape the mask is taking with the jumble of different elements. I like to “flatten” all of my elements by filling them with color. This is easy to do with just a couple of steps. FIRST, select the shape of the element by CTRL/CMD >clicking on the thumbnail of the element in the Layers Panel. This step will activate the “marching ants” around the outer edges of the element. SECOND, create a new blank layer and fill the layer with color while the element selection is still active. I do this with CTRL or ALT backspace to fill it with either the foreground or background color, respectively.
Here is what my layers panel looks like with all the flattened elements:
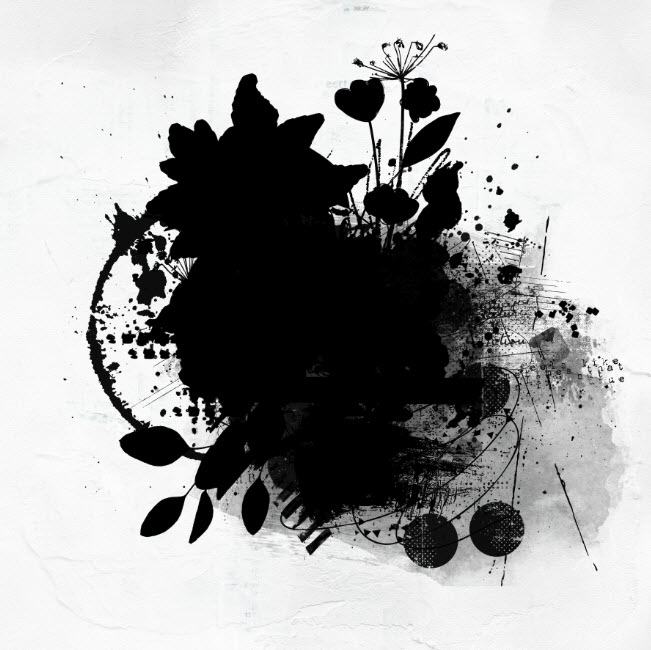
Once you are satisfied with your mask shape, the last step in the process is to merge all of the elements together so that the mask appears on one layer. You can do this easily by selecting all of the mask layers (in my it is layers 1-6) and left click on one of the selected layers and choose “Merge Layers” from the pop-up menu.

Here is my merged mask:
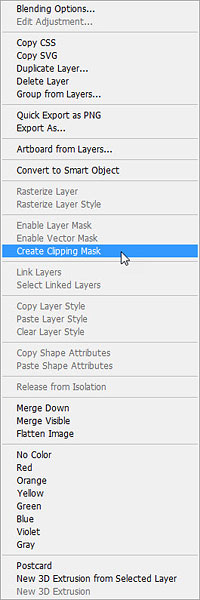
Now, all you need to do is clip a photo (or paper or brushes) to your mask by placing the object above the mask and either use the short cut Ctrl>Alt>G to clip the photo to the mask, or right click on the photo layer and choose “Create Clipping Mask” from the pop-up menu.
Remember, your mask can be used for more than just photos. Here is a page I created using the same mask with brushes to create a painted background effect (also create with the April 2018 BYOC Collection):
Because the brushes are very light in color and partially transparent, I changed the color of the mask from black to white to help everything blend in with the background.
And that is all there is to it! I hope you have fun making your own DIY digital masks. 🙂
Until next time ~
Judie (HeyJude)


