Digital Paper Piecing
Hi everyone, Dalis here! I used to do paper scrapping and card making before I was sucked in the digital world. One of my favorite things to do was do Paper Piecing using rubber stamps. When I started digital scrapbooking I also did a lot of hybrid, and I wanted the paper piecing look, and this is what I came up with. I hope you enjoy it too! If you have any questions, please do not hesitate to ask.
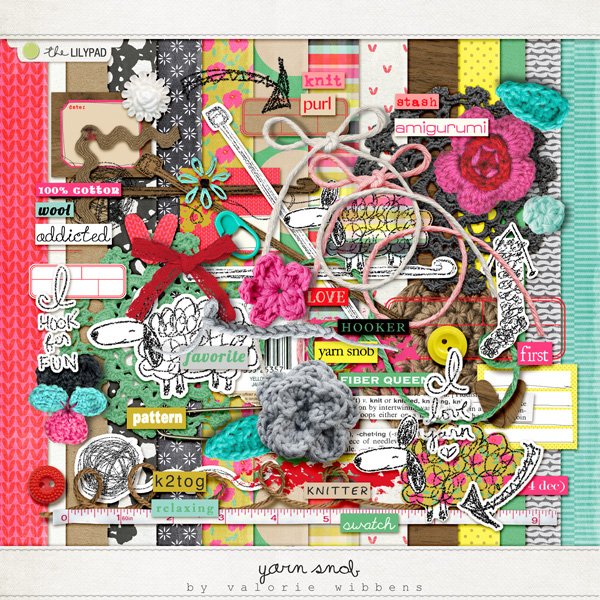
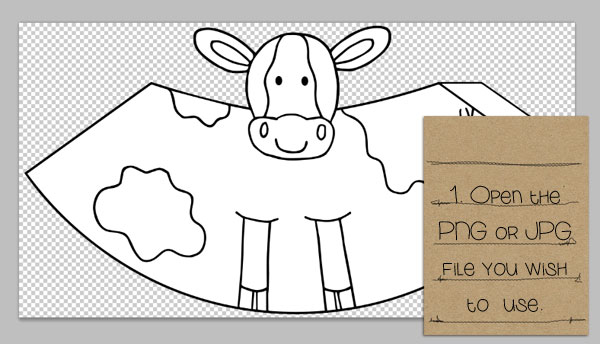
In case you are interested in the super super cute items I am using for the tutorial. I am using Colour In: Nativity by Kate Hadfield and the papers are from Yarn Snob by Valorie Wibbens.

NOTE: At this point you might be wondering why we did “LAYER VIA COPY” instead of “LAYER VIA CUT” since we were going to “CUT” the area anyways. Well, remember that step where you did the SELECT-EXPAND and added 2 px to the selection? If you had done “LAYER VIA CUT” you would have cut a bit of the outline of the cow. So why do the EXPAND? Well, because if you don’t sometimes you get a bit of a gap where the outline ends and your mask starts. That is also why we put this layer at the top, to make sure we cover any extra from the maks by the black outline.
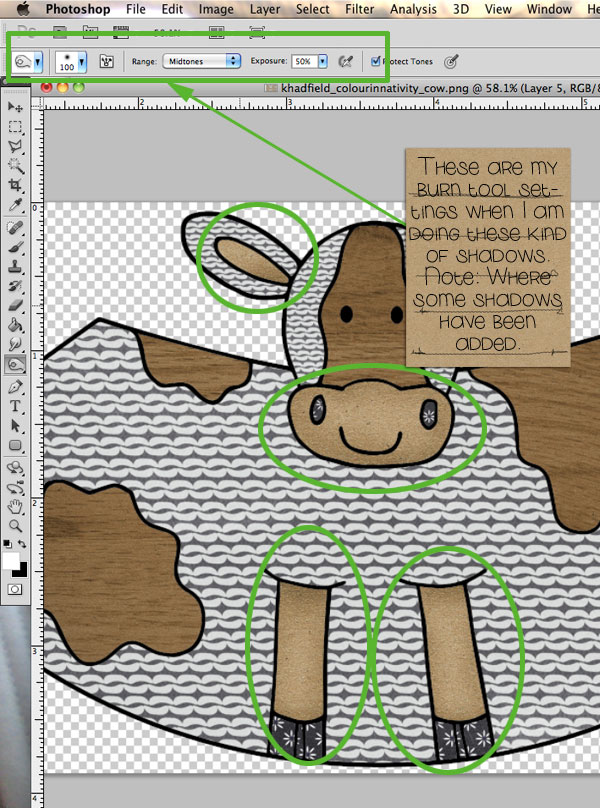
Isn’t that cow just the cutest thing ever? And see how “finished” it looks with the shadows in place.


