Digital Paper Blending
Hello everyone – and happy December! I am dropping in today with a quick and awesome tip for extending your digital stash by blending papers to make new ones. Have you ever dropped in just about every paper in a digital kit, but just cannot find the perfect one for your page? Or maybe you have a favorite digital paper that you go to time and time again, but want to give it a fresh new look? Blending digital papers together is a quick and fun way to address both of these issues.
Take a look at the background paper on this layout (click on layout for full credits):
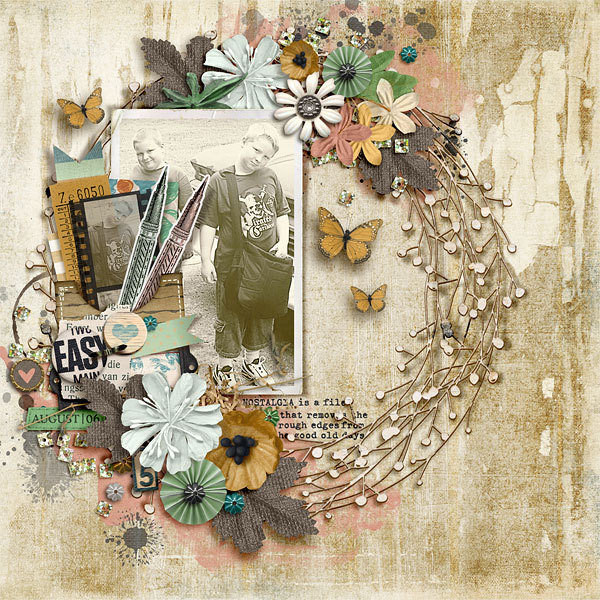
I created the background by blending three copies of the same digital paper together. The bottom layer is the digital paper at full 100% Normal opacity (just as it comes in the kit), the next layer is a copy of the same digital paper set to Color Burn mode (100% opacity) and the last layer is another copy of the background paper set to Color Burn mode (17% opacity). 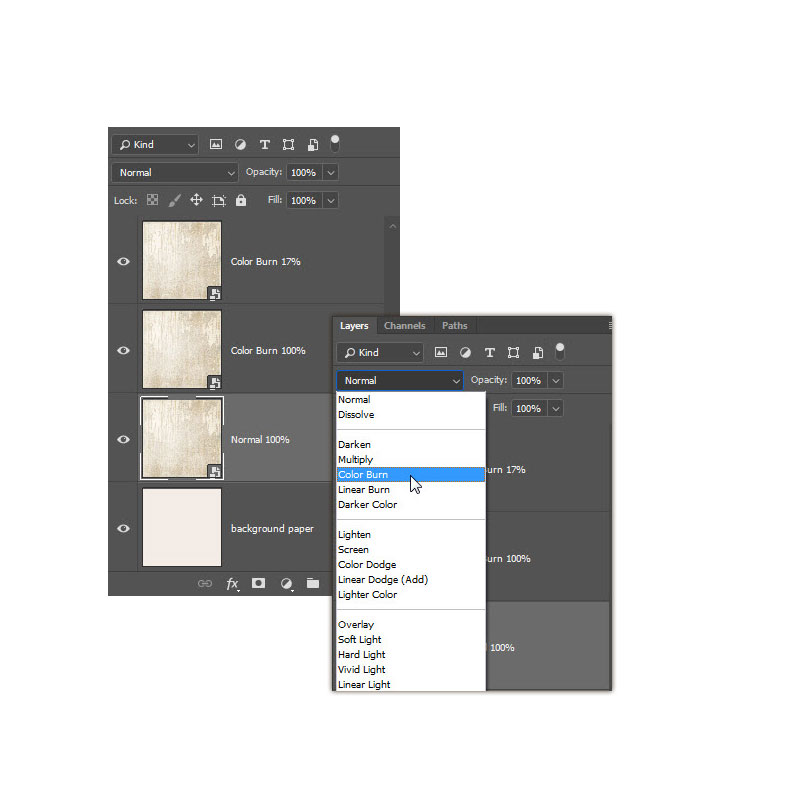
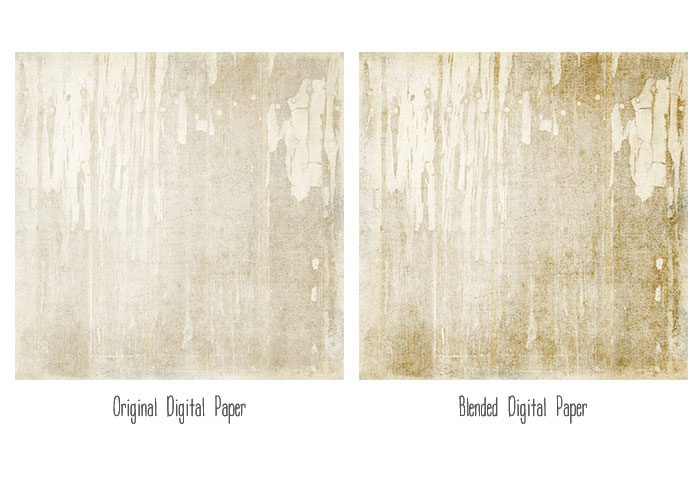
Here is the comparison of the original paper with the blended paper:
I love the contrast that is created with the Color Burn layers! And it fits perfectly with the heirloom treatment on the photo. 🙂
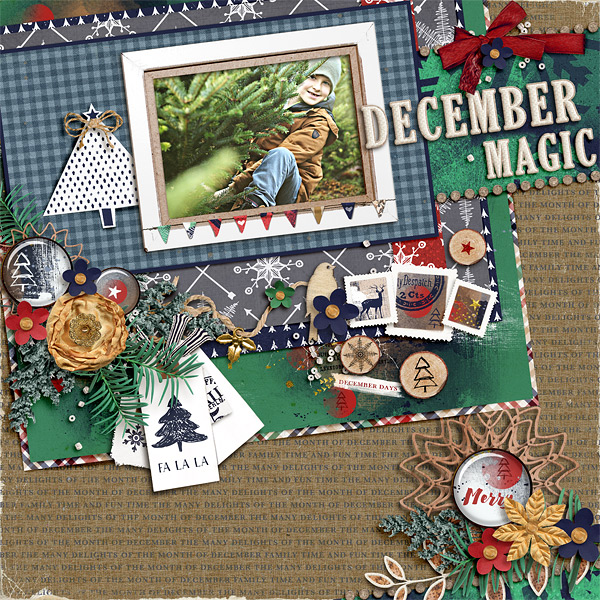
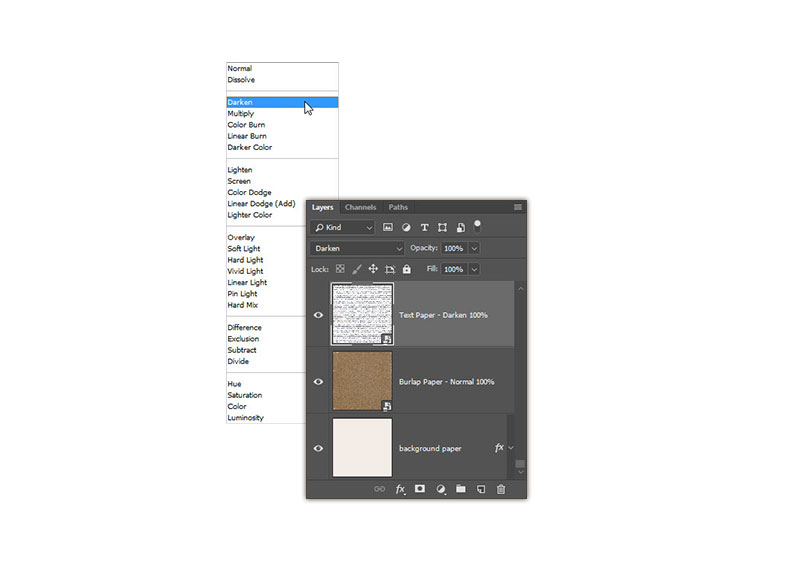
Another way to use this technique is to take a text paper and blend it into a different background. For example, I love the linen inspired background paper on the page below, but I wanted to add a little more to the page. The text paper was perfect, but I didn’t want the light background behind it so I blended it with the linen paper and it was perfect!
Here is what the layer palette looks like:
And here is what the papers look like before the blending:

Blend modes and opacity settings look different with different papers, so be sure to play around with each until you get the look you want. I hope you have fun playing with this blended papers technique – I can’t wait to see your pages in the Lilypad Gallery!
Until next time ~
Judie (HeyJude)


