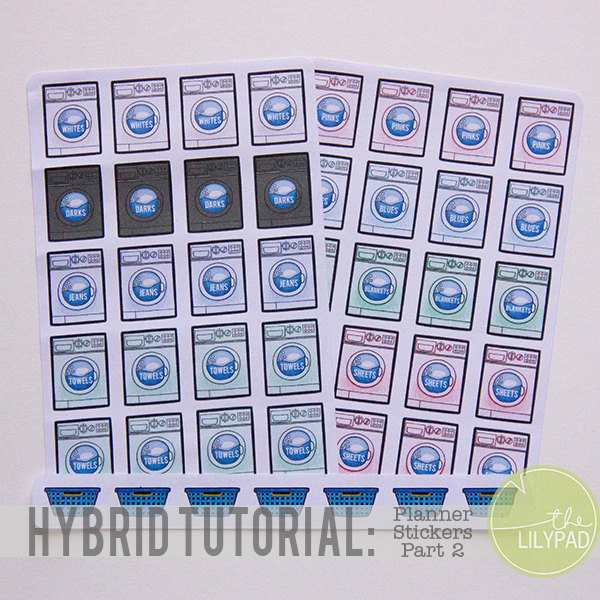
Cutting Stickers with Your Silhouette
I can’t get enough of planner stickers! Last month I showed how to make planner stickers from digital supplies. While I really enjoyed my stickers I was getting a little frustrated with having to hand cut out each sticker out. I knew my silhouette machine must be able to solve the problem. Today I have tutorial showing you how to “kiss cut” your stickers and create a sticker sheet on your silhouette machine.
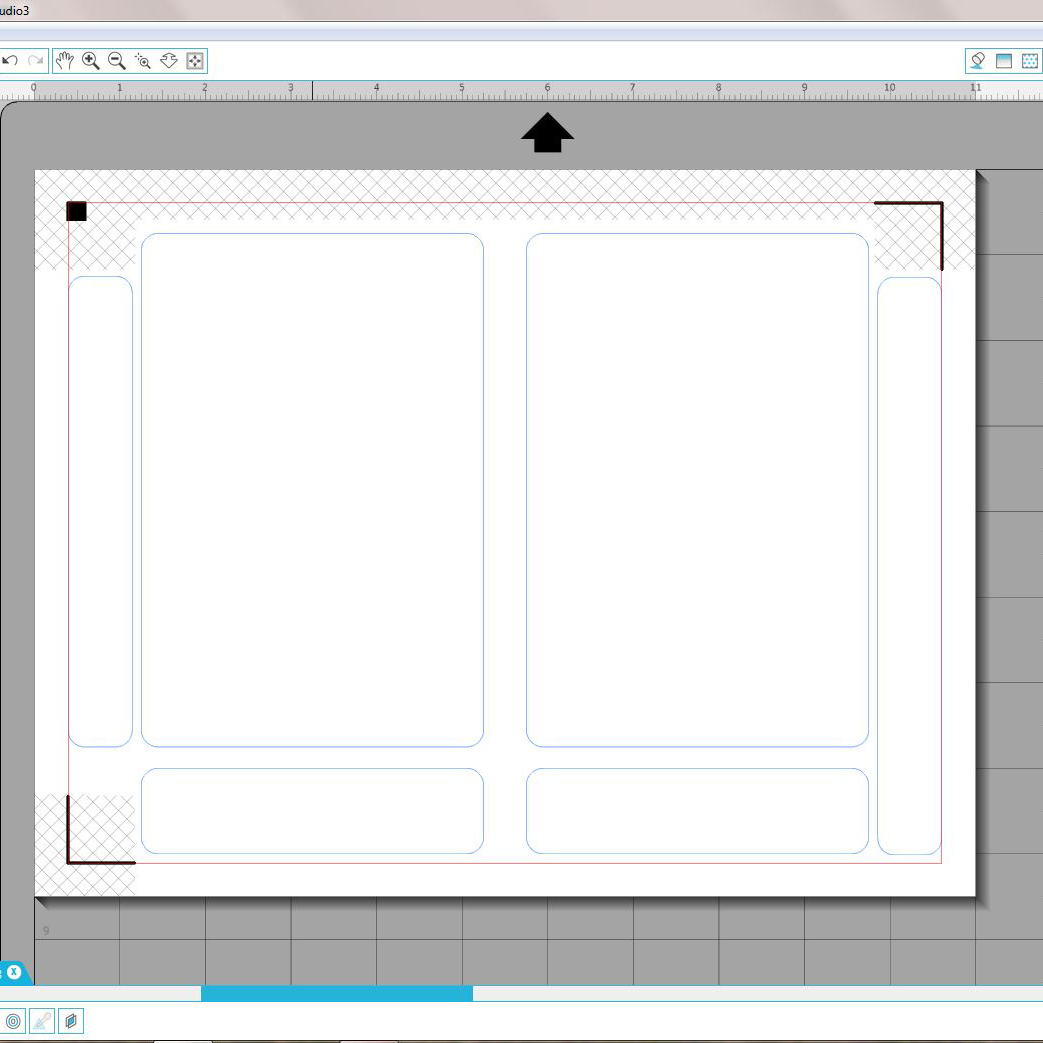
1. Open up a blank document in your silhouette software. Determine the size of sticker sheets you want. Create your sticker sheet using the rounded rectangle tool. I chose 4″ x 6″ for my sticker sheets. I also added a few thinner rounded rectangles to fill in the spaces around my sticker sheets. I did this so that I don’t waste any of my sticker paper.
2. Select all of your rounded rectangles. Go to the line color window at the top of the screen. Change your line color to something other than red. This will help you differentiate your sticker sheets from your stickers.
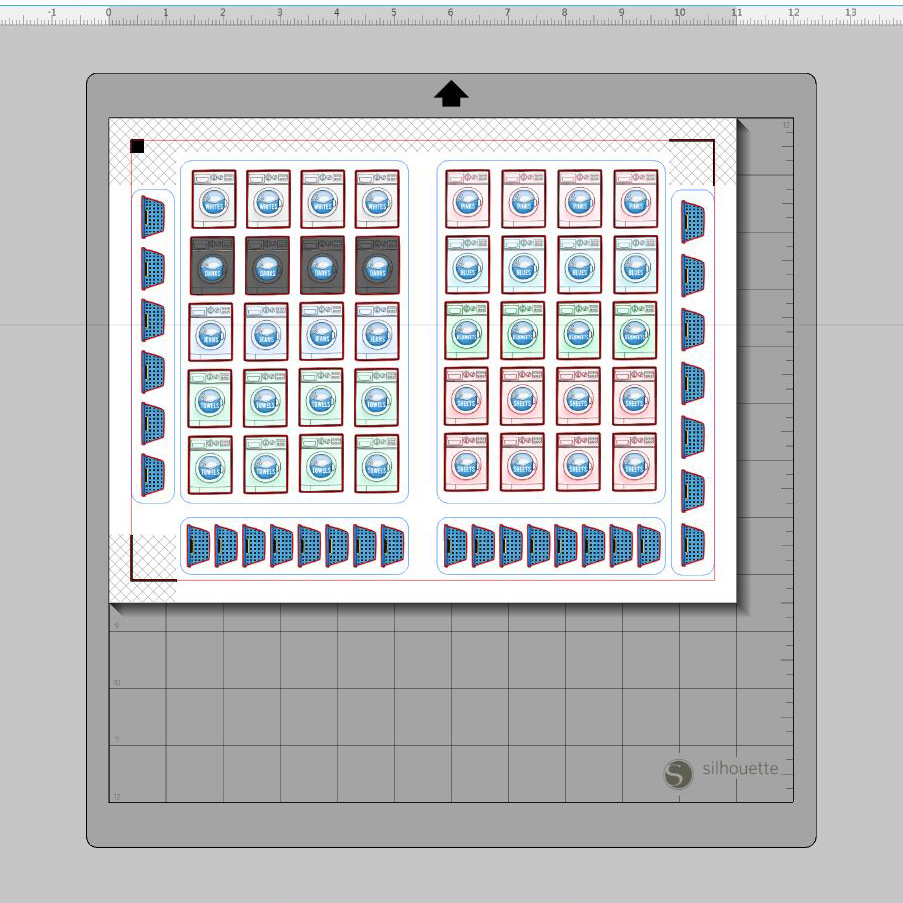
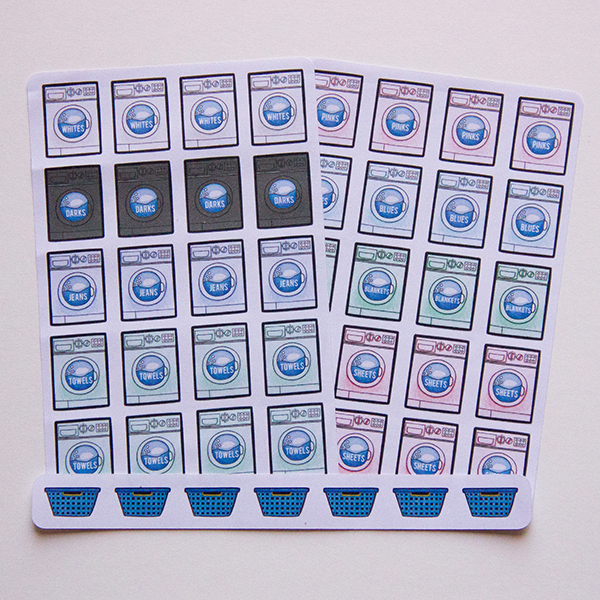
3. Fill your rectangles with digi elements that you can use in your planner. I used Wash Day by Kate Hadfield to create some fun laundry stickers. Be sure to trace your elements as you go! Tip: Do all your tracing and resizing off of your mat, then drag your elements onto the mat to fill in your sticker sheets.
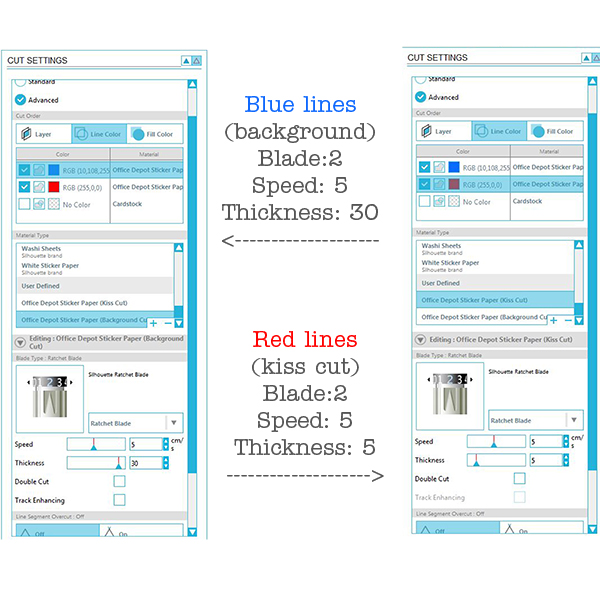
4. Now we are ready to cut. We are going to create cut settings that instruct our cameo to cut differently for our stickers and sticker sheets. First, go to cut settings and click on the advanced button. Then click on the line color tab. Click on the color that you chose for your rectangles. Change the material to cardstock. Change your ratchet to 2. You may also need to adjust your speed and thickness but that depends on your machine. These settings should cut through your sticker paper creating the sticker sheet(background) for your stickers.
5. Click on the color you chose for your stickers. Change your material to sticker paper. Change your ratchet to 2. You may also need to adjust your speed and thickness for this too. These settings should “kiss cut” or very lightly cut the sticker material without going through the background material.
6. Below is a screenshot of my settings that you can try. I did adjust my speed and thickness for both the sticker paper and cardstock.
7. Print your stickers on white sticker paper.
8. Prep your cutting mat with your stickers and cut!
9. Peel your sticker sheets off the mat. Below is a photo with the excess sticker paper being peeled away from my sticker sheets.

10. One additional step that seem people enjoy is weeding their stickers for ease of peeling. Weeding means to take the excess sticker paper from around the stickers. I choose not to weed my stickers and they are still easy to peel off. Below is an example of weeding. The top stickers have been weeded and the bottom stickers have been left alone.

You now have beautiful stickers to be used in your planner!
I hope you have enjoyed this tutorial and found it useful! Be sure and share any planner stickers you make with us! We love to see your creations in TLP gallery!