Creating a Hybrid Layout: My Process
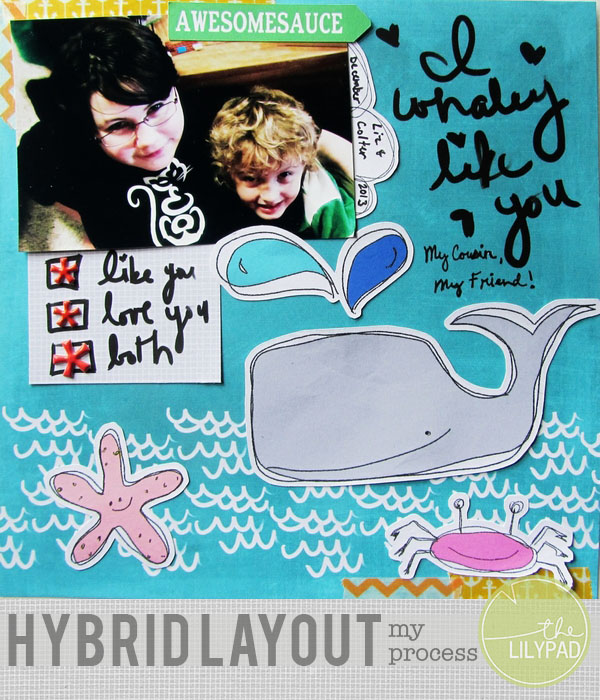
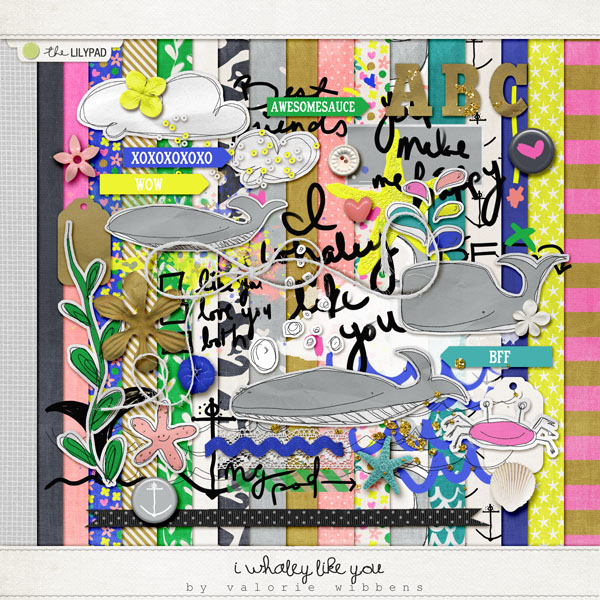
Hi, all! Sarah here! I’m so excited to share my process of creating a hybrid layout with you. Since I’m on creative teams, I almost always start with the product. For this layout I chose I Whaley Like You by Valorie Wibbens. I just love puns and I knew this would be a fun kit to work with. There are lots of elements that are great for print and cut and so many paper choices that I just love.
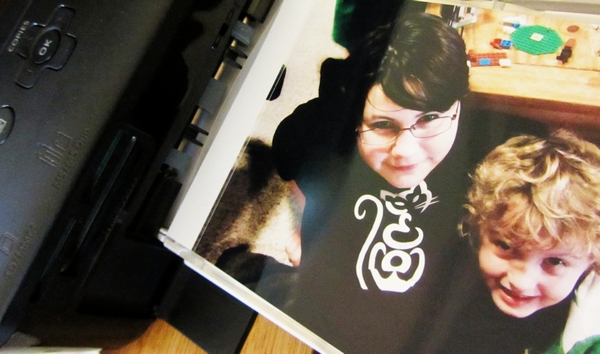
After I choose my kit I begin thinking about photos. If I choose to use a photo I print it on my Canon Selphy. I just love this little printer, and love being able to print on demand. I decided that this photo of my daughter and nephew would be perfect since I haven’t scrapped a lot of layouts about just the two of them.
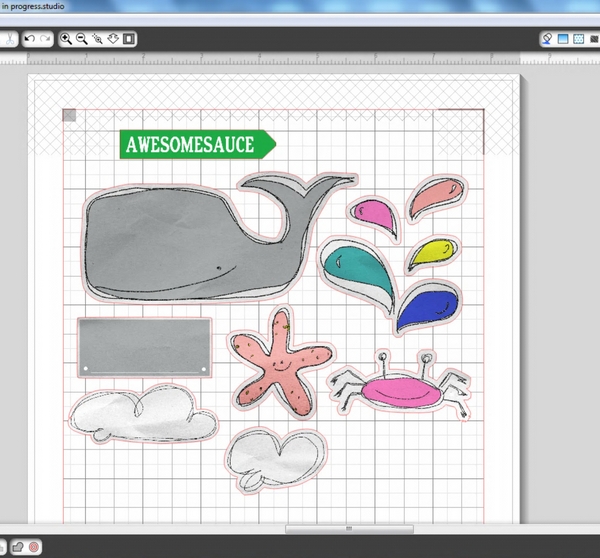
My next step is to print and cut my digi elements that I want to use for my layout. I tend to make up my layouts as I go along, so I print out anything that I think I might want to use, and then save any extras for future use, these little leftover bits are perfect for greeting cards or pocket scrapping. I’m lucky that I was able to purchase a Silhouette Portrait at the end of 2013. Of course, you don’t need an electronic cutting machine to do hybrid. I did fine with just a pair of scissors for many years. Having said that, if you can justify it I highly recommend purchasing a Silhouette. Mine gets almost daily use, I love it so. I always try to wait until I have a full page before I print, though, just to maximize my paper usage.
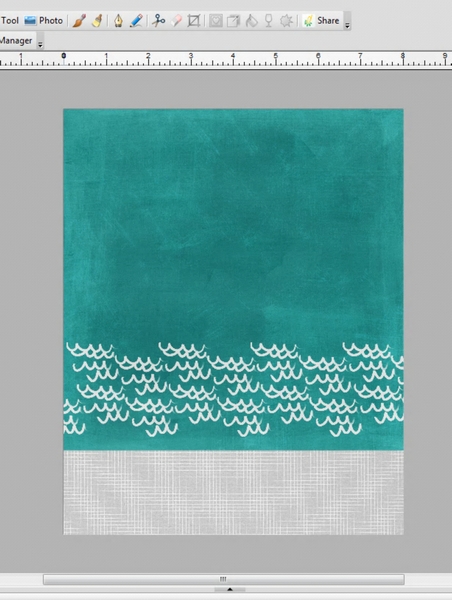
My last step on the computer is setting up my background paper. I create an 8″x10″ template in my scrapping software and then import the paper I want to use for my background. I resize it to 8″x8″ and place it at the top of my canvas. This leaves a 2″x8″ strip at the bottom of my page, which I fill with a pattern that I think will go well with my background paper.
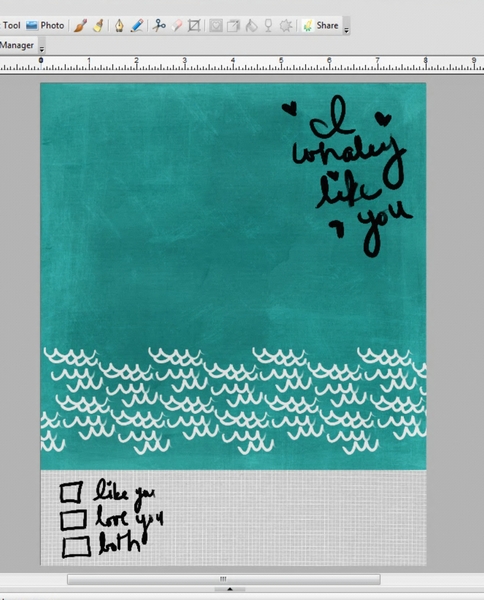
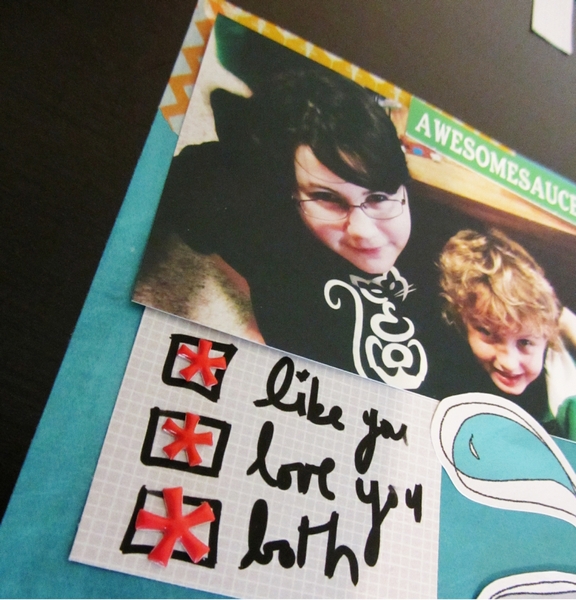
At this point I decide if I want to use any stamps, paint or other digital goodies that wouldn’t make sense to print separately and add them to my background paper. I knew for sure that I wanted to use the “I Whaley Like You” word art that Valorie included in her kit. I wasn’t sure yet if I was going to use the check list or not so I added them to my paper strip so that I could cut it out and use it as a tag if I decided to.
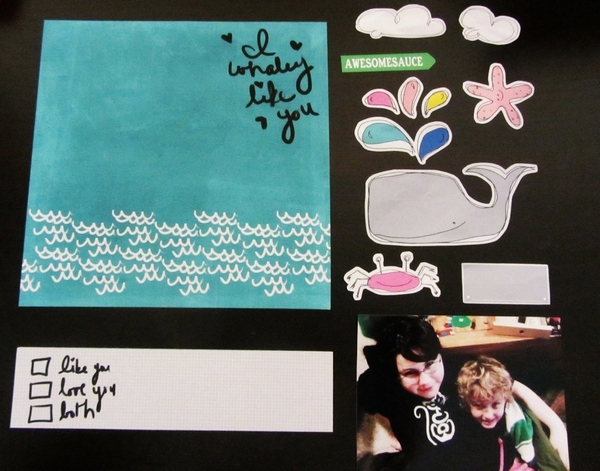
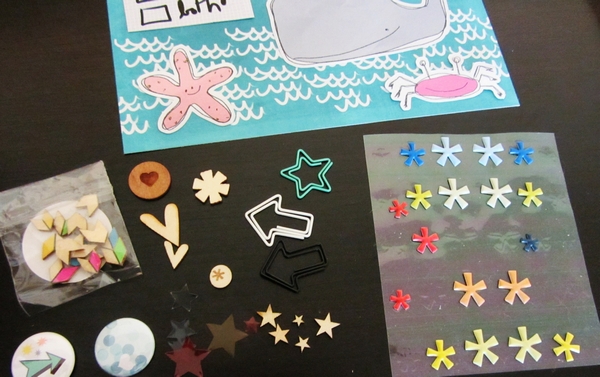
Here are all the pieces printed and ready for creating my layout.
I love my Fiskars trimmer for cutting out straight edges. This one has a wire that shows exactly where the cut is going to be. It makes the job so easy.
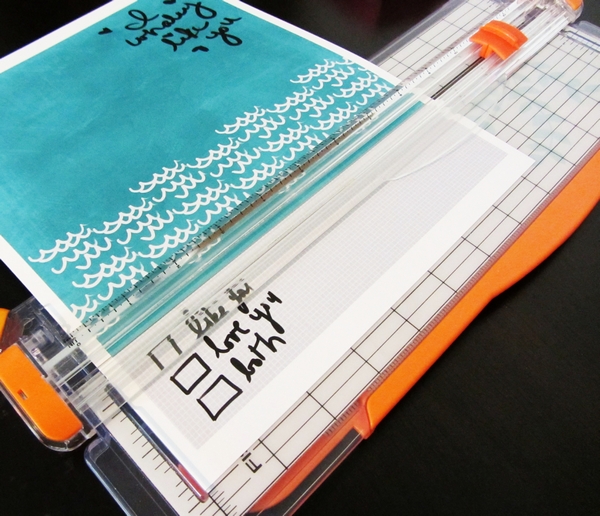
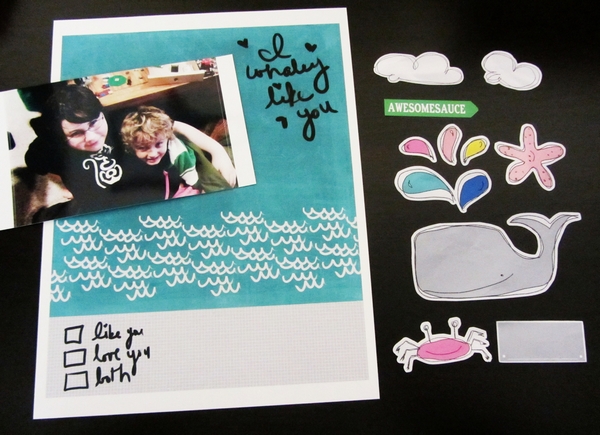
With my trimmer I cut my background paper and trim my photo.
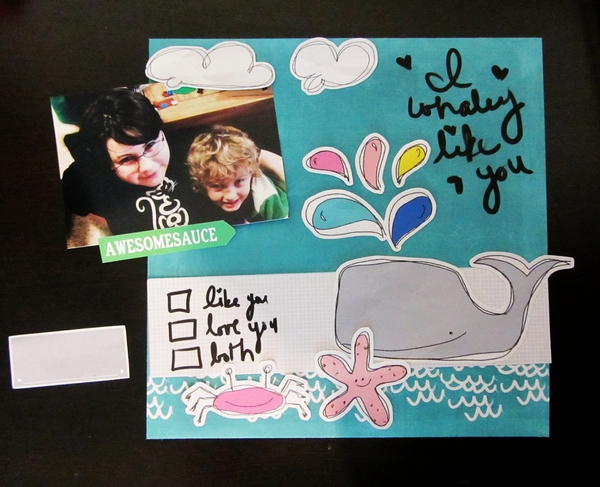
Then I do my initial layout, placing things on the page where I think they might work well. This helps me decide where everything will fit on the page and if I need to trim any of my pieces. I’ve also already made my first elimination at this stage. Even though I love this little label, I know it won’t work for my page, so it gets set aside.
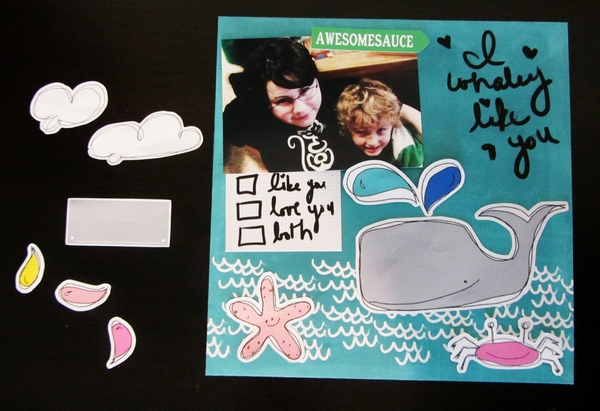
Next I trim anything that needs to be trimmed and decide on final placement. At this point I’ve decided that there just isn’t space for the two clouds and the top part of the whale’s water spout.
The next part is one of the things that really makes hybrid fun for me. I love to add traditional paper crafting embellishments to my hybrid projects. I love to go through my embellishments and just grab out a few things that I think might work with my current project. It’s kind of like brainstorming with scrapbooking supplies, anything that I think might work at first glance gets added to the pile.
Of course not everything gets added. On this layout I only used the puffy stickers from my original pile of embellishments, but that didn’t stop me from adding some washi tape that wasn’t in my original stash. That initial stockpile of embellishments just gives me the ability to get started and not get overwhelmed by the choices that my embellishment drawer offers me. I decided to add the washi because I wanted to add some more warm tones to compliment the stickers that I added.
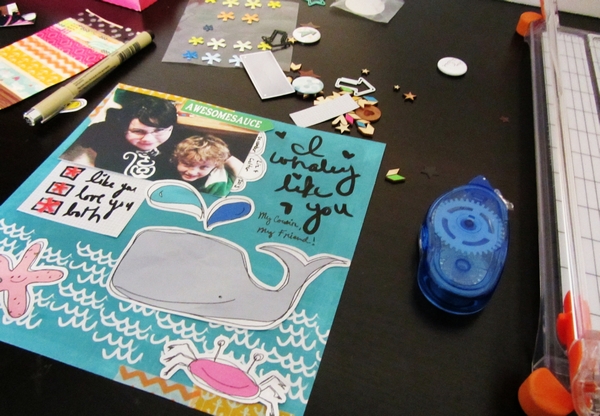
After I adhered everything down and added my embellishments I decided that I wanted to fill in the space a bit between the word art and my photo. After a little bit of trial and error I determined that using one of the cloud shapes that I had printed from the kit as a fun label was just the right touch.
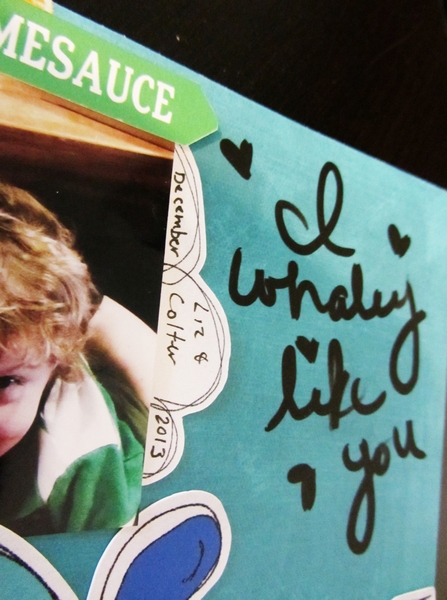
Next, another little touch of journaling under the word art and aside from a little workspace clean up, my project is completed.
I hope you’ve enjoyed going through the steps that I use to create a hybrid layout alongside me. I’m constantly amazed by all the new hybrid projects that I’m seeing in the gallery, and would love to see yours there as well! If you have any questions please feel free to post them in the comments or the forums. I will try to answer them the best I can.