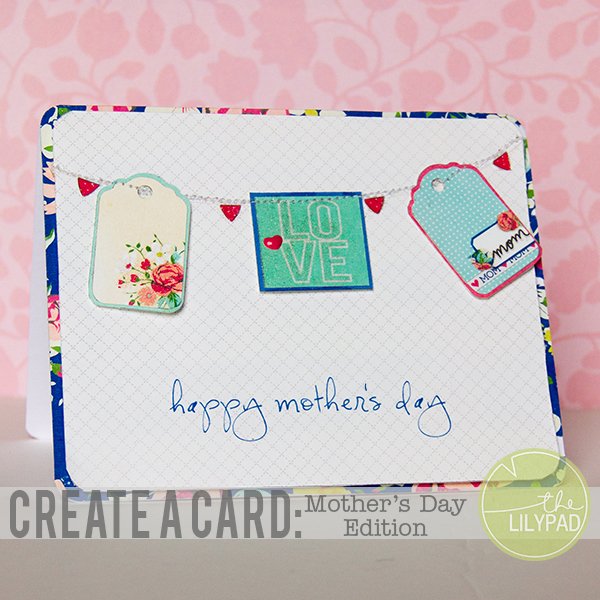
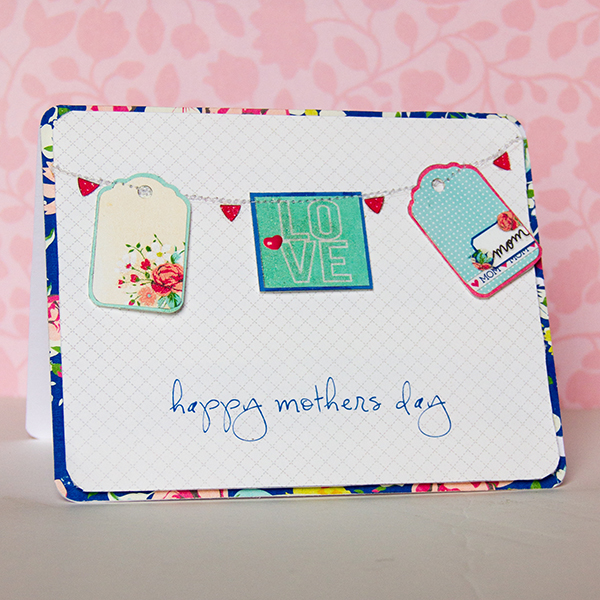
Create a Card – Mother’s Day Edition
I really enjoy giving cards to family and friends. Cards are perfect way to send birthday wishes, celebrate a special event, or even to just say hello to someone. I always try to have a selection of homemade cards on hand to give out for any of these occasions. I’ve noticed my supply of cards has been getting a bit low and committed myself to making a few cards to bolster it up. Today I’m going to share the Mother’s Day card I created and a nifty hybrid technique that added a bit of texture to my card.
To make this card you will need the following supplies:
- Banners Template Duo by Gina Miller
- A Mother’s Heart | Mini Kit by MP-Addons & Amber LaBau
- CREATE (Kit Sampler) by Memory Pockets Monthly & Sahlin Studio
- Presentation Paper
- Card base
- Cutting Machine or scissors
- Extra embellishments
- Glue or tape runner
- Foam adhesive
- White Thread
- Sewing machine or needle
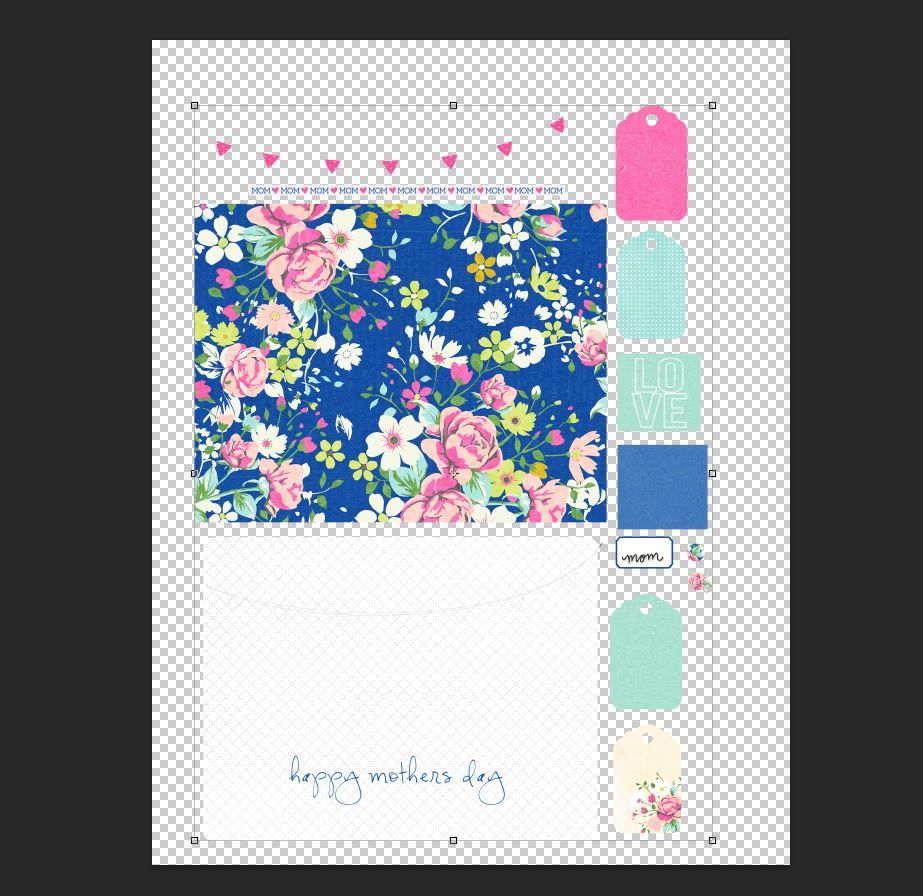
1. Open up the template by Gina Miller in photo editing software.
2. Resize the template to fit your card dimensions. My dimensions were: w = 5.5″ and l = 4.25″
3. Using papers and embellishments from Amber’s and Krista’s kits create your card design.
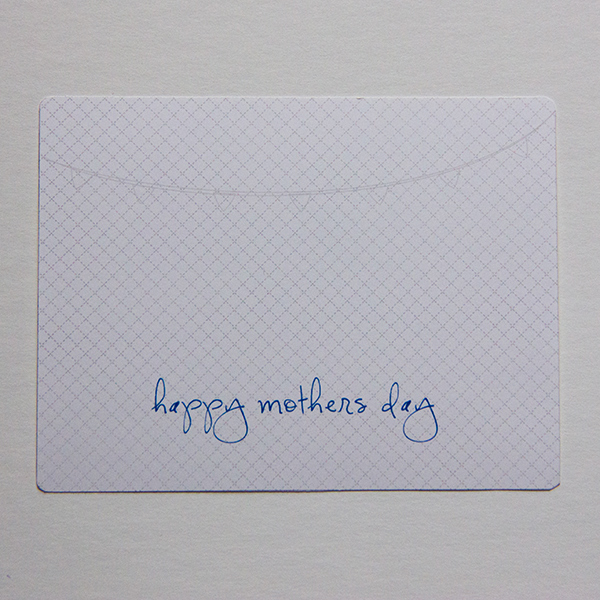
4. Change the color of the banner strings to a light gray by going to Edit —> Fill. This gives guidelines to do either some machine or hand stitching on your card. Even if you don’t sew perfectly the strings are easily disguised by the stitching you do. Such a simple technique that allows you to add texture to your card.

5. Duplicate all layers of your card to a new 8.5 in x 11 in document. Spread the pieces of your card out so they are not touching. Make sure and leave your banner strings on your background! If you have a cutting machine, save this file as a png. Then use your cutting machine software to print and cut your file. If you DO NOT have a cutting machines print this sheet and use your scissors to cut out the card pieces.
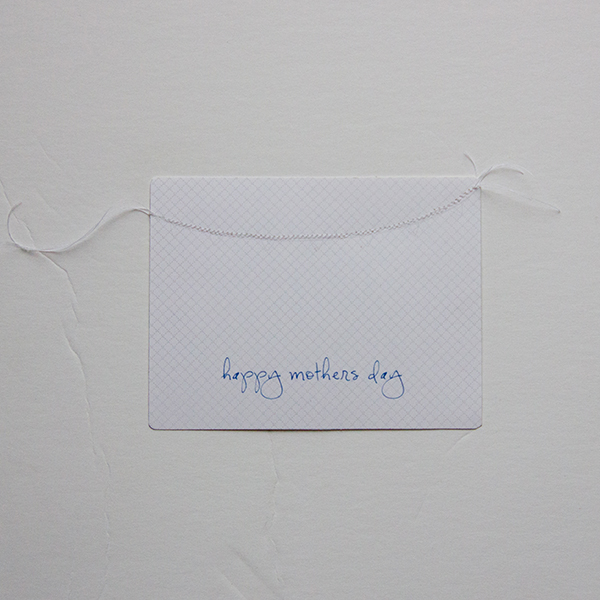
6. Sew your banner “strings” onto your card using a sewing machine or by hand. Below is a quick before and after shot of my card.
7. Assemble your card using your original file as a guide. Add additional embellishments as needed. I added a bit more stitching to my card to make my tags appear as if they are strung on the banner strings.
Just like that you have a homemade card to add to your stash! I’m guessing this card probably won’t stay there for long!
I hope you’ve enjoyed this short tutorial! Stay tuned next month for another Create a Card Tutorial. Be sure and share any cards you make with us! We love to see your creations in TLP gallery!