Centered Stroke Borders in Photoshop
Hello everyone! I’m dropping in today with a quick tip for quickly creating centered stroke borders on your square-shaped digital scrapbooking pages. Sometimes your page just needs a little extra pop to make it look complete. One way to do that is to add a slightly indented stroke border around the outer edge of the page. For example, take a look at this page (made with goodies that are in today’s 50% off SOSN sale):

The stroke border around the edge really helped to ground the page. Stroke borders are very easy to create in Photoshop, but not as easy to center exactly on the page. But I have a shortcut that will get you a perfectly centered stroke in just a couple of steps.
Step 1. Select the outer edges of your page by holding down the Ctrl button while clicking on the background page thumbnail in the layers palette. You should now see “marching ants” or moving dashes around the entire outside of your page. Create a new blank layer above the background paper layer by clicking on the New Layer button or using the shortcut Shift + Ctrl + N.
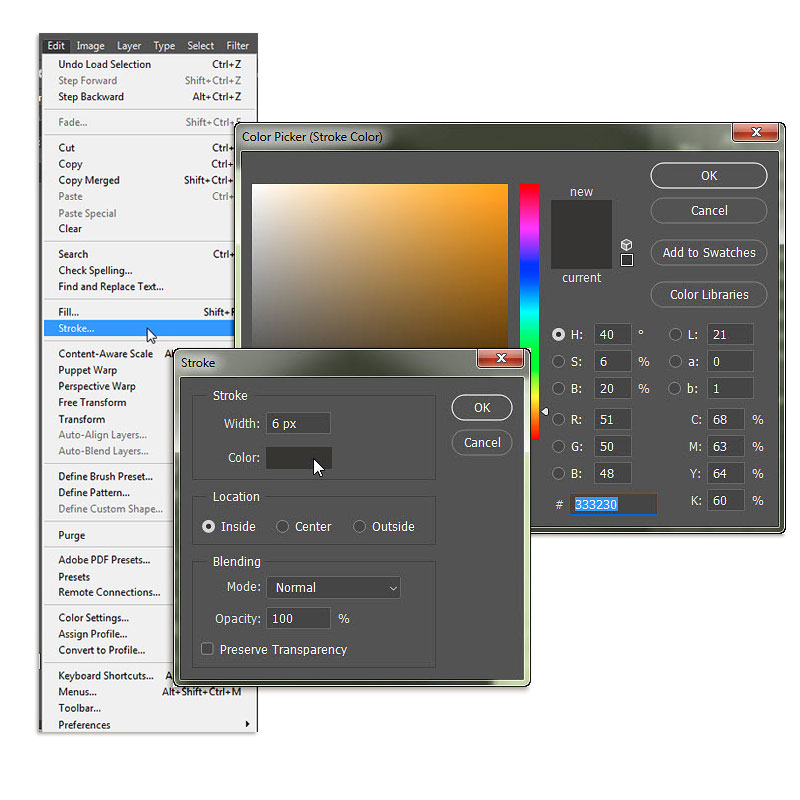
Step 2. Make the new blank layer active by clicking on it in the layers palette. Now go to the Edit Menu and select Stroke. Set the stroke to “Inside” and select the thickness you want. The size of the stroke on my page is 6 pixels. Select the color of your stroke by clicking on the color box and selecting a color from the pop up color box menu. You can use the eyedropper tool to select a color directly from your page, which will make the stroke blend with the kit colors. The last thing you need to do is Click on Ctrl + D to turn off the marching ants selection.
Step 3. Now all you need to do is resize the stroke so that you can see it on the page. Make sure the stroke layer is selected and click Ctrl + T to activate the Transform tool. Now click on one of the corners and drag it in while holding the Shift and Alt keys down. This will move the opposite corners of the stroke in proportionately to each other so that whatever size stroke you end up with will be perfectly centered. How cool is that?!

TIP: If you change your mind about the color of the stroke after you finish, you can change it quickly by adding a solid color adjustment layer, clipping it to the stroke layer and then changing it to to your color of choice.
I hope you have fun playing with this technique!
Until next time ~
Judie (HeyJude)


