Beginners Mixed Media: Instant Mixed Media with Painted Papers
To some of us, there is nothing more nerve-wracking than attempting a scrapping style out of your comfort zone or more daunting than a blank canvas with infinite possibilities.
(OK, yes, I’m talking about me personally but I’m sure this applies to others as well!)
So in this blog series, I’m attempting to make Mixed Media less daunting by giving you (and me) some jumping off points. Where to begin with digi – mixed media scrapping? Right here for Mixed Media Beginners!
Last month I used basic paint brush strokes in place of paper strips on basic templates. This time I’m thinking about the way paper choice alone can give a scrapbook layout a mixed media look without the addition of any paint or brush work, splatters or otherwise. In other words, I’m going with the ‘fake it til you make it’ approach and calling today’s page creation process ‘Instant Mixed Media’!
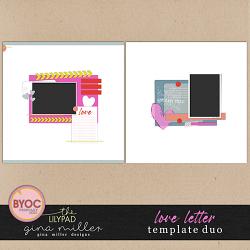
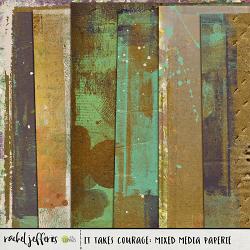
I’m still not ready to throw digital paint on a blank digital canvas myself, I’m still focused on using templates which are my comfort zone to kick start me but this time I’m using a template with lots of space behind a focal cluster called Love Letter by Gina Miller (the one on the right) to show off some pre-painted papers from the It Takes Courage: Mixed Media Paperie pack that have a pre-painted style by Rachel Jefferies.
 I am so appreciative that designers like Rachel have done the paint mixing and placing and decision making essentially for me as a mixed media beginner, I can get the look instantly!
So after bringing in my photos (a ‘then & now’ photo collage I made on my phone probably while waiting to pick some one up) and trying this background first…
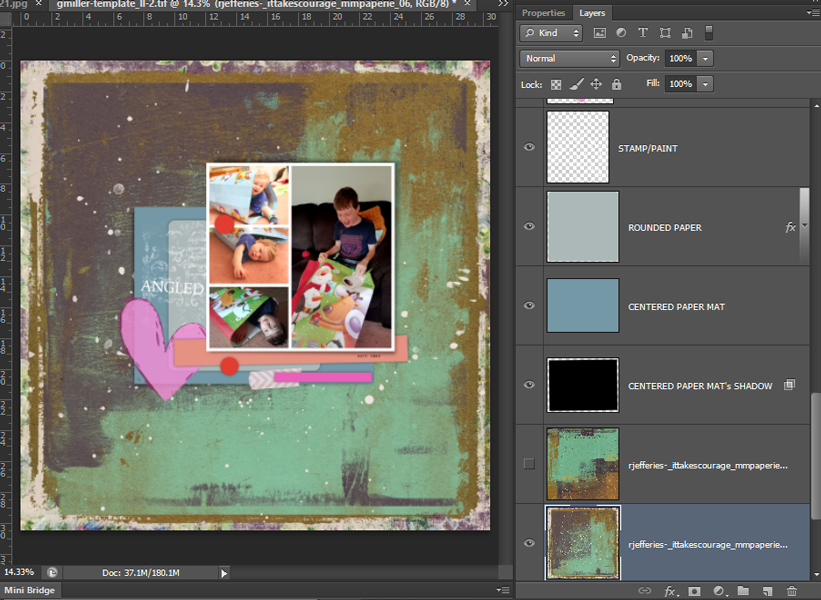
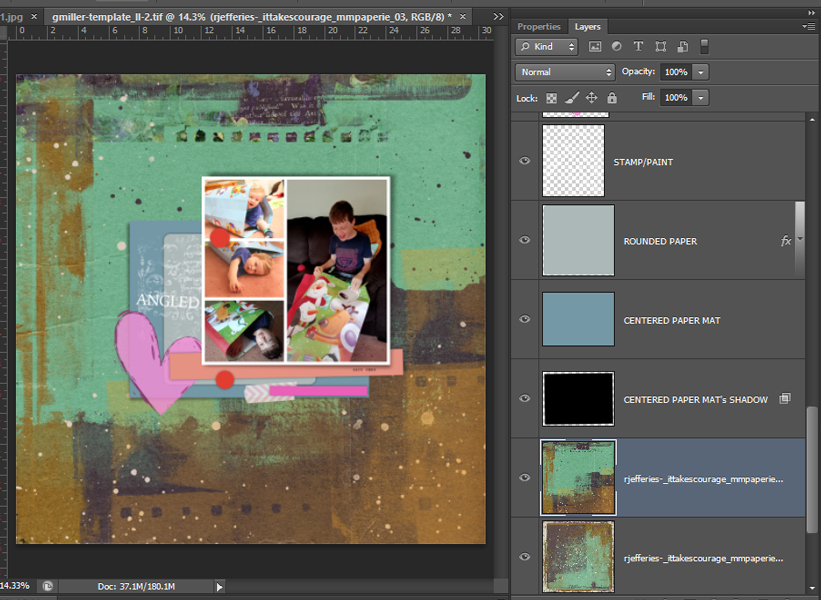
I decided on this next background from the same pack instead….
and that the photo cluster on Gina’s template could be enlarged and moved a bit to fit with the cool notebook edge detail near the top of Rachel’s paper. (I don’t think it would have occurred to me to put that kind of detail into a painted background but that’s part of the benefit in this Instant Mixed Media style! I don’t need to know any techniques or even colour theory, this one paper and template together guided every other product decision I made going forward). So here it is now enlarged a bit.

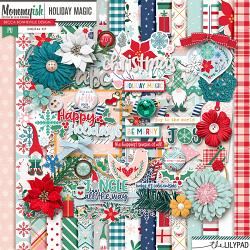
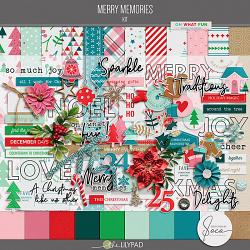
So now to fill the extra layers. Now if you have seen any of my Monday Mash-up posts, you might note that in picking other stuff to go with this paper pack and my photos, I’m just using the first idea I’ve covered in the Monday Mash-up posts so far. I’ve picked 2 traditional kits, Holiday Magic by Becca Bonneville and Mommyish & Soco’s Merry Memories for the wordart and elements and they have the common theme of Christmas, and they also have the turquoise/aqua kind of colour as well as hints of gold in common with Rachel’s papers.
Those colours are in my photo collage as well as the blues and so that was my thought process. If I’m honest, a heap of red and green together feels like too big a dose of Christmas to me so I was looking forward to making a less in-your-face Christmas page this time.
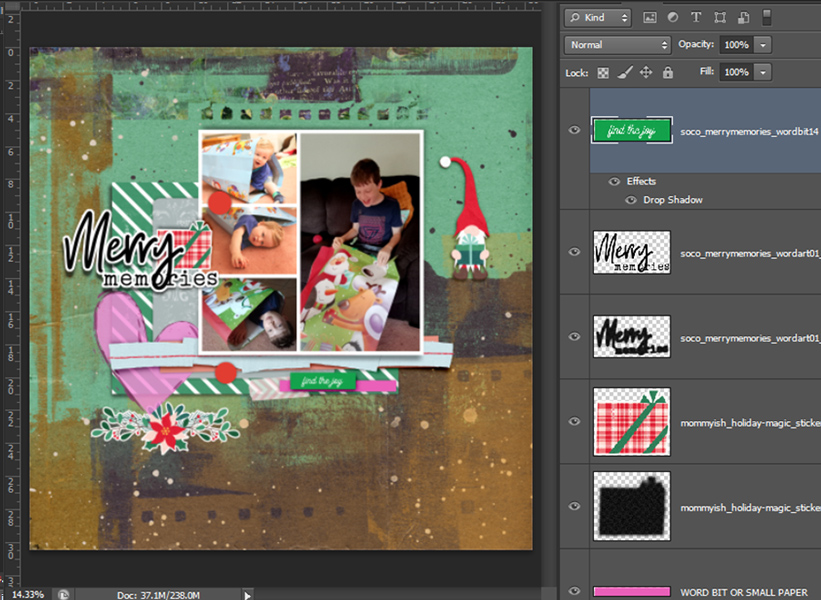
Here is another ‘work in progress’, having dragged some traditional elements and wordart in.
And now we fast forward to my finished page. Not my normal full-on patterns and trees everywhere Christmas look but I’m loving how different it is with less red and green but enough little touches of red and green as well as gold and blue along with the turquoise and purpley brown tones.
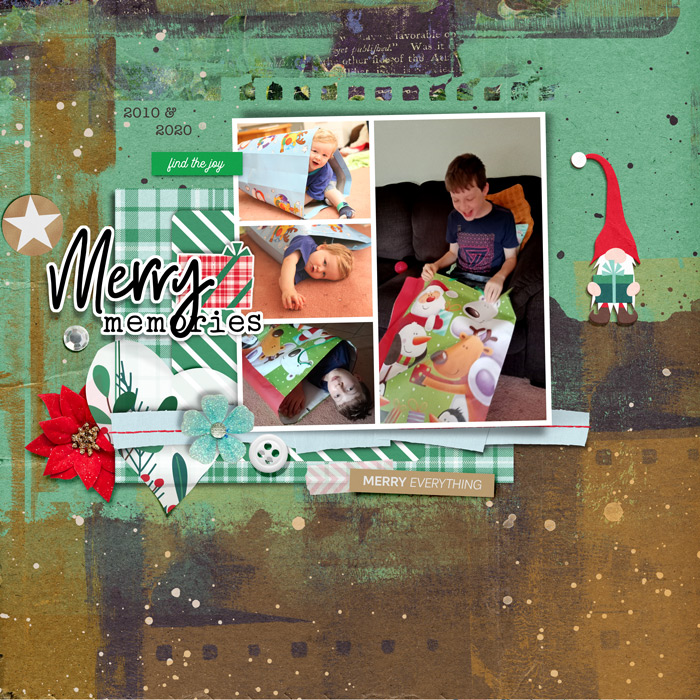
So there you go. I think the mixed media look is definitely there and I never even searched for, or opened, a single brush or paint pack!
If you are at all intimidated by mixed media and a beginner like me, get the look instantly by choosing painted papers as the base of your layout!


