Beginners Mixed Media: Getting Artsy with Photo Masks
For some of us, there is nothing more nerve-wracking than attempting a scrapping style out of your comfort zone or more daunting than a blank canvas with infinite possibilities.
(OK, yes, I’m talking about me personally but I’m sure this applies to others as well!)
So in this blog series, I’m attempting to make Mixed Media less daunting by giving you (and me) some jumping off points. Where to begin with digi – mixed media scrapping? Right here for Mixed Media Beginners!
I’m getting back to being creative after a few months break for renovations. Jumping back in after a break can feel daunting, especially into a style you’re still feeling new to but this is where the designers skill can really help out!
Last year in this blog series, I tried a bunch of different methods to get a mixed media look but my favourite has always been using paint, and so today I’m planning to basically stick with a flat painty look but incorporate a photo in to it (of course, you are thinking if you know me). Nothing makes a photo look artsy as quickly and easily as digitally ‘clipping’ it to a paint splotch or pre-made mask. Just like putting a costume mask on in real life can instantly transform a person, there is a treasure trove of digital masks in the store which have the ability to totally transform your photos!
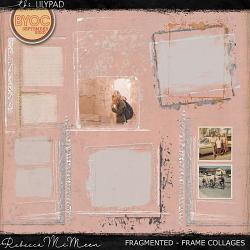
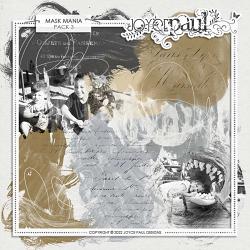
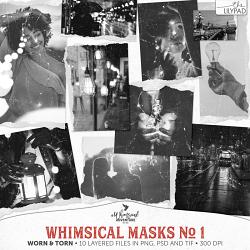
Some have script or stamped image effects around or through them. They also come in various paint styles, from more transparent watercolour to more textured but solid with defined edges, and using blend modes you can make your photo look like it has been painstakingly transferred and blended into your (digital) paper. Some also come with a more traditional photo frame incorporated into them to make it look like your photo is bleeding out of the frame onto the page. Just looking through masks in the store, I’ve added several to my wishlist and wanted to share a few of them so you can see the variety.
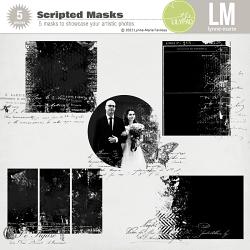
The butterfly stamped image in Layered Masks by Lynne-Marie inspired today’s whole mixed media page (I was so inspired I jumped straight in to Photoshop with no template or sketch in mind and just let it lead me for a change, I know you are shocked, that is so not me!)
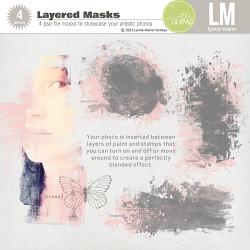
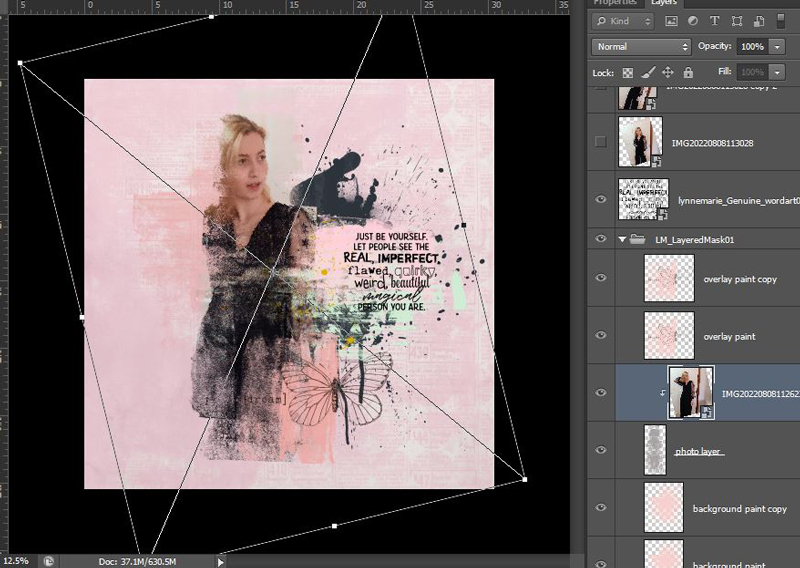
Ok so now after exploring the masks category in the store, here’s my scrapping start point. All I have done is pick a mask and a photo (out of a few possible ones taken at the same time) and dragged them in to a blank 12 x12 inch / 30 x 30 cm canvas. You can see from the Layers Palette, the Layered Masks come in separate layers so you can easily customise just the back layer of background paint that is pink, for example.

After repositioning the mask (to give my daughter ‘looking room’), choosing a background paper, some additional paint, (both from Love Starts Here: Home TLP Designer Collab) that seemed to give my daughter wings and wordart from Genuine, all by Lynne-Marie, I’m clipping my photo to the mask. (In the Layers Palette, you can see the highlighted photo layer is ‘clipped’ to the layer below it with the right angled arrow and it’s positioning. To clip a layer to the layer below it, I right clicked and selected ‘Create a Clipping Mask’ in the flyout menu. Ctrl Alt G (or Ctrl Opt G on a Mac I believe) is the usual keyboard shortcut for a clipping mask in Photoshop.) I’ve rotated it as you can see from the bounding box that extends off the pink page to make sure that the photo covers the entire mask.
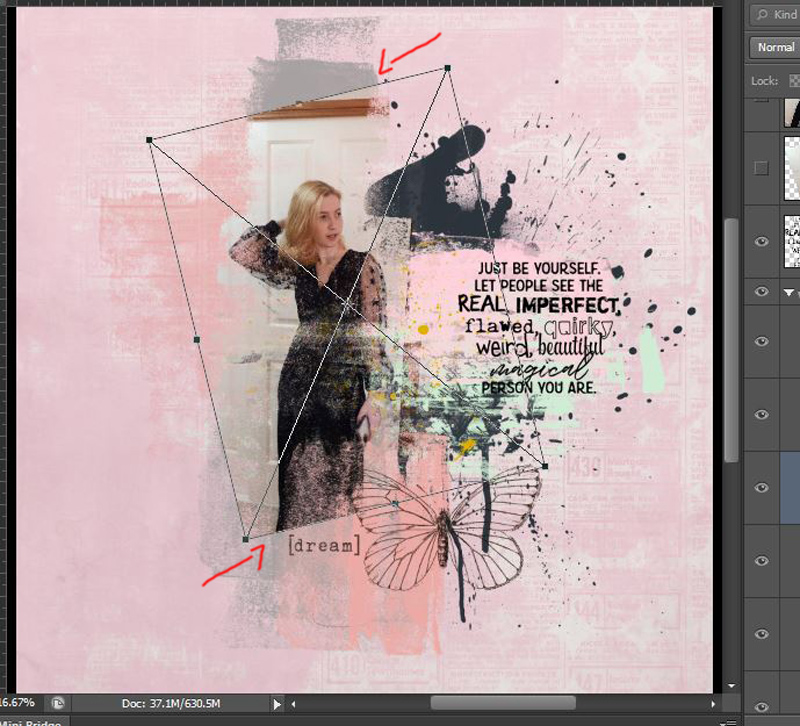
If I hadn’t there would be parts of the mask showing and hard lines where the photo stops that I want to avoid, (because even as a beginner, I don’t want my pages to look like I am!) This is what I mean, shown below. See the top where the door frame is and the bottom where the edge of her outfit creates a harsh diagonal line? That’s what I want to avoid. It doesn’t look too bad in grey, but if the mask were black like many are as a default, it would draw more attention and compete with the dress and wing-style paint and splatter that I purposely placed.
So with the main design done, now I turn my focus to details. Zooming in so I can see what it will look like printed and as much as I love the texture this mask gives the photo, I would prefer her face to be clear and so I’m going to reduce the distressed area shown across her cheeks and nose
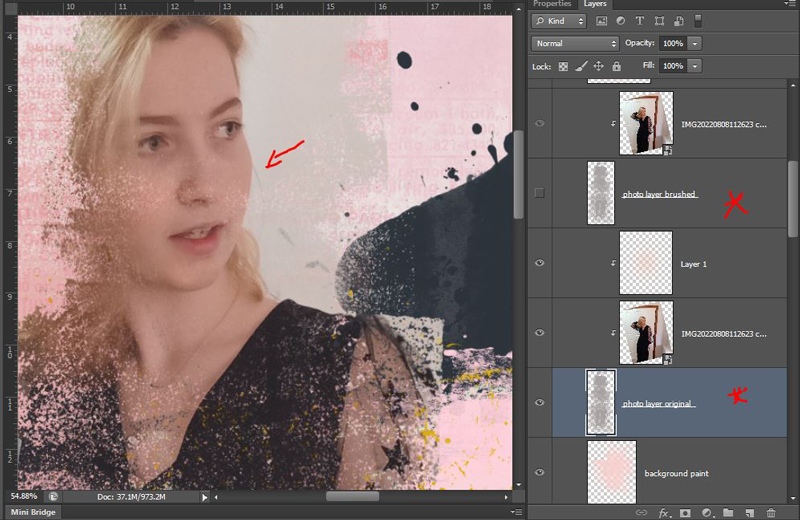
I duplicated the mask layer and hid one copy of it (turned the visibility off using the ‘eye’ column) so if I’m not happy with how painting directly on the mask goes, I can always delete that layer and try again with another copy of the mask (just because it saves me finding it in my scrapping folder and dragging it in again).
Using the colour picker tool, I clicked on the active mask layer and loaded the same colour as the mask. Then using a spongey textured brush with a few tweaks to the Shape Dynamics so that the brush would ‘jitter’ a bit and be more organic and channel the ‘human error’ that is common in real life stamping (and so it would not be perfectly straight and potentially glaringly obvious that I’d messed with this perfectly awesome mask), I clicked across her cheeks and nose so that area of the mask was more filled in.

And here’s the final version and you can see I made a few changes before I called it done, (which is always part of my process and I’ve learnt not to fight it).
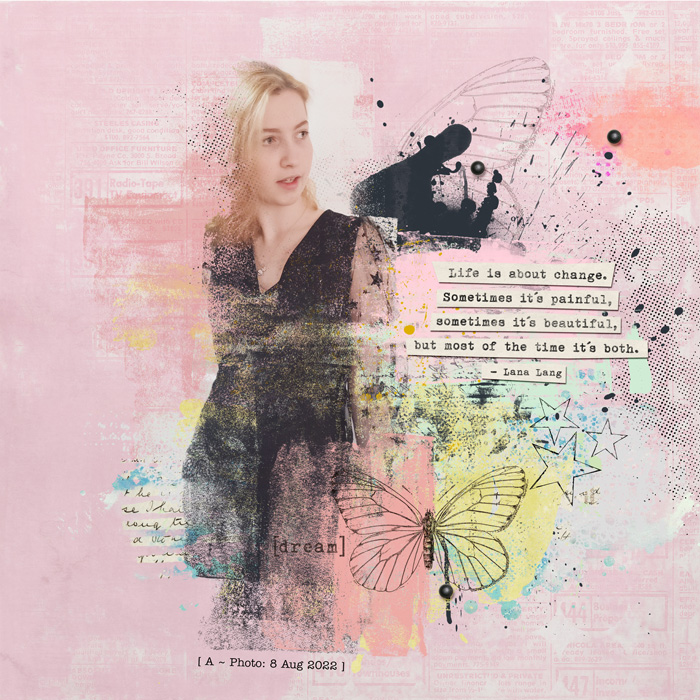
I switched out the Genuine collection wordart for one from retired kit Metamorphosis, also by Lynne-Marie, and duplicated and enlarged the original butterfly stamp from the Layered Masks and added it behind the dark paint splotch to give her less subtle wings. I added more paint & stamp layers for both the rainbow and contrast factors and finished it with a few dimensional brad/enamel dots around the page, coming out with a rather artsy mash-up, using the one designer to limit me searching my entire stash.
I’ll be having another look at photo masks later this month in a Scrapbooking Secrets post with some tips and tricks from myself and other team members and TLP designers for using them on your pages. See you then!


