Altering Digital Cut Out Elements
Hello all my artsy friends! I seriously cannot believe we are already at the end of my favorite month of the year. I could swear that October just started yesterday. Instead of wallowing, I decided to get in some soulful art journaling to help me look forward to the start of November – with a quick tip for altering those awesome digital cut outs that are all over the gallery and store.
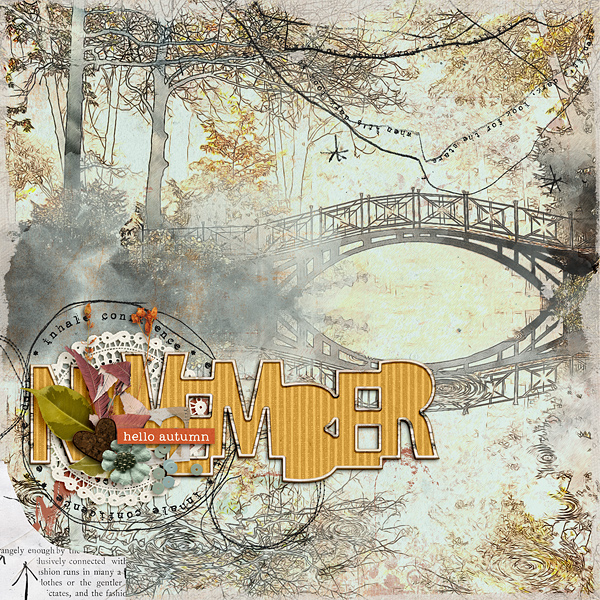
Notice the November title? I created the word art with a cut out from Scrapping with Liz’ awesome November Cut Outs set (which is available today in the SOSN sale for 50% off). If you want to create a similar look, just follow the steps below.
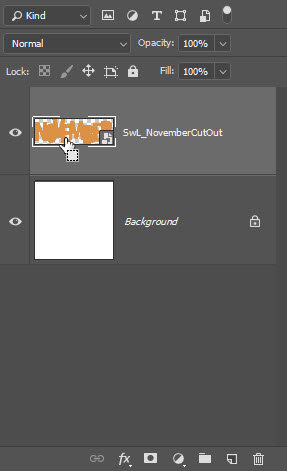
1. Bring the cut out of choice onto your digital page (I used a filled cut out on my page). The first step is to create the frame. Select the cut out by holding the Ctrl/Cmd button while clicking on the cut out layer in the layers panel (not on the page itself). You should see “marching ants” appear around the outside of the cut out on the page.
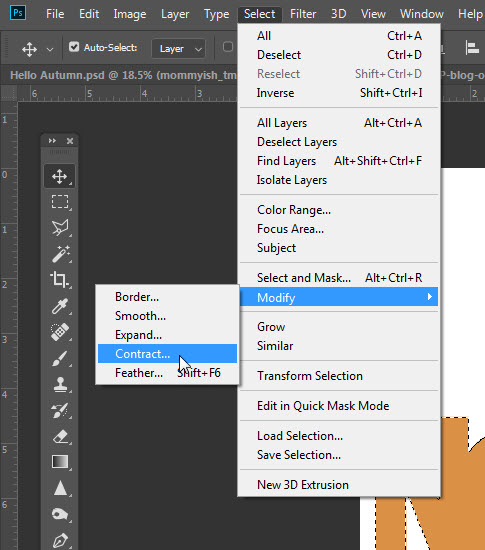
2. Now adjust the selection by choosing Select > Modify > Contract from the drop down menu at the top o f the workspace. I contracted by a measurement of 30 pixels (which I entered in the pop up box).
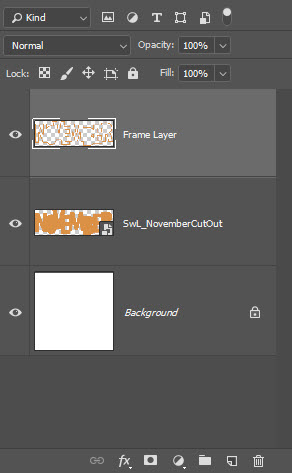
3. Now you need to move the “frame” section to its own layer. First invert the selection by choosing “Inverse” from the Select drop down menu (or use the shortcut Shift>Ctrl>I). Now move the frame to a new layer with the shortcut Ctrl/Cmd J. You should see two cut out layers in the layers panel.

4. I created the wooden look on my frame with a birch bark style by Mommyish Designs. You can use the style of your choosing, or simple clip a patterned or solid digital paper to the frame layer if you prefer.
5. My last step was clipping a patterned paper to the bottom layer of the cut out (shortcut Ctrl>Shift>G).
And that is all there is to it! Who would have thought it would be so easy to create a layered frame effect with a simple cut out element? I hope you have fun with this technique – be sure to share your digital cut out creations with us in the Lilypad Gallery. 🙂
Until next time ~
Judie (HeyJude)


