Make It Monday Die Cut Inlay Card

Hi y’all! Polly Robin here with another Make It Monday blog post. I don’t know about y’all, but I’ve really been loving the Summer School 2024 event at The Lilypad. I’ve had so much fun thinking about the tutorials and challenges. Once I saw the layouts made for the Big Alphas challenge, I knew I wanted to try to make a card that was primarily made from big words. So…. I came up with this design after being inspired by cards found on Pinterest:
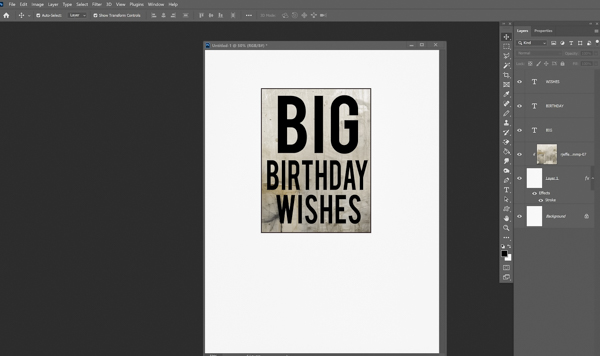
Once I decided to give this card to my nephew who is stationed in Kansas, I went searching for a “masculine paper” that he might like and found exactly what I was looking for in Rachel Jefferies’s Hampton collection. I planned my card and came up with this design:
Using my Brother Scan N Cut, I cut the letters out of both the patterned paper and a piece of solid black cardstock. I love this concept because I got two cards out of today’s session! The intent is to take the cut-out pieces from one paper and place them inside the other piece. It’s called die cut inlaying and it looks tedious but it’s really not. I’ll tell you a secret to make this process easier. I put a piece of double-sided adhesive on the back of my cut-out panel. Then, I take some glue and put that inside the letters as well. It looks like this:

That way, when I press in the letters, I have a bit of wiggle room, but the letters stick and totally look like it’s one layer. It’s like putting together one of those wooden puzzles when we were kids. Anyone else remember those?
So, after I put in all my letters, I glued the panel onto my card base with some foam tape to add some dimension and I had two cards ready to go.


Which one do you like better? The black background with the printed letters or the printed background with the black letters? I must pick one for my nephew and get it in the mail!
Well, I hope you try this technique yourself. It’s a lot of fun and very soothing to put the puzzle pieces together ????