Tutorial: how to digitally tear a photo
 I love the look of old photos. I’ve been working on a project and have scanned a ton of old photos. Most of them have been well preserved, but sometimes, I wish they looked their age. One advantage of the digital age is that I can age my photos, or even “tear” them, without actually harming the original photo. Today, I’m going to show you how to tear a photo. You can leave the torn piece, off to the side, or delete it complete. This works great with papers too. Disclaimer: This tutorial is done in Adobe Photoshop, so I can not guarantee that other programs will have the same effects.
1- Create a new document 12×12 300dpi

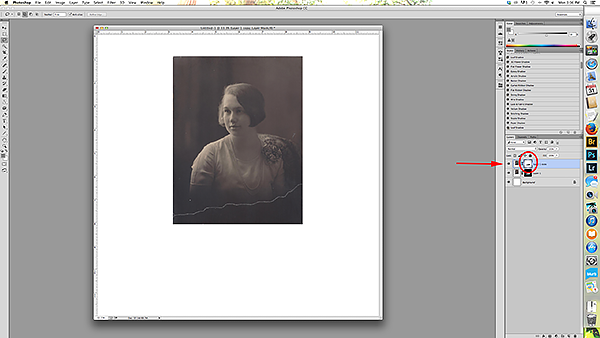
2- Drag your photo over

3- Using the lasso tool, select a rough edge of a part of the photo you’d like to “tear off”.

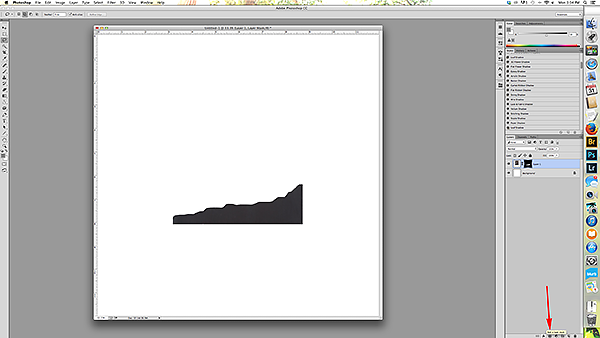
Next, add a layer mask. Click on the icon that looks like a box with a circle in it. You want the mask to look like this, with the background black and the lassoed area white.
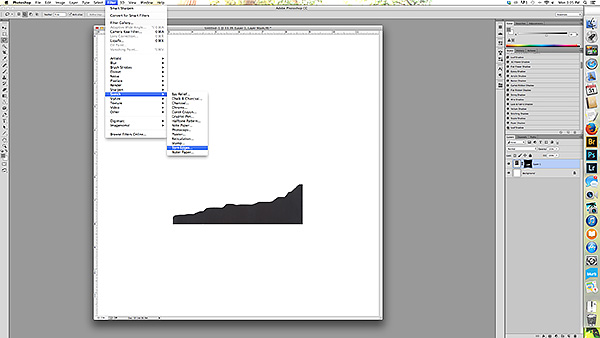
4- Next, we’re going to make the edges look rough, or torn. On the menu at the top, you’ll go to Filter -> Sketch -> torn edge
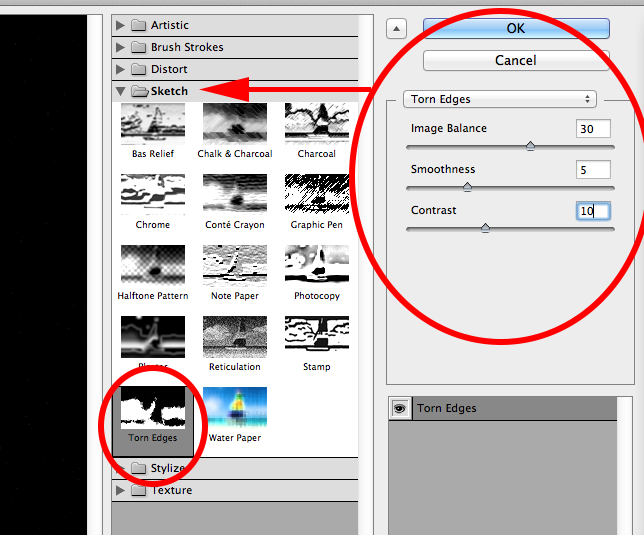
settings:
Image balance = 30
smoothness = 5
contrast = 10
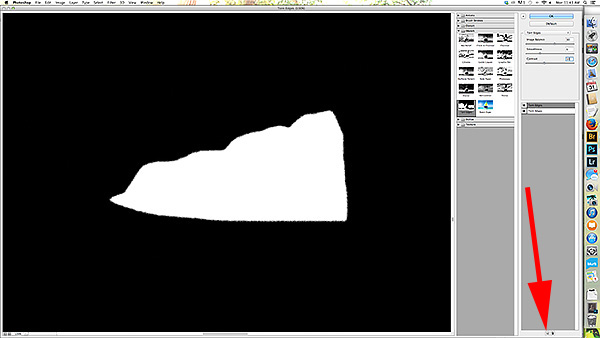
At the bottom of the filter gallery, you’ll see two icons, a trash can on the right and the icon that looks like a new page on the right. Click on the icon on the left to add another effect. At first, it will just duplicate the first effect, but that’s ok…we’re going to change the settings below.
Add an effect -> brush stroke -> splatter
settings: spray radius = 10
smoothness = 5

Click ok to exit the filter gallery
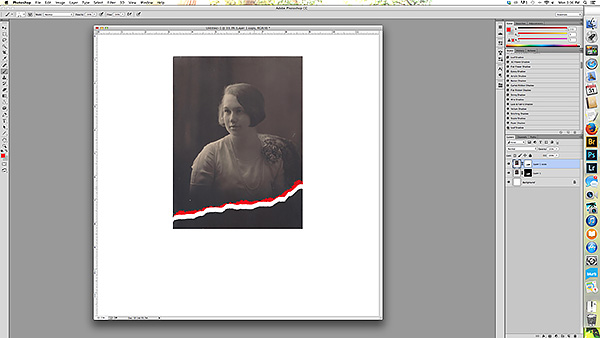
5- Duplicate your photo layer and invert the layer mask.
Move one of the layers slightly from the other to open up a gap where the background will show through, or delete the torn off part all together.

6- To add a bit of off white-ish to the edges, go to your brush pallet and select the rough round bristle brush (can be found in the standard installed brushes) and an off white paint color (I’M USING RED FOR THE SAKE OF THE TUTORIAL). Click on the layer with the main part of the photo and make sure you’re on the photo part of the layer (NOT on the mask) and paint on some at the edge of one side of the split. 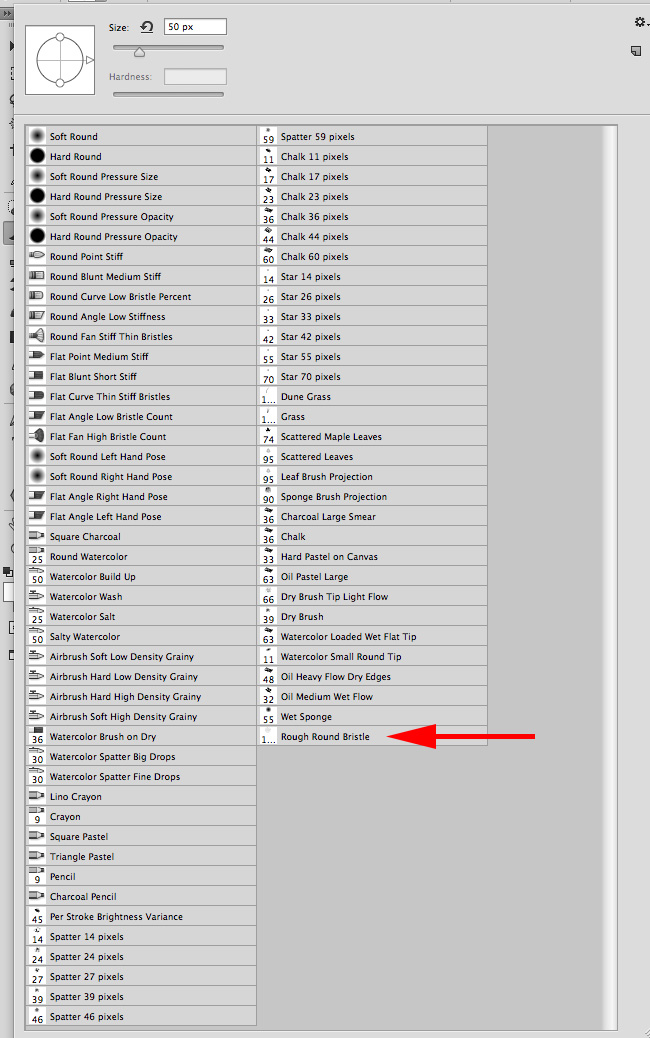
7- Add a drop shadow and continue making your page by adding a background and any other elements you’d like.

Voila…you’ve done it! Here is the final look of my photo: