Selective Recoloring Tips in Photoshop
Hello all my artsy friends! I hope everyone had a fabulous holiday weekend. I’m just dropping in today with a quick recoloring tip to help match your photos to your digital scrapbooking page – and a fun idea for your winter cocoa drinks. 🙂
I used the recoloring tip I am sharing today on this layout:
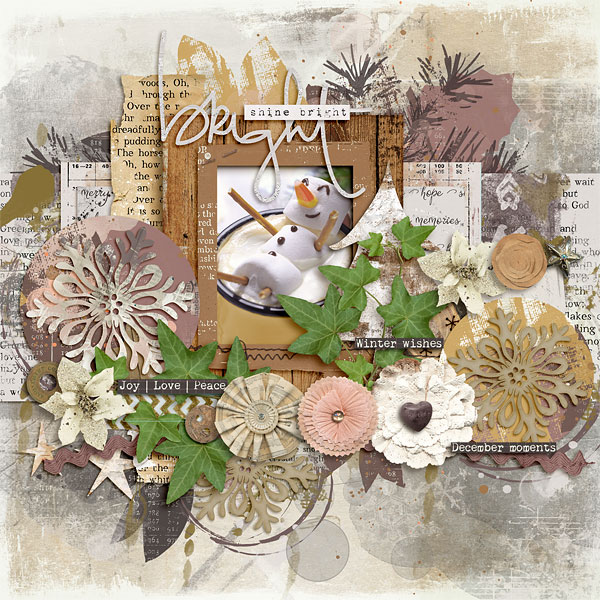
The hot chocolate cup was a bright red before I recolored it and didn’t match the beautiful digital kit very well. (BTW, both the kit and the template I used are available in this week’s new releases. Click on the layout for full credits.)
Here is what the photo looked like before and after re-coloring the cup:

Recoloring Technique
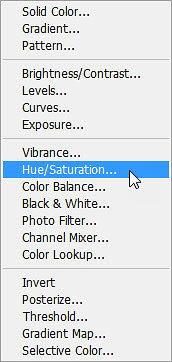
Step 1: Add a Hue/Saturation adjustment layer to the photo. You can do this in Photoshop by clicking on the fill/adjustment layer icon (a half-filled circle) at the bottom of the layers palette and choose Hue/Saturation in the pop up menu:
Step 2: Click on the colorize box in the adjustment box that pops up, then play with the hue/saturation/lightness sliders until you get the color you want. Make sure that you clip the hue/saturation layer to the photo so that it doesn’t affect the other areas on the layout (shortcut Ctrl>Alt>G). These are the settings I used on my photo, but yours will likely be different:

Step 3. Once you have the color adjusted to your liking you can selectively apply to parts of the photo using the mask layer that automatically appears on the hue/saturation layer. Activate the mask by clicking on it. Then select the brush tool (shortcut Ctrl>B). Finally reset the foreground/background colors to black and white with the shortcut Ctrl>D. Now you just have to decide whether you want to “erase” the hue/saturation adjustment from select areas of the photo, or erase it entirely and then paint it back onto select areas of the photo. I used the second method because I only wanted the color adjustment on the mug. I filled the hue/saturation mask with black (shortcut Ctrl or Alt>Backspace) and then set the foreground color to white to paint the adjustment onto the mug.
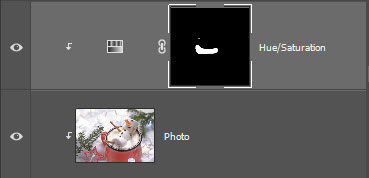
Here is what the layers look like after I painted on the adjustment:
And that is all there is to it! Who knew that selective color adjustments could be so easy?
I also wanted to share with you a cute winter cocoa drink idea – did you notice it in my photo? Marshmallows are a must for any good hot cocoa drink, but decorative marshmallows are even more fabulous! The one in the photo is super easy to put together. Just stick three large marshmallows together with icing and add legs/arms with pretzel sticks, eyes/mouth/buttons with black icing and a nose with a piece of candy corn (I know you have some left over from Halloween). Let your creative juices flow and create your own version of marshmallow snow people! Here is another look mine on my layout:
Until next time ~
Judie (HeyJude)


