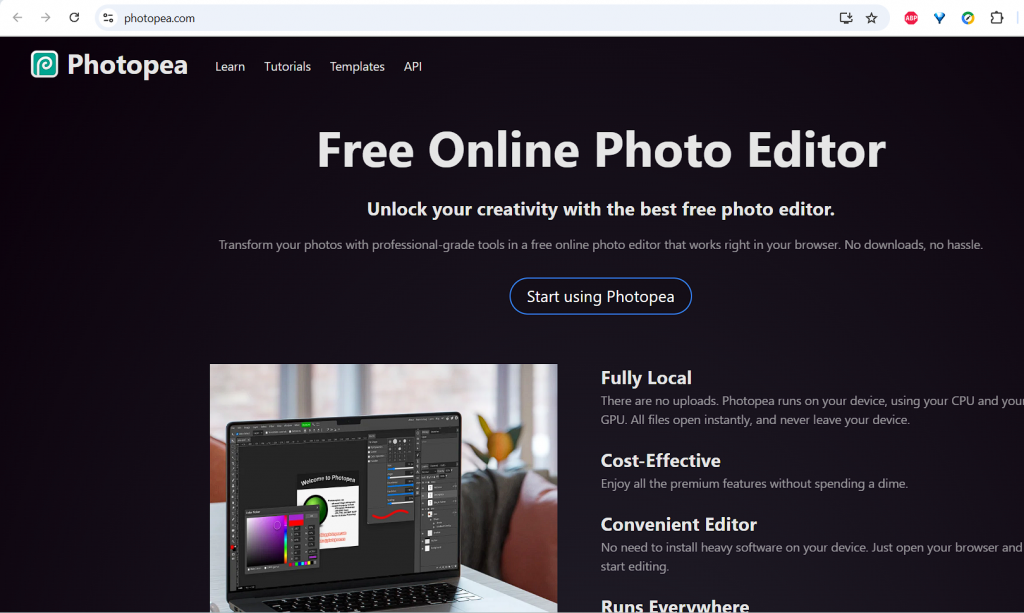
Road-testing Photopea for Digital Scrapbooking.
After what has been a technologically challenging month, having suffered (yes, suffered), through trying to scrap in my preferred way with Canva over a few devices, I’m glad to say that Photopea is the answer to any digiscrappers’ prayers and I’m officially breaking up with Adobe. Yep I said it.
If you are new to the world of digi-scrapping and want a low commitment entry point that also has all the functions you could want as you explore and grow in to this addictive hobby, then read on.
If you are disillusioned with the direction gold standard programs have taken and want something cheaper (free if you are willing to have ad’s in the sidebar), that reads TIFF files as layered files, can handle more than a very basic, blocked template, has clipping mask functionality without ridiculous workarounds and the ability to tweak shadows, then stick aroud too and let me introduce you to my new scrapping bestie, Photopea.
Some background: Why did I try out Photopea?
In April I posted my road-test of Canva and made a layout with that program. (I’m still traumatised frm trying to scrap with a template in Canva). To me, Canva was fine if you are happy with a glorified Powerpoint look without too many layers or want to try out the paid Pro level and find all the ‘apps’ and add-ons to do basic scrappy or photo-editing things; if you often scrap with templates or are just used to more elaborate page design and are a control freak when it comes to details and are coming from Photoshop or even Photoshop Elements I would say, this is an easy transition with all the bells and whistles without the commitment. And that’s why I tried it out, that’s much more me and Canva didn’t feel comfortable or fun at all and it was making me dread scrapping, and it shouldn’t be like that.
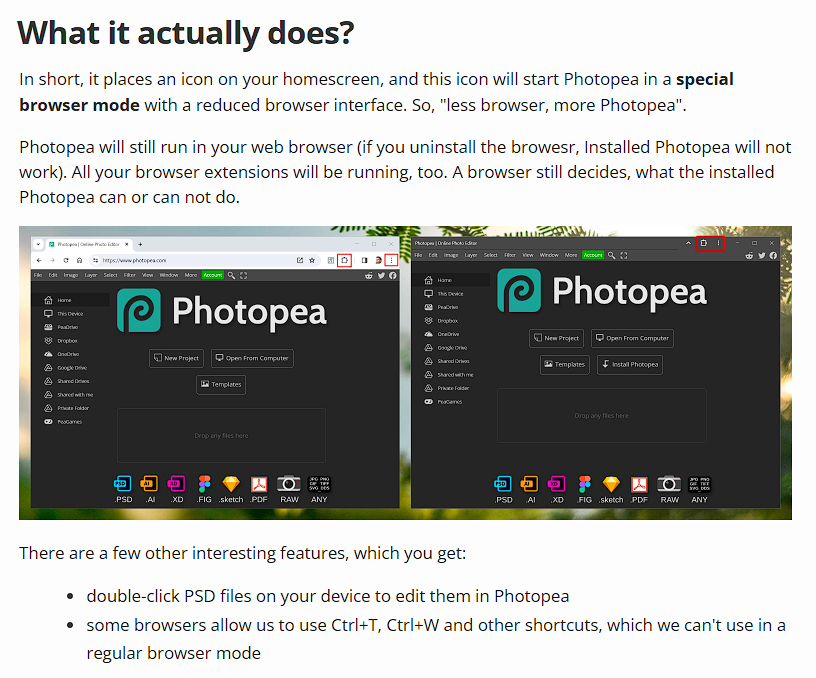
Moving to Photopea is an intuitive crossover experience. You don’t need to google for add-ons or extra apps within a program; if you have used a feature in Photoshop, chances are it’s in there (I can’t say I have cross checked every menu but it seems super similar and feels familiar already). You don’t even need to sign up for a trial to give it a go, you can just open the browser tab and drag in a template or photos like I did. I’ve gone one step further and ‘installed’ a version on my new laptop seeing it’s a program I use so often and honestly my wifi isn’t great so relying on browser based Canva seeing the pop-up ‘you are not currently online’ every few minutes the other night and it disabling everything while my internet connection figured itself out was really the last nail in the coffin with it. Installing Photopea still uses and opens a browser tab but as they say ‘it’s a bit less browser, a bit more Photopea’ and so far, the touchy wi-fi hasn’t been an issue. Here’s what they say about installing it:
So I downloaded and installed the program (under the More file menu option on that home screen when you load the Photopea browser tab, just click ‘Install Photopea’) and below is my first page coming together in Photopea with a few lessons along the way.
Jumping In:
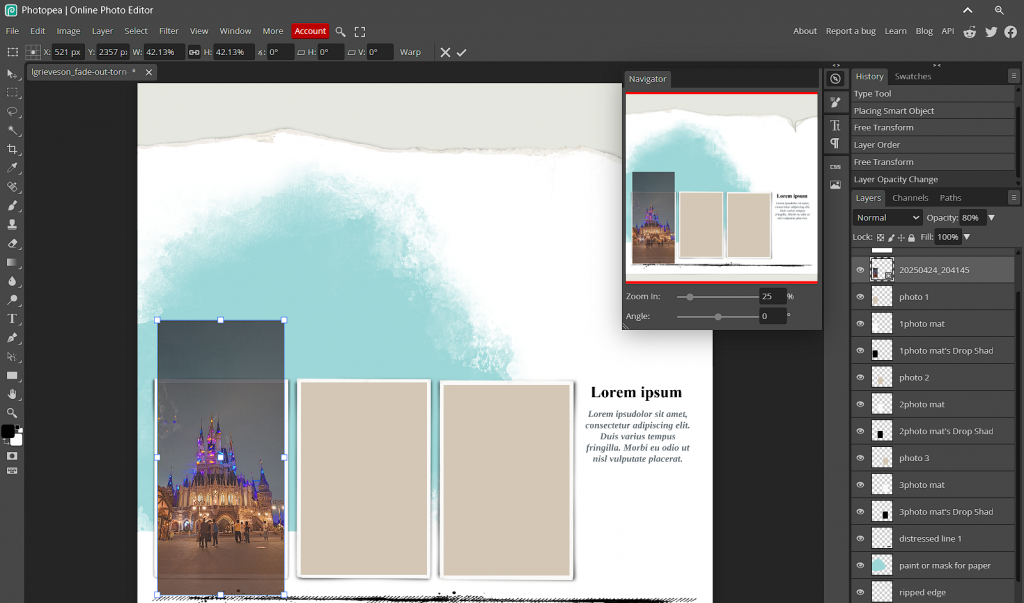
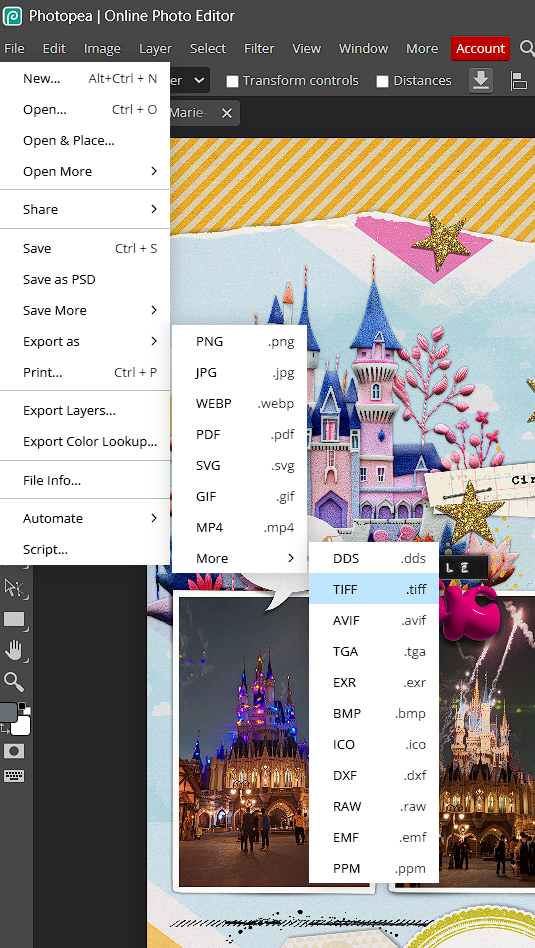
I dragged and dropped a TIFF template (from Lynn Grieveson’s Fade Out & Torn 2 pack) into the middle of the Photopea front page workspace and it opened as anticipated as a layered file. (It opened it as a psd file though which I thought was interesting, but yes, you can also save as a TIFF and importantly to me with a stash of TIFF templates and old layouts from over a decade, you can open TIFFs to edit them).
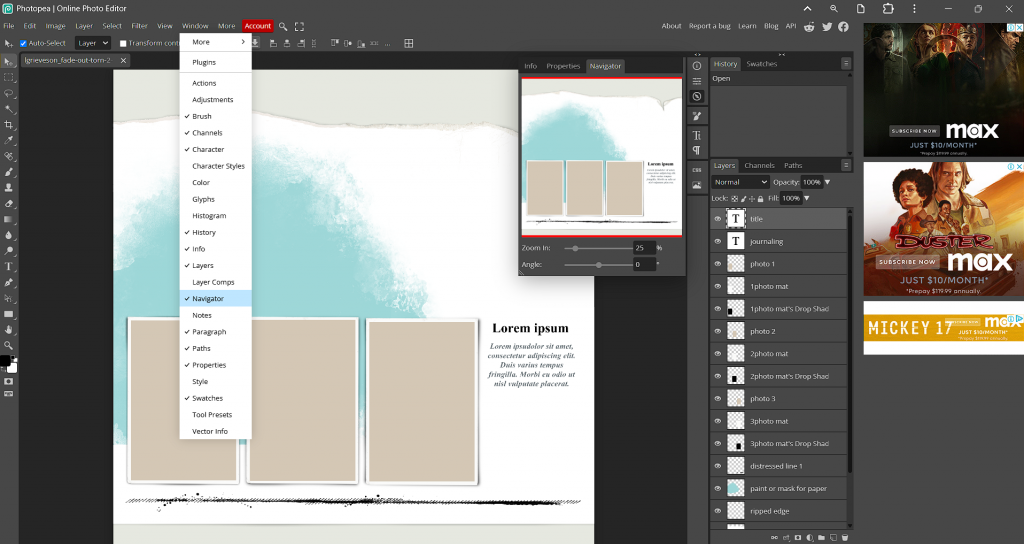
You can see from this screenshot that the layout of the workspace is quite similar to my previous screenshots using Photoshop CS6 with the tool icons down the far left column if you’ve seen my work-in-progress blog posts before.
- The Layers Palette docked on the right and tabs for some other more advanced features like Paths.
- I was glad to find a Navigator option under Window menu so I can see my whole page as a thumbnail when I’m zoomed in working on details. It seems to dock over the top corner of the layout with other items as tiny icons that I’m used to as larger tabs like the Brushes, Text/Character and Paragraphs tools but I think I can live with that for now.
- (There’s an option under Account in red to pay $5/mth to remove the advertising down the right hand side and this may mean the Layers Palette and Navigator move over in to that space and not impinge on the design area as much but that’s just a guess. For now the combo of ad’s is a novelty, and there were some for Canva too ironically).
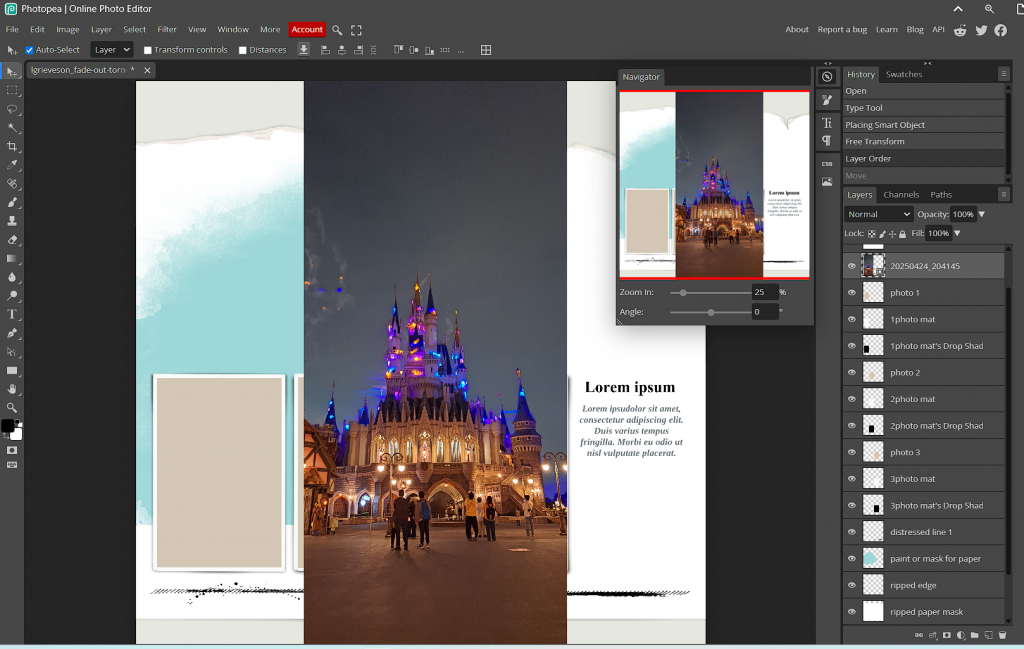
So so far, Photopea is not quite as customisable as the Photoshop I’m used to. I tried to find a Preference in a menu to increase the size of the thumbnails and change the ‘bounds’ of the layers in the Layers Palette so I wasn’t squinting but couldn’t find an option for that. Not a huge deal breaker because of the labels next to those thumbnails. (Even though I can’t actually see the ‘ripped edge’ thumbnail, the written label will help locate it if I need it.
Next the drag and drop test for photos. No problems, it automatically centred and fit edge to edge without distorting it.
Transforming (resizing) and clipping to the template photospot? No problems. Hold Ctrl T like normal if you are on the Installed version (otherwise that opens a new tab in the browser version – you might need to hold Alt Ctrl T otherwise) and drag from a corner in towards the centre of the photo. Click the chain icon to lock the aspect ratio (and keep the relative width to height of the image so it isn’t stretched or skewed). I can easily drop the Opacity a bit (at the top of the Layers Palette, it’s now on 80%) to make the photo a bit transparent so I can see the layers below through my photo and help me resize it relative to the template spot more easily. All good so far.
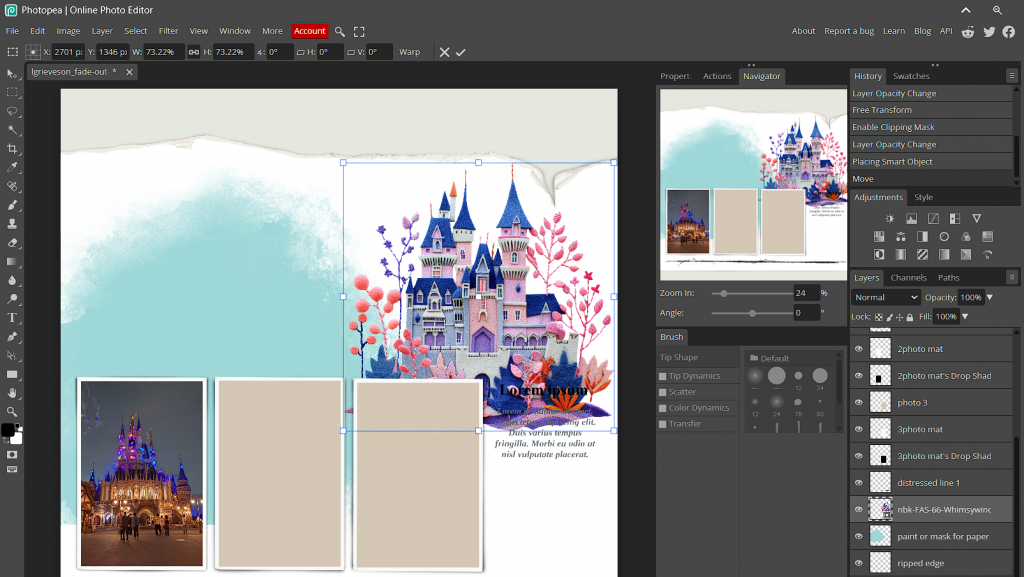
 I added an element at this point. Again just dragging and dropping from my unzipped downloads folder a huge ornate Whimsywind Castle by NBK Design and resized it as well to suit my space using the same Ctrl T option.
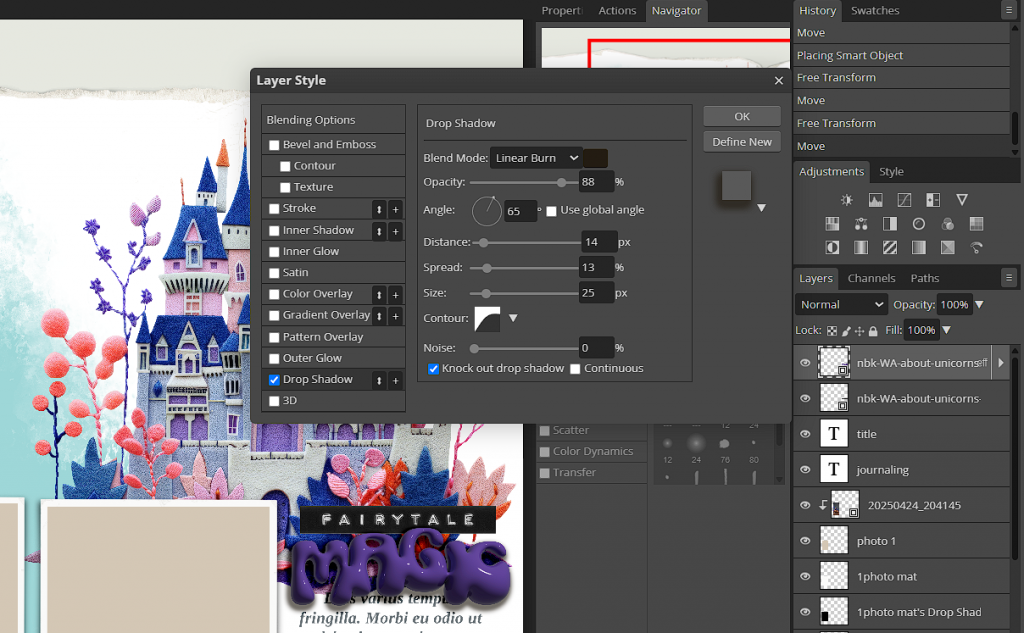
 I added more NBK goodness to make a title and tested out the Shadow ability of Photopea at this point. Here’s the ‘eff’ effects (or fx as Photoshop identifies it) and the shadowing sliders and options that are all again familiar. The ‘+’ next to the Drop Shadow and other types of Layer Style indicates that you can have more than one shadow layer though – different than what I’m used to but at the same time, I will sometimes manually add extra shadow layers so I like this ability. Adding a double stroke to a font layer or basic photo for instance also increases the options for framing and titles to me.
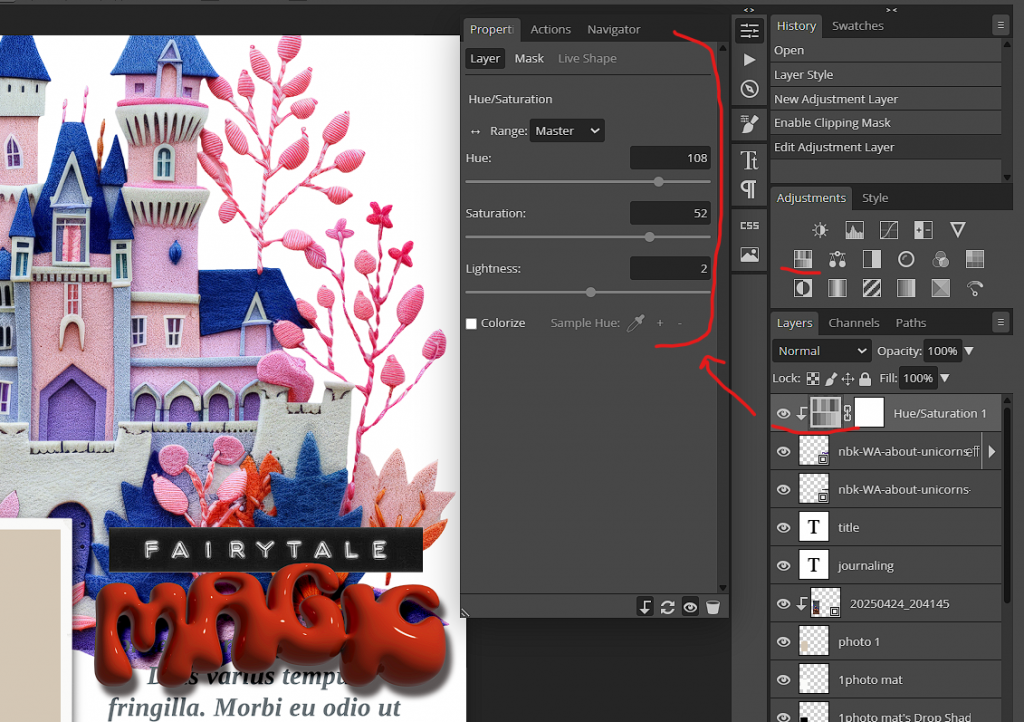
While I was playing with different sliders, I tried out some recolouring methods in Photopea and the Adjustment Layers that I’ve come to rely on for photoedits like Curves, Vibrancy, Levels and Contrast, Photo Filters are all there with the old Hue/Sat recolouring fave. (Hovering over any icon again gives a label for ease of navigation which I appreciate although so far the icons look familiar again and comforting to me after feeling out of sorts with Canva). So I’ve now changed the colour of the Magic wordart.
Feeling comfortable, I repeated some of the above steps to add some other photos and dragged in a paper from Lynne-Marie’s Hello Sunshine. Knowing I couldn’t make the Layers Palette thumbnails any bigger at this point, I was glad to see I could still ‘colour’ particular layers to make them easier to find in the Layers Palette which is something I do if I know it would be something I might need multiples of for a cluster or, maybe a staple or stitching that I could just duplicate and use again on the page, rather than going back to my elements folder and looking for the same staple again and dragging it back in.
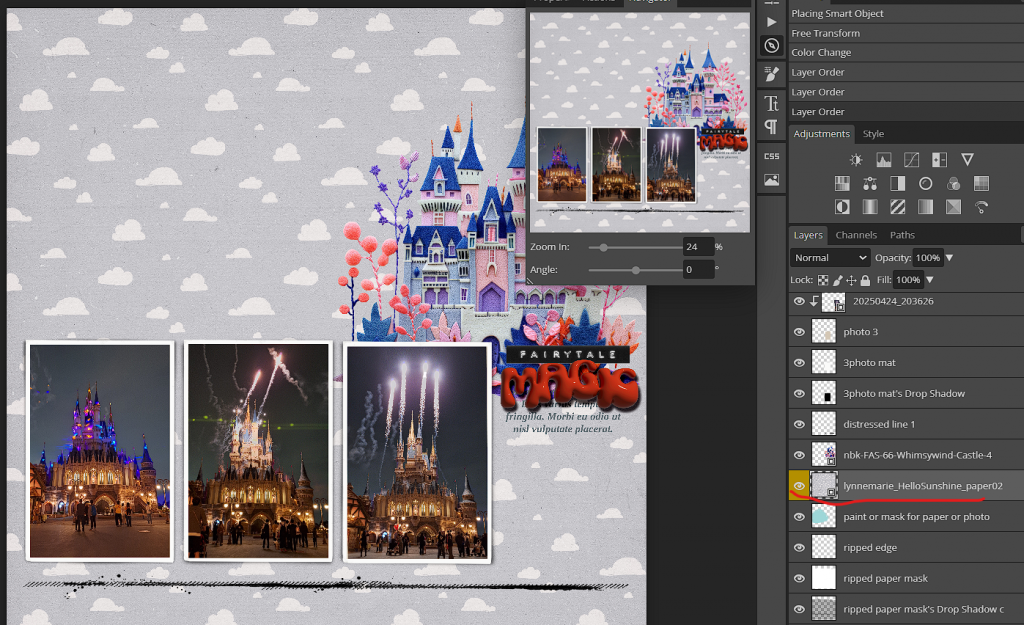
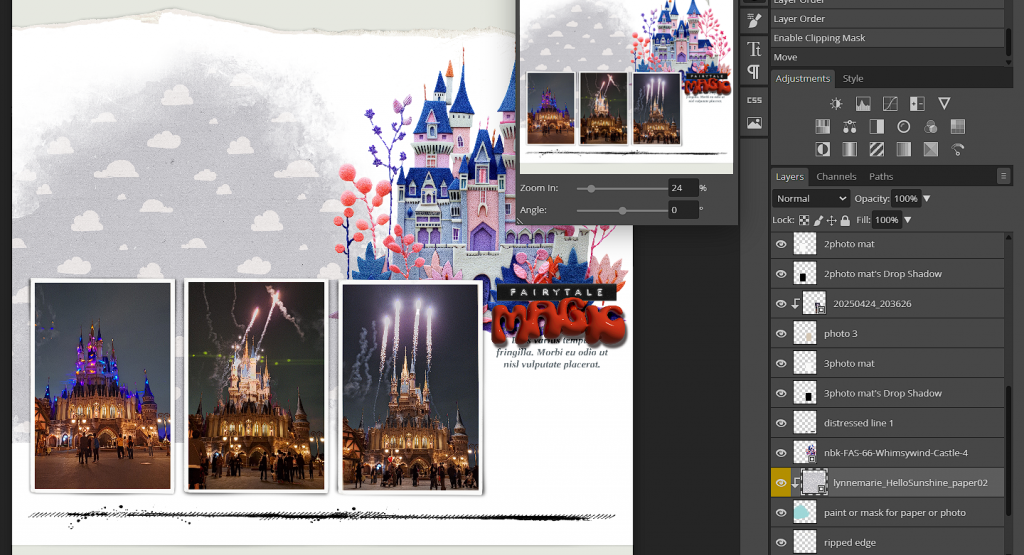
Ctrl G clipping masks are possibly one of my favourite things about scrapping with templates and Photopea uses the same short cut. Happy days! That little right angled arrow next to LynneMarie’s paper 2 layer label indicates the layer is clipped to the layer below just like in Photoshop. Here I’ve clipped it to Lynn Grieveson’s blue paint mask template layer for an easy blend and fade look.
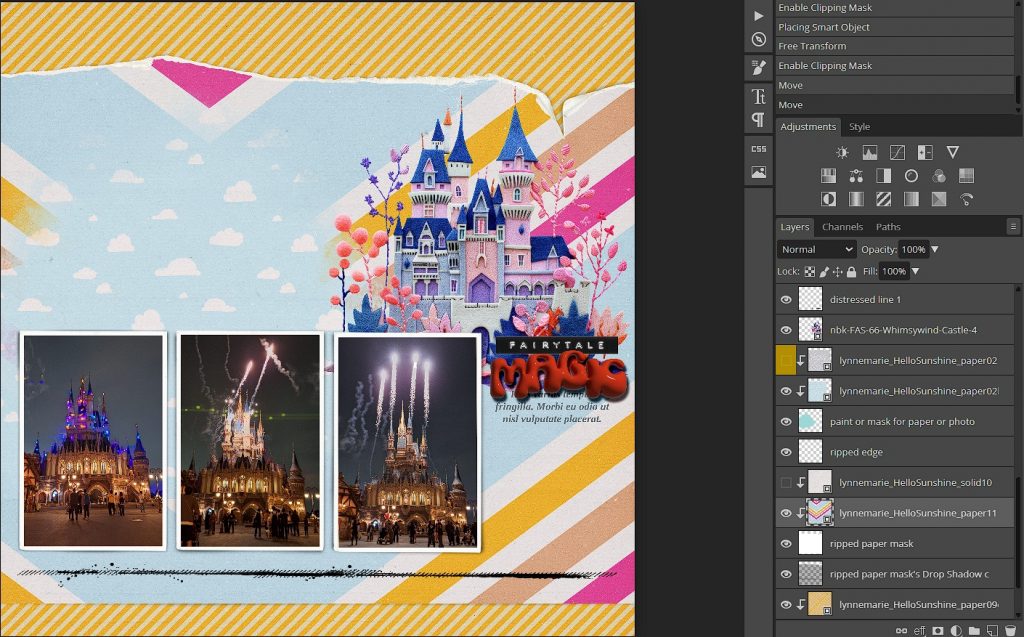
Happy with the process, I dragged in more papers, elements and mixed media and did some more recolouring. I ‘flipped horizontal and vertical’ some papers to change the direction of the diagonal lines by going to the Edit > Transform menu which has all the options I am used to using.
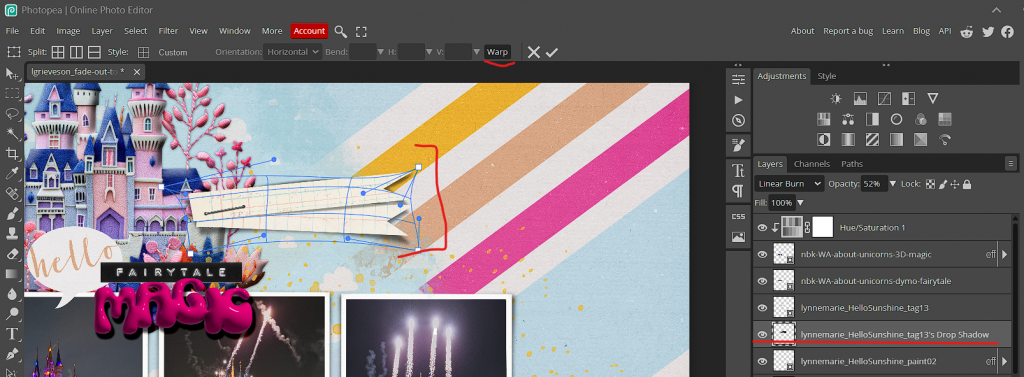
Can you put shadows on a separate layer in Photopea and warp them? Yes and yes!
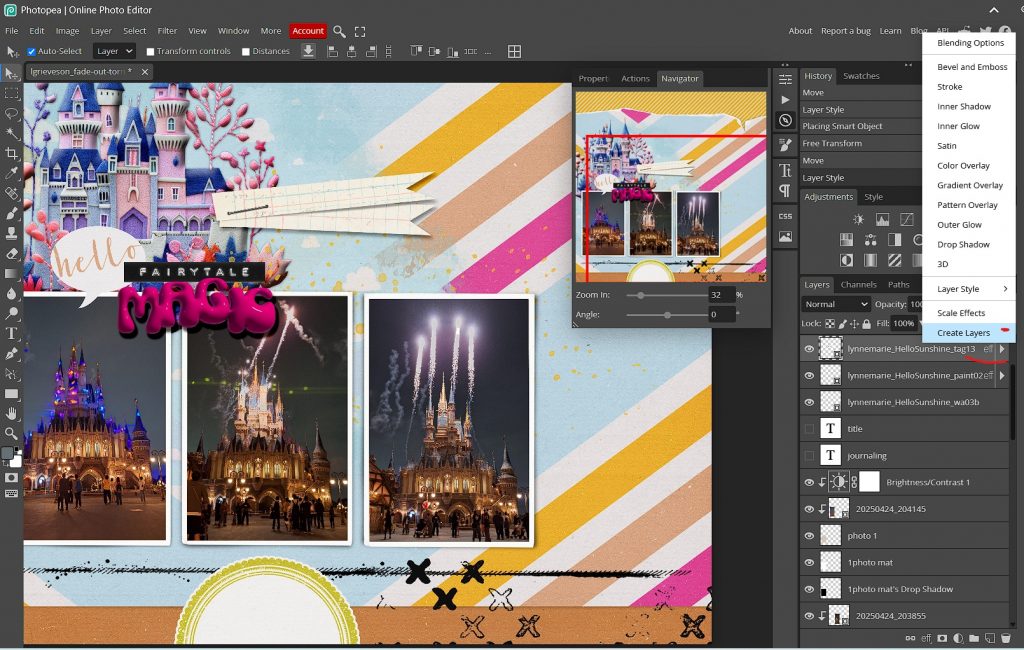
Tip: To get the ‘Create Layers’ option above was a little tricky at first. I had to right click on the ‘eff’ part of the Layers Palette label for the layer I wanted to isolate. Sometimes clicking on the thumbnail or the layer label or that eff part gives you a different bunch of options in the right-click menu.
I should also add it took me a while to figure out why just clicking on a layer on the actual page would not always move the item I wanted to move. For instance I wanted to move the castle across the page and would select it in the Layers Palette and then in dragging it, the active layer would change and the paper below the castle would be ‘grabbed’ and dragged across instead. It took me a while to realise the ‘Auto-Select’ option was ticked/checked in blue in the Move header (V tool). Unticking that gave me control back! I have no idea if all these years I had that option unticked in CS6 and just never thought about it but that was the most annoying issue I found in trying out Photopea and after that, everything was smooth sailing really.
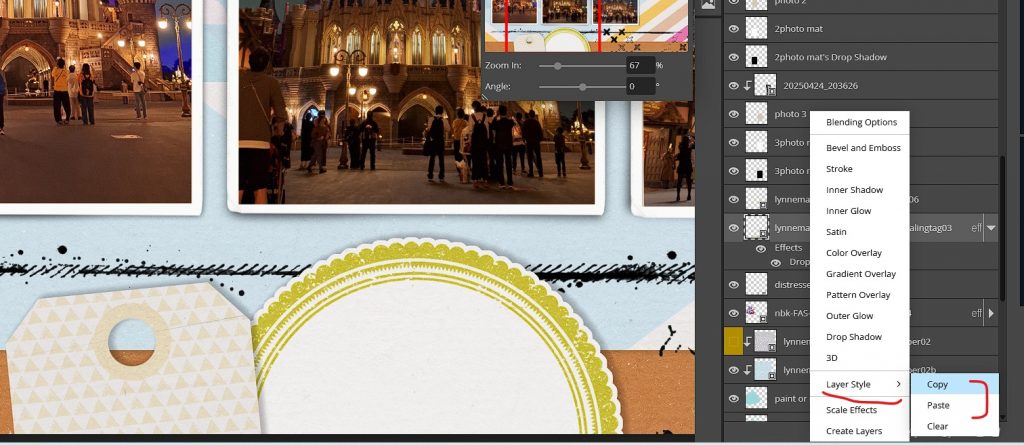
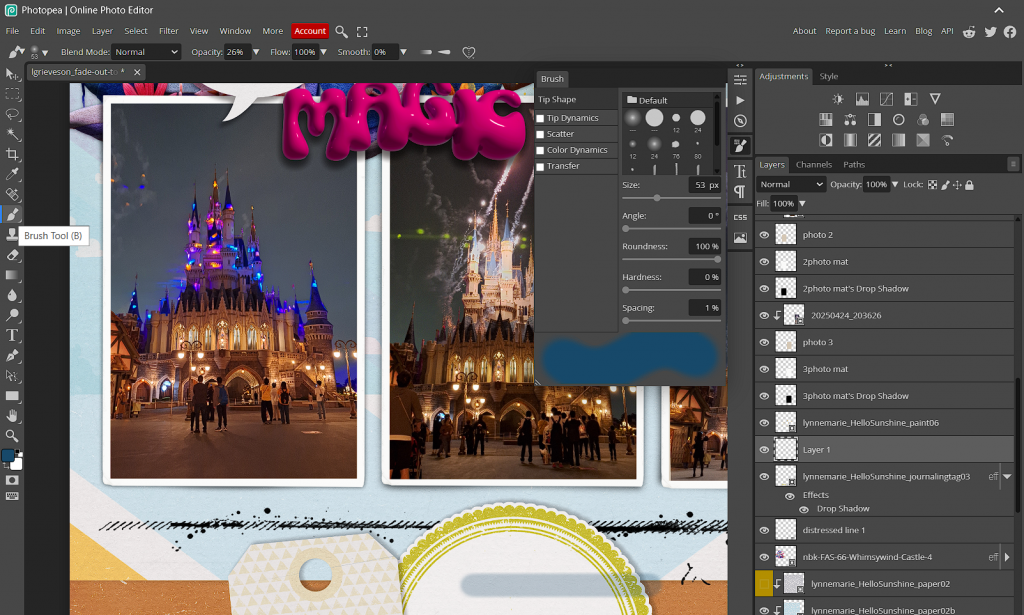
I was also glad to see that you can right click and have the option to copy and paste Layer Styles. Copy and pasting shadows is a normal part of my process. I copy and pasted the same shadow style for both tags. Then I checked out the Brushes palette. I like changing the angles and jitter and the options I’m used to were all in there. After playing around I added some brush work to ‘crease’ the round tag.
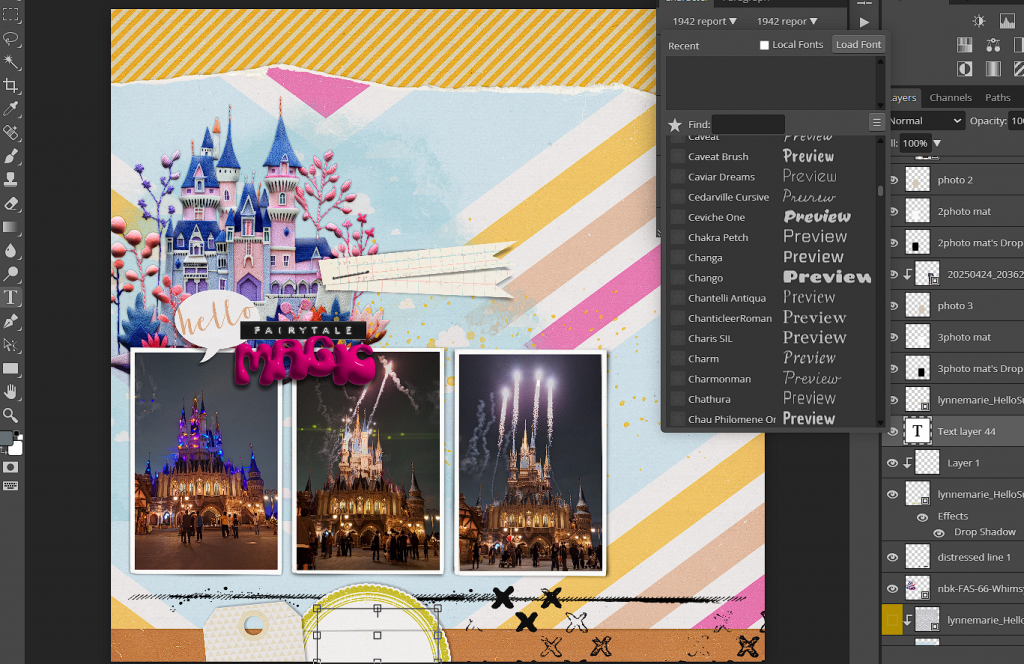
Then finally some journalling with the text tool. Lots of font options and ability to change spacing and alignment and I’m still happy.
Here’s where I had some more issues with Canva though: the saving part. No such issues here. Saving is via auto-save during scrapping (which I found out when my battery died at one point – if I wasn’t on the Installed version, I don’t know if that would be the case though). Here’s all your save otiopns
adn to save for web, just as easy. Select Export as JPG and get this popup and add your gallery dimensions and slide the Quality slider to see what size it would save at (circled down the bottom).
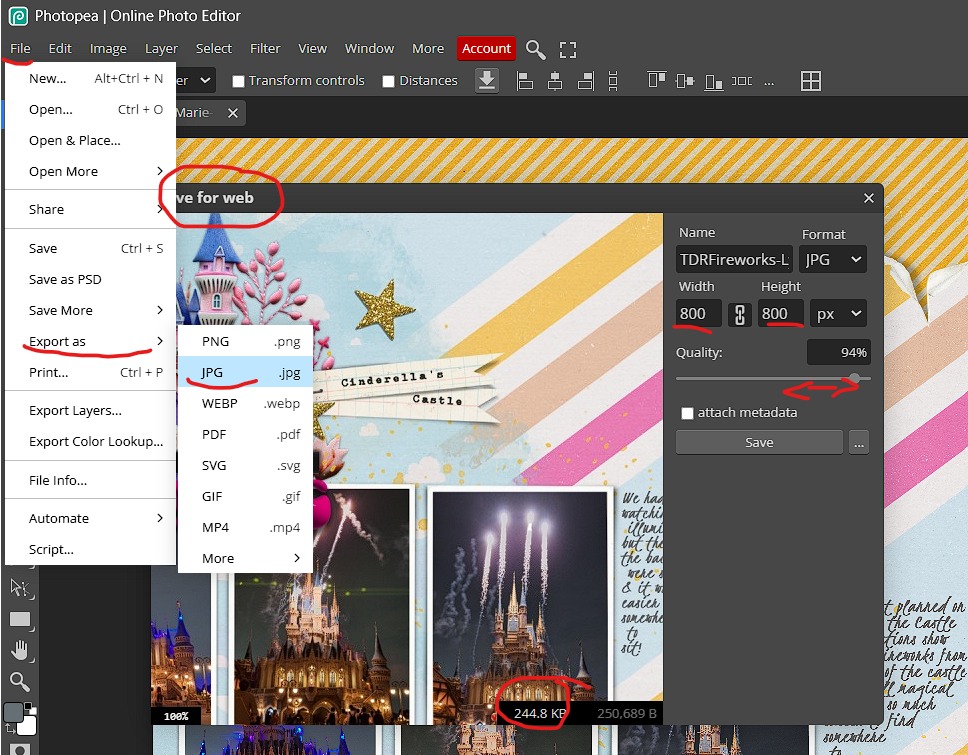
Boom, done. So much quicker and easier than anything I tried to do in Canva starting with a template. Full credits in the gallery
In conclusion, the take-away from today or the ‘too long, didn’t read’ is
- Photopea is an easy transition from Adobe Photoshop CS6 with a very familiar feel to the platform if you need to change or want to give it a try.
- It is also a good option for beginners due to
- the low cost commitment required;
- drag and drop functionality;
- ease of use with such a variety of acceptable files types for templates as ready to use layout blueprints, coupled with clipping masks functionality.
- There may be a few teething problems whether you are new or used to graphic editing programs but they are easily figured out or worked around, and given the price difference and amount of features, I can’t see why I’d personally need to commit to Adobe again.
- My opinion is it is definitely worth trying out and Photopea is the Photoshop alternative you are looking for.


Oh this is wonderful Justine! I will keep this in mind if I decide to get rid of PS CC… Thanks for showing and that it uses the same file like styles and brushes that we already purchased! Great post!
Oh my gosh! It even LOOKS like Photoshop! I love that you’ve done all the digging and work to look into Photoshop options! Fabulous information Justine!
Fabulous post Justine! I have been wondering whether there was an alternative to PSCC, now that the price has gone up to AU$30 a month! Going to go and check this out for sure. Many thanks for taking the time to test it all out and write it up for us, very much appreciated!! x
What a gold mine of information. Thanks so much for blogging this. I never went the cloud route, still working in CS6 so I really hope this is a good alternative. THANKS.
Thanks so much for sharing this app! Wow… it looks so much easier than Canva! It seems that everyone is jumping onto the subscription bandwagon! I’ll definitely give this a try!
Great post!!
It’s really a great alternative, I made few pages with Photopea. My only concern is my internet connection, which slows down the use of this site/software.