Pocket Scrapping Art Journaling Process
Hi everyone, Sarah here, and I thought it would be fun to talk about the process I used to create my pocket page for the Pocket Scrapping Art Journaling challenge today.

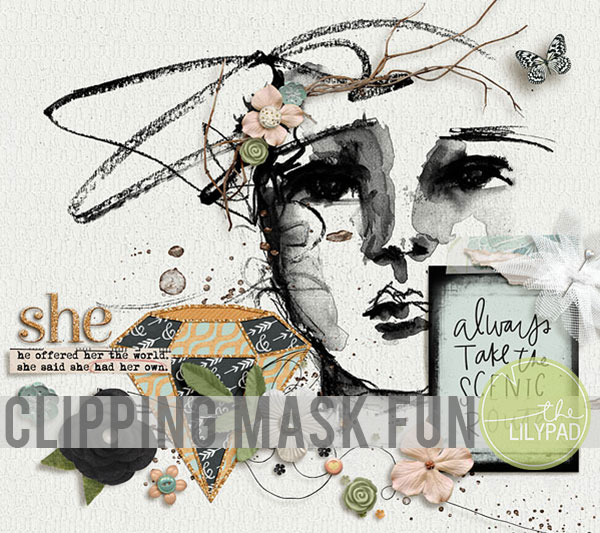
I decided that this 123 Art collab by Kaye Winiecki and Studio Basic would be a fun kit to work with to create a collage.

My first step was to choose elements that I thought would work well for my page and open them up in my Silhouette Studio software. I did a print and cut on the elements that I wanted. You can certainly cut most of these things fairly easily with a good pair of microtip scissors and a craft knife but I love what a timesaver the Silhouette has become for me.

My next step was to decide what papers I wanted to use for my cards. I began by opening an 8×10 canvas. I then chose the paint swatch card for one of my pockets and chose two other papers that I cropped down, one at 4×6 and the other at 3×4. Next I added digital stamps and paint to these cards. I love that I can get art journaling messy without really making a mess using digital supplies.

Once everything is printed I trimmed my cards and removed the elements from the cutting mat.

Next I laid everything out and began moving things around until I had pieces in place that I was happy with. I usually don’t use all of my printed elements here. Anything I have left over I save for another project.

When I was happy with the placement I began adhering everything down. My two main tools for this are a tape runner and a two way liquid glue. I love the liquid glue for getting into smaller spaces but the tape runner is my absolute favorite go to adhesive. I decided after I had everything down to add some of the yellow piece with the cut out dots to the top of one of my cards just to give the card more interest. I don’t worry about things going off the edge of the card at this point.

Once I had everything glued down I turned the card over and used my scissors to flush everything up. It’s so much easier to make straight cuts using the back of your card as your guide.

After I got everything adhered and trimmed I did my journaling. At this point I also added the Masterpiece title to my card. I placed everything in a page protector and voila, now I have another “masterpiece” to add to my art journaling album!

I hope you join the Art Journaling Pocket Scrapping challenge. Scrapping this way is so much fun and with the current challenge you can earn a $2 coupon to Heather Joyce’s store!