Digitizing Photos for Books (part 2 of 3) second bite
Last week, I started the process to help you get those photos digitized. You can read about the organization and GOAL process HERE.
Today, let’s actually get the hard copies of the photos onto your computer! Digitizing! There are many options;
- Scanning: This is a time consuming process, but is an option. (there are scanners that you can load a stack of photos and it will scan them at a photo every second-at a $600 price tag)
- Services: There are many companies out (Legacybox, ScanMyPhotos.com) there that you get a box, and then send back to them. It takes a few weeks, and cost begin at about $150 for 1800 photos. There are walk in places (Costco, Walmart, etc) also, that for about $20 you can do 60 images.
- SmartPhone: Do it yourself.
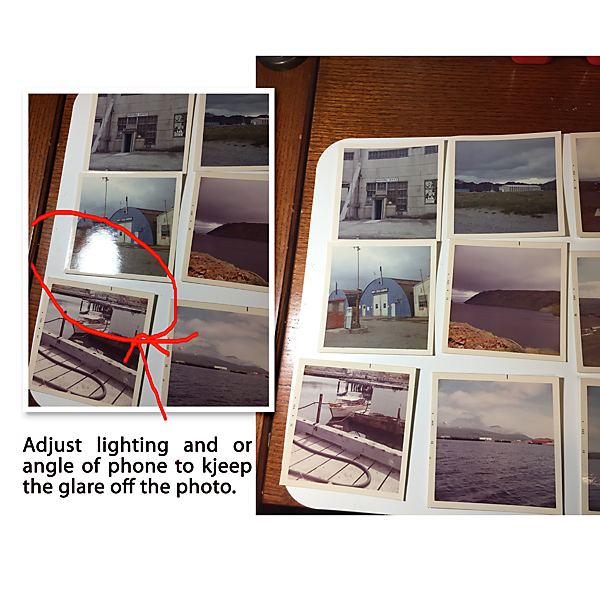
Because I am impatient and cheap, the option I will be using is number 3. Using my smartphone. Since I have all my photos organized by date and or how I am going to scrap them, I can set up my photo booth! (my desk). For the record, I have an IPHONE 6. It is a good camera, but golly some of the newer ones have options that are way better!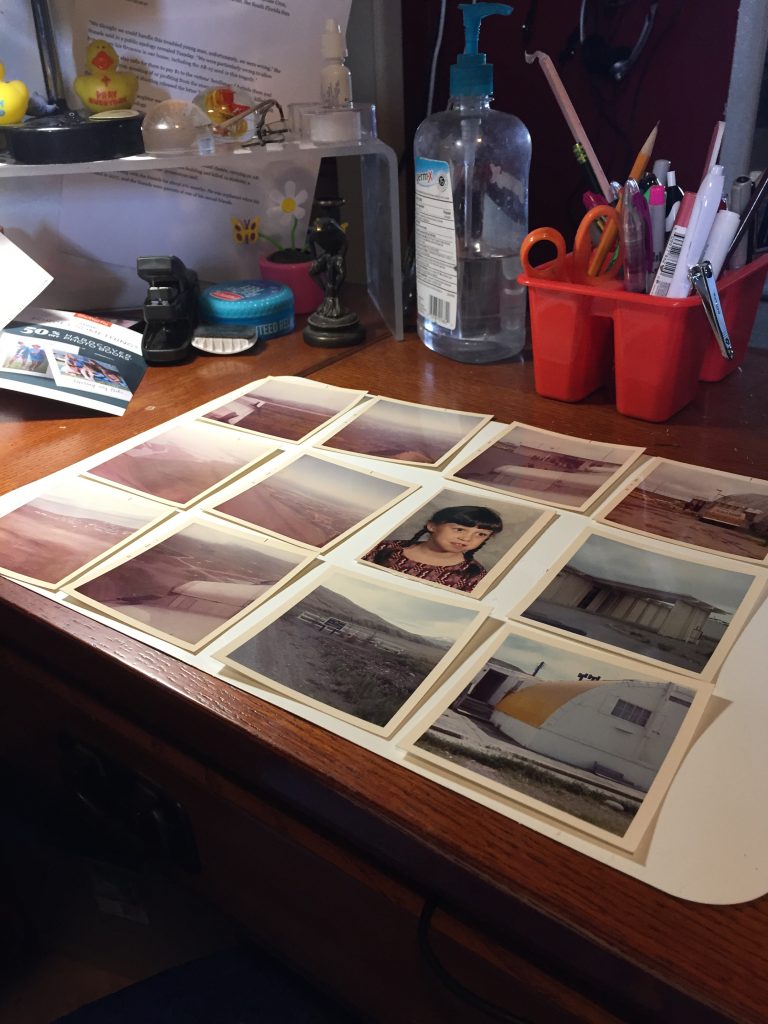 I am using a placemat flipped over (from Dollar Tree) as the back of photo booth. I lay out 12 at a time. Then arrange my lighting to get the best possible. I open all windows for as much natural light, turned on ceiling light and I also have a small desk lamp. I only do half at a time. I found it was easier to photo and kept glare off the photos:
I quickly did one pile(a year on Adak). I did one organized pile (remember last blog to organize by date/event) and transferred to your scrapping machine. Create a file for your book, so you can start the actual scrapping of the photos.
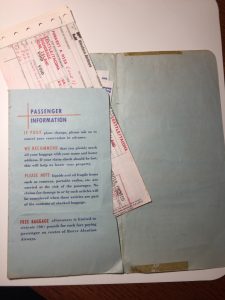
You can also get all kinds of fun things to photograph-my mom kept so much things, yearbooks, tickets, napkins and papers from Adak. I snapped them all into the file:
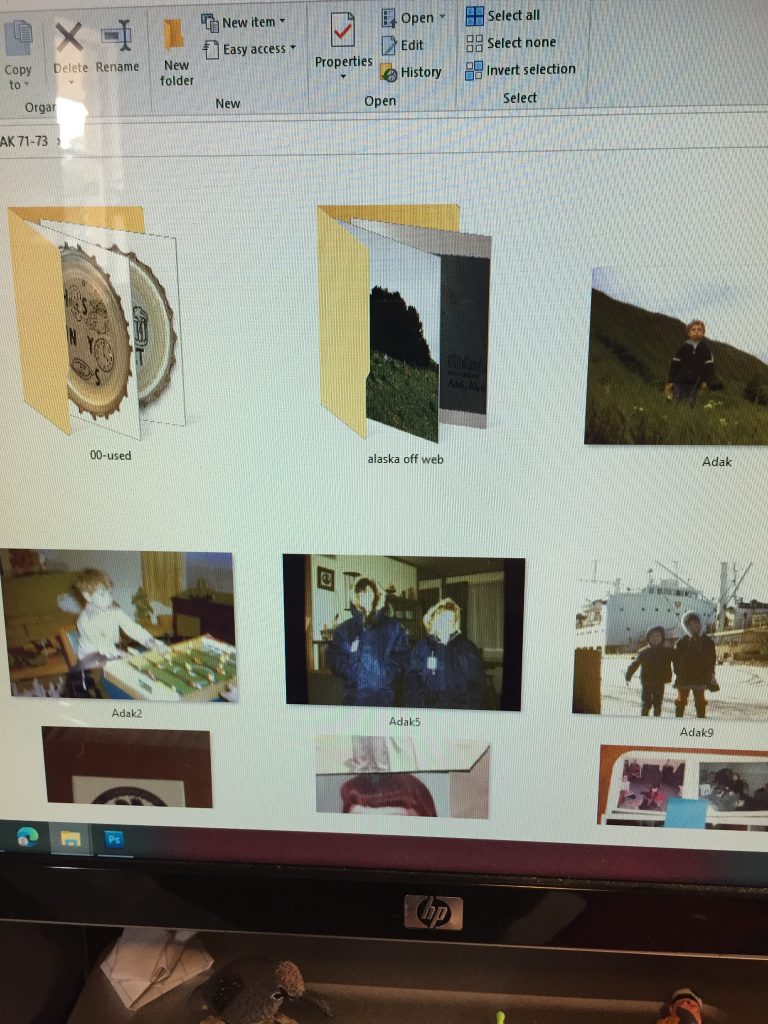
I did Adak 71-73.
My mom had sent me photos years ago from slides, she did and I went and collected them off my computer to have in this folder also.
I created 2 sub folders:
00-Used (the double zeros make it first folder)
Alaska (off web)-in doing an old book, finding images from the web is great way to add GOOD photos of places you went.
HINT: if you google search by the year, you will be amazed at the results. I did 1971 Earthquake Park – and it was like being there as a 8 year old! lol
Since I am using templates,(this was using Tilted Templates by Scrapping with Liz)
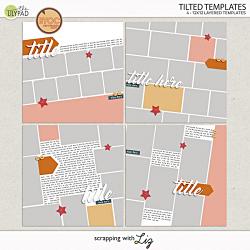
I just pull and drop the photograph page and adjust to photo spot on the template.
As I use the JPG with the 6 photos on them, I take that jpg and move to 00-Used subfolder. This helps me see what I have left to scrap, and also is fun to see the photos disappear as I finish page after page.
I hope you are enjoying this series-The last of the 3 part series will be on the 24th of September. I will spend some time on adjusting and fixing your photos for your page. I also will touch on getting your book to a publisher, and holding in your hand!
~never lose your joy