Planner Love: Sticker Book

Hi everyone, Sarah here and today I’m going to share with you how I created a sticker book using the May Planner Collection Monthly pack May-Be Today.
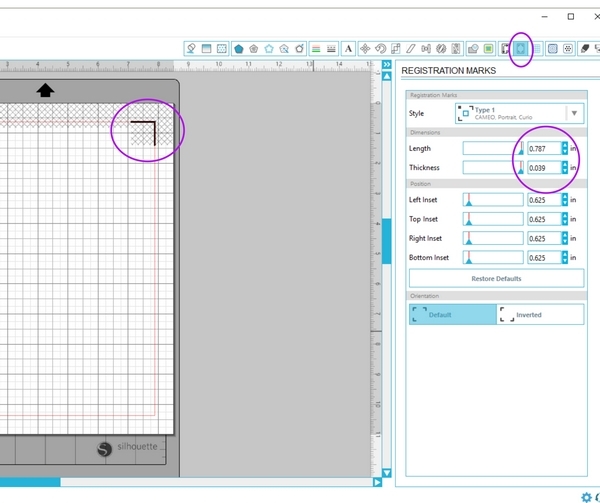
When I first imported the sticker sheets into my Silhouette Studio software I found that with the default registration marks that some of the the sticker sheets from the collection extended past the cross hatches. I know that some people have reported that this still works fine for them as long as the images aren’t touching the registration marks themselves, but for me if I were to try to print and cut this image as it, I would either end up with the Silhouette failing to read the registration marks or with cuts that are up to 1/8″ off.

I recently found out that there’s a way to fit more images on a page by changing the size of the registration marks. The default settings for the length of the registration marks are .787″.
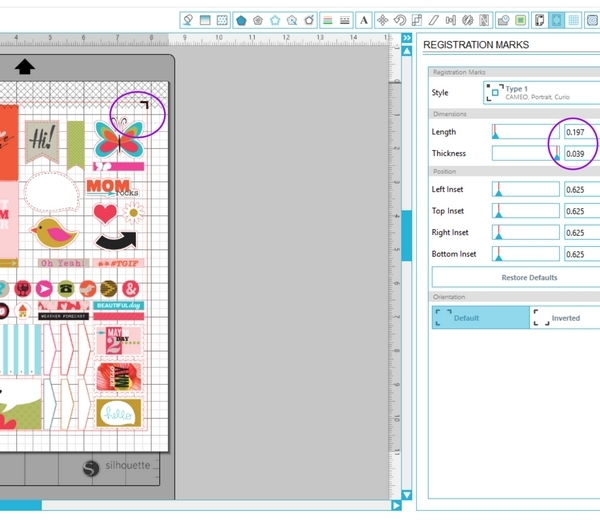
I shortned the length of the registration marks to the lowest setting on the slider (.197″) but kept the thickness setting the same. Now my stickers aren’t touching the cross hatches (for the most part, for some reason my Silhouette didn’t care about the little bit of overlap at the top) and I’m able to print and cut the full sticker sheets from the collection.
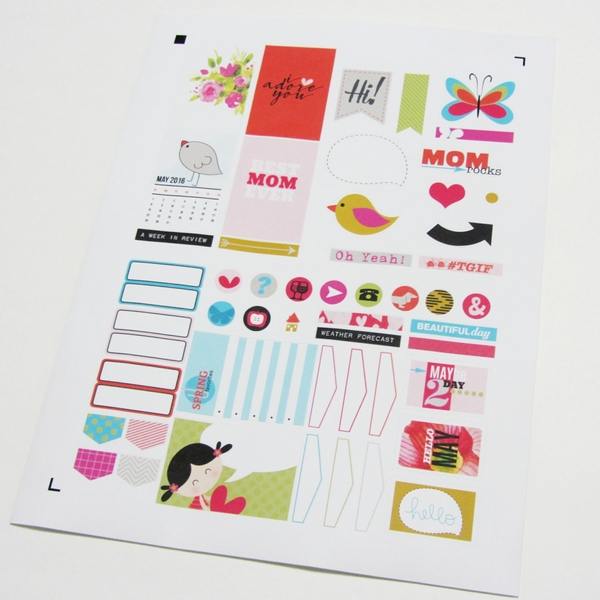
Here is the sheet fully printed and cut.
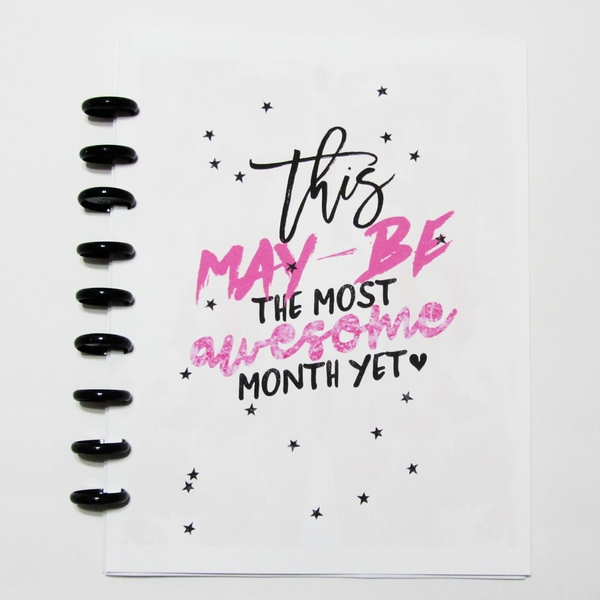
I print and cut the remainder of the sheets as well as printed one of the dividers to act as a cover for my sticker book. I then punched the side of each of these pages, as well as a plain piece of cardstock for my back cover with my Create 365 punch by Me and My Big Ideas.

I used 1″ Arc discs from Staples to bind the book. The pages turn well, even with so few in the book, but there’s plenty of room to grow, so I can add more sticker sheets in the future.
I really love how this turned out and love that it’s so expandable. I can even add bigger discs if I outgrow the current disc size. Most of all I love that it keeps my stickers all contained in one easy to access place.


